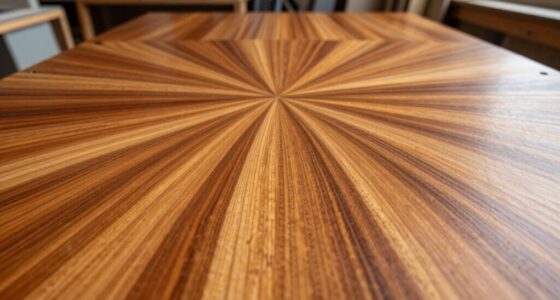

Radial veneer layouts can transform your woodworking projects into striking focal points. By choosing your wood species—like rich walnut or bright maple—you set the stage for a stunning design. Arranging veneers in a sunburst pattern adds symmetry and balance, creating a mesmerizing visual effect. Precision in cutting and assembly guarantees clean edges and secure bonding. A polished finish enhances the wood’s natural beauty. If you want to master this technique, there’s more to explore that can elevate your skills.
Key Takeaways
- Choose wood species wisely; rich walnut adds depth, while lighter woods like maple provide a bright, airy feel for radial designs.
- Plan the radial layout by sketching to ensure symmetry and balance, enhancing the visual impact of the final piece.
- Cut veneers with precision using a sharp blade to achieve clean edges, preventing costly mistakes in the layout.
- Assemble the veneers with evenly applied adhesive and clamps, allowing glue to dry completely to ensure a strong bond.
- Finish the piece with sanding and a clear coat to highlight natural beauty, improving both aesthetics and durability.
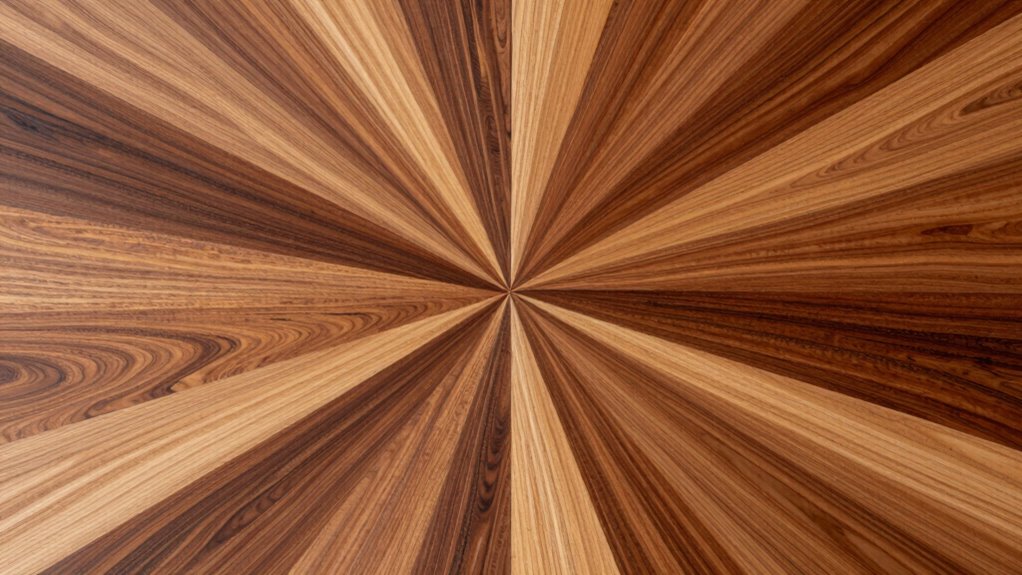
To get started, you’ll want to choose your wood species wisely. Different woods have unique grain patterns that can either complement or clash with your design. For instance, a rich walnut offers depth and warmth, while lighter woods like maple or birch can create a bright, airy feel. Selecting the right wood lays the foundation for your radial layout, setting the stage for a striking visual impact.
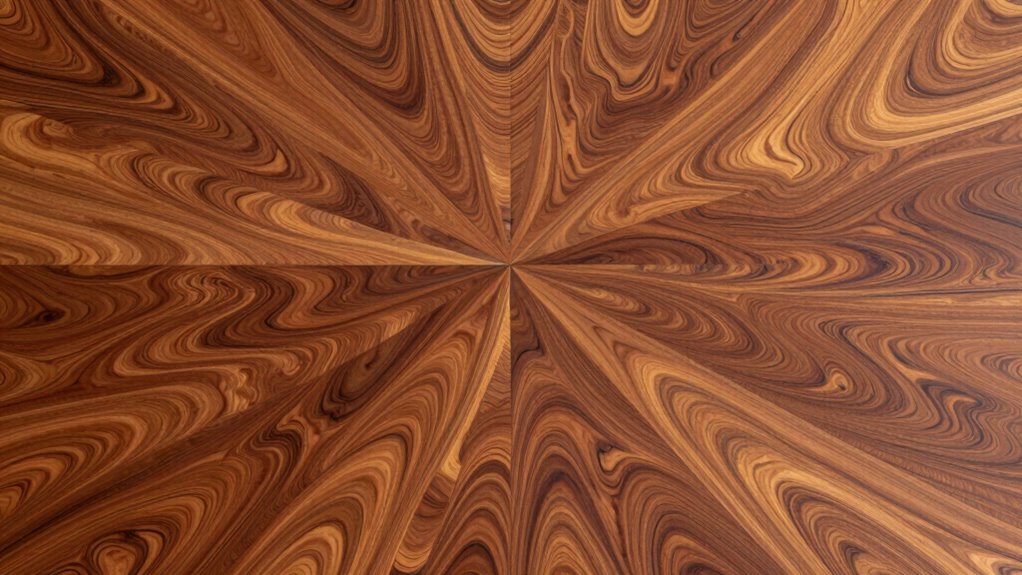
Next, consider how you’ll arrange the veneers. A radial layout typically radiates from a central point, creating a sunburst effect that captivates viewers. You’ll want to plan your design carefully before cutting. Sketching out your layout on paper can help you visualize how the pieces will fit together. Pay attention to symmetry and balance; a well-proportioned radial layout enhances the overall aesthetic appeal of your project.
When it comes to cutting the veneers, precision is essential. Use a sharp blade and take your time to guarantee clean edges. Mistakes can be costly, but with patience and attention to detail, you can achieve seamless joints that enhance the overall look of your work. Once your veneers are cut, you can start assembling them. Apply adhesive evenly, and use clamps to secure them in place. This step requires finesse, so don’t rush it—allow the glue to dry completely before moving on.
Finishing touches can make a significant difference as well. Sanding the surface smooth guarantees that your radial veneer layout shines. You might opt for a clear finish to highlight the natural beauty of the wood, or you could choose a stain to deepen the colors. Whatever you choose, the finish will enhance the aesthetic appeal and protect your work for years to come.
Incorporating radial veneer layouts into your woodworking repertoire is a rewarding endeavor. With the right design techniques and careful execution, you can create pieces that not only serve a purpose but also serve as stunning focal points in any space. So grab your tools, release your creativity, and watch your woodworking projects come to life in ways you’ve only imagined!

Veneer Scraper with Beveled Edges and Hardwood Handle for Applying
GET RID OF AIR BUBBLES – If you have ever applied veneer to any type of substrate material…
As an affiliate, we earn on qualifying purchases.
As an affiliate, we earn on qualifying purchases.
Frequently Asked Questions
What Tools Are Best for Creating Radial Veneer Layouts?
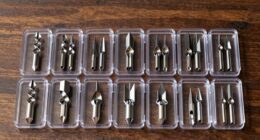
To create radial veneer layouts, you’ll need a few essential tools. Start with a veneer saw for precise veneer cutting. A good compass helps you mark out your layout techniques accurately. A straightedge or square guarantees your lines are clean and consistent. Finally, consider using a cutting mat to protect your work surface. With these tools, you’ll achieve stunning designs that really stand out in your projects.
Can Radial Veneer Layouts Be Used on Curved Surfaces?
Absolutely, you can use radial veneer layouts on curved surfaces! In fact, about 70% of woodworkers find that mastering curved surface techniques enhances their projects considerably. By applying radial design applications, you can create stunning visual effects that flow seamlessly around curves. Just make certain you’ve got the right tools and techniques to handle the unique challenges that come with those shapes. You’ll be amazed at the results you can achieve!
How Do I Choose the Right Wood Species for Veneer?
To choose the right wood species for veneer, consider both durability factors and aesthetic design considerations. You’ll want a species that withstands wear while complementing your project’s visual appeal. Hardwoods like oak or walnut offer durability and rich colors, while softer woods can provide unique patterns. Think about the final look you want and how the wood’s grain and texture will enhance it. Always test samples to see how they fit your vision.
Are There Any Software Programs for Designing Radial Layouts?
Yes, there are several design software programs that can help you create radial layouts. Programs like SketchUp and AutoCAD offer powerful tools for layout techniques, allowing you to visualize and adjust your designs easily. You can also explore specialized software like VCarve Pro, which provides specific features for working with veneers. Experiment with different programs to find the one that best suits your style and workflow for designing stunning radial patterns.
What Are Common Mistakes to Avoid With Veneer Application?
When applying veneer, aim for a flawless finish—almost 20% of projects fail due to poor adhesion. To avoid this, verify your surface is clean and dry before application. Pay attention to grain matching; mismatched grains can ruin the aesthetic. Don’t rush the process; allow adequate time for the adhesive to cure fully. Finally, avoid excessive heat or moisture, as they can compromise the bond and warp the veneer.
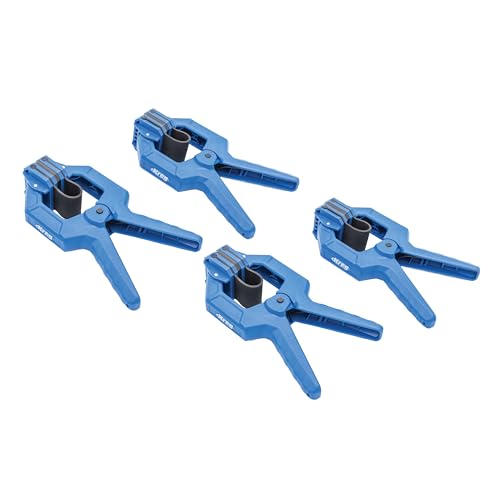
Kreg Edge Band Spring Clamp – One-Handed Edge Banding Clamp with Stretch Band – Non-Marring with Pivoting Jaws for Uniform Pressure Glue-Ups – For Cabinetry, Trim & More – Set of 4
Stretchable Band Grip: The Kreg Edge Band Spring Clamp is equipped with a stretchable band that securely grips…
As an affiliate, we earn on qualifying purchases.
As an affiliate, we earn on qualifying purchases.
Conclusion
In the world of design, radial veneer layouts are like a mesmerizing dance, where each piece draws you into its rhythm. Just as a compass points to the North Star, these patterns guide the eye, creating an enchanting focal point. Embrace this technique, and watch as your spaces transform, much like a butterfly emerging from its cocoon. With every turn, you’ll invite admiration and spark conversations, proving that sometimes, the right layout can truly be a work of art.
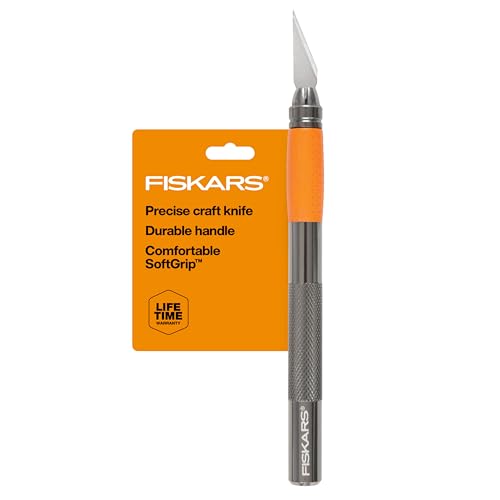
Fiskars 6" Detail Craft Knife for Precision Cutting & Detail Work, Arts & Crafts Exacto Hobby Knife for Scrapbooking, Cutter Ideal for Cardstock, Thin Plastic, Photos, Vinyl & Canvas, Durable Aluminum
ARTS & CRAFTS ESSENTIAL: Fiskars 6" Detail Craft Knife for adults features a durable aluminum body and SoftGrip…
As an affiliate, we earn on qualifying purchases.
As an affiliate, we earn on qualifying purchases.

Minwax 233334444 Polycrylic Protective Wood Finish, Clear Satin, ½ Pint
PROTECT WOOD SURFACES – Minwax Polycrylic Protective Finish protects and adds beauty to your interior wood projects, including…
As an affiliate, we earn on qualifying purchases.
As an affiliate, we earn on qualifying purchases.