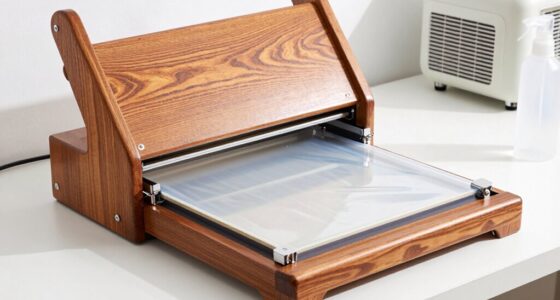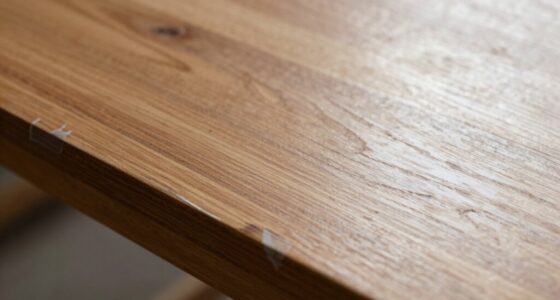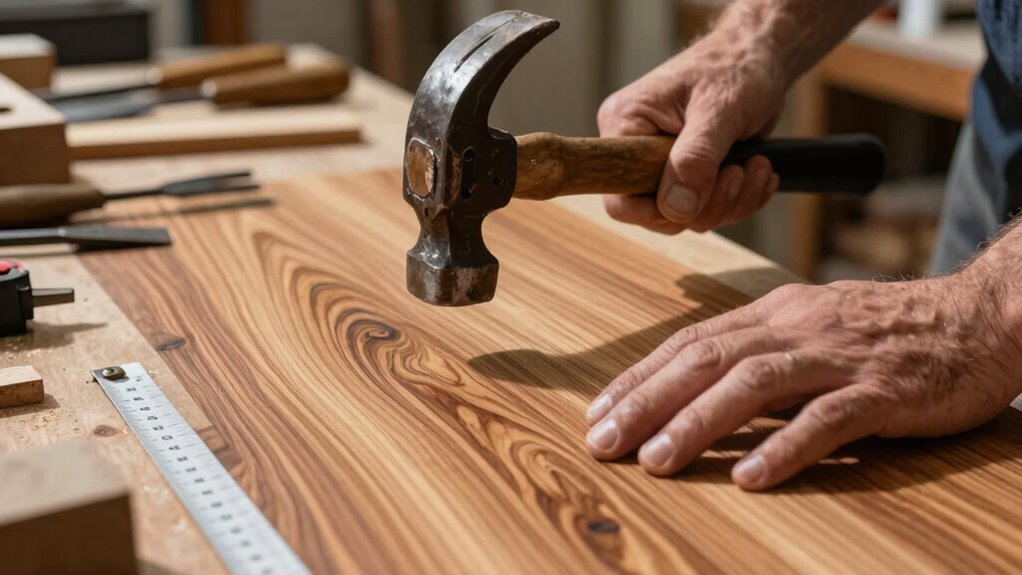

Hammer veneering is a straightforward woodworking technique that lets you apply thin wood slices to substrates like plywood or MDF. You start by selecting the right veneer, then use a soft-faced hammer to adhere it smoothly, ensuring a strong bond with PVA glue. This traditional method not only enhances your project’s look but also offers satisfying results you can be proud of. Stick around to uncover more tips and techniques to perfect your hammer veneering skills!
Key Takeaways
- Hammer veneering involves applying thin wood slices to substrates using a hammer, making it accessible for both beginners and experienced woodworkers.
- Selecting the right veneer species, like oak or walnut, sets the project’s aesthetic tone and ensures durability.
- The hammering technique requires pressing the veneer from the center outward, promoting even adhesion to the substrate.
- A thin layer of PVA glue is essential for a strong bond, preventing lifting and ensuring a clean application.
- Finishing touches like trimming and sanding enhance the final appearance, providing a satisfying result typical of traditional woodworking methods.
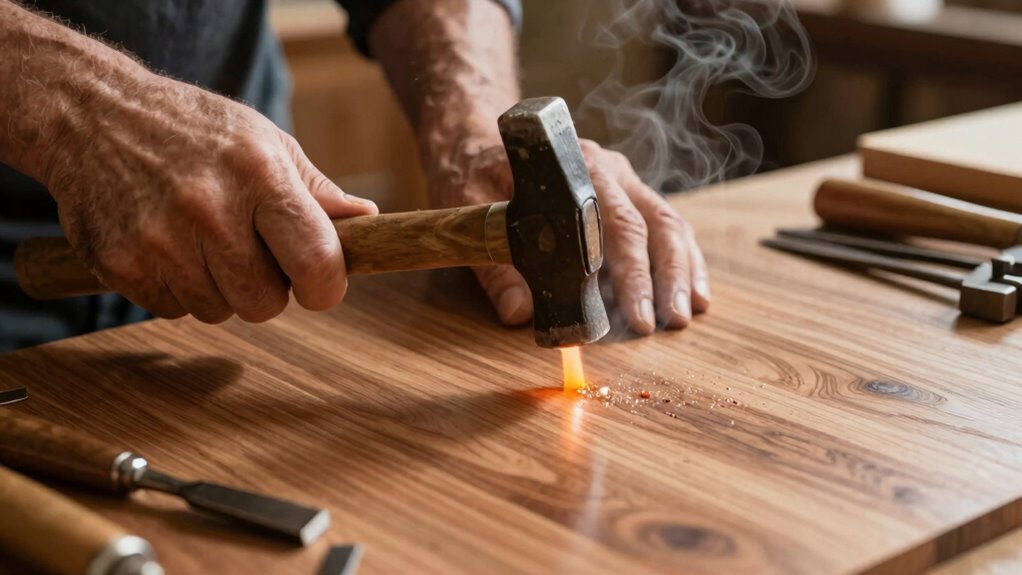
When you’re looking to enhance your woodworking projects, hammer veneering offers a unique and straightforward approach. This traditional technique allows you to apply thin slices of wood, known as veneers, to a substrate using nothing more than a hammer. It’s an effective method that combines simplicity with quality, making it a favorite among both beginners and seasoned woodworkers.
To get started with hammer veneering, you’ll first need to choose your veneer types. Veneers come in various species, such as oak, walnut, and cherry, each lending its distinct appearance to your project. You might prefer a lighter wood for a modern look or a darker wood for something more classic. Whatever you choose, make sure the veneer is flat and properly prepared before you begin.
Choosing the right veneer type—like oak, walnut, or cherry—sets the tone for your project’s unique aesthetic.
Once you’ve selected your veneer, it’s time to jump into the hammer techniques. The process involves aligning the veneer over your substrate, which can be plywood or MDF, and using a hammer to press it down. It’s essential to start in the center and work your way outwards, guaranteeing even adhesion. A soft-faced hammer is ideal because it prevents damage to the veneer while providing enough force to create a good bond. As you hammer, you’ll notice the veneer gradually conforming to the surface beneath it, which is a satisfying part of the process. Additionally, understanding the properties of different wood species can help you select the best veneer for your project’s style and durability needs.
A common tip is to use a thin layer of adhesive, like PVA glue, between the veneer and the substrate. This secures a strong hold and helps prevent any lifting over time. Be careful not to use too much glue, as it can seep out and make a mess. Just a light, even coat will do the trick. As you hammer, keep an eye out for bubbles or wrinkles, as these can affect the final appearance. If you spot any, you can use a roller or your fingers to smooth them out before the glue sets.
Using proper adhesive techniques ensures a durable and professional-looking finish. Additionally, understanding the properties of different wood species can help you select the best veneer for your project’s style and durability needs. Once you’ve finished hammering down the veneer, let it dry completely. After it’s dry, you can trim the edges and sand the surface to achieve a seamless finish. This hands-on method not only enhances the aesthetic of your project but also gives you a deep sense of satisfaction. Hammer veneering may be traditional, but it’s a technique that continues to yield fantastic results, allowing you to create beautiful pieces that stand the test of time.
As an affiliate, we earn on qualifying purchases.
Frequently Asked Questions
What Types of Wood Are Best for Hammer Veneering?
When you’re choosing wood species for hammer veneering, opt for stable, well-seasoned options like oak, maple, or walnut. These woods hold up well during the process and provide a beautiful finish. For veneer selection, consider thin sheets that match your base wood’s characteristics, ensuring a seamless look. Experiment with different combinations to find what resonates with your design, and you’ll create stunning results that enhance your project’s overall appeal.
Can I Use This Method for Curved Surfaces?
Yes, you can use hammer veneering on curved surfaces, just like a sculptor shapes clay. While there are veneering challenges, curved techniques can help you achieve beautiful results. You’ll need to carefully select flexible veneer and adjust your approach to guarantee the veneer conforms well. With patience and practice, you can create stunning designs that enhance the curves, turning any project into a masterpiece that catches the eye.
How Do I Maintain My Hammer Veneered Furniture?
To maintain your hammer veneered furniture, use gentle cleaning techniques like a soft, damp cloth to avoid damaging the veneer. For stubborn stains, a mild soap solution can help. If you notice any scratches or chips, apply wood filler that matches the veneer color for quick repairs. Always keep your furniture away from direct sunlight and extreme humidity to preserve its beauty and integrity for years to come.
Is Hammer Veneering Suitable for Beginners?
Absolutely, hammer veneering can be a great starting point for beginners. Think of it as painting on a canvas—you’ll learn as you go. Start with beginner tips like practicing on scrap wood to avoid common mistakes, such as over-saturating the glue or applying too much pressure. Embrace the process; it’s a blend of patience and creativity. Soon, you’ll see your skills flourish, turning your novice efforts into beautiful, crafted pieces.
What Tools Are Essential for Hammer Veneering?
For hammer veneering, you’ll need a few essential tools. First, grab a hammer and a flat block for even pressure. You’ll also need veneer types suited for your project and a suitable adhesive. Adhesion techniques vary, so consider using contact cement or water-based glue for the best results. A utility knife for trimming and a roller can help guarantee a smooth finish. With these tools, you’re ready to get started!
wood veneer sheets oak walnut cherry
As an affiliate, we earn on qualifying purchases.
As an affiliate, we earn on qualifying purchases.
Conclusion
In the world of woodworking, hammer veneering is like a master key, unveiling the beauty of natural wood grain while preserving tradition. Just as a skilled artisan taps gently to reveal hidden elegance, you, too, can uncover stunning surfaces in your projects. Embrace this time-honored technique, and let each veneer whisper stories of craftsmanship and care. As you wield your hammer, you’re not just creating a piece of furniture; you’re crafting a legacy that resonates through generations.
As an affiliate, we earn on qualifying purchases.
As an affiliate, we earn on qualifying purchases.