
Scratches can reappear after finishing because surface imperfections like dents or pores can hide them initially, making the finish seem flawless. When you apply the final coat, these flaws scatter light and mask the scratches, but as the finish settles or wears down, the scratches become visible again. Proper surface prep, application, and curing are key to preventing this. Keep exploring to discover how to keep your surfaces smooth and flawless longer.
Key Takeaways
- Surface imperfections like dents and pores scatter light, hiding scratches beneath the finish.
- Incomplete bonding or uneven coats cause scratches to reemerge after finishing.
- Proper surface preparation and multiple coats ensure better adhesion and conceal scratches.
- Surface flaws absorb and diffuse light, masking scratches in the final appearance.
- Inadequate curing or application techniques can create surface irregularities that make scratches visible again.
Tried & True Original Wood Finish, 8 oz. – Linseed Oil & Beeswax Blend, Ideal for All Woodwork, Long-Lasting Durability, Food Safe Sealer, Non-Toxic Wood Finish
SUPERIOR BLEND OF LINSEED OIL & BEESWAX: Tried and True wood finish is a superior blend of linseed…
As an affiliate, we earn on qualifying purchases.
As an affiliate, we earn on qualifying purchases.
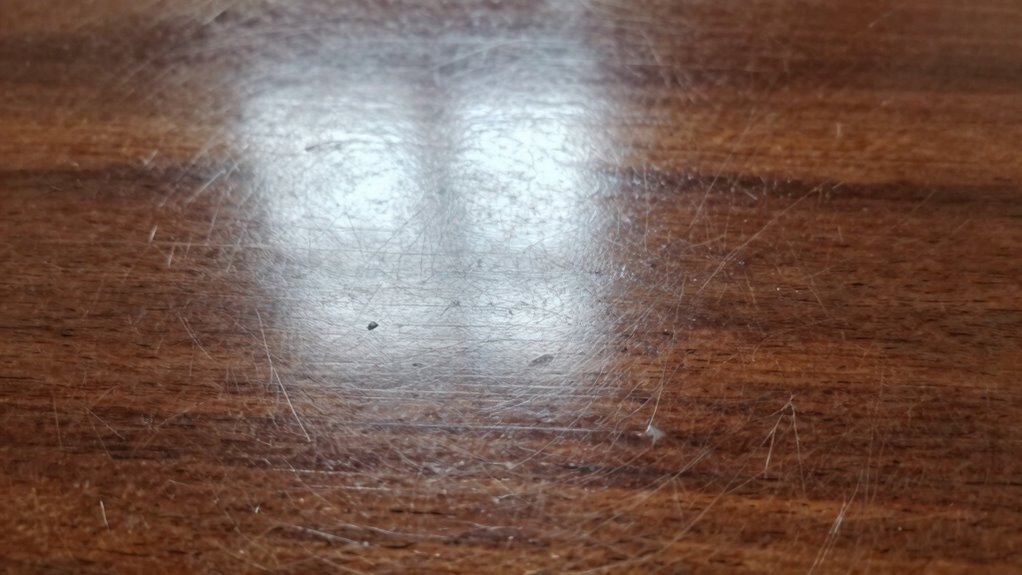
Why Do Scratches Reappear After Finishing?
Scratches can reappear after finishing because the coating or finish often doesn’t fully penetrate or bond with the underlying surface. This incomplete bonding affects the surface gloss, causing irregularities that influence how light reflects off the surface. When light hits these imperfect areas, it creates visible reflections that emphasize scratches, making them more noticeable. Even if the finish appears smooth, underlying scratches may still be present beneath the surface. As the finish hardens and cures, it may settle unevenly over these imperfections, causing them to reemerge later. To prevent this, proper surface preparation and multiple coats of finish are essential. Achieving a consistent surface gloss ensures light reflection remains even, hiding scratches more effectively and maintaining the surface’s pristine appearance. Additionally, energy-efficient coatings can enhance durability and reduce the likelihood of scratches reappearing over time.

Pneumatic Mini Orbital Sander Grinder Polisher Kit, 2 inch Air Right Angle Surface Prep Tool with 41pcs Roll Lock Discs
Ideal for sanding small areas and paint repair, auto body work
As an affiliate, we earn on qualifying purchases.
As an affiliate, we earn on qualifying purchases.
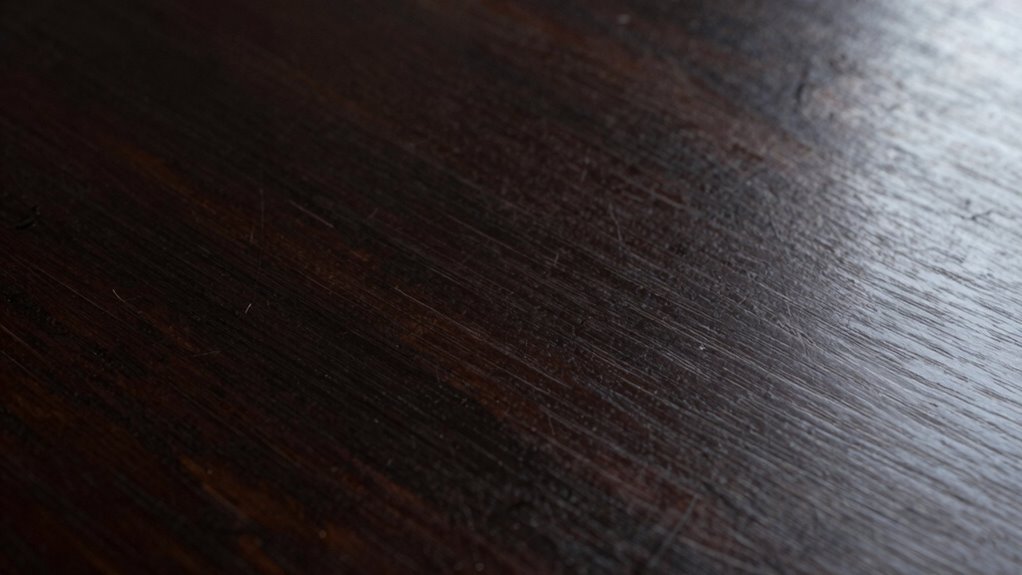
How Surface Imperfections Conceal Scratches Beneath the Finish
Surface imperfections like dents, pores, and uneven textures can effectively hide scratches beneath the finish by disrupting the smooth reflection of light. These flaws break up the surface gloss, making scratches less visible as they don’t reflect light uniformly. When light hits a perfectly smooth surface, scratches stand out because they scatter light differently. However, with surface imperfections, the uneven texture diffuses the light, camouflaging scratches beneath the finish. This is why scratches often seem to vanish at first glance, only to reappear later. Additionally, these imperfections are common in coating processes and can intentionally or unintentionally obscure surface flaws. Dents create small shadows that mask scratches, pores scatter light, reducing glare, and uneven textures break up surface gloss. Variations in finish cause inconsistent light reflection, and imperfections absorb and diffuse light, hiding scratches.

Minwax 233334444 Polycrylic Protective Wood Finish, Clear Satin, ½ Pint
PROTECT WOOD SURFACES – Minwax Polycrylic Protective Finish protects and adds beauty to your interior wood projects, including…
As an affiliate, we earn on qualifying purchases.
As an affiliate, we earn on qualifying purchases.
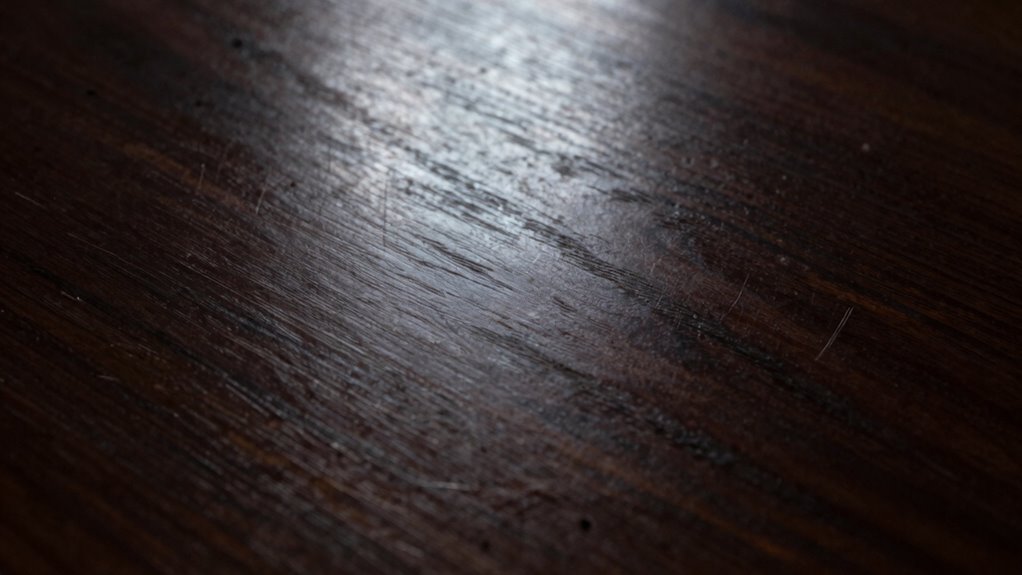
Can Finishing and Curing Hide or Reveal Scratches?

Finishing and curing processes can considerably influence whether scratches become visible or remain hidden. The right finishing techniques, like applying a thick or uneven coat, can mask minor scratches, making them less noticeable. Conversely, poor application might highlight imperfections, especially if the finish cracks or pulls away. Curing processes also play a role; proper curing ensures a smooth, durable surface that conceals scratches effectively. Rushing curing or using incorrect methods can cause surface imperfections to stand out after the finish dries. Additionally, understanding how surface preparation impacts adhesion and appearance helps in achieving a flawless finish. Ultimately, well-executed finishing techniques combined with proper curing can hide scratches, but inadequate methods may reveal or even worsen them. Understanding how these processes work helps you choose the right approach to keep your surface looking flawless.

BYQXG UV Light Curing Lamp for Car Paint Repair & Touch Up, Fast-Dry Spray Paint Curing with Ultraviolet Light, Portable UV Paint Dryer for Automotive,Resin & Crafts
**Efficient Repair Solution:**The UV Curing Light for automotive body repair. This professional-grade UV light is engineered for quick…
As an affiliate, we earn on qualifying purchases.
As an affiliate, we earn on qualifying purchases.
How to Detect Hidden Scratches Before You Finish
Before applying your finish, it’s essential to thoroughly inspect the work for hidden scratches that might not be immediately visible. Proper surface prep helps reveal imperfections, so take your time. Use raking light at a shallow angle to highlight surface flaws. Consider gently running your fingertips to feel for roughness or irregularities. A magnifying glass can help spot fine scratches or dents. Light sanding with fine grit smooths minor scratches, making them easier to detect. Choose a finish that enhances surface flaws if you want to identify them early—gloss or semi-gloss finishes reveal scratches more clearly. Always examine your work under different lighting conditions and angles to ensure no blemish escapes your notice before sealing the surface. Additionally, understanding the surface material can influence how visible scratches may become after finishing.
Tips to Prevent Scratches From Reappearing Later

After inspecting and preparing your surface, taking steps to prevent scratches from reappearing later is key to achieving a smooth, flawless finish. Start with proper surface preparation by thoroughly sanding and cleaning to remove dust and debris, which can cause scratches to re-emerge. Use appropriate finishing techniques, like applying thin coats and allowing sufficient drying time, to reduce surface tension that might reveal scratches later. Consider using protective topcoats or sealants designed to fill in minor imperfections and shield the surface from damage. Handling tools carefully and avoiding excessive pressure during application also minimizes risk. Additionally, understanding surface finishes and their properties can help in selecting the most suitable protective measures for your project. By combining diligent surface preparation with effective finishing techniques, you create a resilient surface less prone to scratches showing up after the finish has dried.
Frequently Asked Questions
Are Certain Wood Types More Prone to Scratch Visibility?
Yes, certain wood types are more prone to scratch visibility. Woods with a pronounced grain and high color contrast, like oak or cherry, make scratches stand out more. When the grain is more textured or the color varies markedly, scratches catch the eye easily, even after finishing. To hide scratches better, choose woods with a consistent grain and subtle color differences, making imperfections less noticeable.
How Do Environmental Factors Influence Scratch Reappearance?
Think of your wood surface as a story written in grain; environmental factors like humidity and temperature can cause the wood to expand and contract, making scratches reappear despite a good finish sheen. Changes in moisture can highlight imperfections, especially if the grain is prominent. To minimize this, maintain stable conditions and choose finishes that enhance the wood grain’s natural beauty, helping scratches stay hidden in plain sight.
Can Specific Finishing Products Prevent Hidden Scratches?
Yes, using specific finishing products can help prevent hidden scratches from reappearing. Look for finishing products compatible with your surface, especially those with scratch-resistant coatings. These coatings create a durable barrier that guards against minor abrasions and scratches. Applying the right scratch-resistant coating ensures your finish remains smooth and intact over time, reducing the chances of scratches hiding in plain sight and reemerging later.
What Tools Are Best for Detecting Subtle Surface Imperfections?
Think of your tools as a detective’s magnifying glass, revealing hidden clues. Use inspection techniques like raking light and gloss meters to spot subtle imperfections, and choose lighting solutions that highlight surface variations. A good LED flashlight or a focused, adjustable light source helps uncover scratches or defects invisible to the naked eye. These tools act as your allies, exposing flaws lurking beneath the surface, so your finish stays flawless.
How Long Should I Wait Before Applying a Topcoat?
You should wait at least 24 to 48 hours before applying a topcoat, ensuring the finish has fully dried and cured. During this time, the wood grain settles, and the finish thickens uniformly. Rushing this step can trap moisture or dust, causing imperfections to reappear. Patience guarantees a smooth, durable surface, hiding any scratches or flaws that might otherwise hide in plain sight beneath the final layer.
Conclusion
Think of your finish as a delicate glass window—sometimes, tiny cracks hide behind the clear surface, only to reappear with time. By understanding how scratches conceal themselves and taking proper precautions, you’re like a vigilant gardener tending to every leaf and stem. With patience and care, you can keep your project shining brightly, revealing the true beauty beneath. Remember, a well-maintained finish is a mirror reflecting your craftsmanship, not a window hiding flaws.