
To fix brush marks in polyurea or polyurethane, wait until the coating fully cures before sanding or recoating. You’ll know it’s ready when the surface feels hard, non-tacky, and shows no gloss or stickiness. Proper timing guarantees the finish smooths out naturally and bonds well. Rushing this step can embed imperfections or cause adhesion problems. Keep in mind, understanding your coating’s curing process helps eliminate those unwanted brush marks—more tips are just ahead.
Key Takeaways
- Ensure the polyurethane is fully cured and non-tacky before attempting to fix brush marks.
- Lightly sand the surface to smooth out imperfections, then reapply a thin, even coat.
- Confirm environmental conditions are ideal—warm, dry, and dust-free—to promote proper curing.
- Use high-quality brushes or rollers and maintain proper application techniques for even coverage.
- Patience is key; wait for full curing and surface hardness before reworking to prevent further imperfections.

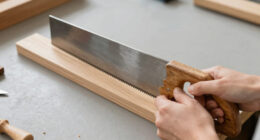
Minwax 427350008 Polyurethane 2" Trim-Black China Bristle Blend Brush/Roller/Applicator, 2 Inch, White
Designed with natural bristle for a smooth, glass like finish
As an affiliate, we earn on qualifying purchases.
As an affiliate, we earn on qualifying purchases.
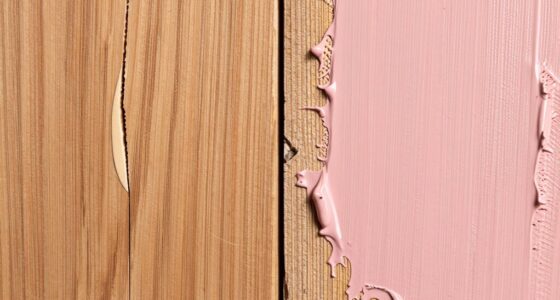
Why Brush Marks Appear in Polyurea and Polyurethane Coatings
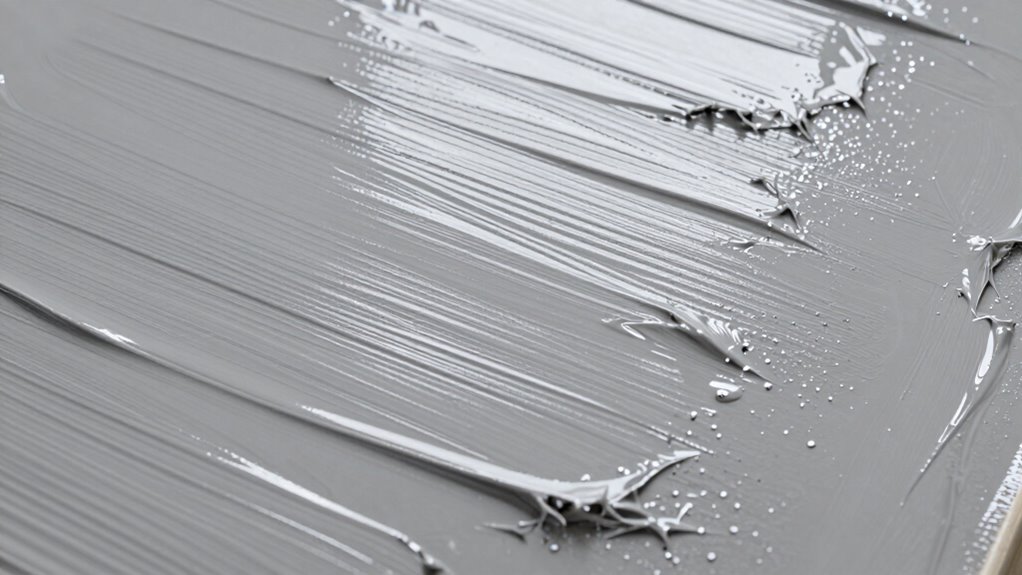
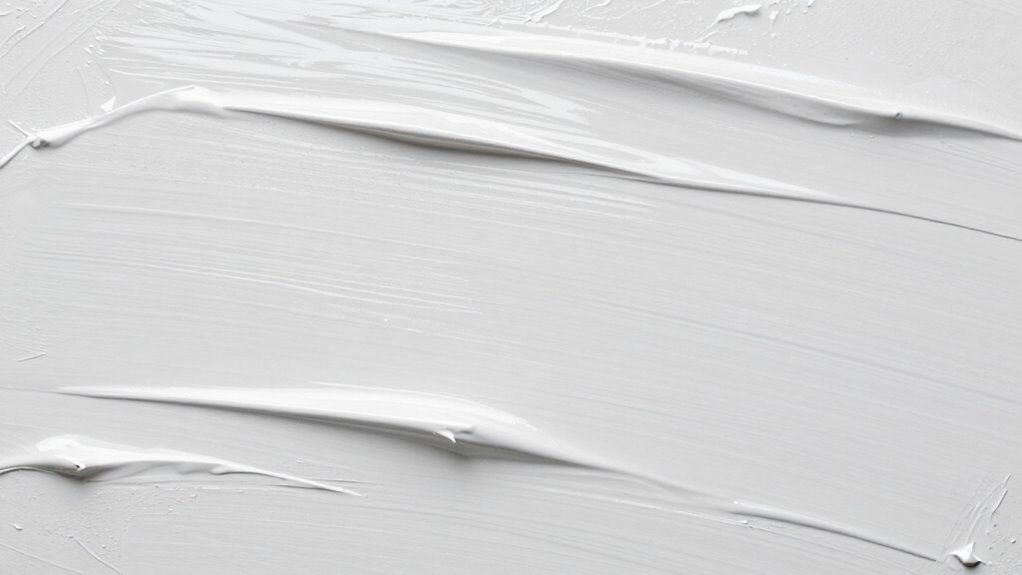
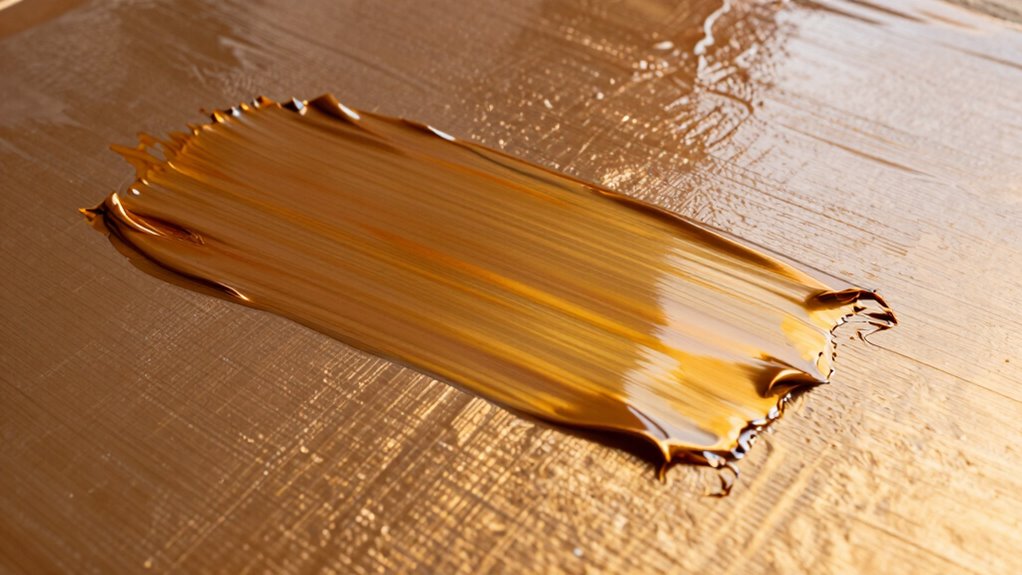
Brush marks often appear in polyurea and polyurethane coatings because of how quickly these materials cure and their low viscosity. During application, improper techniques can lead to visible streaks, especially if you don’t work swiftly or evenly. As the coating progresses through curing stages, the surface becomes less receptive to smoothing out imperfections. If you apply too much pressure or go over the same area repeatedly, you risk creating uneven texture and brush marks. To minimize these issues, you should use proper application techniques, such as maintaining a consistent speed and applying thin coats. Understanding how the curing stages influence surface flow helps you time your work better, ensuring a smoother, more professional finish without brush marks. Additionally, application timing plays a crucial role in avoiding marks, as working within the ideal window allows the coating to level naturally. Recognizing the curing process and its impact on surface flow allows applicators to better anticipate how the coating will behave during drying. Proper surface preparation and environmental conditions also contribute to achieving a high-quality result.

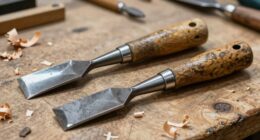
Romeda 8-Pack Sandpaper Block, 120 Grits Washable and Reusable Handmade Sanding Sponge, Drywall Sandpaper Blocks for Wooden Drywall Sheetrock and Metal Glazing
【VALUE PACK】 Each set contains 8 PCS 120 grit sandpaper block, each measuring 3.9 x 2.76 x 0.9…
As an affiliate, we earn on qualifying purchases.
As an affiliate, we earn on qualifying purchases.
Understanding How the Curing Process Affects Your Finish

The curing process plays a crucial role in determining the final appearance of your polyurea or polyurethane coating. During curing, chemical reactions solidify the coating, impacting surface adhesion and smoothness. Proper curing ensures the coating bonds well to the substrate and minimizes brush marks. If curing occurs too quickly or unevenly, it can lead to surface imperfections. Factors like temperature and humidity influence curing time and quality. Here’s a quick look at how curing affects your finish:
| Factor | Effect on Finish |
|---|---|
| Temperature | Accelerates or slows curing, affecting surface adhesion |
| Humidity | Excess moisture can hinder chemical reactions, causing surface defects |
| Time | Insufficient or excessive curing impacts smoothness and durability |
| Application Thickness | Thicker layers may cure unevenly, creating brush marks |
| Substrate Preparation | Proper prep promotes uniform curing and finish quality |
Additionally, understanding the curing process helps in choosing the right conditions to prevent brush marks and achieve a smooth, durable finish. Being aware of the curing conditions can help you fine-tune your process for optimal results. For example, monitoring temperature and humidity levels during application can significantly improve the final appearance. Proper curing time is essential to avoid surface defects and ensure a professional finish. Recognizing how curing speed varies with environmental factors can help you better control the process.
cure time thermometer for coatings
As an affiliate, we earn on qualifying purchases.
As an affiliate, we earn on qualifying purchases.
When Is the Right Time to Fix Brush Marks in Polyurea?

You should check if the surface feels dry to the touch before attempting a fix. Keep an eye on the film thickness to avoid sealing in imperfections, and make sure enough cure time has passed. These signs help you determine the best moment to address brush marks effectively. Additionally, using monitoring techniques tools can help monitor curing progress and ensure optimal timing for repairs. Recognizing the appropriate curing stage can prevent rework and ensure a smooth finish. Incorporating somatic awareness can also help you develop a better sense of when the material has reached the ideal stage for correction. Paying attention to visual cues can further assist in assessing when the coating is ready for correction without risking damage.
Recognize Surface Dryness
Understanding when the surface is dry is essential for fixing brush marks in polyurea. You need to assess the surface texture and ensure the coating has cured enough to accept a touch without smudging or damage. A properly dry surface indicates that the application temperature has been maintained, allowing the film to develop the right hardness. Rushing this step can cause imperfections or damage to the finish. To recognize dryness, look for a uniform, matte appearance and a lack of tackiness. Touch the surface lightly—if it feels firm and slightly resistive, it’s ready for correction. Keep in mind, environmental factors like humidity and temperature influence surface dryness. Being attentive to these signs helps you time your fix perfectly, ensuring a smooth, professional finish. Additionally, understanding surface dryness and how it affects the curing process can prevent rework and improve the overall quality of your application. Monitoring curing times and conditions can further enhance your results and avoid premature corrections. Properly gauging curing progress ensures optimal adhesion and durability of the coating.
Monitor Film Thickness
Monitoring the film thickness of your polyurea coating is key to knowing when to fix brush marks. If the film is too thick, attempting repairs can damage the surface or compromise durability. Ideally, you want to check the film thickness during the curing timeline to ensure it’s within the excellent range. Use a coating thickness gauge for accurate readings. Keep in mind that the film should be sufficiently cured but not fully hardened before repairing. Proper curing stages are essential to achieving the best results and maintaining coating integrity. Additionally, understanding curing times helps to prevent premature or delayed fixes, ensuring optimal adhesion and finish quality. Here’s a quick reference:
| Stage | Recommended Action |
|---|---|
| Early curing | Monitor film thickness; fix if uneven |
| Mid-curing | Ensure film is within proper thickness |
| Fully cured | Repair if necessary, after complete curing |
| Post-application | Confirm thickness before final fixes |
Assess Cure Time
Timing is crucial when fixing brush marks in polyurea; addressing them too early can disrupt the curing process, while waiting too long can make repairs ineffective. You need to assess the cure time carefully, checking for surface dryness before proceeding. When the polyurea feels tacky or wet, it’s too soon to fix brush marks. Wait until the surface is dry and fully cured, which ensures the repair adheres properly. Rushing this step can cause the repair to lift or peel. Keep in mind:
- Surface dryness indicates readiness for touch-up
- Curing times vary based on temperature and humidity
- Over- or under-cure affects repair quality
- Patience ensures a seamless finish and durable results
Additionally, understanding the proper curing conditions can help you better judge the optimal timing for repairs. Being aware of curing environment factors helps prevent premature repairs and ensures long-lasting results.

Minwax Fast Drying Polyurethane Protective Wood Finish, Clear Semi-Gloss, 1 Quart
PROTECT WOOD SURFACES – Minwax Polyurethane Wood Finish protects interior projects like woodwork, furniture, floors and cabinets. The…
As an affiliate, we earn on qualifying purchases.
As an affiliate, we earn on qualifying purchases.
How to Tell When Your Polyurea Is Cured Enough to Sand or Recoat
You’ll know your polyurea is ready for sanding or recoating when it’s no longer tacky to the touch and has developed a solid, uniform surface. The application temperature plays a key role—if it was applied within the recommended range, curing will proceed properly. Using curing accelerators can shorten the curing time, but it’s crucial to verify the coating feels firm before proceeding. Check for a consistent appearance without soft spots or glossy patches, indicating full cure. Rely on your observation of surface hardness rather than just time elapsed. If in doubt, gently test a small area for resistance. Proper curing ensures your next coat bonds well and prevents brush marks or imperfections. Patience and attention to these signs will give you the best results.
Step-by-Step: Fixing Brush Marks by Timing Your Recoat or Smoothing

Once your polyurea has fully cured and no longer feels tacky, you can address brush marks effectively. Timing your recoat or smoothing depends on understanding application techniques and environmental conditions. To fix brush marks, wait until the coating reaches the right stage of curing—not too wet, not fully hardened. Then, lightly sand the area to smooth out imperfections, or reapply a thin coat if needed. Proper timing ensures a flawless finish without disturbing the underlying layer. Recognizing the ideal curing stage is crucial for successful recoat, as it ensures the coating has reached the optimal curing stage for bonding new layers. Using a suitable sanding technique helps prevent damaging the coating while smoothing out imperfections. Use gentle sanding for minor imperfections, and apply additional coats at the correct curing point for maximum results. Additionally, monitoring paint viscosity and environmental factors can help determine the right moment for recoat, preventing issues like brush marks or uneven finishes. Understanding application techniques can also significantly improve the final appearance and durability of your coating.
Common Mistakes That Delay Proper Curing and Cause Brush Marks
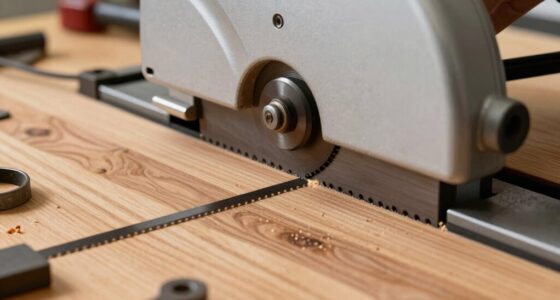
To avoid brush marks, you need to get your surface properly prepared first. Skipping or rushing this step can cause the finish to cure unevenly and lead to visible flaws. Additionally, incorrect thinning techniques and poor timing between coats often make brush marks more noticeable, so paying attention to these details is essential.
Inadequate Surface Prep
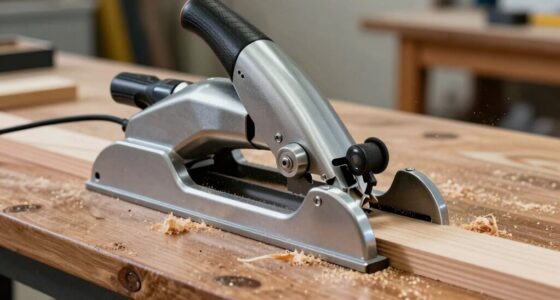
Inadequate surface preparation is a common mistake that can lead to brush marks and extended curing times. When you skip proper surface prep, the coating won’t adhere well, increasing the risk of uneven finishes. Poor surface prep creates a rough or dirty surface, which impairs coating adhesion and causes visible brush marks. To avoid these issues, ensure you thoroughly clean, sand, and smooth the surface before applying polyurethane. Proper surface prep promotes better coating adhesion and a smoother finish. Remember, neglecting this step can result in prolonged curing and the need for additional coats. Taking the time to prepare your surface properly ensures a flawless, durable finish and minimizes the need for touch-ups later.
- Dirt, grease, or dust on the surface
- Rough or uneven sanding
- Using incompatible cleaning agents
- Failing to remove old finishes
Incorrect Thinning Techniques
Incorrect thinning techniques are a common mistake that can cause brush marks and delay proper curing of polyurethane. When you don’t use the right solvent ratios, the finish becomes too thick or uneven, leading to visible streaks. Proper thinning involves balancing solvent ratios to ensure smooth flow and leveling.
| Too Much Solvent | Too Little Solvent |
|---|---|
| Runs and drips | Thick, uneven coat |
| Long drying time | Poor leveling |
| Brush marks become prominent | Increased curing delay |
| Fewer brush marks | Increased brush streaks |
Focusing on correct thinning techniques and solvent ratios helps you achieve a flawless, brush mark-free finish. Avoid guessing—measure carefully and test small batches to perfect your approach.
Poor Application Timing
Applying polyurethane at the wrong time can markedly delay proper curing and cause brush marks to appear. If you apply too early or too late in the curing stages, your finish may look uneven and streaked. Proper application techniques depend on understanding these stages and timing your coats accordingly. Rushing the process or waiting too long can trap dust or cause the coating to dry improperly, leading to visible marks.
- Applying before the previous coat fully cures
- Waiting too long between coats
- Ignoring temperature and humidity conditions
- Not evaluating surface readiness before application
Tools and Tips for a Smooth, Brush Mark-Free Finish
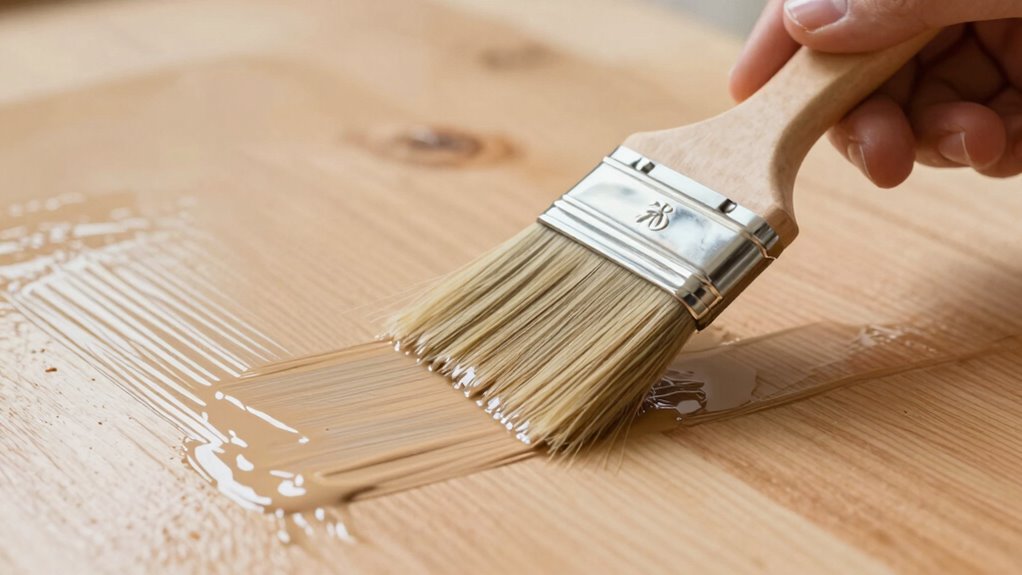
Achieving a smooth, brush mark-free finish starts with choosing the right tools and techniques. Use high-quality, synthetic bristle brushes or foam rollers designed for polyurethane to guarantee a smooth application. Proper application techniques involve applying thin, even coats and maintaining a wet edge to prevent streaks. Pay attention to curing variables like temperature and humidity, as these affect how the finish levels out. Work in a dust-free environment and avoid overworking the surface, which can cause brush marks or bubbles. Keep your tools clean and re-wet your brush frequently to prevent dry strokes. By focusing on precise application techniques and controlling curing conditions, you’ll minimize imperfections and achieve a sleek, professional-looking finish without brush marks.
Troubleshooting Persistent Brush Marks: Is Timing the Only Issue?
Even if you’ve mastered the right tools and techniques, persistent brush marks can still appear after your first coats of polyurethane. While timing plays a key role, other factors might be at fault. Poor application techniques, such as excessive brushing or uneven strokes, can leave marks regardless of timing. Environmental conditions like temperature, humidity, and airflow influence how the finish levels out, potentially causing brush marks to linger. To troubleshoot effectively, consider these points:
Even expert techniques can leave brush marks if environmental and application factors aren’t optimal.
- Guarantee your application techniques promote smooth, even coats
- Maintain ideal environmental conditions for drying and curing
- Use proper brush handling to avoid overworking the polyurethane
- Adjust your timing based on how quickly the finish flashes and levels out
Addressing these factors helps eliminate persistent marks beyond just timing adjustments.
Best Practices to Prevent Brush Marks in Future Coatings

To prevent brush marks in future coatings, it’s essential to adopt proper application techniques and prepare your workspace. Use smooth, even strokes and avoid over-brushing, which can create uneven layers. Maintaining a consistent application technique ensures a uniform finish. Environmental factors also play a crucial role; work in a dust-free, well-ventilated area with stable temperature and humidity levels. High humidity or temperature fluctuations can cause the coating to dry unevenly, increasing the risk of brush marks. Additionally, make sure your tools are clean and in good condition to prevent debris from marring the surface. Proper preparation and mindful application help achieve a smooth, professional-looking finish and reduce the need for corrective fixes later.
FAQs: How Long Should You Wait Before Sanding or Recoating Polyurea?

Understanding the ideal waiting times before sanding or recoating polyurea is essential for a durable, professional finish. Usually, it’s best to wait at least 24 hours, but environmental conditions and application techniques considerably influence curing times. Warmer, well-ventilated areas speed up curing, while humidity and cold slow it down. Rushing the process can lead to adhesion issues or surface imperfections. To determine readiness, check for a fully cured, non-tacky surface that’s hard to the touch. Keep in mind:
- Proper environmental conditions accelerate curing times
- Application techniques influence drying and curing consistency
- Waiting too long may cause dust or debris to settle on the surface
- Testing the surface helps confirm if it’s ready for sanding or recoating
Patience ensures the best results and longevity.
Frequently Asked Questions
Can Environmental Conditions Influence Brush Mark Formation in Polyurea?
Yes, environmental conditions can influence brush mark formation in polyurea. High humidity effects can cause uneven curing, leading to visible brush marks. Surface contamination from dust or oils also worsens the finish, as it prevents proper adhesion and smooth application. To minimize these issues, guarantee a controlled environment with low humidity and a clean surface before applying polyurea, helping you achieve a smoother, more professional-looking finish.
Are There Specific Brands or Types of Brushes Better for Smooth Finishes?
Imagine your brush gliding smoothly over the surface, like a painter’s hand in perfect harmony. For a flawless finish, choose high-quality brush types, such as angular or synthetic brushes, known for their smooth application. Brands like Purdy, Wooster, and Corona often get recommended for polyurea projects because they minimize brush marks. When you pick the right brush type and trusted brand, you’re more likely to achieve that sleek, professional look you desire.
How Does Temperature Affect the Curing Time and Brush Mark Appearance?
Temperature effects considerably impact curing timing and brush mark appearance. When it’s warmer, your poly cures faster, which can reduce the chance of brush marks but may cause uneven drying if you’re not careful. Cooler temperatures slow curing, making brush marks more noticeable and increasing drying time. To get a smooth finish, maintain a consistent, moderate temperature, and adjust your application timing accordingly to prevent visible brush marks.
What Are Alternative Methods to Fix Brush Marks Without Re-Coating?
Sure, fixing brush marks without re-coating is easy—just sand them out with fine grit and smooth the surface. Ironically, this often feels like a magic trick, but it’s just careful sanding and blending. You can also try additive solutions like flow enhancers or leveling agents to reduce marks in the first place. These techniques give you a smoother finish without the hassle of starting over completely.
Does Applying a Topcoat Hide or Exacerbate Existing Brush Marks?
Applying a topcoat can help with topcoat concealment, often softening or hiding existing brush marks if done carefully. It enhances the finish, giving it a smoother, more even appearance. However, if applied too thickly or unevenly, it might exacerbate the problem by highlighting imperfections. To achieve the best finish enhancement, use a high-quality brush or sprayer and apply thin, even coats, allowing proper drying time.
Conclusion
Mastering the timing to fix brush marks in polyurea isn’t just about patience; it’s about understanding the dance between curing and recoating. When you strike the right balance, your finish reflects craftsmanship, not chaos. Think of it as a delicate symphony—each note (or coat) must come in at just the right moment. With practice and attention, you’ll turn imperfect strokes into a masterpiece, proving that patience truly is the brush that paints perfection.