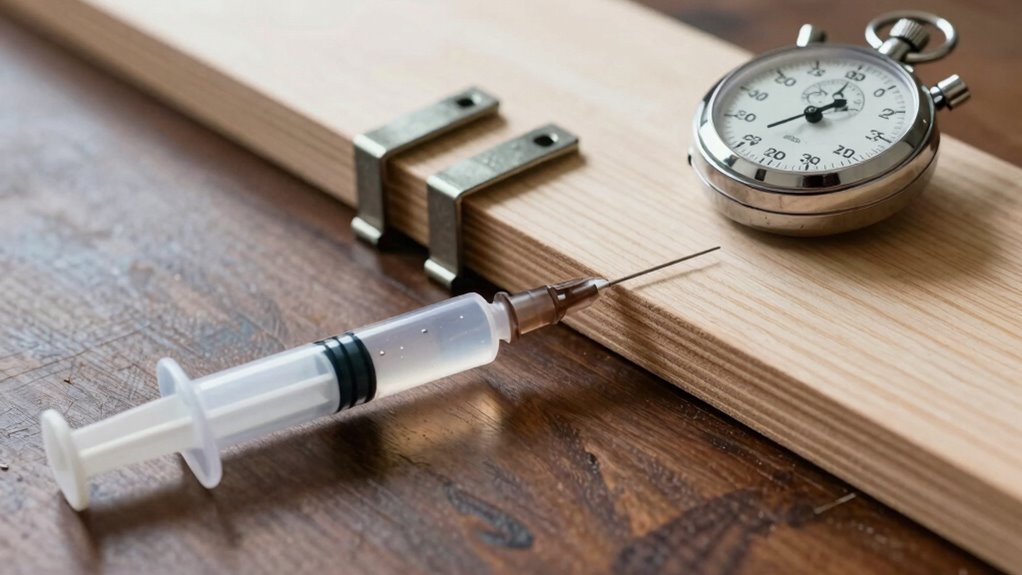
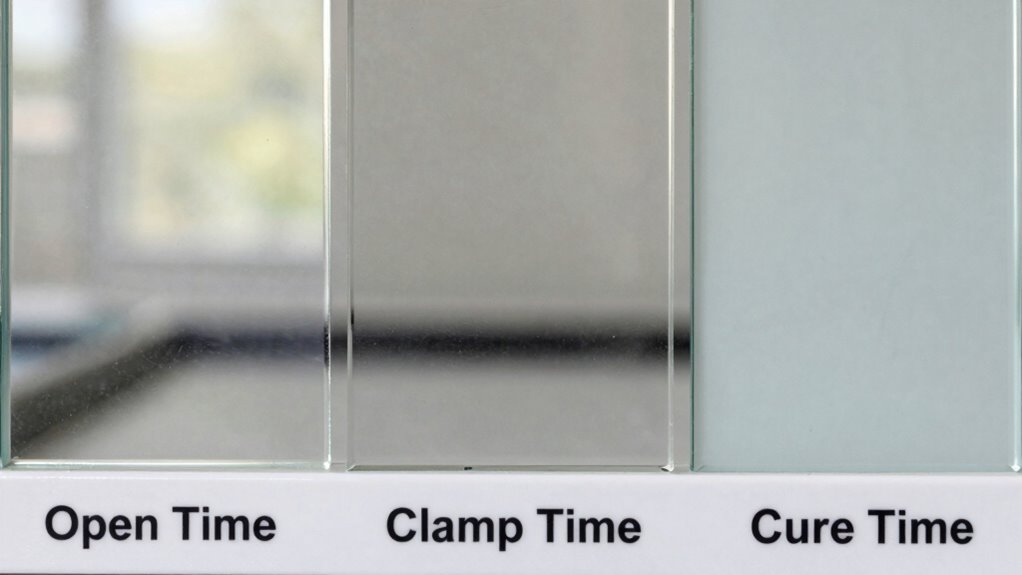
Understanding the differences between glue open time, clamp time, and cure time is key to strong, durable bonds. Open time is how long you have to work with the adhesive after applying it. Clamp time is how long you need to hold things together to start the bond. Cure time is how long it takes for the adhesive to fully develop maximum strength. Mastering these timings guarantees your project holds well—if you keep going, more details will help you get it just right.
Key Takeaways
- Open time is how long adhesive remains workable after application; clamp time is how long materials must be held together; cure time is when the adhesive reaches maximum strength.
- Properly following each timing ensures strong, durable joints; rushing or skipping stages compromises bond integrity.
- Environmental factors like temperature and humidity significantly influence open, clamp, and cure times.
- Always refer to manufacturer instructions for specific open, clamp, and cure durations; avoid guesswork for best results.
- Proper timing prevents weak bonds, joint failure, and rework, ensuring reliable adhesive performance.

Titebond III Ultimate Wood Glue, 16-Ounces #1414
Provide a much stronger bond than the wood itself
As an affiliate, we earn on qualifying purchases.
As an affiliate, we earn on qualifying purchases.
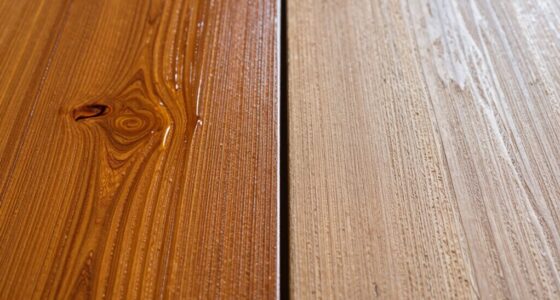
What Are Glue Open Time, Clamp Time, and Cure Time?
Understanding the differences between glue open time, clamp time, and cure time is essential for achieving strong, durable bonds. These terms relate to adhesive chemistry and how you apply bonding techniques effectively. Glue open time is the period during which the adhesive remains workable after application, giving you time to position parts correctly. Clamp time is how long you need to hold the materials together for the adhesive to start forming a bond. Cure time is the total period required for the adhesive to reach maximum strength and full durability. Knowing these timings helps you plan your work, avoid premature movement, and guarantee ideal adhesion. Proper timing in adhesive application is crucial for ensuring that your bonding process results in reliable, long-lasting joints. Additionally, understanding the material compatibility and environmental conditions can further optimize your bonding outcomes. Being aware of adhesive properties such as viscosity and setting mechanisms can also influence your choice of adhesive and application process.

Loctite PL Premium Polyurethane Construction Adhesive, 10 fl oz Cartridge, 1 Pack – Versatile Construction Glue for Wood, Concrete, Stone, Metal & More
All Purpose: One component polyurethane-based adhesive that covers a wide variety of projects and bonds to most materials…
As an affiliate, we earn on qualifying purchases.
As an affiliate, we earn on qualifying purchases.
Why Timing Matters: How Open, Clamp, and Cure Times Affect Joint Strength

Timing plays a key role in guaranteeing your adhesive bonds are strong and durable. Proper open, clamp, and cure times allow the adhesive chemistry to develop fully, creating a solid, lasting joint. If you rush through these stages, the bond may be weak or incomplete. Environmental conditions like temperature and humidity directly influence these times, speeding up or slowing down the curing process. For example, high humidity can extend cure times, while cold temperatures slow adhesive chemistry. Ignoring proper timing risks compromised joint strength, which can lead to failure under stress. Understanding how each phase affects the chemical reactions and how external factors impact them helps you optimize your process. Understanding adhesive chemistry ensures you can better anticipate how environmental factors influence curing. Ultimately, precise timing ensures the adhesive performs as intended, providing a reliable, durable bond.

Bob Smith Industries BSI-205 Slow-Cure™ Epoxy – 4.5 oz. Combined, Clear – 30-Minute Working Time Adhesive for Wood, Fiberglass, Metal, Crafts & Structural Repairs
Extended Working Time: SLOW-CURE epoxy provides a generous 30-minute working window, allowing for careful positioning, alignment, and larger…
As an affiliate, we earn on qualifying purchases.
As an affiliate, we earn on qualifying purchases.
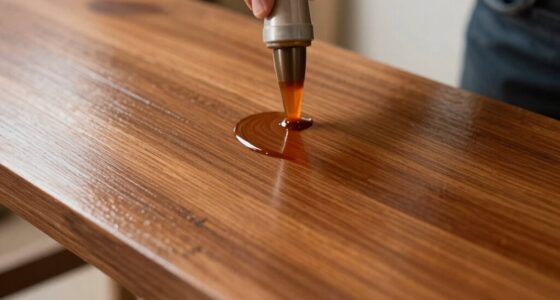
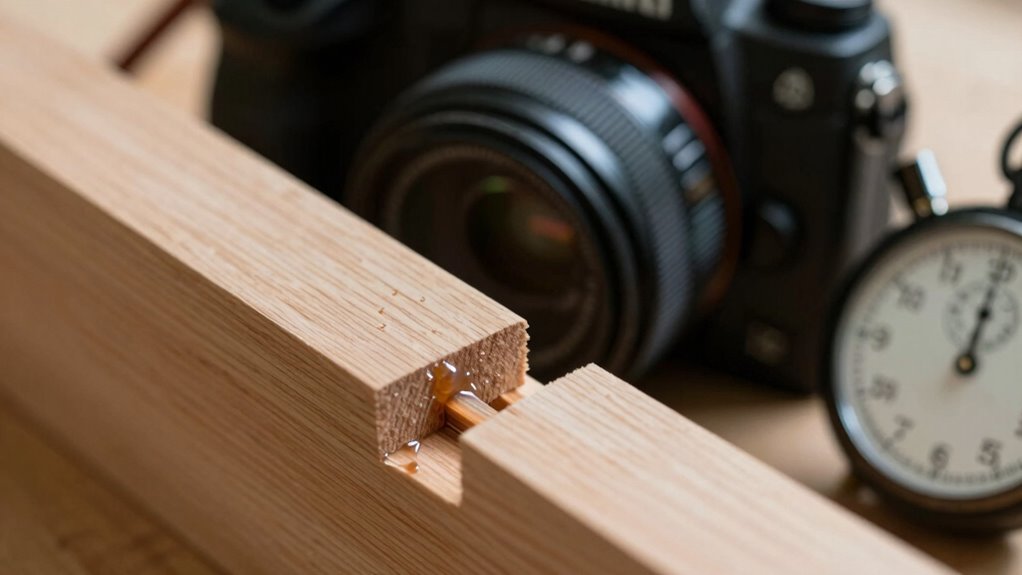
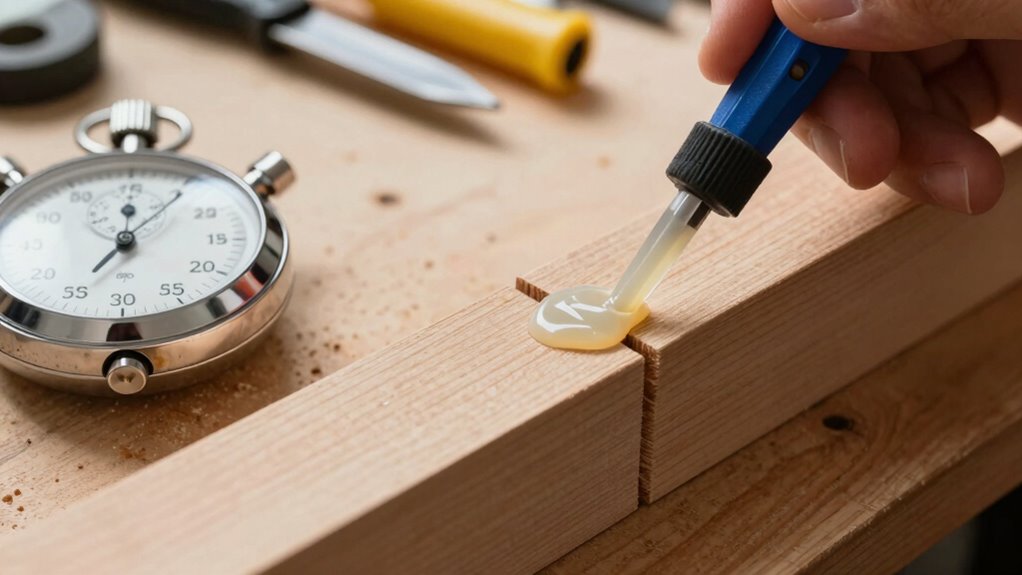
How to Determine the Right Open Time for Your Glue
Determining the right open time for your glue is essential for ensuring a strong, durable bond. To do this, you need to comprehend the adhesive properties and how environmental factors influence them. Start by reviewing the manufacturer’s instructions, which specify the ideal open time based on the adhesive’s formulation. Consider these factors:
- Temperature: Higher temps can shorten open time, while cooler temps extend it
- Humidity: Increased moisture may affect adhesion and open time
- Substrate porosity: Porous surfaces might require longer open times for proper bonding
- Clamping readiness: Ensure materials are positioned before open time expires
- Adhesive formulations can vary significantly, so understanding the specific type you’re using will help you better predict open time and optimal bonding conditions. Additionally, being aware of bond strength characteristics can guide you in adjusting your application process for different adhesives and surfaces. Recognizing the curing process is also crucial, as it impacts the final bond durability and strength over time. Knowing the application techniques can further improve the effectiveness of your adhesive bonds.

Aleene's Quick Dry Tacky Glue for Crafts in Always Ready Bottle, Nontoxic, Dries Extra Fast and Clear, 4 fl oz
4 fl. oz. Always Ready Quick Dry Tacky Glue with inverted cap for instant use
As an affiliate, we earn on qualifying purchases.
As an affiliate, we earn on qualifying purchases.
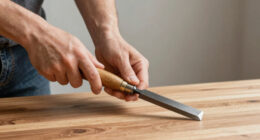
When and How to Clamp Your Projects for Maximum Strength
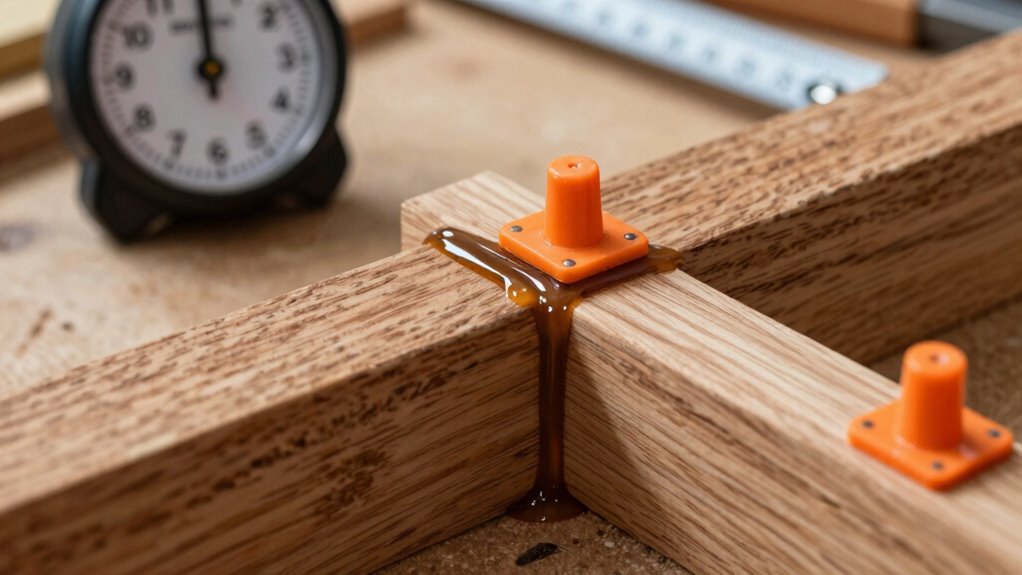
To get the strongest bond, you need to clamp your project at the right time and for the right duration. Knowing the ideal clamping period ensures your glue cures properly and maximizes adhesion. Proper clamping techniques help prevent weak spots and ensure even pressure across the joint. Using the correct clamp pressure prevents damaging the surfaces and promotes optimal curing conditions. Understanding the proper curing environment can also influence how long you should clamp, as temperature and humidity affect the adhesive’s performance. Additionally, being aware of dark psychology tactics can help you recognize manipulation attempts during collaborative projects, ensuring you maintain control over the process. Environmental factors such as temperature and humidity play a significant role in the curing process and should be monitored to achieve the best results. Let’s explore how to determine when and how long to clamp for the best results.
Optimal Clamping Duration
Achieving maximum bond strength requires clamping your project for the right amount of time. The ideal clamping duration depends on factors like adhesive flexibility and room temperature. Typically, you should clamp until the adhesive begins to set, often between 15-30 minutes. Ensuring enough pressure for a strong bond without squeezing out excess glue is crucial. Maintaining clamp pressure to prevent movement and gaps is also essential. Additionally, understanding sustainable weight loss can help in maintaining long-term project durability and health. Proper clamping techniques also contribute to Free Floating backyard transformation projects by ensuring structural integrity and longevity. For the best results, it’s important to follow manufacturer curing times, which can vary depending on the adhesive used. Knowing adhesive properties can help you determine the optimal curing process. Allowing the adhesive to cure fully, which varies by product but is often 24 hours for maximum strength, is the final step. To optimize your project results, considering thermal behavior and environmental conditions during curing can further enhance bond performance.
Timing for Maximum Strength
Timing your clamps correctly is essential for achieving maximum bond strength. You want to clamp during the adhesive’s open time, before it starts to set. Be aware of the adhesive’s shelf life and storage conditions, as expired or improperly stored glue may cure too quickly or weaken bonds. For maximum strength, apply clamps immediately after spreading the adhesive and maintain steady pressure for the recommended clamp time. Avoid over-clamping, which can squeeze out too much adhesive, or under-clamping, which leaves weak spots. Keep in mind that some adhesives require longer cure times for full strength, so don’t remove clamps prematurely. Proper timing ensures your project reaches its full potential, resulting in durable, reliable joints. Additionally, understanding the working time of your adhesive helps you plan your clamping process more effectively. Being familiar with initial set time can help prevent prematurely loosening clamps before the adhesive has developed sufficient tack. Recognizing the cure time is also important for scheduling follow-up steps or finishing work.
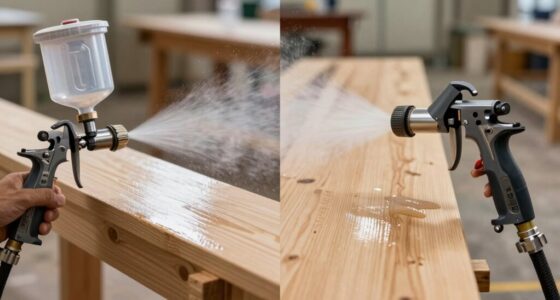
Factors That Affect Cure Time and How to Speed It Up
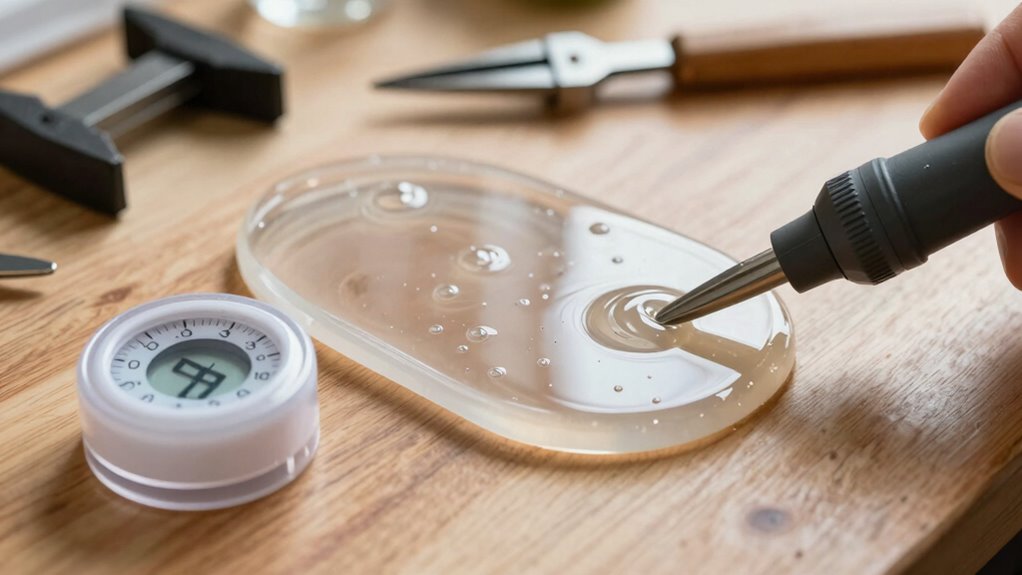
Several factors influence how quickly glue cures, and understanding these can help you speed up the process. Adhesive chemistry plays a key role, as different formulas have varying cure times based on their chemical composition. Environmental factors also markedly impact curing speed; temperature, humidity, and air circulation can either accelerate or hinder the process. To optimize cure time, consider:
- Keeping the workspace warm and dry
- Increasing airflow around the glued surfaces
- Using faster-curing adhesive formulations
- Applying thinner layers to reduce curing time
- Selecting appropriate adhesive types suited for your specific project or environment, especially those designed for optimal performance in various climates and conditions, ensuring reliable results.
Common Mistakes in Timing Your Gluing Process and How to Avoid Them
One common mistake is rushing to remove the clamps too soon, which can weaken the bond. Ignoring the recommended cure window also risks incomplete adhesion and reduced strength. To get the best results, you need to follow proper timing and avoid these pitfalls.
Rushing Clamp Removal
Rushing to remove the clamp too early is a common mistake that can undermine your project’s strength and durability. The curing process needs time, and prematurely removing the clamp weakens the bond. To avoid this, keep these points in mind:
- Wait until the recommended clamp time has fully elapsed before starting clamp removal.
- Avoid inspecting or adjusting the joint during the curing process, which can disturb the glue.
- Recognize that the initial set isn’t the same as full cure; don’t rush the process.
- Trust the curing timeline provided by the adhesive manufacturer to guarantee maximum adhesion.
Patience during clamp removal ensures a strong, durable bond. Proper timing during the curing process is vital to prevent weak spots and failures.
Ignoring Cure Windows
Ignoring the recommended cure windows can lead to weak joints and compromised adhesion. The cure window is the period during which the adhesive reaches ideal strength, and missing this window can prevent proper bonding. Rushing to handle or stress the glued parts before the open time or cure window ends weakens the bond and can cause joint failure. It’s tempting to think that you can skip waiting, but adhesive needs proper time to develop its full strength. Always follow the manufacturer’s guidelines for open time and cure window to guarantee the best results. If you ignore these critical timing parameters, you risk compromised durability and increased rework. Respect the cure window, allow the adhesive to fully cure, and your joints will be stronger and more reliable.
Frequently Asked Questions
How Do Different Materials Impact Open and Cure Times?
Different materials markedly impact open and cure times because of their material compatibility and adhesive properties. For example, porous materials like wood absorb adhesives faster, reducing open time, while non-porous surfaces like plastic may extend cure time. You should consider these factors to optimize bonding, as incompatible materials or those with poor adhesive properties can delay curing or weaken the bond, making it essential to select the right adhesive for your specific materials.
Can Temperature Fluctuations Alter Glue Open and Cure Durations?
Yes, temperature fluctuations can considerably alter glue open and cure durations. When temperatures aren’t stable, adhesives may dry faster or slower, impacting your project’s accuracy. Consistent temperature helps guarantee ideal open time, proper curing, and ultimately, adhesive longevity. To achieve reliable results, keep your workspace temperature steady, especially during critical bonding phases, so your adhesive performs as expected and lasts longer.
What Are the Safety Considerations During Clamp and Cure Times?
During clamp and cure times, safety protocols are vital because many glues emit fumes that can irritate eyes or respiratory systems. Over 60% of injuries in workshops involve improper handling of adhesives. Always wear personal protective equipment like gloves, goggles, and masks, and guarantee proper ventilation. Staying vigilant and following safety guidelines reduces health risks, making your workspace safer while ensuring strong, durable bonds.
Are There Quick-Setting Adhesives Suitable for Large Projects?
Yes, quick-setting adhesives are available for large projects, but you should consider their adhesive shelf life and storage requirements. These adhesives cure fast, saving time, but improper storage can diminish their effectiveness. Always follow manufacturer instructions, store adhesives in a cool, dry place, and check expiration dates. Using the right adhesive ensures strong bonds and reliable results, especially when working on bigger projects where timing and safety matter.
How Does Humidity Influence Glue Open and Cure Times?
Humidity effects can turn your project into a battle of the elements. When humidity rises, moisture impact accelerates cure times, making adhesives set faster than you expect, but it can also weaken bonds if not managed properly. Too much humidity may cause open time to shrink, leaving little margin for adjustments. Conversely, low humidity can extend cure times, giving you more working time but delaying final strength. Stay aware of humidity to get ideal results.
Conclusion
Understanding glue open time, clamp time, and cure time helps you achieve stronger, more durable joints. Did you know that improper timing can reduce adhesive strength by up to 50%? By paying attention to these vital stages, you guarantee your projects last. So, don’t guess—measure and follow recommended times. Mastering these details can save you time, money, and frustration, making every project a success you can be proud of.