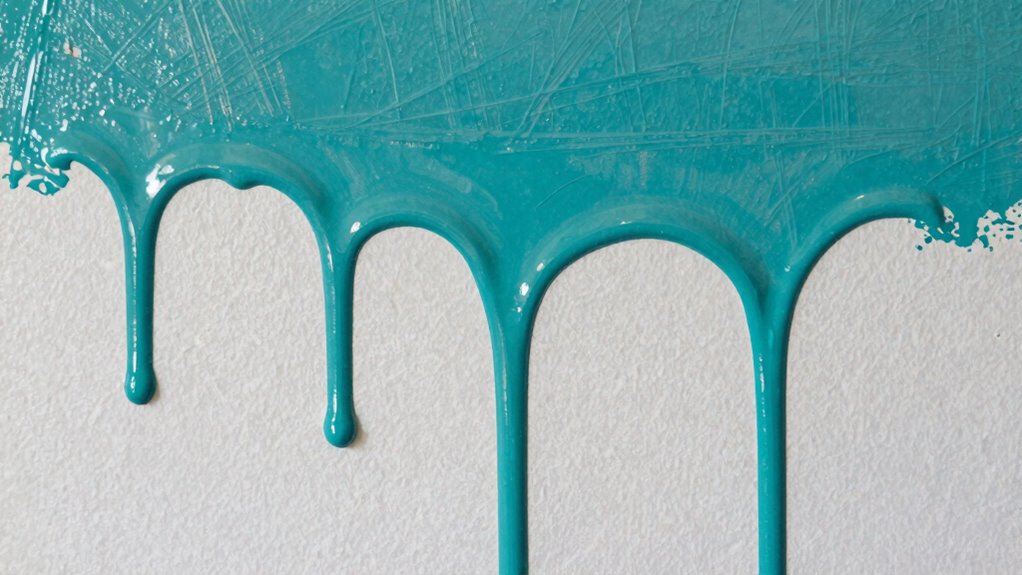
To fix paint runs and sags without stripping everything, gently address the flaw while the paint is still soft. Use a damp brush or cloth to softly blend or smear the excess, working carefully to avoid removing all your work. Applying a hair dryer or heat gun on low can soften the paint for easier smoothing. Light sanding with fine-grit paper can also help blend imperfections smoothly. Keep in mind, proper techniques will help you achieve a flawless finish—learn more to master the process.
Key Takeaways
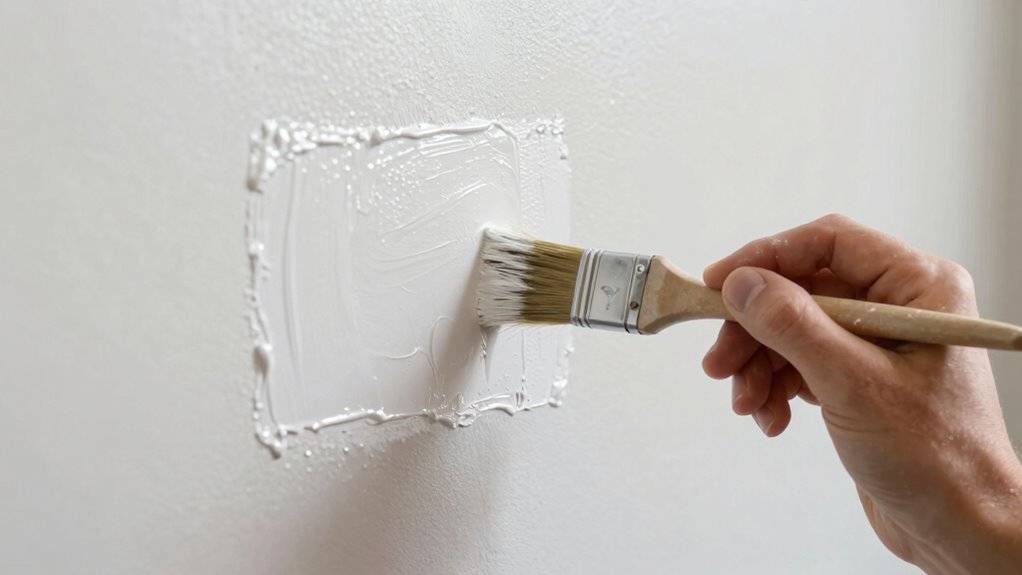
- Gently feather the edges of the run with a damp brush to blend without stripping the paint.
- Use a small amount of solvent or paint thinner to soften excess paint before smoothing.
- Employ heat tools like a low-heat hair dryer or heat gun to gently soften and flatten sags or drips.
- Lightly sand the softened area with fine-grit sandpaper for a smooth surface after heating.
- Follow up with thin, feathered touch-up coats to blend repairs seamlessly and prevent further issues.
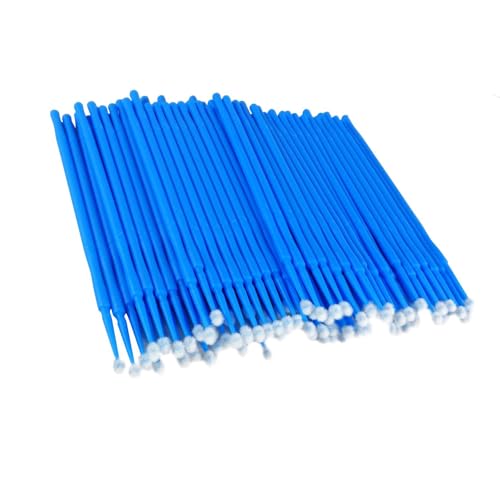
Touch Up Paint Brushes for Automotive Paint Chip Repair Disposable Micro Applicators-Blue (100 PCS)
100 Pieces fit for automotive paint touch up and various hobby work
As an affiliate, we earn on qualifying purchases.
As an affiliate, we earn on qualifying purchases.
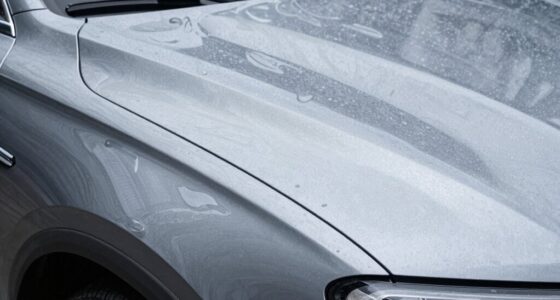
What Causes Paint Runs and Sags?
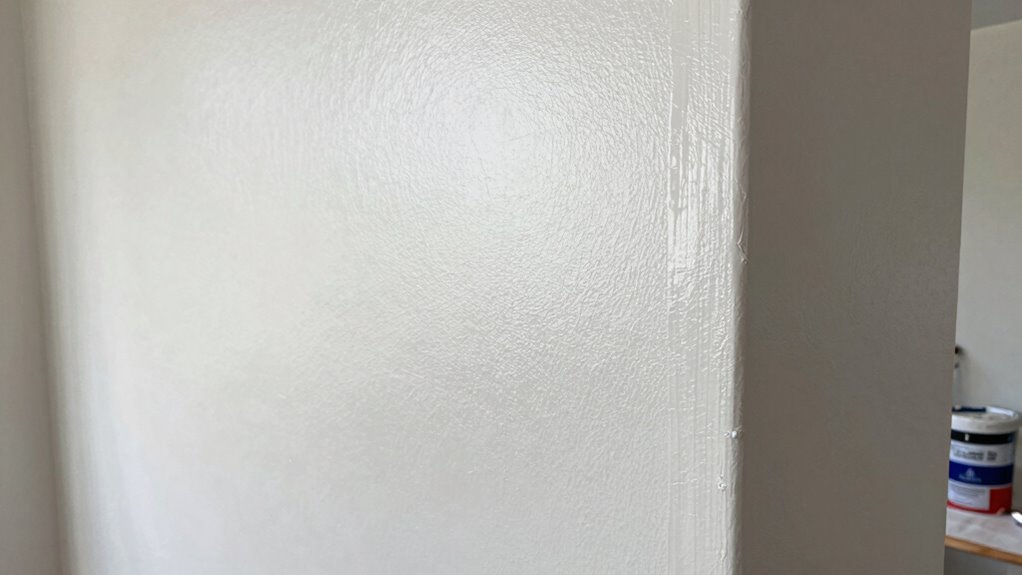
Paint runs and sags happen when excess paint drips or flows down the surface, often ruining a smooth finish. One common cause is poor brush techniques, where applying too much paint at once overwhelms the surface, leading to drips. Rushing the process or using heavy brush strokes can also cause uneven layers that sag as they dry. Additionally, ignoring proper drying times plays a role—if you don’t allow each coat to dry thoroughly, the wet paint underneath can cause subsequent layers to sag or run. To avoid this, use light, even brush strokes and stick to recommended drying times. Being mindful of how much paint you apply and waiting for each layer to dry helps guarantee a smooth, professional-looking finish without runs or sags. **Understanding the importance of proper drying times** ensures the paint cures evenly and minimizes the risk of sags or runs.

6.56FT Long Heat Gun, Uptdae Version Homidic Mini Handheld Hot Air Gun, Electric 300W Portable Heat Gun for DIY Craft Embossing, Shrink Wrapping PVC, Drying Paint, Clay, Rubber Stamp
★ Long Cable Enough for Crafting : 6.56FT Long Cable !!!!! Hot air shrink gun was made of…
As an affiliate, we earn on qualifying purchases.
As an affiliate, we earn on qualifying purchases.
How to Prepare Your Surface to Prevent Future Paint Issues
Before you start painting, make sure your surface is clean and free of dust or grease. Repair any cracks or holes to create a smooth base, and apply a proper primer to improve paint adhesion. These steps help prevent runs and sags, giving you a professional-looking finish. Additionally, understanding surface preparation techniques can further ensure a durable and flawless paint job.
Clean Surface Thoroughly
Have you ever wondered why your paint job doesn’t last? The answer often lies in inadequate paint preparation. To guarantee a durable finish, start with a clean surface. Dirt, grease, or dust can cause paint to sag or peel. Here’s how to do it right:
- Remove all debris using a damp cloth or mild cleaner.
- Sand rough spots to promote adhesion.
- Rinse and dry thoroughly to eliminate residue.
A clean surface is essential for proper paint adhesion and longevity. Skipping this step can lead to uneven application, runs, and sags. Remember, thorough cleaning isn’t just about aesthetics; it’s about preparing your surface for lasting paint. Proper paint preparation sets the foundation for a smooth, professional-looking finish that endures.
Repair Surface Imperfections
Ever noticed how small cracks or holes can ruin a fresh coat of paint? Repairing surface imperfections is key to achieving a smooth, professional finish. Start by filling cracks or holes with a suitable filler, then sand the area until it’s flush with the surrounding surface. Focus on guaranteeing texture consistency so the repaired spot blends seamlessly. Once smooth, lightly sand the area to prevent ridges or bumps. Before painting, match the new paint to the existing color precisely to avoid noticeable patches. Proper surface preparation minimizes the risk of runs and sags caused by uneven surfaces or inconsistent texture. Using the right primers and techniques can also help improve adhesion and prevent future issues. Taking the time to repair imperfections ensures your final coat looks flawless and lasts longer, preventing future issues and saving you the trouble of stripping and repainting.
Use Proper Primer
Using the right primer is essential for guaranteeing your paint adheres properly and lasts longer. Proper primer application creates a smooth, sealed surface that prevents issues like runs and sags. When selecting a primer, consider the surface type and the paint you’ll use. Make certain it offers effective surface sealing to block stains and imperfections. Additionally, choosing a primer compatible with surface sealing techniques can further enhance the durability of your finish. To get the best results: 1. Prepare the surface thoroughly before primer application, removing dust and grease. 2. Use a primer suited for your material to promote adhesion and durability. 3. Apply primer evenly in thin coats, allowing adequate drying time to prevent uneven surfaces. Proper surface sealing with the right primer minimizes the risk of future paint problems, ensuring a flawless finish.

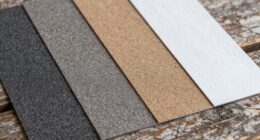
Tonmp 6 Pack 220 Grit Superfine Sanding Sponge, Washable and Reusable Great for Pot Pan Brush Sponge Brush Glasses Wood Metal Sanding (220 Grit-6 Pack)
6 Pack 220 Grit Superfine Sanding Sponge, Washable and Reusable Sanding Blocks
As an affiliate, we earn on qualifying purchases.
As an affiliate, we earn on qualifying purchases.
How to Detect Runs and Sags Before They Dry

Are you aware of the early signs that indicate a paint run or sag? Pay close attention to your paint’s consistency during application. If it’s too thick or streaky, it’s more prone to sags. As you work, check the drying time; paint that dries unevenly or faster than expected can signal potential issues. Before the paint fully dries, look for areas where the surface appears glossier or uneven, which often indicate sags forming underneath. Keep a steady hand and inspect your work frequently. Catching these signs early allows you to correct problems before the paint dries completely, saving you time and effort in repairs later. Staying vigilant during application is your best defense against runs and sags. Monitoring your paint application process closely can help identify issues early and prevent costly fixes later.

Marine Coat One Iso/Npg Gel Coat White with Wax with MEKP Catalyst for Hardening, with 6 Color Tinting Pigments, Gel Coat Repair Kit for Boats, Fiberglass (1 Quart)
Exclusive tinting pigments – Easily match with your boat's white color with our 6 quality tinting pigments of…
As an affiliate, we earn on qualifying purchases.
As an affiliate, we earn on qualifying purchases.
Essential Tools and Materials for Fixing Paint Runs and Sags

To fix paint runs and sags effectively, you need the right tools and materials. Having a quality putty knife, fine-grit sandpaper, and a paintbrush on hand makes the repair process smoother. Additionally, selecting the appropriate filler and matching paint guarantees a seamless finish. Incorporating sustainable painting practices can also help minimize future issues and promote eco-friendly results.
Proper Painting Tools Needed
Fixing paint runs and sags requires the right tools to guarantee a smooth and professional finish. First, choose the appropriate brush for your project, focusing on brush selection to control application and avoid further drips. Second, invest in quality rollers and understand roller techniques to evenly distribute paint and reduce sags. Third, keep a small container of solvent or paint thinner nearby for quick cleanup of drips or mistakes. These essential tools help you manage the uneven areas effectively. Using the correct brush ensures precise control over detail work, while mastering roller techniques smooths larger surfaces. Together, these tools enable you to fix runs and sags effectively, achieving a flawless, professional look without stripping or extensive repainting. Proper brush selection and technique are fundamental to preventing and correcting paint issues.
Key Materials for Repairs
Essential tools and materials are crucial for effectively repairing paint runs and sags. First, choose the right primer selection to guarantee proper adhesion of the new paint layer, especially if you’re repainting over problematic areas. Make certain the primer is compatible with your existing paint to prevent peeling or uneven finish. You’ll also need fine-grit sandpaper to smooth out the sagged paint without damaging the surface. A putty knife or scraper helps remove loose or thick paint sections. Keep a high-quality, compatible paint ready for touch-ups, ensuring it matches the existing color and finish. Using the right materials prevents future issues and results in a seamless repair. Having these key supplies on hand makes fixing runs and sags efficient, durable, and professional-looking. Additionally, understanding proper surface preparation enhances adhesion and longevity of the repair.
How to Fix Paint Runs by Smearing or Blotting Without Sanding
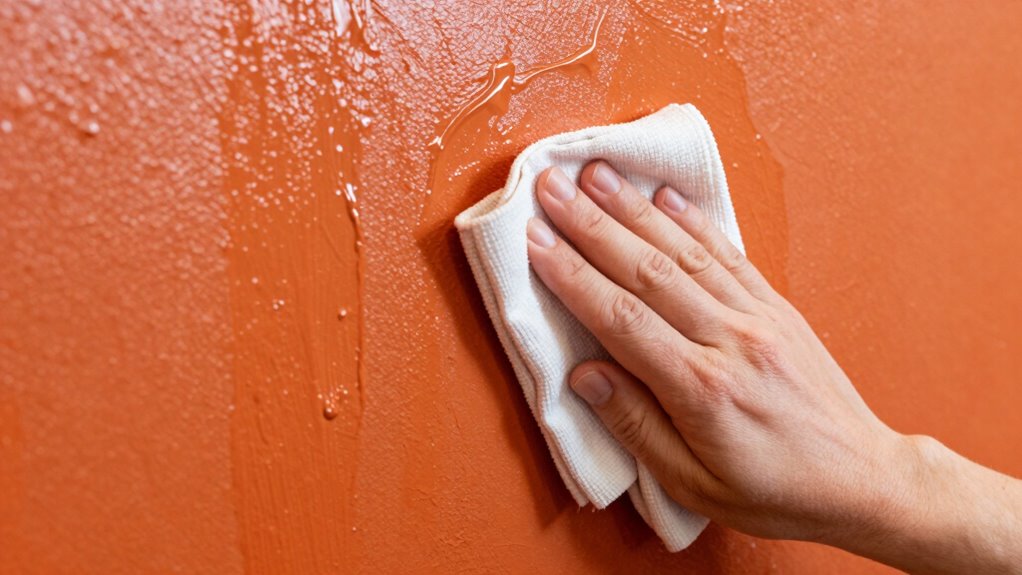
When you notice a paint run, trying to smooth it out without sanding can save time and effort. Start by gently blotting or smearing the run with a slightly damp brush, using smooth, even brush techniques. Guarantee your paint consistency is slightly thinner than usual to make blending easier. Follow these steps for best results:
- Use a clean, damp brush to gently feather the edges of the run, working from the center outward.
- Lightly smear the excess paint, blending it into the surrounding area without applying pressure.
- Continuously check your work, rewetting the brush as needed to keep the paint workable without creating new runs.
This approach helps you fix paint runs seamlessly, maintaining a smooth finish without sanding.
Applying Thin, Feathered Coats to Correct Sags Effectively

To correct sags effectively, you need to apply thin, even coats with proper technique. Focus on blending and feathering each layer seamlessly into the previous one to avoid noticeable edges. By controlling your application, you’ll achieve a smooth, flawless finish without further sags.
Proper Application Techniques
Applying thin, feathered coats is essential for correcting sags effectively. When you focus on proper application techniques, you prevent new flaws and smooth out existing issues. Start by using gentle brush techniques to feather edges, ensuring the paint blends seamlessly. Adjust roller pressure to avoid overloading, which can cause drips and sags. Always keep your tools clean to maintain a smooth finish.
Here are three key tips:
- Use light, consistent brush strokes to blend edges without creating ridges.
- Apply minimal pressure with your roller to reduce excess paint and prevent sags.
- Work in small sections to control application and avoid buildup.
Mastering these techniques helps you achieve a flawless, sag-free finish.
Blending and Feathering
After mastering proper application techniques, the next step is to focus on blending and feathering your coats. This smooths out sags and creates a seamless finish. Use your brush techniques to apply thin, feathered coats that gradually fade into the existing paint. Color matching is essential—choose a shade that closely resembles the original to prevent noticeable edges. When blending, work in small sections, lightly feathering the edges to avoid harsh lines. To visualize, consider this table:
| Technique | Result |
|---|---|
| Light, sweeping strokes | Seamless transition between coats |
| Gradual feathering | Reduces sags and creates a smooth finish |
Mastering these steps ensures your repair work looks flawless without stripping everything again.
When and How to Use a Hair Dryer or Heat Gun for Quick Paint Repairs
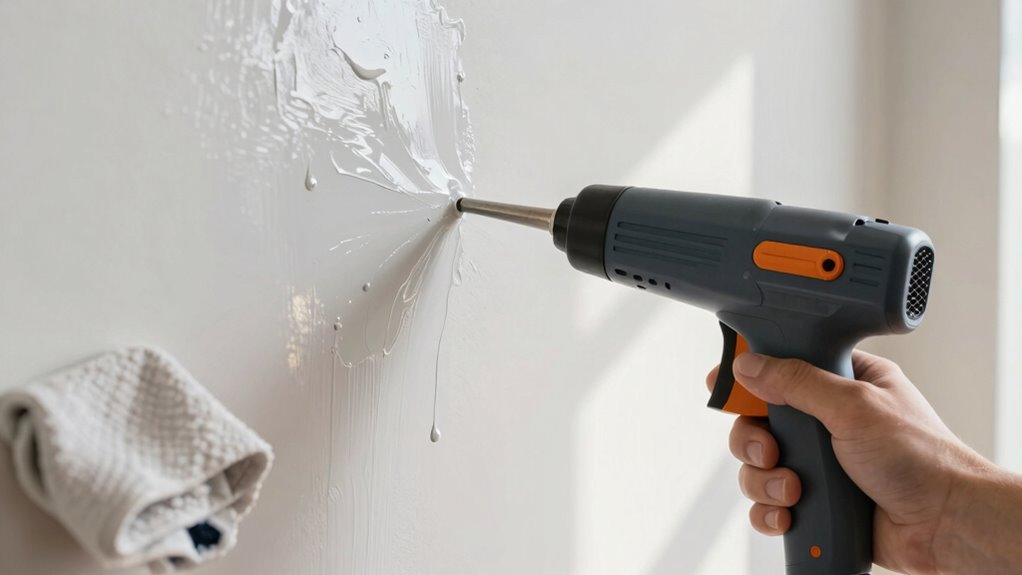
Using a hair dryer or heat gun can be a quick and effective way to fix paint sags or drips, especially when you need an immediate touch-up. When using heat tools, always prioritize heat gun safety to avoid burns or damage. Keep the tool moving to prevent overheating and watch paint drying times carefully; patience ensures a smooth finish. Here are three key tips:
- Use a low heat setting to gently soften the paint without causing damage.
- Hold the heat source a few inches away to prevent overheating or bubbling.
- Work quickly but carefully, stopping once the sag or drip flattens out.
This method works best for small corrections and when you’re in a hurry. Proper technique guarantees a seamless repair without risking further issues.
How to Sand and Smooth Sags Without Removing Your Paint
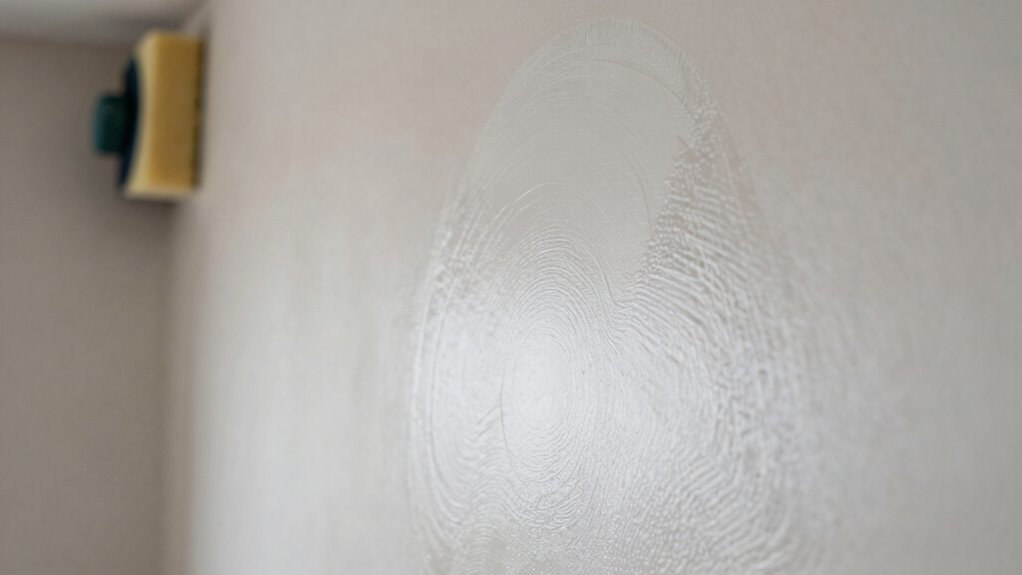
Once you’ve softened a paint sag or drip with a heat gun or hair dryer, sanding offers a precise way to smooth out the imperfections without removing your overall paint layer. Use light, gentle strokes with fine-grit sandpaper, focusing on the sag rather than the surrounding paint. Maintaining proper paint consistency before application helps prevent sags, but if they occur, your sanding technique is key. Employ brush techniques like feathering and stippling to blend the area seamlessly. Keep your strokes consistent, and avoid applying too much pressure, which can damage the finish. Proper paint preparation and technique are essential for achieving a flawless repair. Here’s a quick guide to understanding paint and technique:
| Aspect | Tip | Result |
|---|---|---|
| Paint consistency | Thin paint for smooth application | Less runs and sags |
| Brush technique | Use light, even strokes | Better blending and finish |
| Sanding pressure | Gentle, consistent pressure | Smooth surface without damage |
| Finishing touches | Clean dust before re-coating | Flawless repair |
Tips to Prevent Paint Runs and Sags in Future Coats
To prevent paint runs and sags in future coats, it’s essential to start with the right preparation and application techniques. First, ensure your paint has the correct consistency; too thick or too thin can cause issues. Second, pay attention to drying times—applying new coats before the previous layer is fully dry increases the risk of sags. Third, use a high-quality brush or roller, applying paint evenly with light, consistent strokes. By maintaining proper paint consistency, you avoid excessive buildup that leads to runs. Managing drying times helps you catch and correct drips early, preventing sags from worsening. Proper preparation, patience, and careful application are your best tools to achieve a smooth, flawless finish without future imperfections. Monitoring paint viscosity levels ensures you keep the right thickness for optimal results.
Common Mistakes to Avoid When Fixing Paint Imperfections

When fixing paint imperfections, it’s easy to make mistakes that can worsen the problem. One common mistake is rushing the process, which can lead to improper blending or additional sags. Always prioritize painting safety by ensuring proper ventilation and protective gear to avoid health risks. Avoid selecting a paint color that doesn’t match the existing finish, as mismatched colors highlight the repair instead of hiding it. Applying too much paint at once can cause drips and further sags, so use thin coats and proper tools. Don’t skip sanding or prepping the area; these steps are essential for a smooth finish. Finally, rushing the drying process can cause imperfections to reappear. Patience and attention to detail are key to fixing paint flaws effectively.
Frequently Asked Questions
Can Paint Runs Be Fixed on Textured or Uneven Surfaces?
Yes, you can fix paint runs on textured or uneven surfaces. First, identify the texture challenges and use a fine-grit sanding sponge to gently smooth the runs without damaging the texture. Then, apply a thin, even coat of matching paint using repair techniques like feathering the edges. Be patient, and if needed, repeat the process for a seamless finish. This approach helps maintain the surface’s original look.
Is It Better to Fix Runs Immediately or Wait Until the Paint Dries?
Waiting to fix paint runs isn’t just a small detail—it’s like waiting for a snowstorm in July. You should address runs immediately, before the paint dries, because timing considerations are essential. Once the paint dries, it’s much harder to smooth out imperfections. So, keep an eye on the wet paint, grab a brush or roller, and fix those runs right away for a flawless finish.
Are There Specific Types of Paint That Are Easier to Repair After Runs?
Certain paints, like acrylics or those with built-in flow agents, make repairs easier after runs. You should use gentle brush techniques to smooth out the runs while the paint is still wet, preventing further sagging. Adding paint additives designed for better leveling can also help. Always work quickly and carefully, as these paints respond well to adjustments before they dry completely, making your repairs smoother and less noticeable.
How Does Humidity Affect the Formation of Paint Runs and Sags?
Did you know that high humidity levels, over 80%, can increase the likelihood of paint runs and sags by up to 50%? Humidity effects directly influence paint consistency, making it thinner and more prone to dripping. When painting in humid conditions, you should reduce the paint’s water content or use a slower-drying formula. Proper ventilation and working in cooler, drier weather help prevent these issues.
Can I Use a Different Paint to Cover up Previous Runs or Sags?
You can try using a different paint to cover up previous runs or sags, but be cautious about paint color mismatch that might stand out. For DIY repainting, it’s best to sand the affected area lightly and test the new paint first. If the color differs, consider blending or repainting the entire section for a seamless finish. Always guarantee the surface is smooth and properly primed before applying new paint.
Conclusion
By understanding what causes runs and sags, you can effectively fix them without stripping your paint. Remember, studies show that proper prep and timely touch-ups can reduce repainting needs by up to 30%. With the right tools and techniques, you can achieve a smooth, professional finish. Don’t rush the process—patience and attention to detail make all the difference. Keep these tips in mind, and you’ll enjoy flawless results every time.