To clean glue squeeze-out without damaging your finish, act quickly and gently remove excess with a damp cloth or sponge while the glue is still wet. For dried glue, carefully use a plastic scraper or a soft cloth with the right solvent like mineral spirits or acetone, testing first on a small area. Patience and gentle tools are key—continuing will show you how to tackle different surfaces and adhesives effectively.
Key Takeaways
- Act quickly to wipe away excess glue with a damp cloth before it dries.
- Use gentle tools like plastic scrapers or wooden spatulas to avoid damaging the finish.
- Select appropriate solvents (mineral spirits or acetone) suitable for the glue type and test on a hidden area first.
- Avoid abrasive tools and harsh chemicals that can scratch or dull the surface finish.
- Apply glue carefully during assembly to minimize squeeze-out and reduce cleanup needs later.
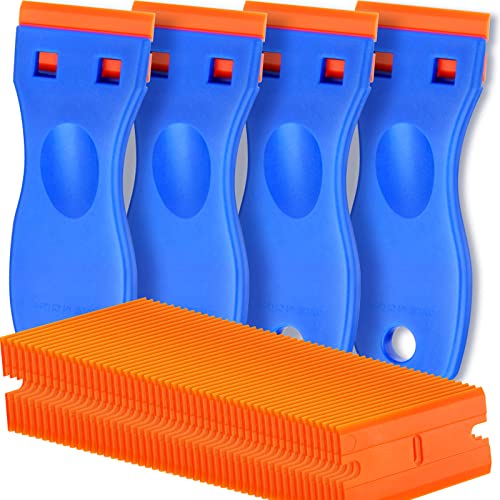
4 Pcs Plastic Razor Blade Scraper and 100 Pcs Blades, Remove Label Decal Tool, Forwithout Scratches Plastic Razor Blade Scraper, Adhesive Remover for Stickers, Gaskets and Paints on Window Car Glass
A VERSATILE TOOL: Scraper tool is ideal for removing vinyl, debris, decals, sign, glue, stickers, labels, grease and…
As an affiliate, we earn on qualifying purchases.
As an affiliate, we earn on qualifying purchases.
Why Glue Squeeze-Out Happens and How It Affects Your Finish
Glue squeeze-out occurs when excess adhesive is pushed out from between joint surfaces during clamping. This excess can lead to uneven adhesive penetration, which may compromise the strength of the bond. When glue squeezes out, it often pools or spreads across the surface, risking damage to your finish if not cleaned properly. If the squeeze-out isn’t addressed, it can interfere with the finish’s appearance and integrity, causing uneven or compromised surfaces. Properly managing squeeze-out ensures that the adhesive bonds effectively without overwhelming the area. It’s essential to understand why squeeze-out happens so you can minimize its impact on your project’s overall finish and durability. By controlling the amount of glue used and applying consistent pressure, you help maintain both adhesion quality and finish integrity. Additionally, understanding adhesive properties can help you select the right glue and application method for your project. Knowing how different clamping techniques influence squeeze-out can further improve your results and reduce cleanup efforts. Being aware of project-specific factors can also help you tailor your approach for optimal results. Recognizing how material types affect squeeze-out can also guide you in choosing appropriate adhesives and techniques. Paying attention to application consistency can significantly reduce excess glue and improve your project’s overall quality.
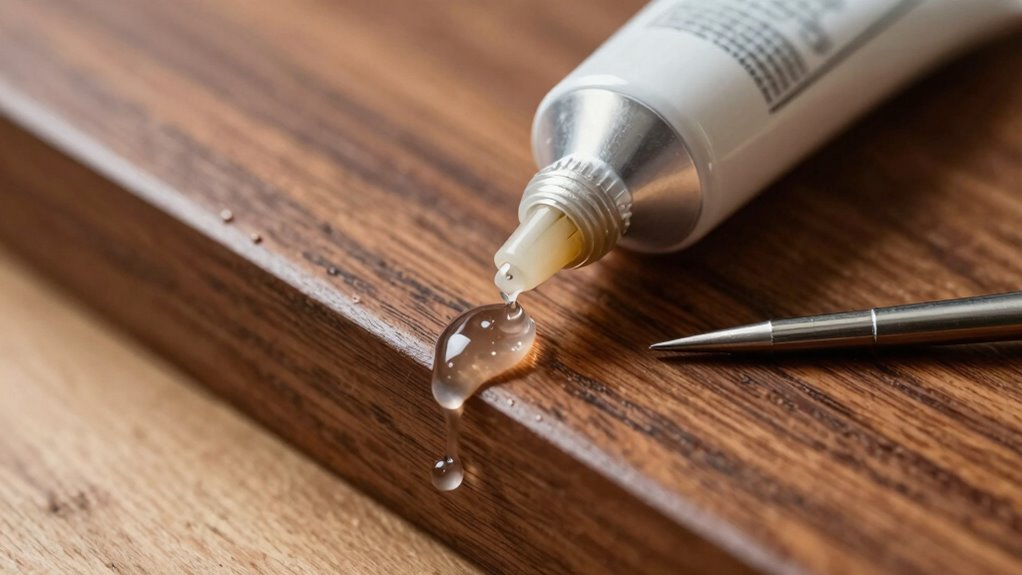
mineral spirits for glue cleanup
As an affiliate, we earn on qualifying purchases.
As an affiliate, we earn on qualifying purchases.
How to Prepare Your Workspace and Materials for Glue Cleanup
Preparing your workspace and materials before applying glue helps prevent a messy cleanup later. Start by clearing the area and covering nearby surfaces with drop cloths or painter’s tape to catch any drips. Choose your materials carefully—use high-quality glue suited for your project to minimize excess squeeze-out. Gather necessary cleanup tools like rags, damp sponges, and solvent-safe brushes beforehand, so you’re ready to act quickly if needed. Organizing your workspace to keep everything within reach reduces the chance of accidental spills or smudges. Proper workspace preparation and material selection not only make cleanup easier but also protect your finish from damage. Additionally, reviewing safety guidelines and appropriate safety gear and PPE ensures you can work confidently and avoid irritation from glue fumes or accidental contact. Using proper ventilation during application can significantly reduce inhalation of fumes, creating a safer working environment. Being aware of glue consistency can help you control the amount you dispense, making cleanup less challenging. A good understanding of adhesive properties can also help you work more efficiently and prevent excess squeeze-out. Taking these steps ensures a smoother process and better results in the long run.

POWERTEC Chisel Plane with Flat Blade – Compact Edge Trimming Tool for Woodworking, Plug Trimming, Joinery Cleanup – Includes Wrench (72162)
PRECISION AND VERSATILITY: Ideal for detailed woodworking tasks such as trimming plugs, paring joinery surfaces, cleaning dried glue,…
As an affiliate, we earn on qualifying purchases.
As an affiliate, we earn on qualifying purchases.
Choosing the Best Tools and Solvents for Removing Glue
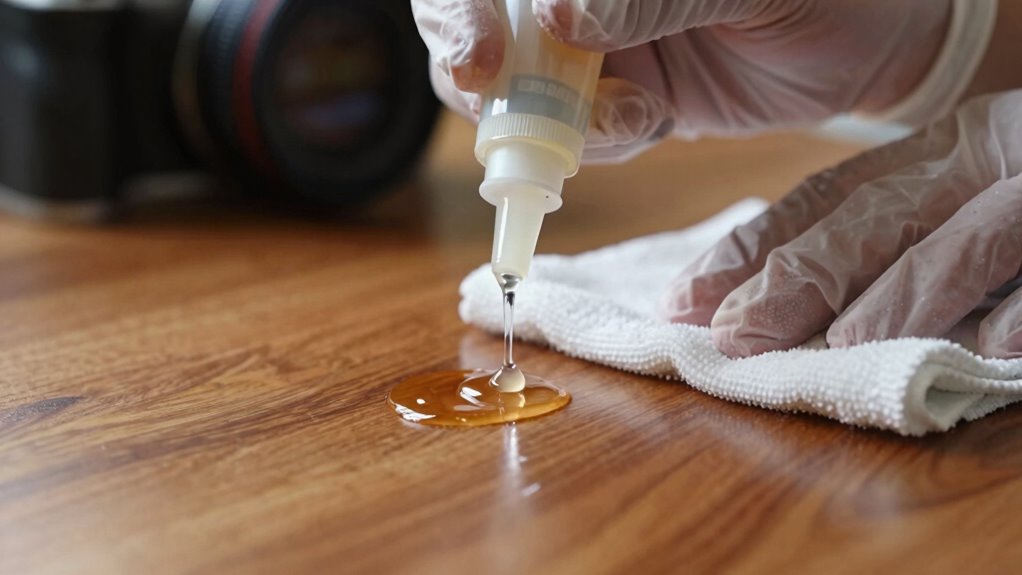
Choosing the right tools and solvents is essential for effectively removing excess glue without damaging your surfaces. Understanding the adhesive properties helps you select the best solvent; some glues respond well to solvents like mineral spirits or acetone, while others require gentler options. For tools, use plastic scrapers or wooden spatulas to avoid scratching delicate surfaces. Soft cloths or cotton swabs are effective for applying solvents precisely and controlling cleanup. Always check the glue’s chemical makeup to match it with an appropriate solvent, ensuring safe and efficient removal. Proper tool choice minimizes surface damage, while careful solvent selection dissolves the adhesive without harming your finish. This approach saves time, reduces mess, and keeps your project looking professional. Incorporating smart automation techniques can also help streamline your repair process and prevent future mishaps. Additionally, understanding the chemical composition of the adhesive helps you choose the most effective removal method. Being aware of the curiosity-driven benefits of proper technique can motivate you to take the necessary precautions for a successful cleanup. Knowing how different adhesive properties respond to various solvents can significantly improve your removal strategy. Recognizing the adhesive’s chemical makeup can further enhance your ability to select the appropriate solvent quickly and safely.
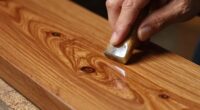
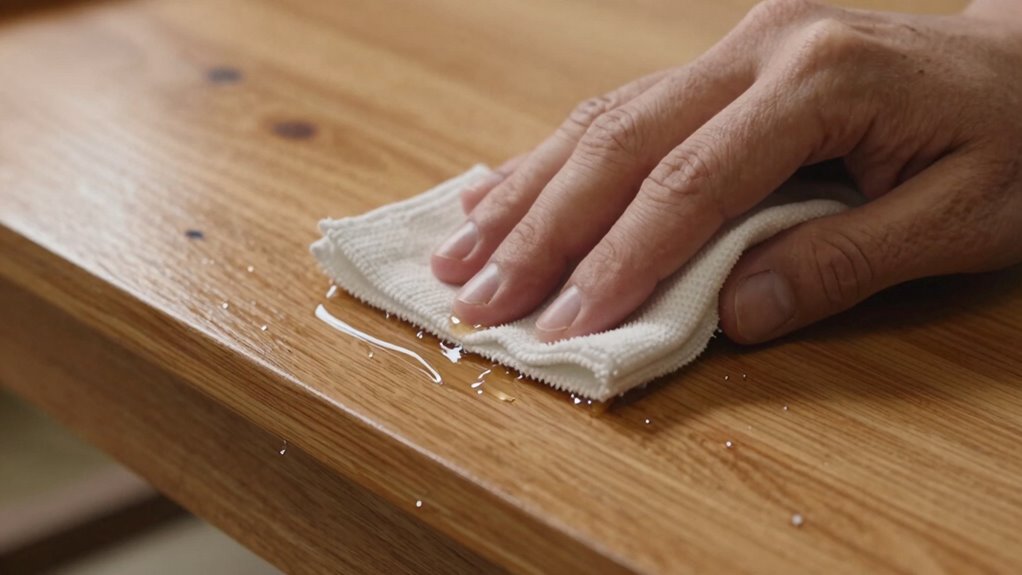
damp cloth for glue cleanup
As an affiliate, we earn on qualifying purchases.
As an affiliate, we earn on qualifying purchases.
How to Remove Glue Squeeze-Out Step-by-Step Without Damaging Your Surface
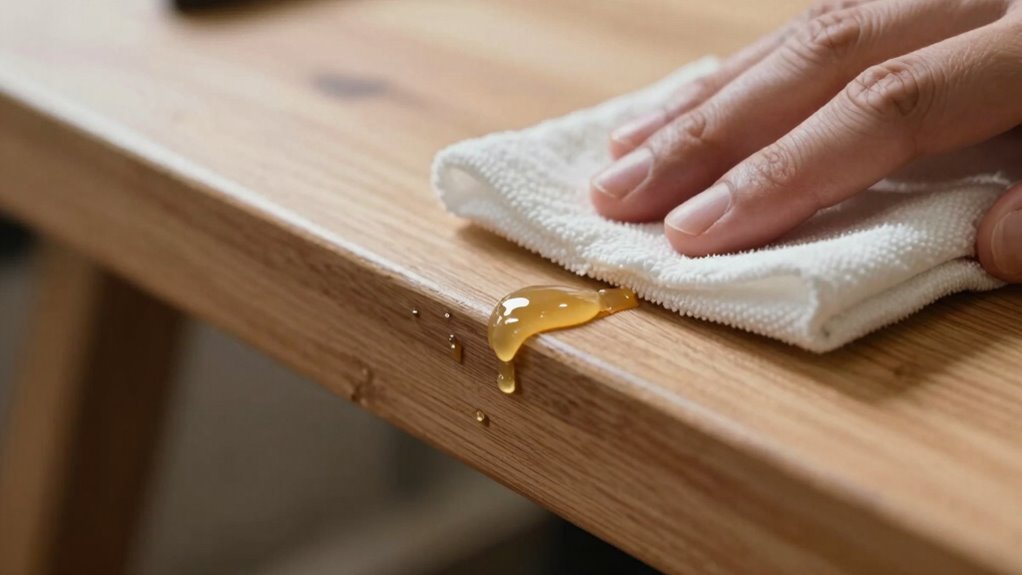
To remove glue squeeze-out without damaging your surface, act quickly after applying the glue. Use the right tools and gentle techniques to carefully lift or wipe away the excess. Being patient and cautious guarantees a clean finish without damage. Additionally, understanding the material properties of your surface helps prevent unintended damage during cleanup. Recognizing surface durability can guide you in choosing the safest removal methods. Being aware of adhesive characteristics can also help you select the most suitable removal approach for your specific glue type. Knowing the cleaning techniques suitable for different adhesives ensures an effective and damage-free cleanup process. Consulting surface compatibility information can further prevent accidental harm during removal.
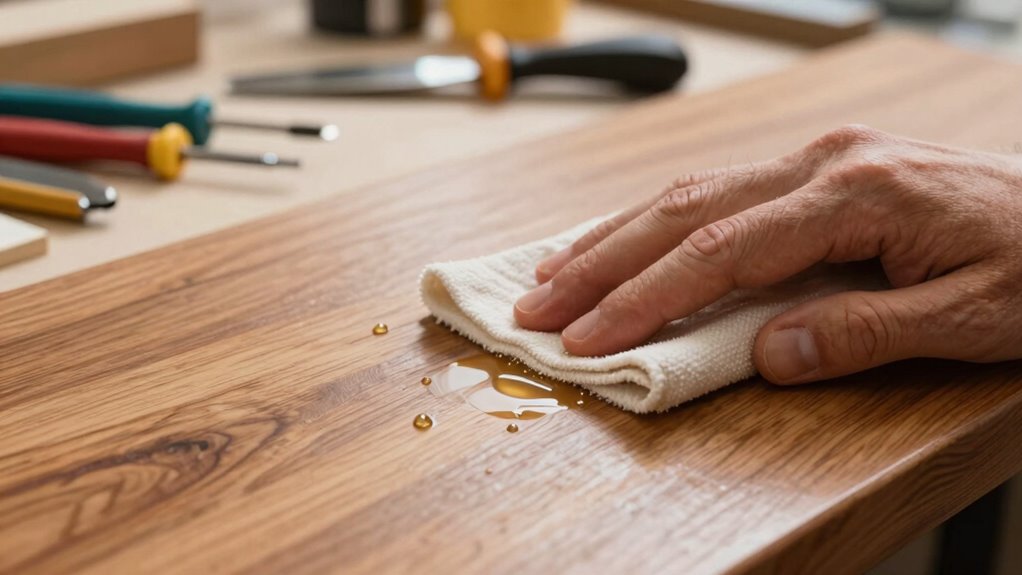
Act Quickly After Application
Once glue squeeze-out appears, acting quickly is essential to prevent it from setting and becoming difficult to remove. The drying process begins almost immediately, influenced by the adhesive properties of the glue. The longer you wait, the more the glue bonds to the surface, making removal harder and risking damage to the finish. To minimize mess and avoid damaging your surface, wipe away excess glue while it’s still fresh, using a clean cloth or damp sponge. Immediate action helps maintain control, ensuring you don’t disturb the surrounding area. Remember, the key is to respond promptly before the glue’s drying process progresses too far, solidifying and becoming more resistant to removal. Quick intervention keeps your surface clean and preserves its finish. Additionally, understanding environmental considerations can help you choose cleaning methods that are safe for both your surface and the environment. Being aware of glue chemistry can also guide you in selecting the most effective cleaning solutions without harming your finish or surroundings. Using the proper cleaning techniques can further aid in preventing damage to the surface during removal, and knowing about drying times can help you better plan your cleanup efforts for optimal results.
Use Appropriate Removal Tools
Using the right tools is essential to removing glue squeeze-out without damaging your surface. Precision tools help you target glue without harming the finish. First, choose a razor blade or putty knife with a sharp edge to carefully scrape away excess glue. Second, select a solvent suited for your surface and the type of glue—test a small area first to ensure compatibility. Third, keep a soft cloth or microfiber towel nearby to wipe away residues without scratching. Using these tools wisely prevents gouging or dulling your finish. Remember, the key is gentle yet effective removal. Proper solvent selection and precision tools make the process smoother, safer, and less likely to cause damage.
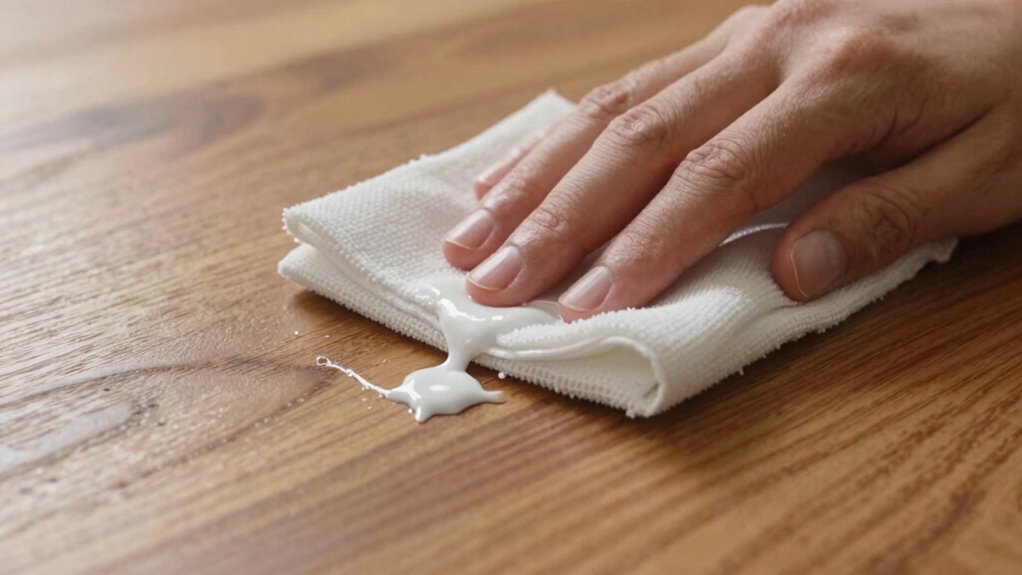
Gentle Cleaning Techniques
When removing glue squeeze-out, gentle cleaning techniques are essential to protect your surface from damage. Since adhesive bonding relies on proper glue curing, aggressive scrubbing can weaken the bond or mar the finish. Start by softening the glue with warm water or a mild solvent, like white vinegar or specialized adhesive remover. Use a soft cloth or sponge to carefully lift the softened glue, avoiding abrasive tools that could scratch the surface. Patience is key—allow enough time for the solvent to work without forcing removal. Always test your cleaning method on a small, inconspicuous area first. By taking a gentle, controlled approach, you ensure effective removal of excess glue while preserving the integrity of your finish and the strength of the adhesive bond.
Tips for Cleaning Different Types of Adhesives and Surfaces
Different adhesives require different cleaning methods, so knowing what type you’re dealing with is key. Surface materials also influence your approach, as some are more sensitive to certain solvents or tools. By understanding both the adhesive and surface, you can choose the safest and most effective cleaning techniques.
Different Adhesive Types
Adhesives come in various types, each requiring specific cleaning methods to prevent damage to surfaces. Understanding their adhesive properties and curing times helps you choose the right approach. For example, fast-curing adhesives like cyanoacrylates bond quickly but can be tricky to remove once dried. Epoxies are durable but need solvents for cleanup after curing. Hot glue is easier to clean while still warm but hardens fast.
- Super Glues (Cyanoacrylates): Use acetone-based remover, but test first to avoid damage.
- Epoxy: Softens with warm, soapy water before fully cured; solvents work after curing.
- Hot Glue: Wipes away easily when warm but becomes permanent once cooled.
Surface Material Considerations
Choosing the right cleaning method depends heavily on both the adhesive type and the surface material involved. Surface texture plays a key role in determining how easily the adhesive can be removed without damaging the finish. Smooth surfaces like glass or sealed wood generally tolerate solvents better, while porous or delicate materials such as painted drywall or soft plastics require gentler approaches. Material compatibility is critical—using harsh chemicals on sensitive surfaces can cause discoloration, warping, or scratches. Always test a small, inconspicuous area first. For textured or uneven surfaces, mechanical removal methods like scraping may be necessary, but be cautious to avoid gouging. Matching your cleaning technique to the surface texture and material guarantees effective removal while preserving the integrity of the material.
Common Mistakes to Avoid When Cleaning Up Glue
When cleaning up glue squeeze-out, one of the biggest mistakes you can make is rushing the process. If you try to remove glue before it’s fully dried, you risk smudging or damaging the surface. Additionally, cleaning too early can interfere with adhesive curing, weakening the bond. Here are common mistakes to avoid:
- Using harsh chemicals too soon, which can damage the finish or surface.
- Scraping aggressively, risking scratches or removing finish layers.
- Waiting too long to clean, allowing glue to fully dry and become difficult to remove without residue.
Patience is key. Allow the glue to dry or cure properly, then gently clean it up to avoid damaging your project.
How to Prevent Excess Glue and Squeeze-Out in Future Projects

To prevent excess glue and squeeze-out in future projects, careful application techniques are essential. When doing wood jointing, use minimal glue—just enough to fill the joint without excess. Apply glue evenly using a brush, roller, or squeeze bottle, focusing on the joint area. Avoid overloading the joint with too much glue, which leads to squeeze-out and mess. Clamp the pieces firmly to spread the glue evenly and prevent gaps. Wipe away any excess immediately with a damp cloth before it dries. Practicing precise glue application techniques helps you control the amount used and reduces cleanup time. This approach ensures a cleaner workspace and a better finish, saving effort and maintaining the integrity of your project.
Frequently Asked Questions
Can I Reuse Leftover Glue for Future Projects?
Yes, you can reuse leftover glue for future projects through glue recycling. Store leftover adhesive in a sealed container, ensuring it stays airtight to prevent drying out. When needed, you can reapply it or thin it with water or solvent, depending on the glue type. This leftover adhesive reuse saves money and reduces waste. Just make sure to check the glue’s consistency and effectiveness before using it again.
How Long Should I Wait Before Cleaning Dried Glue?
You should wait until the drying time and curing period are complete before cleaning dried glue. Typically, drying takes a few hours, but curing can take up to 24-48 hours, depending on the glue type. Avoid rushing the process, as cleaning too early may ruin your finish. Once the glue is fully cured, gently remove excess with the right tools, being careful not to damage the surface.
Are There Eco-Friendly Solvents Suitable for Glue Removal?
Sure, eco-friendly solvents and natural adhesive removers exist, so you can save the planet and your paint job. You’ll find options like vinegar, lemon juice, or baking soda-based solutions that are gentle yet effective. These eco-friendly solvents break down glue without harsh chemicals, letting you clean up messes without sacrificing your conscience or your finish. Who knew saving the environment could be this satisfying and stain-free?
Will Cleaning Glue Damage the Wood or Surface Underneath?
Cleaning glue from your surface can risk damage if you’re not careful. If you use harsh solvents or scrub too aggressively, you might harm the wood finish or cause surface damage. To protect your surface, opt for gentle solvents like warm water and mild soap, and test on a small area first. Carefully removing the glue minimizes the risk of damaging the wood finish or creating surface imperfections.
How Do I Handle Glue Squeeze-Out on Delicate or Porous Materials?
You should handle glue squeeze-out on delicate surfaces or porous materials gently, using a soft cloth or sponge dampened with water or a mild solvent suited for the material. Avoid harsh scrapers or excessive rubbing, as they can damage or stain the surface. Test any cleaning solution first in a small, hidden area to prevent unwanted effects. Act quickly to prevent the glue from hardening, making cleanup easier.
Conclusion
Now that you know how to clean glue squeeze-out without damaging your finish, you’re ready to tackle your project with confidence. Remember, patience and the right tools make all the difference. Don’t let excess glue ruin your hard work—are you prepared to keep your surfaces pristine and professional-looking? With these tips, you’ll master cleanup and ensure your project looks flawless every time. Happy woodworking!