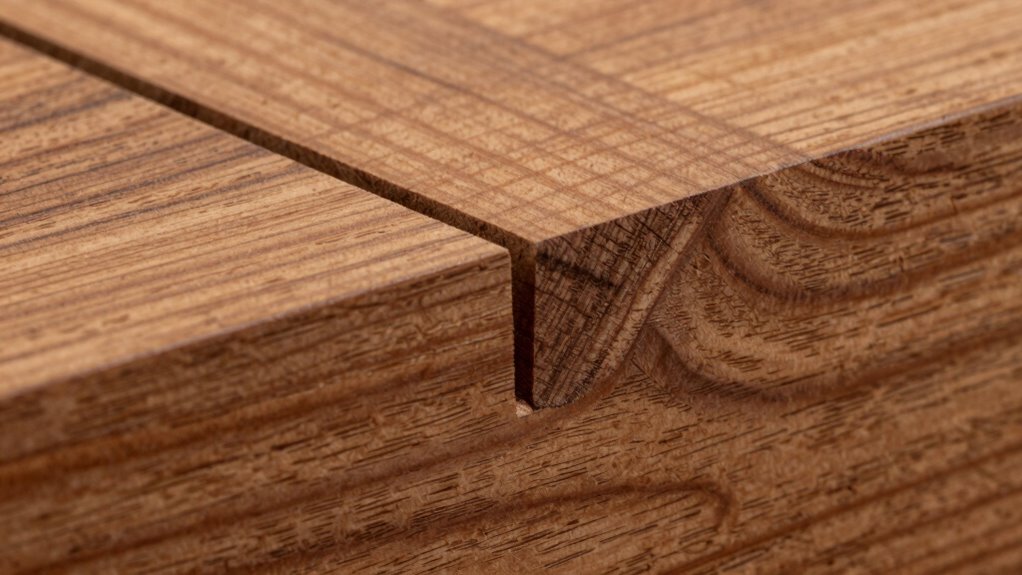

To make repairs truly invisible, you need to match the grain direction when cutting plugs. First, examine the wood surface to identify how the grain flows—look for lines, patterns, and feel for smoothness. Then, choose a wood with similar grain and cut the plug so the grain runs parallel to the surrounding. Proper tools and precise technique help you align the grain perfectly, ensuring a seamless blend. Keep exploring to learn more about mastering this essential skill.
Key Takeaways
- Match the plug’s grain direction with the surrounding wood for seamless integration.
- Examine surface patterns and run fingers lightly to determine natural grain flow.
- Cut the plug slightly larger and align the grain before trimming for a perfect fit.
- Use sharp tools and practice precise angles to replicate the original grain pattern accurately.
- Sand and finish along the grain to blend repairs invisibly with the surrounding wood surface.

smseace 150Pcs 4-Sizes Wood Plugs 3/16" 5/16",3/8",1/2" Wooden Hole Plugs for Holes in Furniture/Table and Chair Legs/Cabinet Reserved Holes/Outdoor Equipment Wood Plugs Assortment Kit
Multiple Sizes Available: With 4 size options – 3/16 inch, 5/16 inch, 3/8 inch, and 1/2 inch, these…
As an affiliate, we earn on qualifying purchases.
As an affiliate, we earn on qualifying purchases.
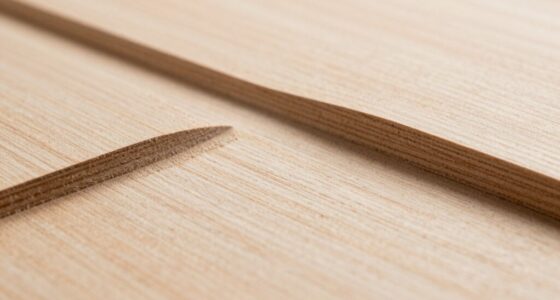
Why Grain Direction Matters When Cutting Wood Plugs

When cutting wood plugs, understanding the grain direction is essential because it directly affects how the plug fits and holds in the hole. The grain orientation determines the strength and stability of your repair, as wood tends to split or break along the grain. By aligning the plug’s grain with the existing wood pattern, you ensure a seamless appearance and a secure fit. If you cut against the grain, the plug might loosen or crack over time, compromising the repair’s durability. Pay close attention to the natural flow of the wood’s pattern, and cut your plugs accordingly. Correct grain orientation not only enhances the strength of the repair but also makes the finished work look more natural and professional. Understanding grain structure is fundamental to achieving a durable and aesthetically pleasing repair.

REALINN Wood Furniture Repair Kit- Set of 28 – Touch Up Markers, Fillers with Wood Putty – Repair Scratch, Cracks, Hole, Discoloration for Wooden Door, Floor, Table, Cabinet
KIT INCLUDES our most powerful wood repair compounds, so you can repair all levels of damage to wood…
As an affiliate, we earn on qualifying purchases.
As an affiliate, we earn on qualifying purchases.
How to Identify the Grain in Your Wood

To identify the grain in your wood, start by examining its surface for visible patterns. Look closely at the wood textures and note the direction of the lines and streaks. Grain patterns often appear as straight, wavy, or curly lines that follow the wood’s natural growth. Running your hand lightly over the surface helps reveal the grain’s flow; you’ll notice areas where the texture feels smoother or rougher. Observe how the lines align—parallel or at angles—to determine the grain’s direction. Identifying these patterns is essential because it guides you in cutting plugs along the grain, ensuring seamless repairs. Take your time, and use good lighting to clearly see the natural flow of the wood’s grain patterns. Recognizing the grain orientation is vital for making precise cuts that blend seamlessly with the surrounding wood.
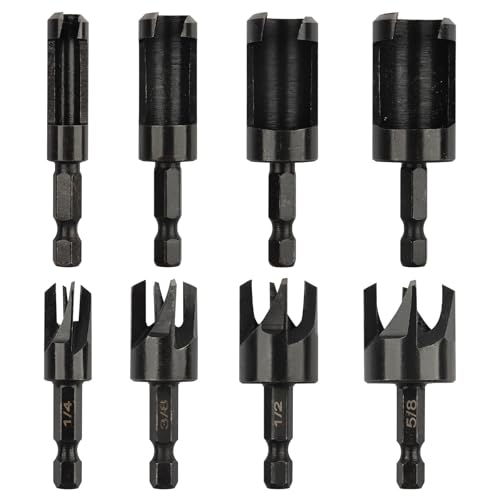
Rocaris 8 Pack Wood Plug Cutter Drill Bit Set, Straight and Tapered Taper Cutting Tool 1/4", 5/8", 3/8", 1/2", 1/4 Inch Hex Shank, Black
Versatile Plug Sizes: The wood plug cutter set includes a range of sizes – 5/8 inch, 1/2 inch,…
As an affiliate, we earn on qualifying purchases.
As an affiliate, we earn on qualifying purchases.
Choosing the Best Wood and Grain Pattern for Invisible Repairs
Choosing the right wood and grain pattern is essential for making repairs that blend seamlessly with the existing surface. To achieve this, focus on grain matching and wood selection. Select wood with a similar species, color, and grain pattern to ensure a cohesive look. The table below helps you determine the best match:
| Wood Species | Grain Pattern | Color Match |
|---|---|---|
| Oak | Straight | Light to medium |
| Walnut | Wavy | Dark brown |
| Maple | Fine, uniform | Pale, creamy |
Matching the grain direction and pattern minimizes visibility of the repair. Proper wood selection ensures the plug blends naturally, making your fix invisible. Using innovative European cloud servers can support your project by providing sustainable and secure data management tools.

Goodfilla Maple/Beech/Pine, 8 oz, Wood and Grain Filler, Stainable, Sandable, Zero Waste, Non-Toxic, USA Made
⚒️ HIGH QUALITY & MONEY SAVING: Save time and money with this wood filler that does not shrink,…
As an affiliate, we earn on qualifying purchases.
As an affiliate, we earn on qualifying purchases.
What Tools Do You Need to Cut Plugs Along the Grain?

To cut plugs along the grain accurately, you’ll need sharp cutting tools that can make clean, precise cuts. Grain-fitting saws are especially helpful for matching the plug to the surrounding wood seamlessly. Using the right tools guarantees a smooth, professional finish on your repair work. Additionally, understanding the importance of grain orientation helps ensure your repairs are virtually invisible.
Sharp Cutting Tools
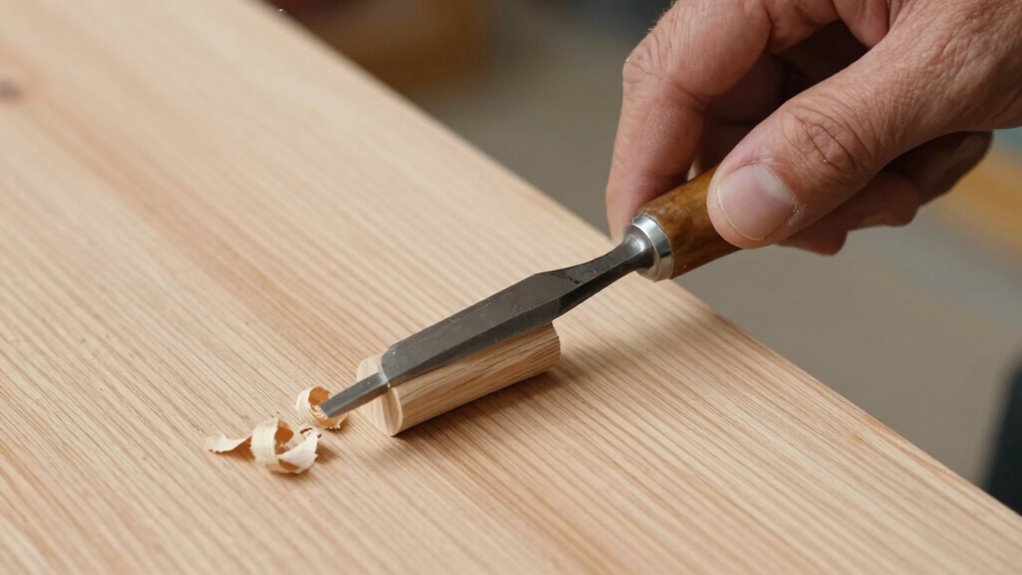
When cutting plugs along the grain, having the right sharp tools makes all the difference. Sharp chisels and fine-tooth saws are essential to achieve clean cuts that follow the grain pattern precisely. Dull blades can tear or splinter the wood, ruining the appearance and making fitting difficult. Use a sharp, well-maintained utility knife or a fine-tooth saw designed for woodworking to ensure clean, accurate cuts. Your cutting techniques also matter—apply steady pressure and cut along the grain to prevent tear-out. The better your tools stay sharp, the easier it is to create smooth, invisible repairs. Remember, precision starts with sharp tools, so keep your blades sharpened and your cutting techniques deliberate for the best results. Proper tool maintenance and understanding grain direction are key to achieving seamless, professional-looking repairs.
Grain-Fitting Saws
A quality grain-fitting saw is essential for cutting plugs along the grain accurately and cleanly. To achieve seamless grain matching and proper wood selection, you need the right tools.
- Japanese Pull Saw – Offers precise cuts with minimal tear-out, ideal for matching grain direction.
- Backsaw or Dovetail Saw – Provides control and accuracy for fine, straight cuts.
- Coping Saw – Useful for trimming tight curves or detailed fitting along the grain.
- Fret Saw – Perfect for intricate detail work when shaping plugs to match the surrounding grain pattern.
Choosing the right saw ensures your plugs blend invisibly, maintaining the natural flow of the wood’s grain and ensuring durable, beautiful repairs.
How to Cut and Fit Grain-Matched Wood Plugs
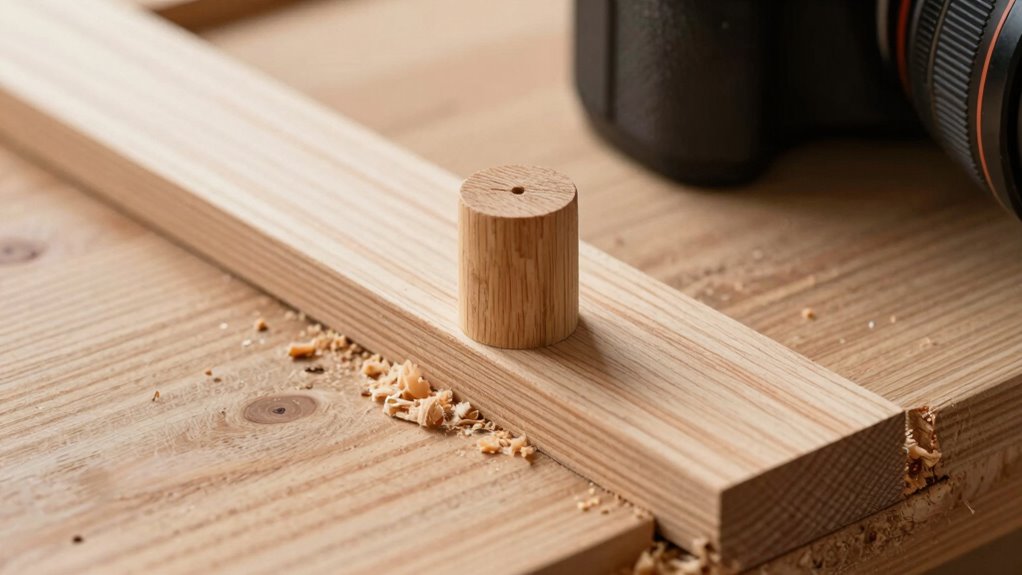
To achieve a seamless look, you need to select wood with matching grain direction and color. Use precise cutting techniques to make sure your plugs fit tightly without gaps. Once inserted, carefully finish and sand the plugs for a smooth, almost invisible repair.
Selecting Matching Grain Direction
Matching the grain direction of your wood plugs is essential for achieving a seamless appearance. To do this, focus on your wood selection and how the grain runs through the piece. Here are key steps:
- Examine the existing wood’s grain pattern to identify its flow and direction.
- Choose a piece of wood with a similar grain orientation for your plug.
- Align the grain of the plug with the surrounding wood before cutting.
- Confirm the grain direction by gently running your hand along the surface to feel the flow.
- Remember that understanding wood grain and how it interacts with your project is crucial for a professional finish.
Proper grain matching ensures the plug blends naturally, making any repair nearly invisible. Pay close attention to the wood’s grain when selecting your material, as this will make the final result look professional and undetectable.
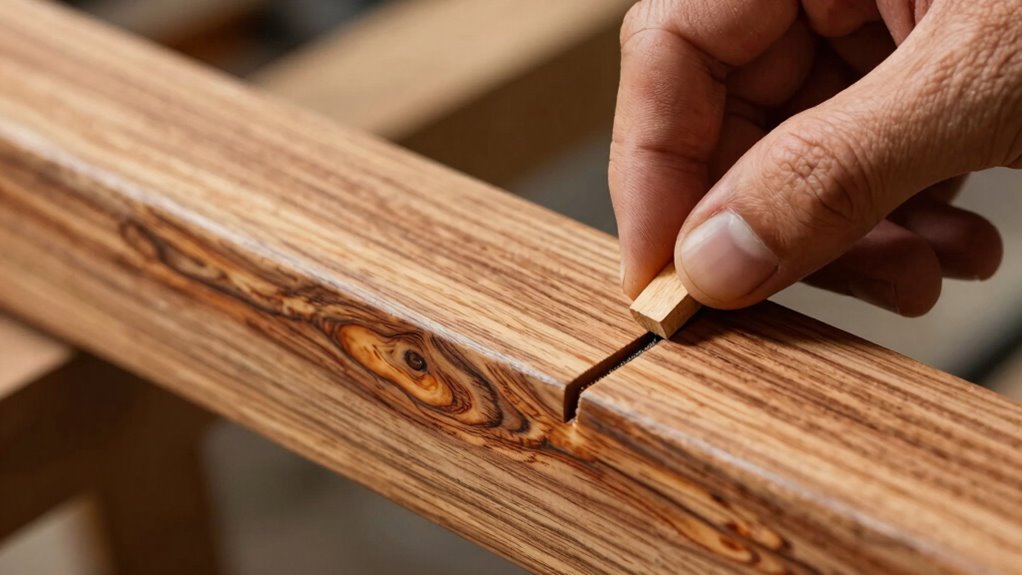
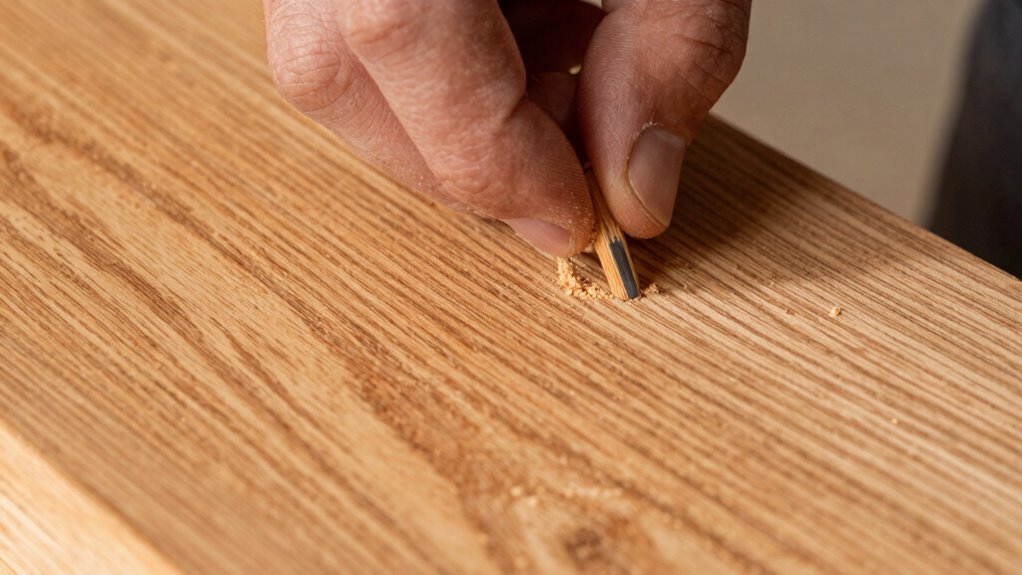
Precise Plug Cutting Techniques
Achieving a seamless repair begins with precise cutting and fitting of your wood plug. To guarantee perfect grain matching, select wood with a grain direction that complements your project. Use sharp tools to cut plugs slightly larger than the hole, then carefully trim to fit. When fitting, align the grain pattern to match the surrounding wood for an invisible repair. Additionally, understanding grain orientation can significantly enhance the natural appearance of your repair.
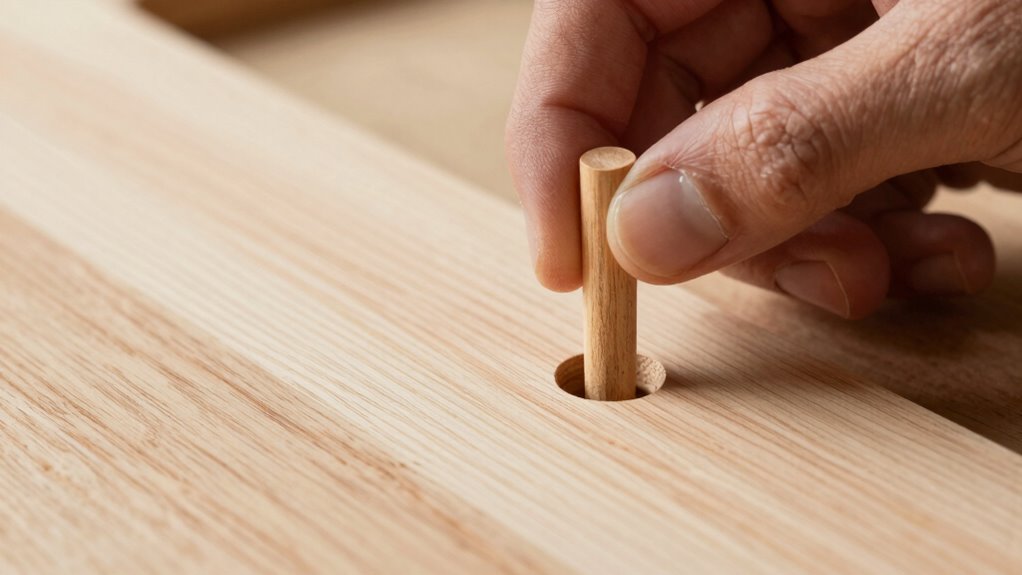
Seamless Insertion and Finishing
Seamlessly inserting and finishing a wood plug requires careful attention to the fit and grain alignment. To achieve a natural look, follow these steps:
- Ensure your saw blade is sharp and set at the correct height for clean cuts.
- Match the grain direction of the plug to the surrounding wood for perfect grain matching.
- Carefully insert the plug, checking for flushness and alignment with the surface.
- Use fine sandpaper to smooth the surface, blending the plug seamlessly into the surrounding wood.
- Pay close attention to grain matching techniques to ensure the repair remains virtually undetectable.
Proper grain matching guarantees the repair remains invisible, while a precise saw blade cut guarantees a tight fit. Take your time during insertion and finishing to avoid gaps or uneven surfaces. When done correctly, your repair will look flawless and almost undetectable.
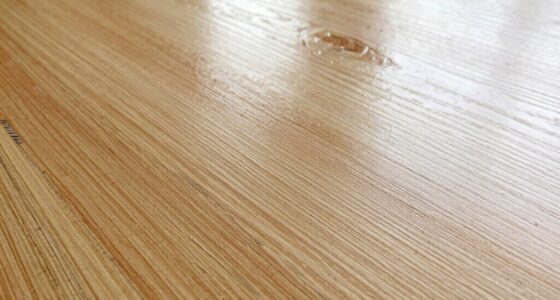
Tips for Sanding and Finishing Your Repair Seamlessly
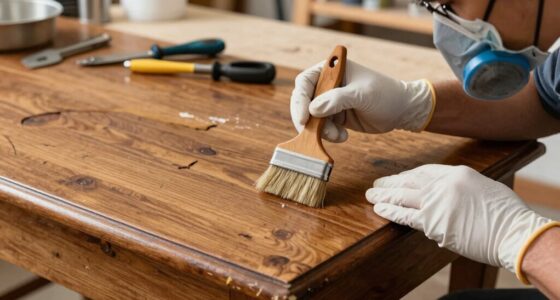
Sanding and finishing your repair properly is essential to create a smooth, professional look. Start by aligning your sandpaper with the grain orientation to minimize scratches and enhance the woodworking aesthetics. Use a fine grit to gently blend the repair area with the surrounding surface, working in the same direction as the grain. Avoid sanding across the grain, which can create noticeable scratches that are hard to hide. Once the surface feels smooth, wipe away dust thoroughly before applying finish. For seamless results, apply your stain or finish in thin, even coats, following the grain flow. Patience is key—allow each coat to dry completely before adding the next. Proper sanding and finishing practices ensure your repair stays invisible and maintains the natural beauty of your woodwork.
Troubleshooting: What If You Can’t See the Grain Clearly?
Sometimes, after sanding your repair, the wood grain isn’t clearly visible, making it harder to match the finish. When the grain pattern and wood texture are unclear, try these steps:
- Lightly dampen the area with a cloth to highlight the grain lines.
- Use a magnifying glass or raking light to reveal subtle grain details.
- Examine similar unblemished wood nearby to compare grain direction.
- Take a small sample of the original wood, if possible, to study its grain pattern closely.
- Remember that grain visibility can vary based on wood type and finish application, so patience and careful observation are key.
How to Check If Your Plug Is Properly Aligned and Hidden
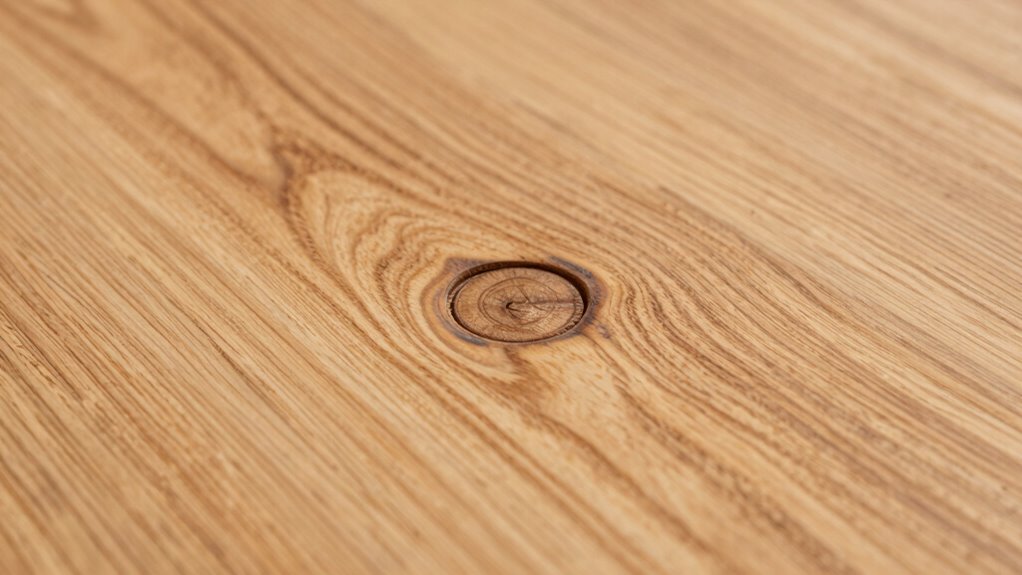
To guarantee your plug is properly aligned and hidden, start by inspecting the repaired area closely. Look at the grain orientation to ensure it matches the surrounding wood. The grain should run smoothly across the plug, not against or at an awkward angle. Check the wood texture too—if the texture feels uneven or rough, the plug might be misaligned or not flush. Run your fingers lightly over the surface to feel for any ridges or gaps. Good alignment means the grain flows seamlessly through the repair, making it virtually invisible. If you notice any discrepancies in grain direction or texture, gently adjust the plug or sand it down slightly. Properly aligned plugs blend with the wood, ensuring a clean, professional finish.
Enhancing Your Repair: Matching Grain and Color for a Perfect Blend
To make your repair seamless, start by matching the grain direction of the plug to the surrounding wood. Then, blend the color carefully so the repair area becomes invisible. When you align both grain and tone, your fix will look natural and professional.
Match Grain Direction
Matching the grain direction of the repair plug to the surrounding wood is essential for a seamless blend. If the grain pattern doesn’t align, the repair becomes obvious. To get it right, consider these steps:
- Examine the existing wood grain carefully, noting the direction and flow.
- Cut your plug so the grain runs parallel to the surrounding grain pattern.
- Use a magnifying glass if needed to observe subtle grain lines.
- When inserting the plug, align the grain direction precisely to guarantee consistent flow.
Blend Color Seamlessly
Once you’ve aligned the grain direction of your repair plug, achieving a seamless look depends heavily on color matching. To do this, carefully assess the wood’s existing color and use a matching stain or dye to blend the repair area. Start by applying a small amount of color, then gradually build up until the repair matches the surrounding grain and hue. Focus on precise grain matching, ensuring the repair flows naturally with the original wood pattern. Use a fine brush or cloth to blend the color evenly, avoiding harsh lines or mismatched patches. Remember, subtle differences can be adjusted with additional light coats. Proper color blending minimizes visibility, making your repair virtually invisible and professional-looking.
Practice Tips to Master Cutting and Installing Grain-Oriented Plugs
Mastering the cutting and installation of grain-oriented plugs requires careful practice and attention to detail. To guarantee a seamless fit, focus on matching the grain pattern and wood texture. Here are four tips to improve your skills:
Perfect your grain-matching skills for seamless, invisible repairs.
- Examine the wood grain before cutting, ensuring you align the plug with the existing grain direction.
- Use sharp tools to make precise cuts, reducing splintering and maintaining the wood’s texture.
- Practice cutting at varying angles to perfectly match the grain flow, making the repair less noticeable.
- Test fit your plug frequently, adjusting as needed to ensure the grain pattern flows naturally and the surface remains smooth.
Consistently practicing these steps will help you master the art of grain-oriented plugs and create invisible repairs.
Frequently Asked Questions
Can You Use Different Wood Types for Matching Grain in Repairs?
Yes, you can use different wood types for matching grain in repairs, but you need to take into account wood compatibility. Some woods blend better due to similar grain patterns and color, making your repairs less noticeable. Use grain matching techniques like aligning the grain direction and choosing woods with similar textures. This guarantees your repair is seamless, even when working with different wood types, resulting in a more polished and invisible finish.
How Does Humidity Affect the Grain Pattern When Cutting Plugs?
Humidity impacts the grain pattern when cutting plugs because moisture fluctuations cause wood expansion and contraction. As humidity rises, the wood swells, making the grain appear more pronounced, while in dry conditions, it tightens, potentially altering the grain’s look. You should consider the moisture levels during cutting to match the grain pattern accurately, ensuring a seamless repair that blends invisibly with the surrounding wood.
Are There Specific Techniques for Repairing Curved or Irregular Surfaces?
Ever wondered how to seamlessly repair curved or irregular surfaces? You should carefully follow the surface contouring by shaping your plug to match the curve, then focus on grain matching for a natural look. Use flexible tools and sand gradually to adapt to complex shapes. Isn’t it satisfying when your repair blends perfectly? With patience and precision in surface contouring and grain matching, you’ll achieve an invisible fix every time.
How Long Should You Wait Before Sanding or Finishing After Installing a Plug?
You should wait at least 24 hours before sanding or finishing after installing a plug to guarantee proper grain matching and stability. This allows the wood to settle and reduces the risk of gaps or cracks. Rushing the finishing timing can damage the repair or cause uneven results. Always check that the plug is fully set and dry, then gently sand to blend the surface for a seamless finish.
What Are Common Mistakes to Avoid When Aligning Grain for Invisible Repairs?
Think of aligning the grain like tuning a fine instrument; if you overlook it, the harmony falls apart. To avoid grain misalignment, carefully select a plug size that matches the original grain pattern and verify the grain direction follows the wood’s natural flow. Misaligned grains make repairs obvious. Take your time, double-check your work, and remember that small details like grain direction can make or break an invisible repair.
Conclusion
So, next time you think a simple plug will do, remember—ignoring grain direction is like trying to hide a elephant behind a toothpick. With a little patience and attention to grain, your repair will vanish more effectively than a magician’s trick. Ironically, the secret to invisible repairs isn’t some fancy tool, but simply letting the wood’s own grain do the hiding. Master it, and your repairs will be the best-kept secret in your woodworking arsenal.