
To avoid bubbles in your finish without changing products, start by thoroughly preparing your surface—clean and smooth it, then use tack cloth to remove debris. Apply thin, even coats with steady, gentle strokes, avoiding over-agitation. Control your environment by maintaining stable temperature and humidity, and make certain proper drying between coats. Keep your tools clean and work carefully to prevent trapped air. For more tips on flawless results, explore the detailed techniques that follow.
Key Takeaways
- Properly clean, sand, and remove debris from the surface before applying to ensure good adhesion.
- Use smooth, overlapping strokes and avoid over-brushing to minimize trapped air.
- Apply thin, even coats and allow sufficient drying time between layers.
- Control environmental conditions by maintaining consistent temperature, humidity, and good airflow during drying.
- Keep tools clean and handle finishes gently to prevent introducing bubbles during application.
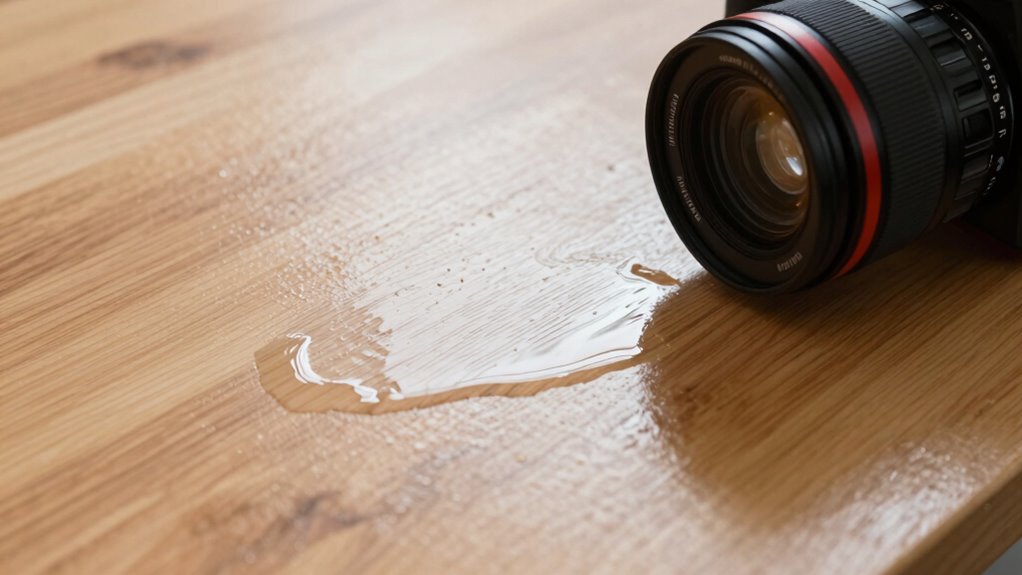
wood finish applicator tools
As an affiliate, we earn on qualifying purchases.
As an affiliate, we earn on qualifying purchases.
Why Do Bubbles Form When Finishing? Causes and Insights

Bubbles often form during finishing because air gets trapped in the coating or varnish before it dries. Surface contamination, like dust or oil, can create uneven surfaces that trap air, increasing bubble formation. Additionally, finish viscosity plays a crucial role; if the coating is too thick or too thin, it can cause air pockets to become trapped. High viscosity may hold air longer, making bubbles more likely, while low viscosity might not provide enough film thickness, causing uneven drying and trapping air. When you apply a finish with inconsistent viscosity or on a contaminated surface, you’re more prone to bubbles. Proper surface preparation is essential to prevent surface contamination and minimize bubble formation. Ensuring proper application techniques can also help reduce trapped air and achieve a smooth finish. Understanding these causes helps you control how your finish interacts with the surface, reducing trapped air and ensuring a smooth, professional look. Being aware of finish application techniques can further help in achieving a bubble-free finish. Additionally, choosing the appropriate finish viscosity for your specific project can significantly decrease the likelihood of bubbles forming during application.

CAREGY 16Pcs Tack Cloth for Removing Dust from Woodworking, Sanding Particles, Clean & Polish, Ideal for Woodworking & Painting,Wax and Silicone Free, 18 x 36 Inches Dust Cloths
Package Includes: Each package contains a total of 16 tack cloths, with each tack cloth individually packaged for…
As an affiliate, we earn on qualifying purchases.
As an affiliate, we earn on qualifying purchases.
How to Prepare Your Surface for a Flawless Finish
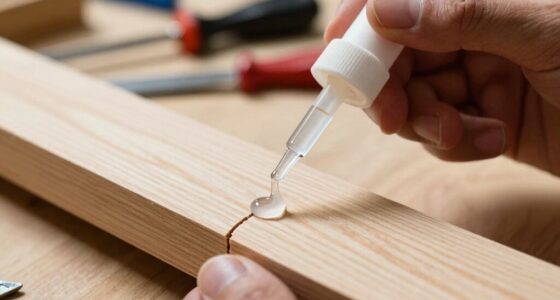
Before applying any finish, taking the time to properly prepare your surface can make all the difference in achieving a flawless look. Start by cleaning the surface thoroughly to remove dust, grease,, and dirt that can hinder finish adhesion. Sand the surface smoothly to eliminate rough spots, ensuring a uniform foundation. Use a tack cloth to remove any remaining debris after sanding. Proper surface preparation creates a clean, even base that promotes better finish adhesion and reduces the risk of bubbles or imperfections. If the surface isn’t properly prepared, the finish might not adhere well, leading to imperfections that are difficult to fix later. Additionally, understanding how finishing techniques can influence the final appearance helps in achieving a professional result. Taking these steps ensures your finish bonds correctly and results in a smooth, professional-looking surface free of bubbles. Paying attention to surface condition and the right application methods can further enhance your results and prevent common finish issues. Incorporating a cleaning process before applying the finish can also help improve adhesion and overall outcome. Being aware of application environment factors, such as humidity and temperature, can further support successful finishing results.
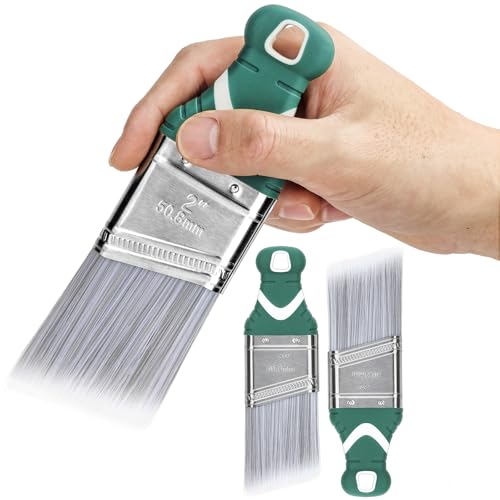
PinStone 3 Pack 2 Inch Angled Paint Brush Set, Synthetic Bristles, Easy Grip Rubber Short Handle, Smooth Finishes Paint Brushes for Painting Walls, Cabinets, Sash, Edge, Corner, Cut in, Trim, Touch up
【What You Get】3pcs 2-Inch short handle angle paint brush, featuring synthetic bristles, stainless steel ferrule, and rubber grip…
As an affiliate, we earn on qualifying purchases.
As an affiliate, we earn on qualifying purchases.
Tips for Managing Temperature and Humidity When Finishing

Keeping your workspace stable helps guarantee a smooth finish and prevents bubbles. You should control both the room’s humidity and temperature to avoid fluctuations that can cause issues. Also, make sure the surface you’re finishing is at the right temperature before applying your finish. Additionally, maintaining a consistent airflow during drying can help minimize surface tension issues that lead to bubbles. Ensuring your workspace remains environmentally controlled creates the optimal conditions to prevent finish imperfections. Managing climate control effectively can further reduce the risk of temperature and humidity swings that cause bubbles during finishing. Properly monitoring and adjusting your HVAC system can help maintain these ideal conditions throughout the project. Regularly checking your environmental conditions can help you anticipate and mitigate potential problems before they affect your finish.
Maintain Stable Environment
Maintaining a stable environment is vital for a smooth finishing process, as fluctuations in temperature and humidity can cause the finish to develop bubbles. Start with proper surface preparation to guarantee the surface is clean, dry, and free of dust or contaminants, which can trap air and lead to bubbles. Good air quality is also essential; avoid drafts, strong airflow, or rapid temperature changes that can disrupt the drying process. Keep the workspace at a consistent temperature and humidity level throughout the application and curing stages. Using a climate-controlled environment minimizes sudden shifts that can cause the finish to contract or expand unevenly, trapping air and creating bubbles. Consistency in your environment helps the finish cure smoothly, reducing the risk of bubbles forming. Additionally, monitoring air quality, including pollutants and airborne particles, can contribute to a more stable environment and a better finish. Ensuring proper ventilation can also help control airborne contaminants, further improving the quality of the finish. Maintaining stable temperature and humidity levels is crucial, as even minor fluctuations can impact the finish’s integrity and appearance. Incorporating environmental monitoring tools can help detect and correct changes promptly to prevent issues.
Control Surface Temperature
Controlling the surface temperature during finishing is essential because fluctuations can cause the finish to dry unevenly and trap air, leading to bubbles. Keep the surface insulated from drafts and direct sunlight to maintain consistent temperature. Monitoring ambient temperature helps prevent rapid drying or prolonged curing, which can cause surface imperfections. Use a temperature-controlled environment or space heater if necessary. To emphasize, consider this:
| Surface Insulation | Ambient Temperature |
|---|---|
| Keeps surface steady | Maintains even drying |
| Prevents temperature swings | Reduces bubble risk |
| Enhances finish consistency | Ensures smoother results |
Additionally, understanding the importance of environmental conditions can significantly improve your finishing results by reducing the likelihood of bubbles forming. Proper management of connected equipment and ambient environment plays a key role in achieving a bubble-free finish. Maintaining consistent temperature and humidity levels is crucial for optimal finish performance and avoiding surface defects. Being aware of climate control strategies can further help in creating stable conditions for perfect finishes. Incorporating proper ventilation can also aid in controlling surface drying and moisture levels, further minimizing bubble formation.
Fourth Conference on Advanced Pollution Control for the Metal Finishing Industry: Presented at Dutch Inn, Lake Buena Vista, FL, January 18-20, 1982
As an affiliate, we earn on qualifying purchases.
As an affiliate, we earn on qualifying purchases.
What’s the Best Technique to Apply Finish Without Bubbles?
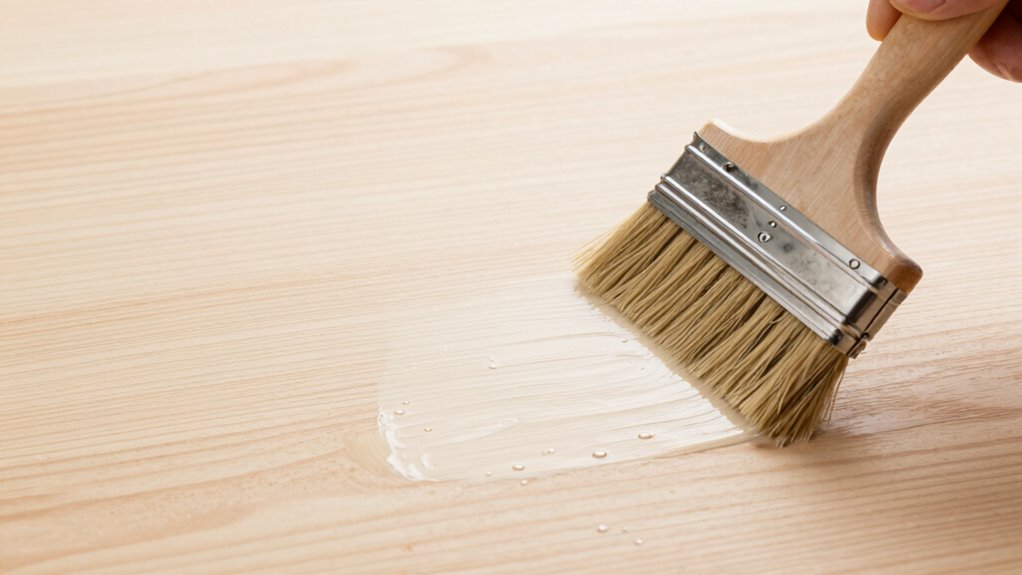
To apply finish smoothly and avoid bubbles, you should use a consistent, even technique that minimizes agitation of the liquid. Focus on your brush techniques to maintain a steady, controlled motion, avoiding heavy strokes or excessive brushing. Keep your brush loaded with an appropriate amount of finish to prevent drips and uneven layers. Maintaining consistent finish consistency ensures a uniform flow, reducing the chance of trapped air. Work in smooth, overlapping strokes, and don’t go back over areas once they’re brushed out, as this can introduce bubbles. Keep your workspace free of dust and keep your brush clean to achieve a flawless, bubble-free coat. By mastering these techniques, you’ll ensure a smooth finish without bubbles or imperfections. Proper application methods help prevent air entrapment and result in a professional-looking finish.
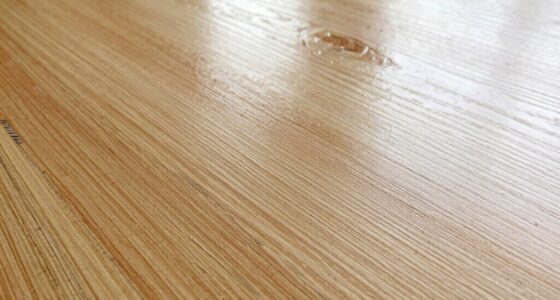
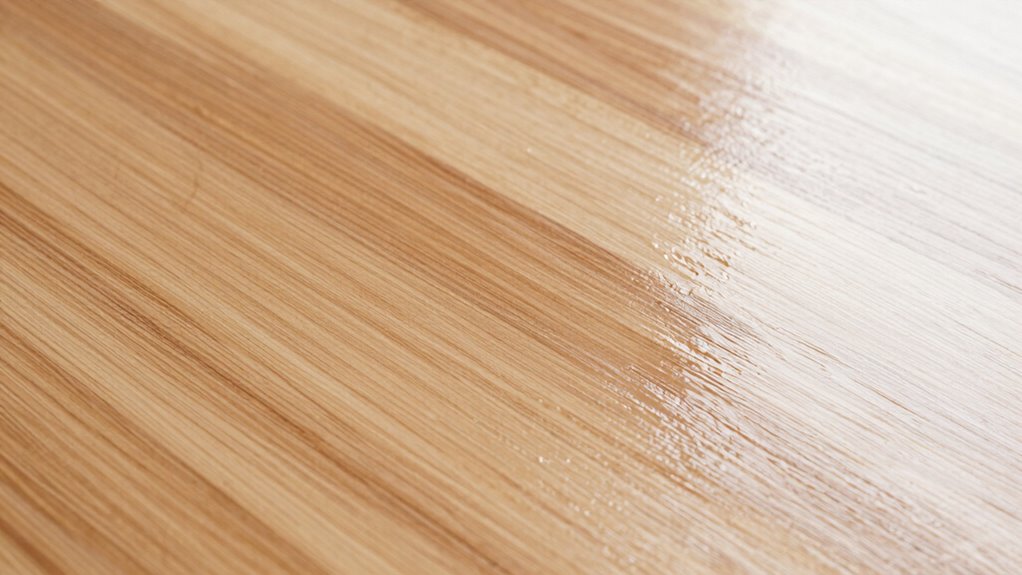
Why Thin, Even Coats Help Prevent Bubbles

Applying thin, even coats guarantees your finish dries smoothly and reduces the risk of bubbles forming. Consistent application techniques and a proper drying environment help maintain this evenness. When you follow these steps, you create a flawless finish free of bubbles and imperfections.
Consistent Application Techniques
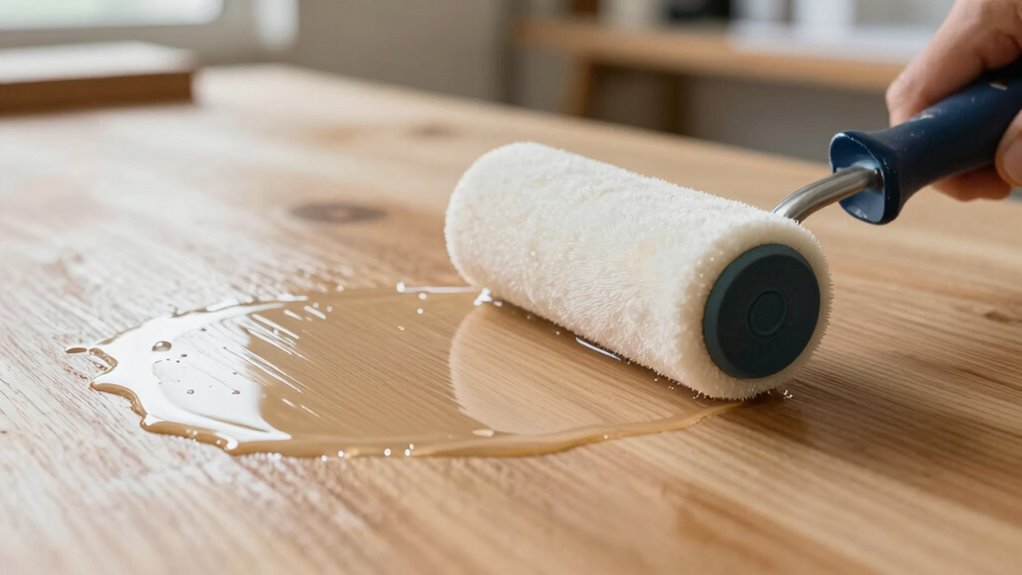
Because thick coats are more prone to trapping air, applying thin, even layers is essential for preventing bubbles. Consistent application techniques ensure that your finish remains smooth and bubble-free. Use proper brush techniques, such as long, even strokes, to avoid streaks that can trap air. Carefully select your tools—choose brushes or rollers suited for the product to achieve a uniform coat. Keep a steady hand and avoid overworking the finish, which can introduce bubbles. Regularly reload your brush or roller to maintain an even application. Work in small sections to stay consistent. Remember, patience and attention to technique make all the difference in achieving a flawless, bubble-free finish.
Proper Drying Environment
Maintaining a proper drying environment is crucial because it allows your finish to cure evenly and smoothly. Good air circulation helps dissipate any trapped vapors and prevents humidity buildup, which can cause bubbles. Keep the area well-ventilated but avoid strong drafts that might disturb the surface. Thin, even coats promote consistent surface tension, reducing the risk of bubbles forming as the finish dries. Applying thick layers can trap solvents and create uneven drying, increasing bubble chances. Guarantee the temperature remains stable, avoiding rapid drying or temperature fluctuations. A controlled environment minimizes surface tension variations across the surface, leading to a smoother, bubble-free finish. By paying attention to air circulation and applying thin coats, you greatly lower the risk of bubbles and achieve a professional look.
How to Use Gentle, Steady Movements When Spreading Finish

Using gentle, steady movements when spreading finish is essential to prevent bubbles and achieve a smooth, professional look. Your brush techniques and tool selection play a big role here. Opt for high-quality brushes with soft bristles to control the finish better. Keep your strokes consistent, avoiding heavy pressure that can trap air. Move smoothly across the surface, maintaining a steady pace to prevent uneven layers. Focus on these tips:
- Choose tools suited for your project’s size and finish type
- Use light, consistent pressure with your brush or roller
- Maintain a steady speed to avoid thick or thin spots
- Keep your tool clean to prevent debris from creating bubbles
Mastering these techniques ensures a flawless, bubble-free finish every time.
When and Why to Allow Drying Time Between Coats

Allowing finish to dry properly between coats is essential for achieving a smooth, durable surface. Rushing this step can trap moisture or solvents, leading to bubbles or an uneven finish. Adequate drying time also addresses ventilation issues, helping fumes escape and preventing surface imperfections. Be mindful of product compatibility; some finishes require longer drying times, especially if they contain stronger solvents. Skipping or shortening drying periods increases the risk of bubbles forming when subsequent coats are applied too soon. Always follow the manufacturer’s recommendations for drying times, and ensure good airflow in your workspace. This patience guarantees each layer bonds correctly, reduces the chances of bubbles, and results in a professional, flawless finish.
How to Detect and Fix Bubbles Before They Set

Detecting bubbles early is crucial because once they set, fixing them becomes much more challenging. To catch issues, regularly inspect your surface for signs of surface contamination like dust or oil, which can cause bubbles. Keep an eye on air pressure, as fluctuations can introduce air pockets before application. You can also gently run your hand over the finish to feel for any bumps or inconsistencies.
To prevent bubbles:
- Check for surface contamination and clean thoroughly beforehand
- Maintain steady, controlled air pressure during spraying or brushing
- Watch for rising bubbles during application, especially in thick coats
- Use a light, even stroke to avoid trapping air or creating surface issues
Early detection helps you address problems before they harden, saving time and effort later.
Troubleshooting Bubbles During Finishing Without Changing Your Finish
When you notice bubbles forming during the finishing process, acting quickly can prevent them from hardening and becoming permanent flaws. Start by inspecting your surface preparation; a smooth, clean surface reduces trapped air. Ensure your finish is compatible with the material—mismatched finishes can cause bubbling. To troubleshoot effectively:
| Issue | Solution | Result |
|---|---|---|
| Surface debris | Clean thoroughly before applying finish | Fewer bubbles |
| Incompatible finish | Use a compatible product | Reduced bubbling |
| Applying too thickly | Thin coats, allow proper drying | Minimized air entrapment |
| Rapid application | Work slowly and evenly | Less turbulence in finish |
Frequently Asked Questions
Can Environmental Contaminants Cause Bubbles in My Finish?
Yes, environmental contaminants can cause bubbles in your finish. Environmental factors like dust, dirt, or moisture introduce contaminants that trap air, leading to bubbles. To prevent this, you should focus on contaminant prevention by working in a clean, dust-free environment and ensuring proper ventilation. Keep your workspace dry and free from humidity, and always prepare your surfaces thoroughly. These steps help minimize environmental impact and reduce the chances of bubbles forming in your finish.
How Does Surface Tension Affect Bubble Formation During Finishing?
Ironically, surface tension’s your secret enemy in bubble formation during finishing. It pulls the finish into tight spheres, trapping air and creating bubbles. This forces you to understand bubble dynamics, as high surface tension makes bubbles more stable and harder to break. To minimize this, you can reduce surface tension by thinning your finish slightly or applying it more carefully, helping air escape before bubbles can form and ruin your smooth look.
Are There Specific Tools That Minimize Bubble Creation?
You should use tools like foam brushes or fine-nap rollers, which help apply finishes smoothly and reduce bubbles. Focus on application techniques that keep the surface even, avoiding over-brushing or layering too thickly. Also, consider drying conditions; guarantee proper ventilation and avoid rapid drying, which can trap bubbles. These strategies help minimize bubble formation, giving you a flawless finish without changing your products.
How Do Air Circulation and Ventilation Impact Bubble Development?
Think of your finish like a calm lake; air circulation and ventilation are the gentle breezes that shape its surface. Proper airflow control guarantees bubbles don’t form, while effective ventilation strategies help remove trapped moisture and fumes. By maintaining steady, controlled airflow, you prevent turbulence that causes bubbles, leading to a smooth, flawless finish. Keep your workspace well-ventilated but not drafty, and you’ll achieve professional results every time.
Can Mixing Techniques Influence the Likelihood of Bubbles Forming?
Yes, mixing techniques can influence bubble formation. You should mix at a slow, steady speed to prevent introducing air into the finish. Avoid vigorous stirring or rapid agitation, as this can trap air and create bubbles. Also, be cautious with additive inclusion; add them gently to prevent foam. Proper mixing minimizes air entrapment, resulting in a smoother, bubble-free finish.
Conclusion
By following these tips, you can prevent bubbles from ruining your finish, much like a careful gardener tends to delicate plants. Staying attentive to surface prep, application technique, and drying conditions helps you achieve a smooth, flawless result. Remember, patience and gentle handling are your best tools—think of them as the steady hand guiding a ship through calm waters. With practice, you’ll master bubble-free finishing, leaving your project looking polished and professional.