To prevent splitting wood when driving screws, use the right size pilot holes—usually slightly smaller than the screw’s core diameter—and drill at the right depth, keeping your drill steady and perpendicular to the grain. Place pilot holes away from edges and knots, especially in hardwoods. Avoid forcing the screw or making holes too large, which can weaken the wood. For more detailed tips, you’ll discover how proper pilot hole techniques make your woodworking projects stronger and neater.
Key Takeaways
- Match pilot hole diameter to the screw’s core diameter for a tight fit and to prevent splitting.
- Drill pilot holes slightly deeper or larger in hardwoods to reduce stress and avoid cracks.
- Position pilot holes along the grain and away from edges or knots to minimize splitting risk.
- Keep drill bits sharp and use steady, perpendicular drilling to ensure accurate, damage-free holes.
- Use clamps and proper techniques to stabilize wood during drilling, reducing splitting and improving joint strength.

EZARC Countersink Drill Bit Set, 12 PCS Counter Sink Drill Bit Adjustable, #4, #6, #8, #10, #12, Magnetic Extension bit Holder for Woodworking with Storage Box
【Unique Two-Flute Design】Featuring a dual-edge cutting design, these countersink drill bits eliminate chatter and ensure smooth, precise finishes….
As an affiliate, we earn on qualifying purchases.
As an affiliate, we earn on qualifying purchases.
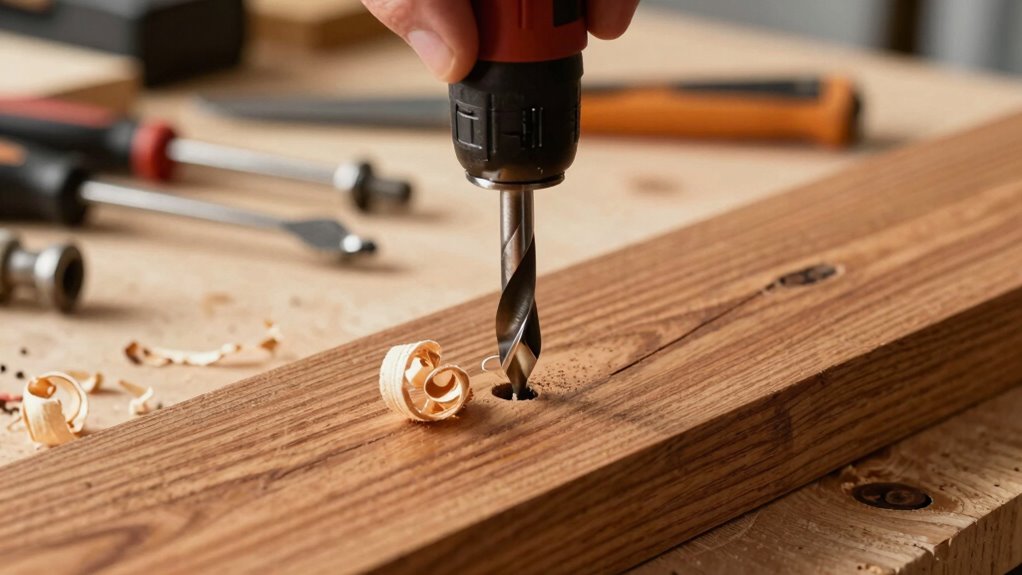
What Are Pilot Holes, and How Do They Prevent Wood Splitting?
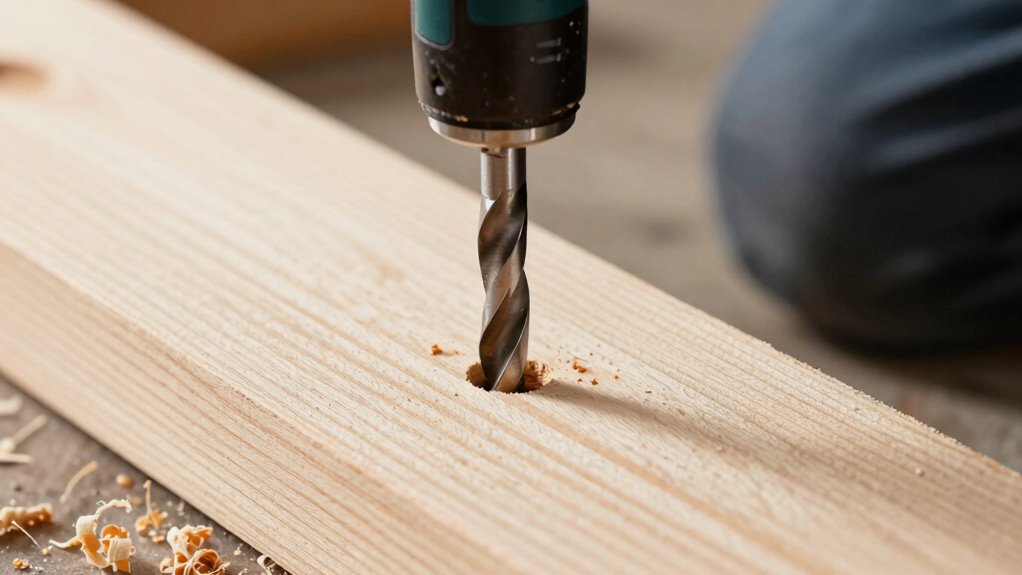
Pilot holes are small, pre-drilled holes you create before driving screws or nails into wood. They help prevent splitting by reducing stress on the wood fibers, especially near the grain direction. When drilling, consider the grain direction because drilling across the grain can cause splintering. The pilot hole diameter is vital; it should be slightly smaller than the screw’s core diameter to guarantee a tight fit. If the hole is too large, the screw won’t hold properly and could loosen over time. Proper pilot holes make inserting fasteners easier, minimize damage, and keep your wood intact. Additionally, high contrast ratios in projectors contribute to better visibility of fine details. By paying attention to grain direction and choosing the right pilot hole diameter, you guarantee your project is strong, durable, and visually appealing. Using the correct drilling technique can further enhance the effectiveness of pilot holes, ensuring your woodworking is precise and reliable. Incorporating proper drilling pressure can also prevent bit slipping and ensure clean, accurate holes. To maximize woodwork durability, it’s important to select the appropriate drill bit type for your specific project. Being aware of piercing techniques can help in avoiding unnecessary damage to the wood during drilling and assembly.

3 Pack Countersink Drill Bit Set #10#12#16, 3in1 Woodworking Counterbore Hole Saw Drill Bits, Depth Adjustable M2 Pilot Drill Bits, 82-Degree Chamfer, 1/4" Hex Shank, with 1 Allen Wrench
3in1 Countersink Drill Bit Set – Enable you to Drill, Countersink and Counterbore in one step, ideal woodworking…
As an affiliate, we earn on qualifying purchases.
As an affiliate, we earn on qualifying purchases.
When and Where Should You Drill Pilot Holes in Woodworking?
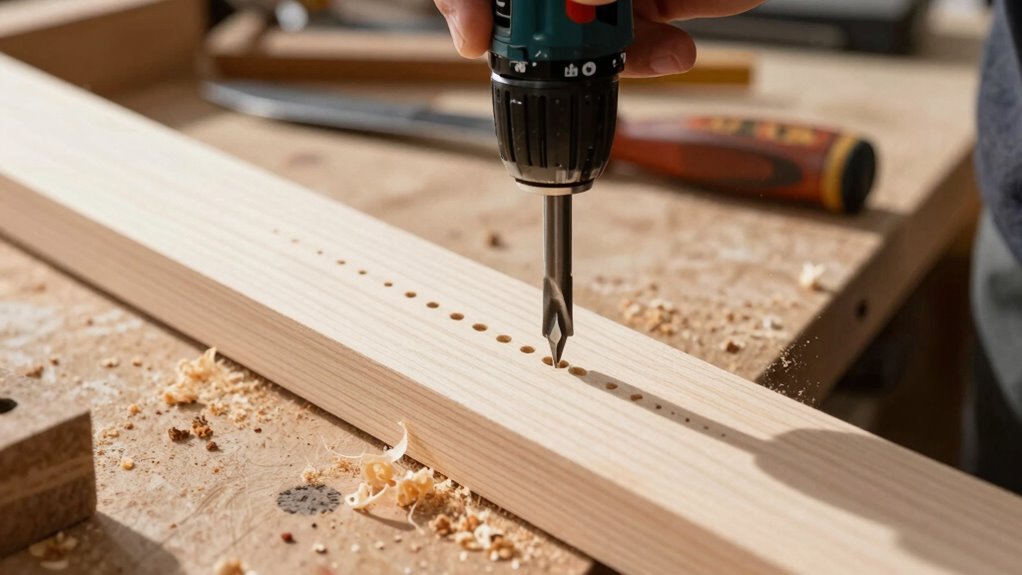
You should drill pilot holes whenever you’re joining pieces with screws or nails to prevent splitting. Focus on placing the drill bit where the fastener will go, guaranteeing it’s centered and straight. Doing this helps you avoid damaging the wood and ensures a secure, professional-looking connection. Additionally, understanding wood movement can help you decide when and where to use pilot holes for optimal results. Recognizing grain direction is also vital, as drilling against the grain can increase the risk of splitting even with pilot holes.
When to Use Pilot Holes
Knowing when to drill pilot holes can prevent wood from splitting and guarantee precise screw placement. Use pilot holes when working with hardwood or dense wood, especially near edges or corners, to avoid splitting along the wood grain. Adjust your drill speed to a slower setting to maintain control and prevent overheating of the bit. Consider pilot holes when installing large screws or working with thin or fragile wood pieces. Additionally, understanding wood grain direction can help determine the best placement for pilot holes, further reducing the risk of splitting.
Optimal Drill Bit Placement
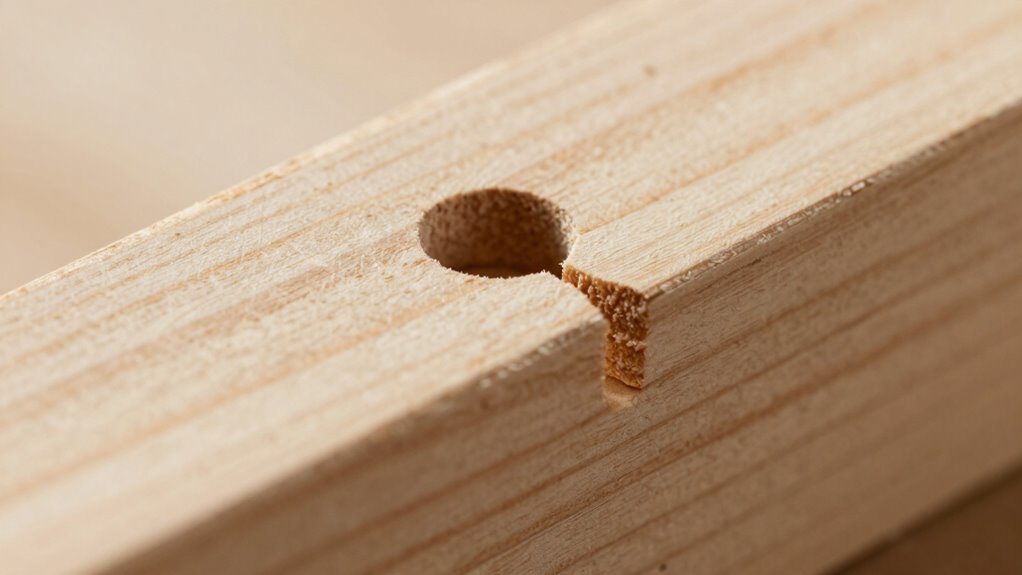
Where should you drill pilot holes to guarantee strong, precise joints? The key lies in choosing the right drill bit types and understanding the wood grain. Use sharp, appropriately sized bits—such as brad point or twist bits—that match the screw diameter. Position your pilot holes along the wood grain to prevent splitting and ensure maximum grip. Drill at the spots where screws will join two pieces, typically near edges but not too close to prevent cracking. For hardwoods, go slightly deeper or use a slightly larger bit to avoid splitting. Always drill straight and align your drill perpendicular to the surface. Proper placement, combined with the correct drill bit types, guarantees tight, durable joints without damaging your wood.
Avoiding Wood Splitting
To prevent wood splitting during drilling, it’s crucial to choose the right moments and locations for pilot holes. Focus on the grain direction, drilling perpendicular to it to reduce stress. Avoid drilling near edges or knots, especially in hardwoods, which are more prone to splitting. Use pilot holes when joining two pieces or inserting nails near the surface. Here’s a quick guide:
| When to Drill | Where to Drill | Why |
|---|---|---|
| Near edges | Along the grain, away from knots | Prevents splitting |
| In hardwoods | At a 45° angle to grain | Reduces stress |
| For joinery | Away from ends | Maintains integrity |
| When inserting nails | Close to the surface | Avoids cracking |
| Near knots | Slightly away from knots | Less risk of splitting |
Additionally, understanding free floating techniques can help in managing wood movement and preventing damage over time.

DEWALT Drill Bit Set, 21 Pc. Titanium Nitride Coated Pilot Point DEWALT Bit Set with Case for Wood, Metal and Plastic (DW1361)
Titanium Nitride Coating Pilot Point for Longer Life
As an affiliate, we earn on qualifying purchases.
As an affiliate, we earn on qualifying purchases.
How Do You Choose the Right Size and Depth for Pilot Holes?
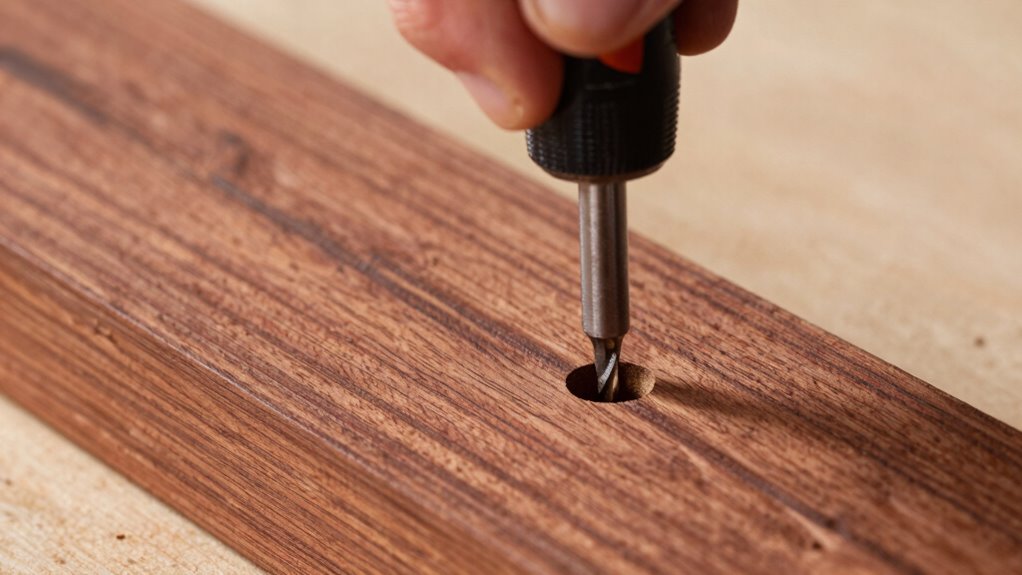
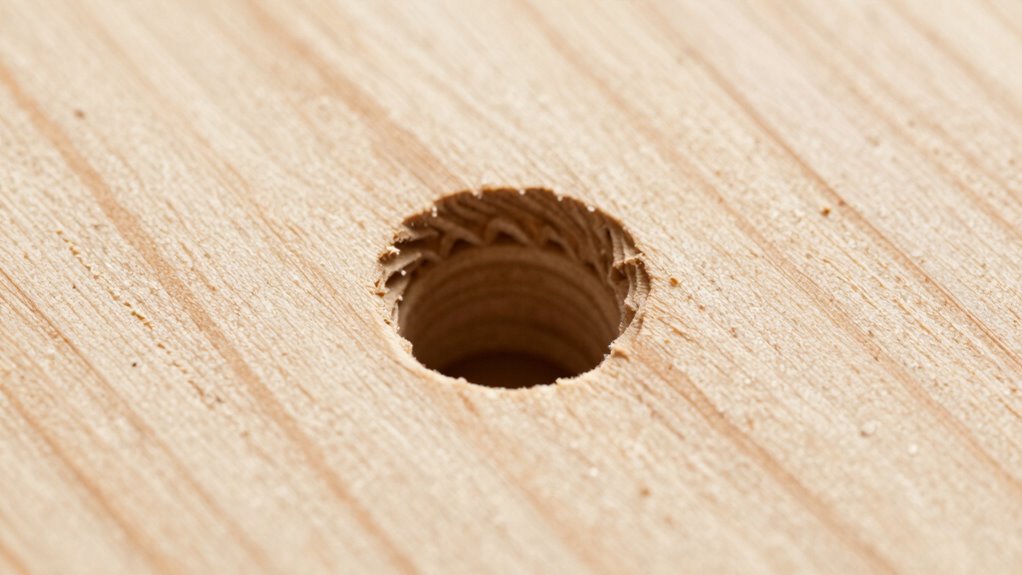
Choosing the right size and depth for your pilot holes is essential for guaranteeing a secure and professional finish. Start with your drill bit selection by matching the bit size to the screw’s core diameter—this prevents splitting and allows the screw to grip firmly. Consider the wood grain direction; drilling with the grain reduces splitting risk, especially for larger pilot holes. The depth should be slightly shorter than the screw’s length, ensuring the screw seats properly without breaking through the other side. Use a depth stop or tape on your drill bit as a guide. Properly sized and deep enough pilot holes make driving screws easier and help avoid damaging the wood. Additionally, understanding wood grain orientation can significantly influence your drilling strategy. Taking these steps ensures your project stays sturdy and looks polished.
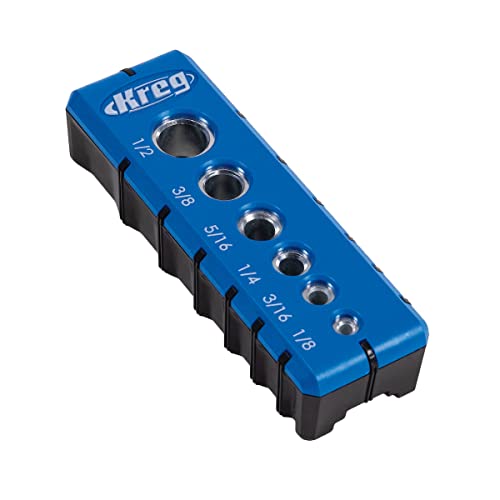
Kreg Portable Drilling Guide – 6 Hardened Drill Guides for Carpentry – Craftsman Tool Accessory
Premium Home Improvement Tools: Drill guide can create perfectly positioned holes thanks to 6 built-in hole alignment marks
As an affiliate, we earn on qualifying purchases.
As an affiliate, we earn on qualifying purchases.
Common Mistakes When Using Pilot Holes: and How to Avoid Them
One common mistake is drilling pilot holes that are too large or too small, which can lead to splitting the wood or weak screw holding. To avoid this, consider how wood expansion affects your project; larger holes may loosen over time, especially with seasonal changes. Additionally, poor drill bit maintenance can cause uneven holes or damage to your tools, making it harder to get accurate results. Always select the correct drill bit size for your screw and keep your bits sharp and clean. Dull or dirty bits increase resistance, risking splits and imprecise holes. Regularly inspect and replace bits as needed, and double-check your measurements before drilling. Proper technique and tool care help guarantee your pilot holes stay precise and your project remains intact. Remember that understanding the properties of different woods, such as those found in the South – These Fifty States, can also influence your drilling approach for best results. Familiarity with wood characteristics can help you choose the right drilling technique and prevent damage. Considering the types of drill bits available can also improve your accuracy and prevent splitting. Being aware of pinball machine weights and their impact on transportation can also help you plan your project logistics more effectively.
Top Tips for Drilling Pilot Holes Safely and Effectively
Ensuring safety and precision while drilling pilot holes starts with proper preparation. Always wear woodworking safety gear, like goggles and gloves, to protect yourself from debris. Choose the right drill bit type for your task—sharp brad-point bits work best for clean, accurate holes, while twist bits are more versatile. Before drilling, mark your spot carefully to avoid slips. Use a slow, steady speed to prevent bit wandering and ensure control. Keep your drill perpendicular to the surface for straight holes. Secure the wood firmly to prevent movement. Regularly check that your drill bit remains sharp and in good condition. Being aware of drill bit types helps you select the appropriate tool for each project. Using proper woodworking techniques can also improve your overall results and safety. Maintaining sharp drill bits is essential for clean cuts and safety, reducing the effort required and preventing accidents. Proper drill bit maintenance extends the life of your tools and ensures consistent performance. Understanding essential oils can also promote a more comfortable and focused workspace, especially if you use them responsibly. These steps help you work efficiently, reduce the risk of accidents, and produce clean, precise pilot holes every time.
Summary: Key Takeaways for Preventing Wood Splitting
To prevent wood splitting when drilling, employing the proper techniques and tools is vital. Always pay attention to the grain orientation; drilling perpendicular to the grain minimizes splitting risk, especially near edges. Using a small pilot hole first helps reduce stress and keeps the wood intact. Additionally, drilling with sharp bits ensures cleaner holes and less damage, preserving the finish. Avoid forcing the drill, which can cause cracks or splits, and use clamps to stabilize your workpiece. Properly placed pilot holes also help maintain the wood’s aesthetic, aiding finish preservation. Remember, understanding the grain direction and applying the right drilling techniques are key to preventing splits, guaranteeing your project remains durable and visually appealing.
Frequently Asked Questions
Can Pilot Holes Be Used With All Types of Wood?
Yes, you can use pilot holes with all types of wood, but you should consider grain direction and wood density. For softer woods, smaller pilot holes work well, reducing splitting. In denser woods, larger or deeper pilot holes help prevent splitting and make driving nails easier. Always align your pilot holes with the grain direction for cleaner results, and adjust the size based on the wood’s density to guarantee the best outcome.
What Tools Are Best for Drilling Precise Pilot Holes?
You should use a drill bit that matches your desired pilot hole size for precision. A drill bit set with various sizes helps you select the right one quickly. For best results, choose sharp, high-quality bits, and verify your drill is steady. This way, you get clean, accurate pilot holes every time, preventing wood splitting and making your project easier and more professional-looking.
How Do Environmental Conditions Affect Pilot Hole Effectiveness?
You might think environmental conditions don’t matter, but moisture impact and temperature effects can compromise your pilot holes. High humidity causes wood to swell, making holes tighter or leading to splitting, while cold temperatures can make the material brittle, increasing the risk of cracks. By understanding these factors, you can adapt your drilling approach—like pre-drilling in dry conditions or warming the wood—to guarantee your pilot holes stay effective and your project stays intact.
Are There Alternative Methods to Prevent Wood Splitting?
Yes, you can prevent wood splitting by using clamps or cauls to hold the wood together during nailing. Applying a wood conditioner reduces wood expansion and minimizes splits. Using corrosion-resistant nails prevents rust and weakens over time. Additionally, pre-drilling pilot holes remains effective, especially on hardwoods, to ensure the nails go in smoothly and prevent damage from wood expansion or corrosion-related issues.
How Do I Remove or Repair a Poorly Drilled Pilot Hole?
Think of repairing a poorly drilled pilot hole like guiding a river back to its course. First, check the grain direction to avoid further splitting. If the hole’s too large, you can fill it with wood glue and insert a toothpick or matchstick, then sand it smooth once dry. For a small, misdrilled hole, simply drill a new one with the correct drill bit size, ensuring it aligns with the grain to prevent future splits.
Conclusion
Think of pilot holes as the gentle nudge that guides your wood’s natural strength, preventing it from splitting like a cracked mirror. By choosing the right size, depth, and technique, you’re crafting a sturdy bond instead of a fragile fracture. When you drill with care, your woodworking projects become a symphony of precision and durability. So, keep your drill steady and let pilot holes be the silent heroes behind your perfect, split-free masterpiece.