Getting perfect crown molding angles might seem tricky, especially if math isn’t your thing. But don’t worry—it’s easier when you focus on key techniques. Use a crown molding chart or template, and trust your eye and experience to make adjustments. Measure carefully, set your saw correctly, and practice fixes for uneven cuts. Keep trying, and if you continue exploring, you’ll discover how simple mastering crown molding can be without complex calculations.
Key Takeaways
- Use simple angle charts and miter settings for common wall angles to avoid complex calculations.
- Verify wall and ceiling angles with an angle finder before cutting.
- Measure wall lengths and corners carefully, double-checking for accuracy.
- Make test cuts on scrap molding to ensure proper fit before final cuts.
- Adjust saw settings for irregular angles or uneven walls using flexible molding or custom cuts.

Crown Molding and Trim: Install It Like A Pro!
Used Book in Good Condition
As an affiliate, we earn on qualifying purchases.
As an affiliate, we earn on qualifying purchases.
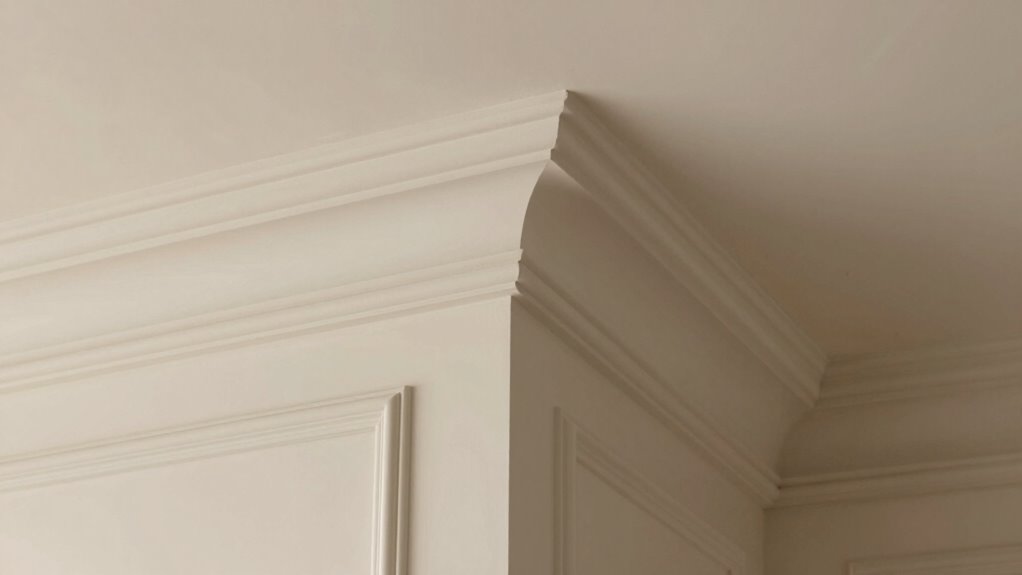
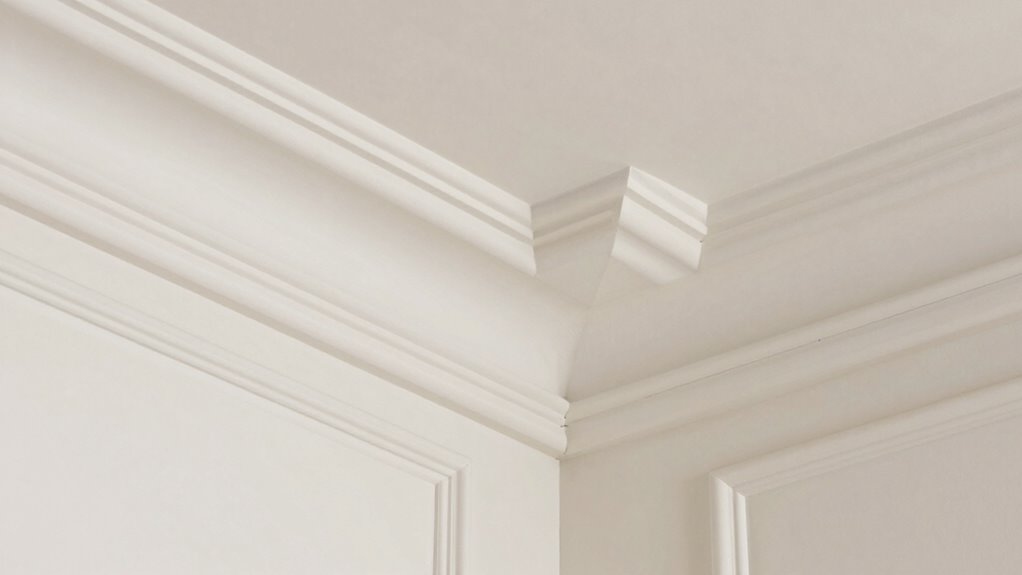
Why Crown Molding Angles Matter for a Perfect Finish
Crown molding angles are essential because they determine how well the pieces fit together at the corners, directly impacting the overall finish of your project. Proper angles ensure seamless joints, enhancing the aesthetic appeal. Decorative patterns often rely on precise angles to highlight intricate designs, making the molding stand out. Additionally, crown molding has a rich historical significance, with traditional angles reflecting classical architecture styles. When angles are off, it can distort these patterns or diminish the historical charm you aim to preserve. Understanding the importance of accurate angles helps you achieve a polished look, whether you’re emphasizing elaborate designs or maintaining historical authenticity. Ultimately, getting the angles right elevates your craftsmanship and results in a more professional, elegant finish.

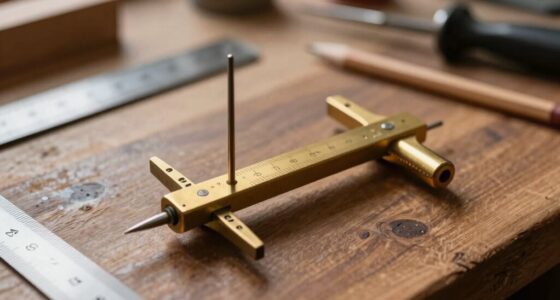
GemRed 82305 Digital Angle Finder GemRed Protractor Stainless steel 7inch 200mm (Black Button)
PATENTED MEASURING TECHNOLOGY — Ruler and protractor combination for easy measuring inside and outside angles.
As an affiliate, we earn on qualifying purchases.
As an affiliate, we earn on qualifying purchases.
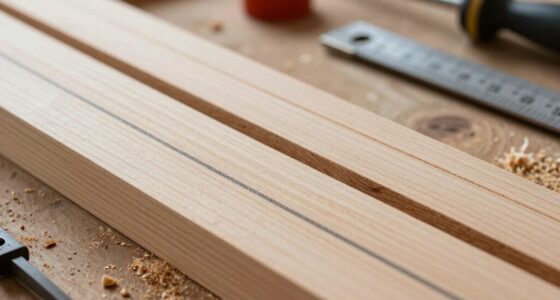
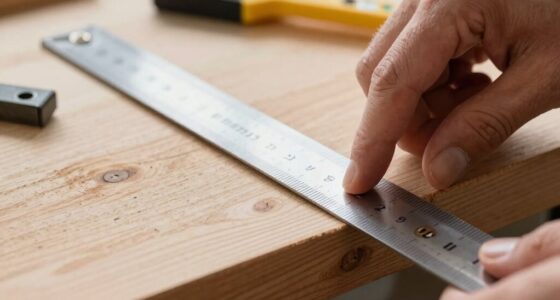
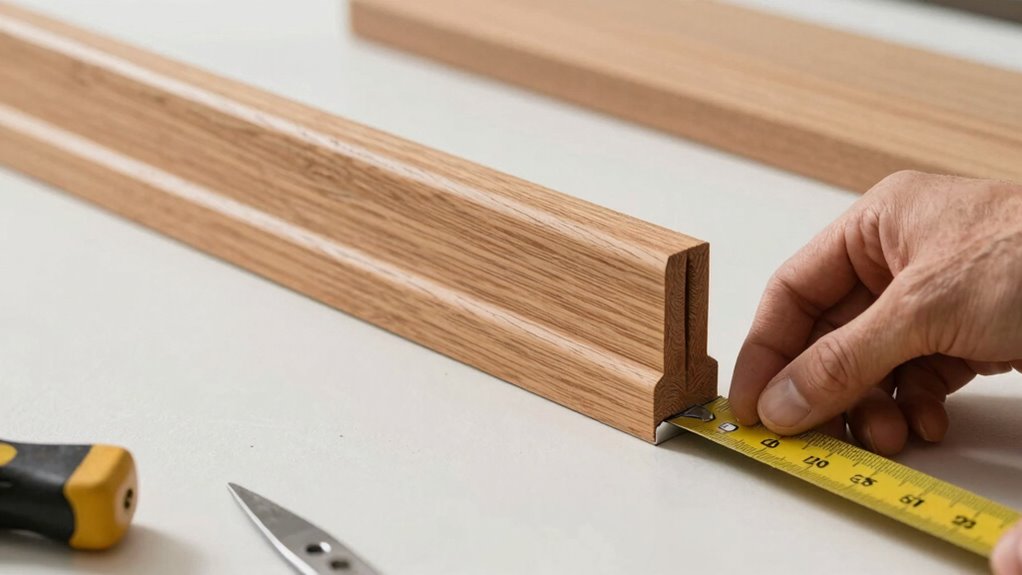
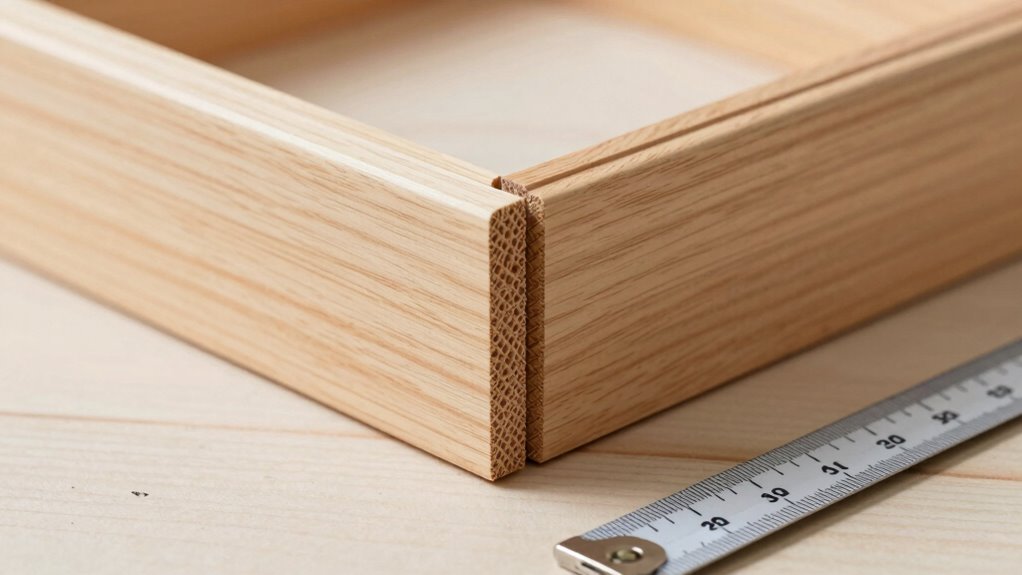
How to Measure Walls and Molding Accurately Before Cutting
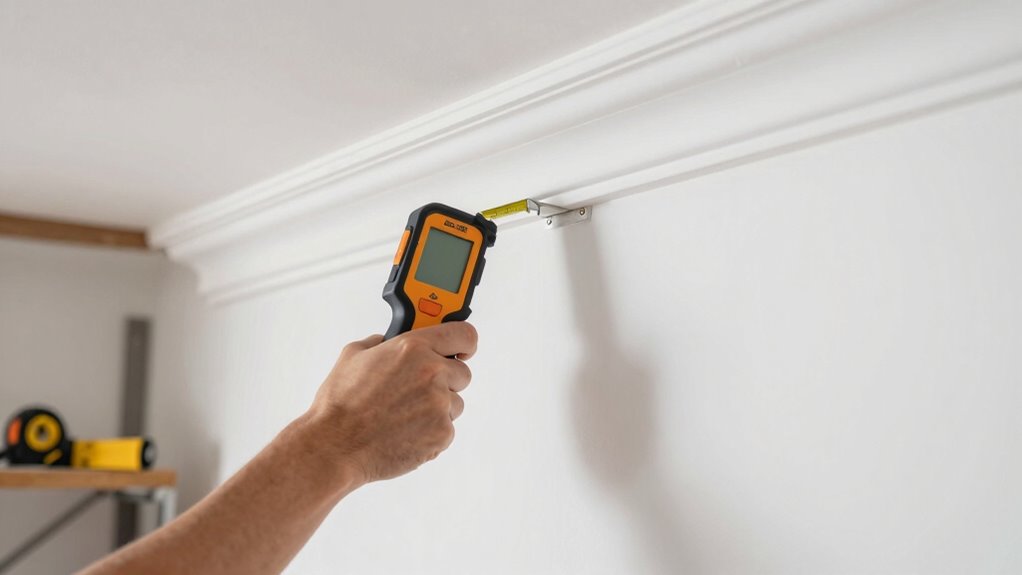
Accurate measurements are the foundation of a perfect crown molding fit, so taking the time to measure your walls and molding correctly is essential. Use a measuring tape to get precise lengths of each wall, especially around wall corners where angles change. When measuring, keep the tape straight and snug against the wall to avoid errors. For wall corners, mark the exact point where two walls meet to ensure your molding fits seamlessly. Here are some tips to help you measure precisely:
Accurate measurements ensure perfect crown molding fits; measure twice, keep the tape snug, and mark wall corners precisely.
- Measure each wall twice to confirm consistency
- Record measurements in inches for precision
- Use a pencil to mark wall edges clearly
- Check for uneven walls or out-of-square corners
- Always measure from corner to corner, not just wall length
- Ensure your measurements account for proper angle calculations to achieve accurate cuts and a professional finish. Incorporating angle measurement techniques can further improve your accuracy.
These steps ensure your cuts will fit perfectly the first time.

AltitudeCraft Crown Stops for Miter Saw – Simplifies Compound Angle Cutting, Heavy Duty Crown Molding Jig Fits DEWALT DWS780 DW718 DW716 & Other DEWALT Models
Simplify Complex Cutting: Streamlines crown cutting by allowing for precise 45° miter cuts (nested method) without needing the…
As an affiliate, we earn on qualifying purchases.
As an affiliate, we earn on qualifying purchases.
Using a Crown Molding Cutting Chart or Template (or How to Cut Crown Molding Angles Without Math)
Once you have your measurements, the next step is to determine the correct angles for cutting your crown molding. Using a crown molding cutting chart or template makes this easy, especially if math isn’t your thing. These charts list common wall angles and the corresponding miter gauge settings needed for precise cuts. To use them, locate your wall’s angle on the chart and note the recommended miter and bevel angles. An angle finder can help verify your wall angles before cutting. If you prefer not to do complex calculations, a pre-made template or a cutting chart simplifies the process. Just set your miter gauge to the specified angles, and you’ll have perfect cuts without the headache of math. Additionally, understanding the range of angles encountered in typical interior spaces can help you select the most appropriate chart or template for your project.
AltitudeCraft Crown Stops for Miter Saw – Simplifies Compound Angle Cutting, Heavy Duty Crown Molding Jig Fits DEWALT DWS780 DW718 DW716 & Other DEWALT Models
Simplify Complex Cutting: Streamlines crown cutting by allowing for precise 45° miter cuts (nested method) without needing the…
As an affiliate, we earn on qualifying purchases.
As an affiliate, we earn on qualifying purchases.
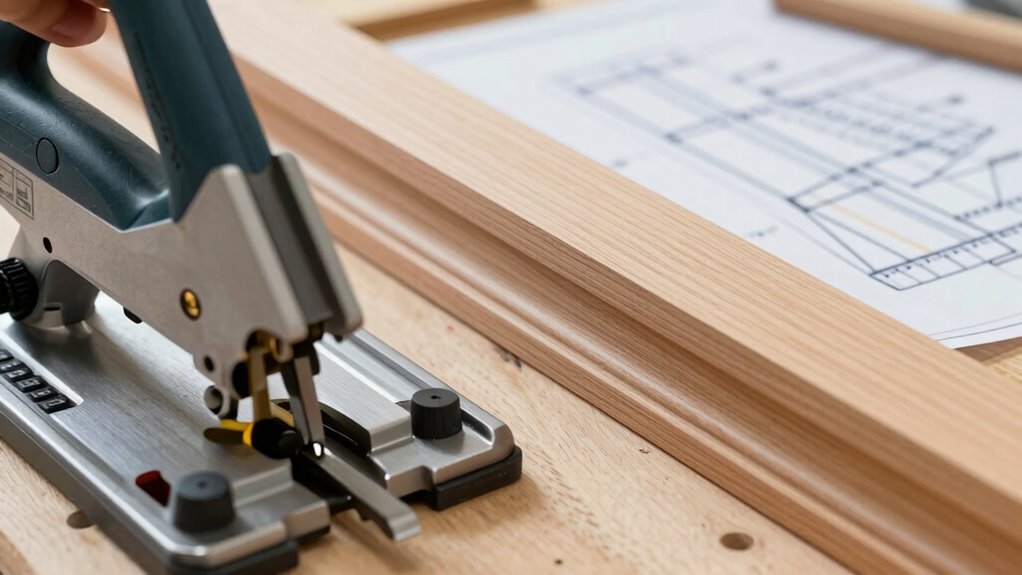
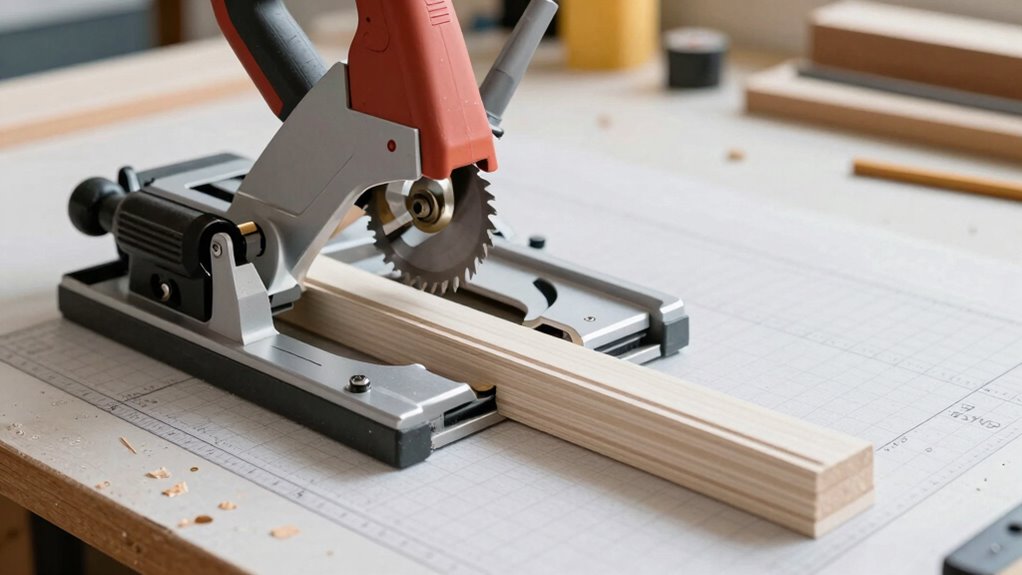
Setting Up Your Miter Saw for Accurate Crown Molding Cuts
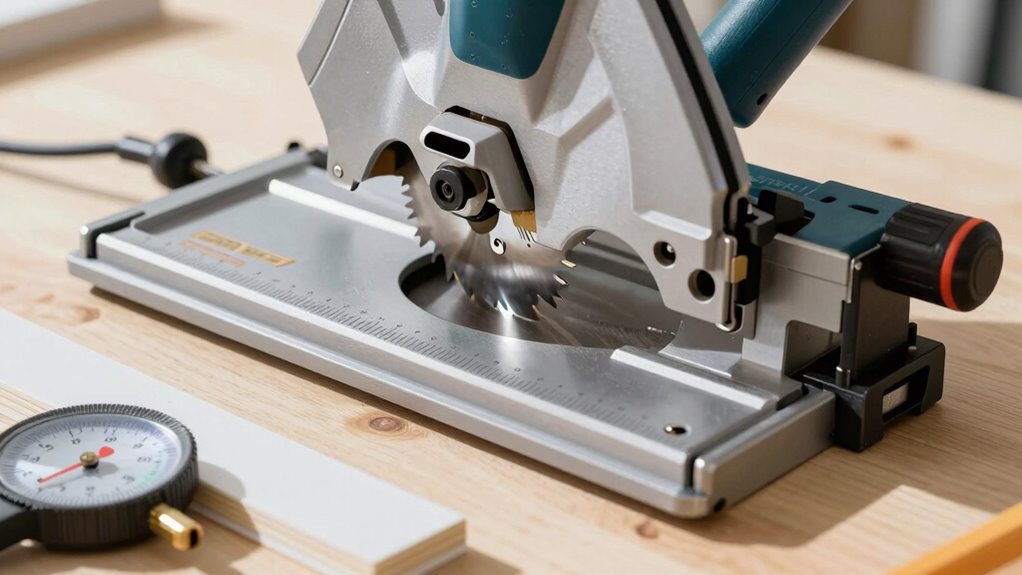
Before making your cuts, it’s essential to properly set up your miter saw to guarantee precision. A correct miter saw setup ensures your crown molding angles are accurate and consistent. Start by adjusting the saw’s angle calibration to match your desired cut angles. Make sure the saw’s fence is square and secure. Check that the blade is sharp and properly aligned. Use a square to verify the miter and bevel angles before cutting. Double-check your measurements and mark your molding precisely. Proper setup also involves setting the saw at the right height for the cut. Keep these key points in mind for a smooth process:
Proper miter saw setup ensures accurate, clean crown molding cuts every time.
- Calibrate the angle settings with a square
- Secure the fence tightly
- Confirm blade alignment
- Adjust for bevel angles if needed
- Test cut on scrap before final cuts
Additionally, understanding the water chemistry involved in your project can help ensure your cuts are clean and precise, especially when working with materials sensitive to moisture or adhesives. Paying attention to piercing care and hygiene during setup can also prevent contamination of your tools and materials, leading to better results. Being aware of humidity levels in your workspace can also influence the accuracy of your cuts, as fluctuations may cause slight shifts in measurements. Incorporating proper tool maintenance routines can further improve your cutting accuracy and extend the lifespan of your equipment. Regularly calibrating your saw ensures consistent performance and helps maintain overall accuracy over time.
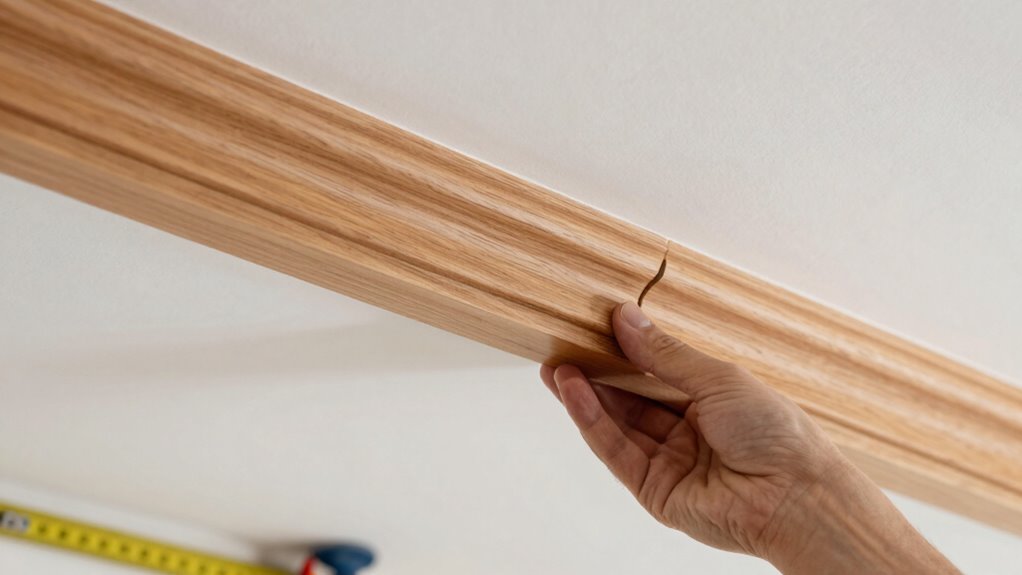
Step-by-Step: Cutting Crown Molding Angles by Eye and Practice
While relying on precise measurements and setups is important, many experienced woodworkers prefer to cut crown molding angles by eye and practice. This method relies on your measurement techniques and familiarity with the material. First, hold the molding in place against the wall and ceiling, then make small, incremental adjustments, checking the fit with your installation tools like a square or a scrap piece. Trust your eye to judge the angle, and tweak as needed, rather than obsessing over exact degrees. With practice, you’ll develop a sense of what looks right and improve your speed. Remember, perfect cuts often come from experience, so don’t be afraid to make test cuts and refine your technique. Over time, cutting crown molding by eye becomes quicker and more accurate. Developing your spatial awareness can further enhance your ability to judge angles without relying solely on measurements. Additionally, understanding angle intuition can help you make better adjustments based on visual cues rather than strict calculations. Embracing a trial-and-error approach can also build your confidence and skill in achieving seamless fits. Building your visual judgment through consistent practice will make this process more intuitive over time. Incorporating hands-on practice can accelerate your skill development and accuracy.
Common Mistakes When Cutting Crown Molding and How to Avoid Them
Many mistakes can happen when cutting crown molding, especially if you’re rushing or not paying close attention. Common errors include inaccurate measurement accuracy, poor tool selection, and neglecting to double-check angles before cutting. To avoid these pitfalls:
- Rushing the measurement process, leading to errors
- Using the wrong saw blade or angle settings
- Skipping the step of marking cut lines clearly
- Forgetting to account for wall and ceiling angles
- Ignoring the importance of testing cuts on scrap material
Focusing on measurement accuracy and choosing the right tools can make a big difference. Always verify your measurements, use a miter saw with proper settings, and double-check your angles before making final cuts. These precautions help ensure your crown molding fits perfectly without costly rework.
Troubleshooting Misaligned or Uneven Crown Molding Cuts
Misaligned or uneven crown molding cuts often result from inaccurate measurements, improper angle adjustments, or inconsistent cutting techniques. To troubleshoot, start by double-checking your measurements, especially considering ceiling height variations that can affect the fit. If your ceiling height isn’t standard, adjust your angles accordingly, since different heights can change the way the molding sits. Also, verify your saw settings and ensure your cuts are clean and precise. Sometimes, paint colors on the wall or ceiling can create visual illusions, making misalignments more noticeable. To correct these issues, use small shims or filler strips to smooth out uneven joints. Taking your time with measurements and cut angles will help guarantee your crown molding looks professional and evenly installed, regardless of ceiling height or wall color. Additionally, understanding simple measuring techniques can greatly improve your accuracy and overall results. Being familiar with angle adjustments can further enhance your ability to make precise cuts and achieve a seamless fit.
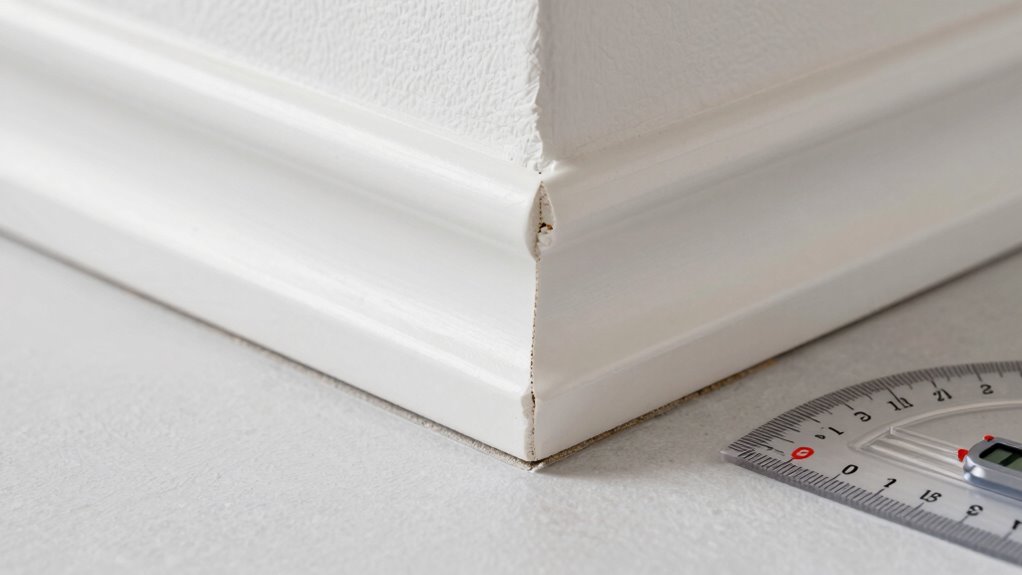
Handling Odd or Complex Wall Corners in Crown Molding
Handling odd or complex wall corners requires you to accurately identify the corner angles first. Then, you’ll need to cut the molding precisely, often using a miter saw to match the angles correctly. Mastering these steps guarantees your crown molding fits seamlessly, even in challenging corners. Incorporating connected tools like digital angle finders can simplify measuring irregular angles and improve your overall accuracy. Utilizing angle measurement techniques can further enhance your ability to work with complex corners and ensure precise cuts. Additionally, selecting the appropriate electric bike conversion kit based on your power needs can streamline your project and ensure reliable performance. Employing smart measurement devices can also help automate and refine your angle assessments, making complex cuts more manageable. Understanding seasonal checklists for cleaning and maintenance can help you prepare your workspace for accurate measurements and safer cutting conditions.
Identifying Corner Angles
Have you ever encountered a wall corner that doesn’t form a perfect 90-degree angle when installing crown molding? Identifying the actual wall angle is vital for accurate corner angle calculation. To do this, you can:
- Use a protractor or angle finder tool directly on the corner.
- Measure the angle with a digital angle gauge.
- Check for irregularities with a carpenter’s square.
- Observe the joint’s shape to determine if it’s acute or obtuse.
- Mark the angle’s measurement for reference during cutting.
- Remember that even in complex wall corners, proper identification of the wall angle is crucial for a seamless fit.
- Recognizing angle measurement techniques helps you adapt to irregular wall configurations and ensures precision during installation.
- Using proper tools ensures accurate readings, especially in awkward or irregular corners.
- Being aware of wall irregularities allows you to adjust your measurements accordingly and achieve a professional finish.
Understanding wall angle identification helps you determine the correct cut angles, especially in odd corners. Accurate corner angle calculation ensures your crown molding fits seamlessly, even when walls aren’t perfectly square. This step simplifies complex wall corners and guarantees a professional finish.
Cutting Complex Molding
When working with irregular wall angles, standard miter cuts often won’t produce a clean fit. To handle complex corners, focus on the decorative patterns you want to highlight and choose material carefully. Flexible molding options, like foam or resin, can adapt better to odd angles, making precise cuts easier. Sometimes, you’ll need to make custom cuts by marking the wall’s unique angle and transferring it onto the molding. Using a combination of coping and precise measurements helps achieve seamless joints. Remember, the key is to match the flow of your decorative patterns, so take your time aligning each piece. Material selection plays a big role—so pick the right type that can handle intricate cuts without cracking or splintering, ensuring a professional finish.
Using Miter Saws Effectively
Using a miter saw effectively is essential when tackling odd or complex wall corners in crown molding. To guarantee measuring accuracy, double-check your measurements before cutting, and use a reliable square or protractor. Maintain saw safety by keeping your fingers clear of the blade, wearing safety glasses, and securing the molding firmly. When working with complex corners, consider these tips:
- Use a clamp or stop block for consistent cuts
- Always verify angles with a protractor or digital angle finder
- Mark your cuts clearly to avoid mistakes
- Cut slowly and steadily to prevent kickback
- Practice on scrap pieces before the final cut
Mastering these steps helps you handle tricky corners confidently, saving time and reducing errors in your crown molding project.
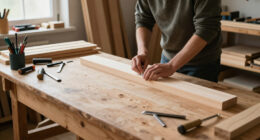
Tips for Installing Crown Molding Easily and Confidently
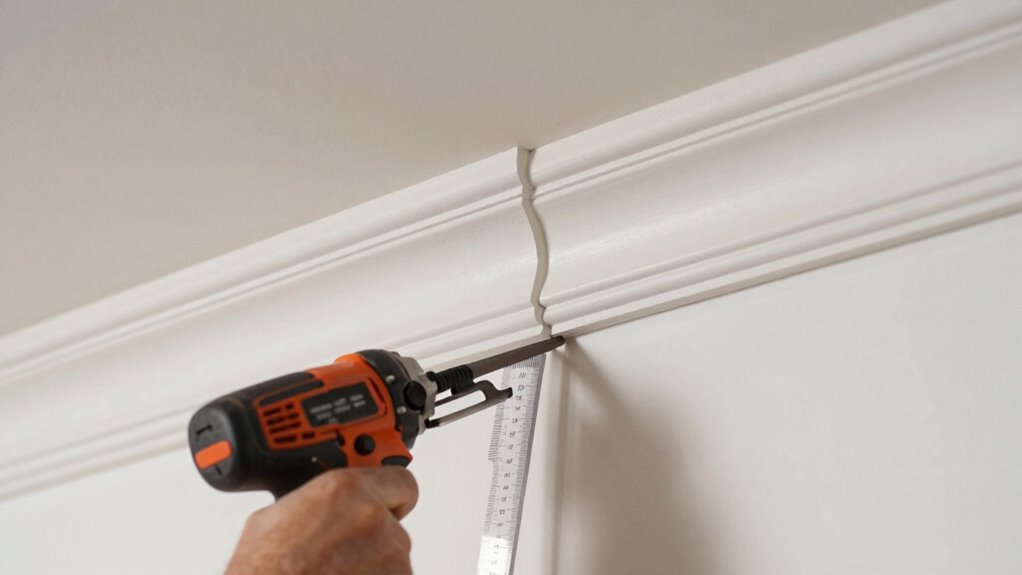
Installing crown molding can seem intimidating, but with the right approach, you can do it confidently and with ease. Start by planning your cuts carefully, especially if you’re aiming for authentic decorative finishes that match historical styles. Use a sturdy miter saw and double-check your angles before cutting to avoid mistakes. When installing, secure the molding firmly, but don’t overtighten, to prevent damage. Measuring twice guarantees a precise fit, which is essential for a polished look. Take your time, use a level to keep everything aligned, and don’t rush through the process. With patience and attention to detail, you’ll achieve a professional finish that enhances your space’s style and character. Confidence comes with practice—just keep at it!
Final Tips to Finish Your Crown Molding Like a Pro
Finishing your crown molding like a pro involves paying close attention to details that give your project a polished look. To elevate your work, consider adding decorative accents that complement your home’s historical styles, creating a timeless feel. Smooth out any imperfections with filler and sand lightly for a flawless surface. Use a high-quality paint or finish that matches your decor and enhances the molding’s details. Be sure to caulk gaps for a seamless look, and install corner blocks for clean joints. Finally, step back and review your work, making minor adjustments as needed. Remember, small touches like carefully chosen decorative accents and attention to the molding’s angle details can transform your project from good to professional.
Frequently Asked Questions
What Tools Are Best for Cutting Crown Molding Accurately?
You should use a miter saw for cutting crown molding accurately because it offers precise angles and smooth cuts. A good measuring tape helps you measure and mark the molding correctly before cutting. Make sure to set your miter saw to the right angle, whether it’s a 45-degree or custom cut, and double-check measurements with your tape. This combination guarantees clean, accurate cuts every time, even if math isn’t your favorite.
How Do I Choose the Right Crown Molding Style for My Room?
You know what they say, “Beauty is in the eye of the beholder,” so pick a crown molding style that complements your decor style and fits your room size. If your space is small, opt for simple, sleek designs to avoid overwhelming the room. For larger rooms, consider more elaborate styles that add character. Trust your instincts and choose what makes you feel most at home.
Can Crown Molding Be Installed on Uneven or Textured Walls?
Yes, you can install crown molding on uneven or textured walls. To do so, you need proper wall preparation, like sanding or applying a leveling compound to smooth out the surface. When selecting materials, choose flexible options like foam or polyurethane, which can better conform to irregularities. This approach guarantees a clean, professional look, even if your walls aren’t perfectly flat or smooth.
How Long Does It Typically Take to Install Crown Molding?
Installing crown molding typically takes between a few hours to a full day, depending on your space size and experience. You should use proper measurement techniques to guarantee a precise fit and take safety precautions like wearing goggles and working carefully with saws. If you’re new to this project, allocate extra time for adjustments and troubleshooting. Planning ahead helps you complete the installation efficiently and safely.
Is It Better to Hire a Professional or Do It Myself?
Think of crown molding installation as steering a winding river—you’re better off with a skilled captain. Doing it yourself can lead to DIY pitfalls like uneven cuts or crooked angles, causing frustration. Hiring a professional offers benefits such as precision, saving you time, and peace of mind. If you value quality and want flawless results, it’s smarter to hire a pro rather than risk costly mistakes on your own.
Conclusion
Think of crown molding like the finishing touch on a masterpiece—your home’s crown jewel. With patience and practice, you’ll master the angles, turning a formidable task into a simple craft. Remember, each cut is a brushstroke, adding beauty and character to your space. Embrace the process, trust your eye, and soon your walls will wear their elegant crown with pride—proof that even math-haters can create something truly stunning.