
Spring joints often get mistaken as signs of a good glue-up, but they actually reveal improper edge jointing and misalignment. Instead of helping your bond, they can weaken it by creating gaps or uneven surfaces. Proper edge jointing, using sharp tools, and ensuring edges sit flush before clamping are key to stronger, more durable joints. Keep these tips in mind, and you’ll discover how avoiding the spring joint myth can dramatically improve your woodworking results.
Key Takeaways
- A spring joint indicates improper edge preparation; it’s a sign of misalignment rather than a desirable feature.
- Proper jointing aims for flat, tightly fitting edges to maximize surface contact and glue strength.
- Spring edges may temporarily increase contact but can compromise joint durability if not properly aligned during clamping.
- Consistent, even clamping pressure and good surface prep are more crucial than relying on springiness to fix poor jointing.
- Correct edge preparation prevents spring joints, ensuring stronger, more reliable glue-ups with proper grain alignment.

Abeicy 17.5" Anodized Aluminum Straight Edge with Precision Edge for Checking Surface Warp, Layout Tool for Marking and Scribing Lines
This aluminum straight edge is a cost-efficient tool for verifying table flatness and inspecting various work surfaces
As an affiliate, we earn on qualifying purchases.
As an affiliate, we earn on qualifying purchases.
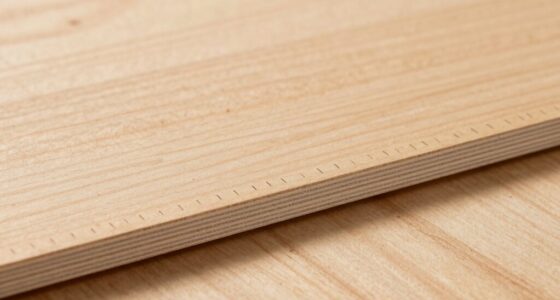
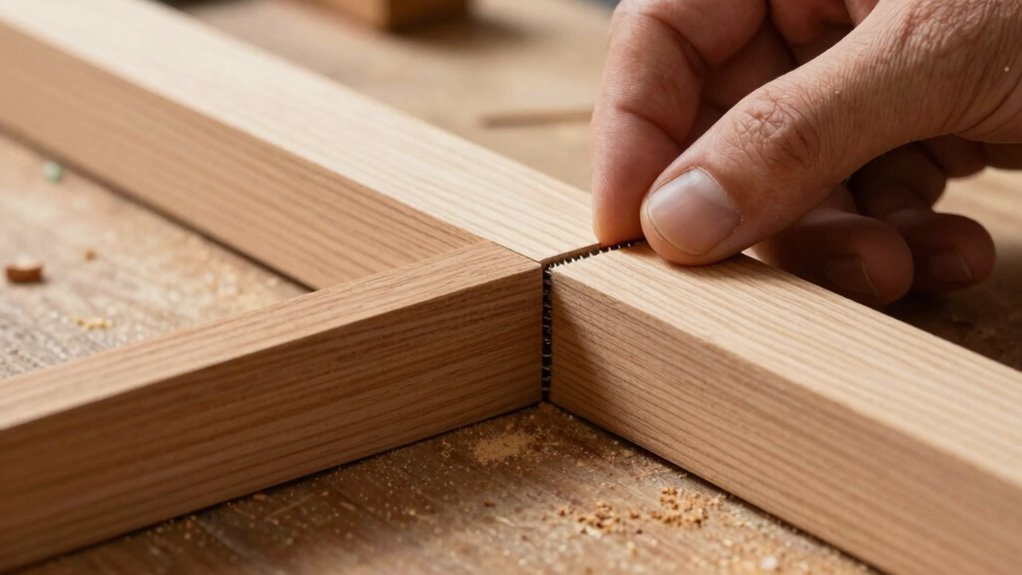
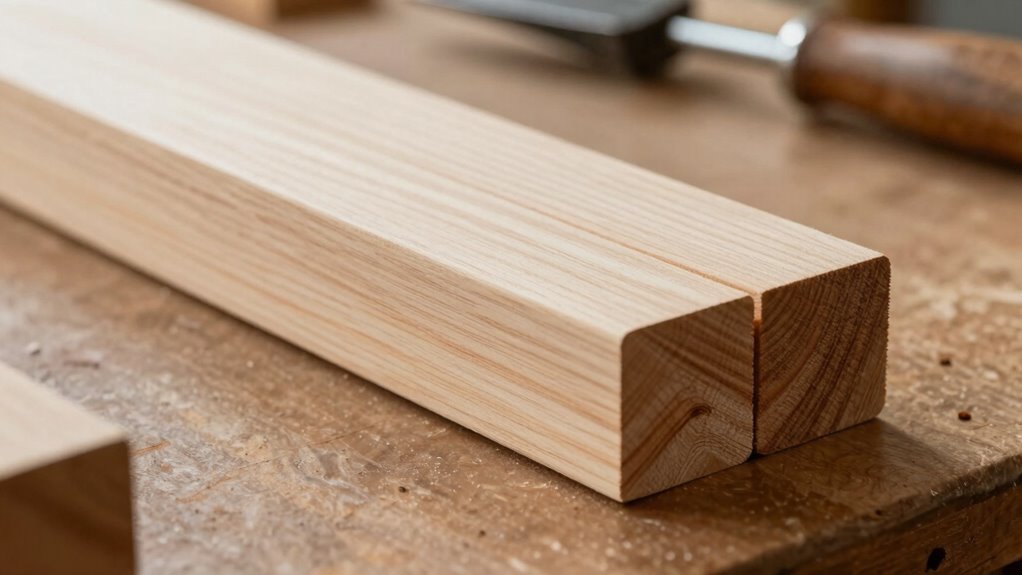
What Is a Spring Joint? Myths and Origins
A spring joint occurs when two wood surfaces are joined together with a slight curve or bend, causing them to naturally rebound apart when pressed together. This happens because the joint alignment isn’t perfect, leading to a mismatch in the glue surface. Instead of creating a tight bond, the surfaces push back against each other, making it seem like a spring is involved. Many believe a spring joint is a desirable feature, thinking it indicates a good joint, but it often signals improper joint preparation. The myth suggests that a spring joint is a sign of tension or quality, but in reality, it’s a sign you need to improve your jointing technique. Proper joint alignment ensures the glue surface is flat and tight, preventing spring joints from forming. European cloud innovation emphasizes advanced tools and techniques that can help achieve more precise jointing results. Additionally, understanding the importance of proper technique can significantly reduce the occurrence of these unwanted joints. Developing a keen eye for joint quality during assembly can also help identify and correct issues before the glue-up. Using precision measuring tools can further aid in achieving consistent and accurate joints. Implementing quality control measures throughout the process can help catch misalignments early and improve overall results.

JORGENSEN No.101 Mini Wood Planer – Mini Hand Planer for Woodworking, Block Plane, Small Hand Plane for Trimming, Wood Planing, Craft, Professional Ductile Iron Body, Adjustable Cutting Depth
Professional Level Blade: The blade is made of professional level O1 tool steel, improving cutting efficiency while minimizing…
As an affiliate, we earn on qualifying purchases.
As an affiliate, we earn on qualifying purchases.
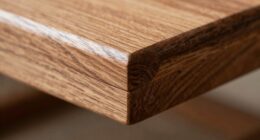
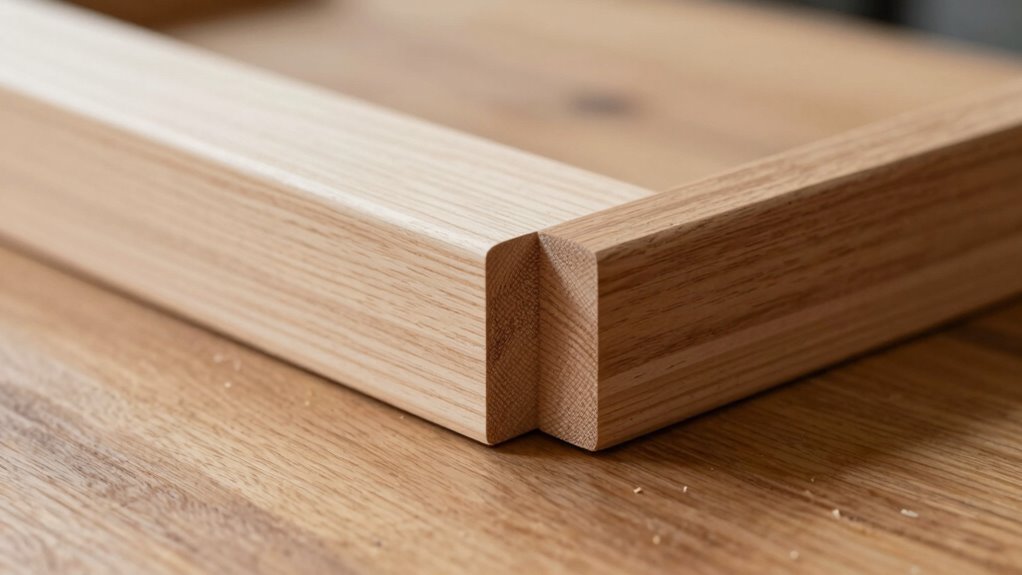
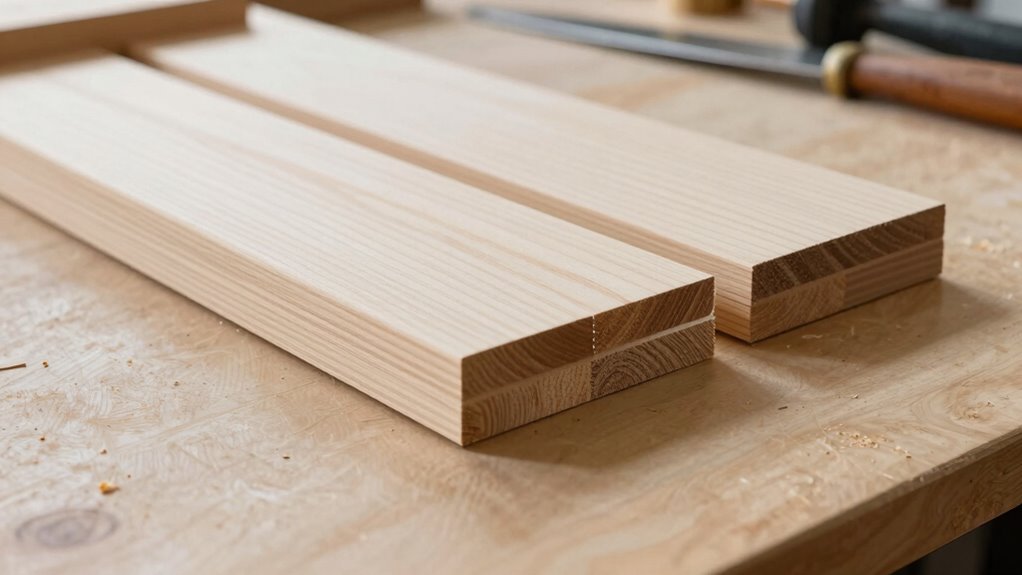
How Proper Edge Jointing Affects Glue Strength
Properly jointed edges guarantee a strong, reliable glue bond. When edges are smooth and aligned, the wood grain runs seamlessly across the joint, enhancing glue adhesion. Poorly jointed edges can lead to gaps and weak spots, compromising joint strength and aesthetics. A tight fit ensures maximum surface contact, which is essential for a durable bond. The following table illustrates key ideas:
| Aspect | Impact |
|---|---|
| Wood grain alignment | Promotes even glue spread and stronger bond |
| Joint aesthetics | Creates a clean, professional appearance |
| Edge smoothness | Ensures maximum surface contact, reducing gaps |
Proper edge jointing not only strengthens the glue bond but also improves the overall look of your project. Ensuring proper edge preparation is crucial for achieving optimal glue strength and durability. Additionally, paying attention to grain direction during jointing helps prevent weak points and ensures a more consistent bond across the joint. For best results, always verify that edges are free of defects and properly planed to achieve a smooth surface, which significantly impacts glue adhesion and joint integrity. Using a sharp plane or sander can make a considerable difference in achieving this desired surface quality. Regularly inspecting your jointing process for alignment accuracy can prevent issues before glue-up, ensuring a stronger and more professional finish.
Create idea 4PCS Pressure Gauge U-Clamp Compatible with Carbo Instruments for Dials with a Surface Diameter of 2-1/2 Inches Pressure Gauge Mounting Clamp
Compatibility: Compatible with CARBO INSTRUMENTS pressure gauges, ensuring a precise fit for your equipment.
As an affiliate, we earn on qualifying purchases.
As an affiliate, we earn on qualifying purchases.
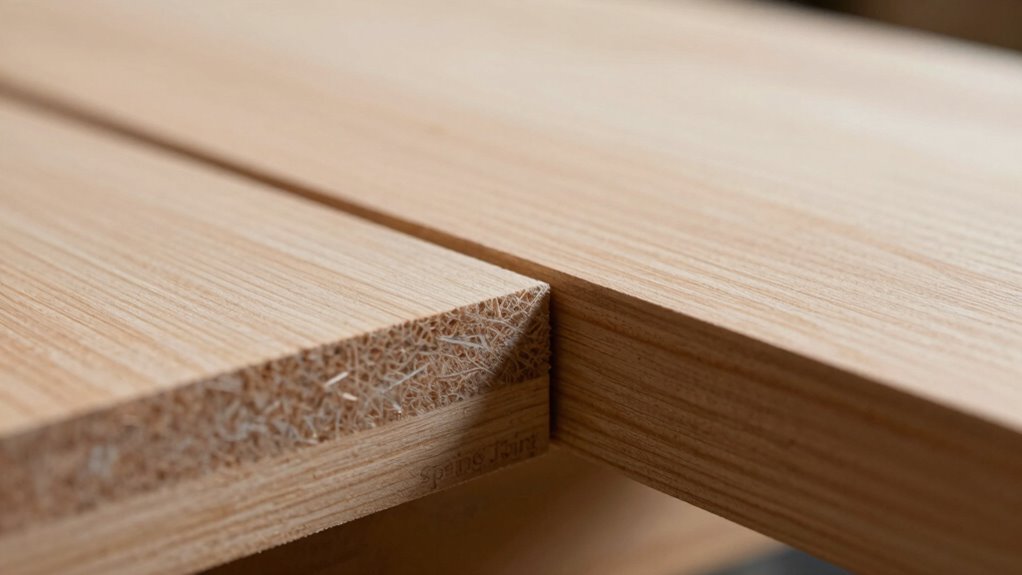
Do Spring Edges Improve Glue Bonding?
Spring edges can increase surface contact between pieces, helping to create a tighter bond. This design also reduces gaps where glue might fail, improving overall adhesion. But do these benefits truly translate into stronger, more durable glue joints? Additionally, at-home beauty technology emphasizes the importance of precise application and material compatibility to ensure long-lasting results. Proper surface preparation and understanding adhesion principles can further enhance the effectiveness of glue joints. Recognizing the importance of surface preparation is essential for achieving optimal bonding outcomes. Ensuring proper material compatibility is crucial for maximizing the strength of glue joints and preventing failures over time. Moreover, considering surface texture can influence how well adhesives bond to different materials, ultimately impacting joint durability.
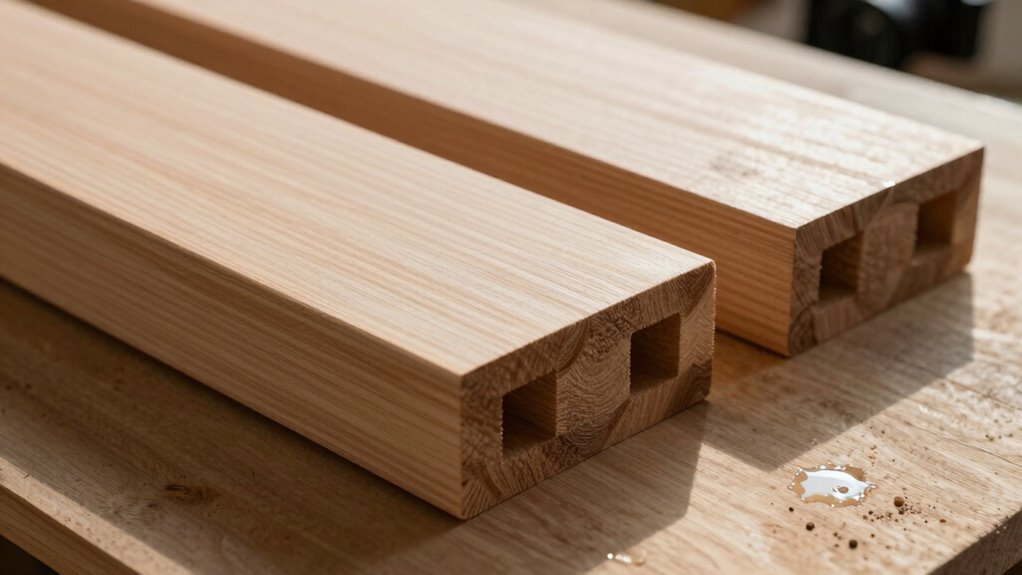
Enhanced Surface Contact
Enhancing surface contact between jointed edges can substantially improve glue bonding. When edges align perfectly, woodgrain runs continuously across the joint, increasing contact area and creating a stronger bond. Proper woodgrain alignment minimizes gaps and uneven surfaces that weaken adhesion. Applying consistent clamping pressure ensures the glued surfaces stay in firm contact, preventing air pockets that compromise strength. Spring edges aim to improve surface conformity, but their effectiveness depends on how well the edges sit flush during clamping. Achieving ideal surface contact means the glue can fully penetrate and bond the fibers, resulting in a stronger, more durable joint. Surface contact plays a crucial role, and understanding how to optimize it can lead to significantly stronger glue joints. Proper surface preparation and clamping technique are essential to ensure the best possible bond. Additionally, edge preparation techniques can further enhance the quality of the joint by ensuring smooth, even surfaces for bonding. Using spring edges correctly can help achieve better surface contact, but only if the edges are properly aligned during clamping. Ensuring consistent edge joint consistency is vital for predictable, high-quality results.
Reduced Glue Gaps
Spring edges are designed to help minimize gaps between jointed surfaces by applying gentle inward pressure during clamping. This pressure encourages better contact along the wood grain, reducing air pockets and uneven gaps. Proper joint alignment is key; spring edges can help compensate for minor misalignments, ensuring tighter contact. Additionally, surface preparation plays a crucial role in achieving a strong glue bond, alongside the use of spring edges. Proper clamping technique and consistent pressure are essential for optimal results. Imagine the joint as a grid:
| Wood Grain Direction | Gaps Reduced? |
|---|---|
| Parallel to spring | Yes |
| Perpendicular to spring | Less effective |
| Slight misalignment | Still improved |
| Large gaps | Not enough |
| Perfectly aligned | Best results |
While spring edges improve contact and may slightly reduce glue gaps, they don’t guarantee a perfect bond. Achieving ideal glue bonding still depends on precise joint alignment, surface preparation, and understanding the adhesion process.

Milescraft 1334 Joint Master – Self-Clamping Aluminum Doweling Jig. Creates Edge, Corner, and Surface Joints. Includes Centering Spacers. For 1/4in, 5/16in, and 3/8in Dowel Pins
Creates all styles of dowel joints- edge, corner, and surface
As an affiliate, we earn on qualifying purchases.
As an affiliate, we earn on qualifying purchases.
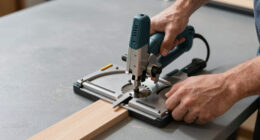
Best Practices for Edge Jointing and Glue-Ups
Achieving strong, seamless glue-ups starts with proper edge jointing techniques. Always prioritize woodworking safety by wearing eye protection and using clamps securely. Keep your tools well-maintained; sharp blades and smooth planes produce cleaner, more accurate edges. Before jointing, inspect your workpieces for defects or warping that could compromise the joint. Take your time to ensure edges are perfectly aligned and free of debris. Use consistent pressure during planing or sanding to achieve a flat, straight edge. When applying glue, spread it evenly and avoid excess to prevent squeeze-out. Clamping should be firm but not overly tight, ensuring even pressure across the joint. Following these best practices helps create strong, durable glue-ups while maintaining safety and prolonging your tools’ lifespan.
Common Misconceptions About Spring Joints and Glue Strength
Many woodworkers believe that a visible spring joint means the glue won’t hold strongly, but that’s a misconception. You might also misjudge a joint’s strength based on its appearance, which can lead to weak assemblies. Proper clamping techniques are essential to guarantee consistent glue bonds, regardless of how the joint looks.
Spring Joint and Glue Strength
A common misconception is that a joint’s springiness directly indicates its strength, but this isn’t always true. Spring joints may appear less flush or slightly uneven, leading you to think they’re weaker. However, wood movement caused by humidity changes can influence springiness without affecting glue strength. Different adhesive types also play a role; some glues flex slightly to accommodate movement, maintaining bond integrity even if the joint doesn’t look perfectly flat. The key is that a spring joint can still be strong if the adhesive properly bonds the surfaces and compensates for wood movement. Don’t judge strength solely by joint appearance. Instead, consider the adhesive’s properties and how well it copes with the natural expansion and contraction of your wood.
Misinterpreting Joint Appearance
It’s a common mistake to judge a joint’s strength based solely on its appearance, especially when it’s springy or uneven. Many woodworkers assume that visible gaps or uneven surfaces mean the joint is weak, but grain orientation plays a key role here. Properly aligned grain can create strong, stable joints even if they look imperfect. Conversely, a joint that appears flawless might have poor grain alignment, reducing its actual strength. Don’t rely solely on joint aesthetics to assess quality. A joint that looks uneven or springy doesn’t necessarily mean it’s compromised. Focus on how the grain sits and how the joint was prepared. Visual imperfections don’t always translate to a weak glue-up; understanding grain orientation helps you better evaluate joint strength beyond surface appearance.
Proper Clamping Techniques
Proper clamping is essential for creating strong, reliable glue joints, but misconceptions about spring joints often lead to inadequate pressure during the process. You need to apply consistent clamping pressure that evenly distributes across the joint, ensuring proper joint alignment. Too little pressure can cause gaps or weak bonds, while excessive force risks squeezing out too much glue or damaging the wood. Focus on adjusting your clamps to maintain steady pressure without over-tightening. Check that the edges stay perfectly aligned before tightening fully—misalignment compromises joint strength. Using the right amount of clamping pressure helps ensure a tight, gap-free bond that cures properly. Remember, the goal isn’t just tight clamps but ideal pressure that maintains joint integrity and proper alignment for a durable glue-up.
Top Tips for Perfect Glue-Joints: Myth or Proven Method?

Many woodworking experts swear by specific techniques to achieve perfect glue joints, but not all tips hold up under scrutiny. Some methods may promise flawless results but ignore factors like wood movement and joinery aesthetics. For example, applying excessive clamping pressure can squeeze out glue or cause warping. To clarify, here’s a quick comparison:
| Proven Method | Myth |
|---|---|
| Using evenly distributed pressure | Relying on a “spring joint” to compensate |
| Selecting stable, well-seasoned wood | Expecting perfect joints without considering wood movement |
| Ensuring tight, aligned edges | Believing quick fixes improve joinery aesthetics |
Focus on proper preparation, consistent clamping, and understanding material behavior, not myths, for reliable, beautiful glue joints.
Frequently Asked Questions
Can Spring Joints Be Used for All Types of Woodworking Projects?
Spring joints aren’t suitable for all woodworking projects because they work best with certain wood joint types like edge-to-edge glue-ups. You should consider other glue-up techniques for complex or large projects to guarantee stability and strength. While spring joints can make your glue-ups easier and help achieve tight seams, they’re not a one-size-fits-all solution. Evaluate your project’s needs carefully before relying on spring joints.
How Does Humidity Affect Spring Joint Performance?
Humidity critically impacts spring joint performance because moisture fluctuations cause wood expansion and contraction. When humidity rises, wood absorbs moisture, potentially making the joint less tight and compromising the glue-up. Conversely, low humidity can dry out the wood, increasing the chances of gaps or springing. To guarantee a strong joint, control the environment, and let wood acclimate before jointing, minimizing the effects of moisture fluctuations on your spring joint.
Are There Specific Tools Recommended for Creating Spring Joints?
You can’t just wing it when creating spring joints; specific tools make all the difference. Use a good hand plane or a jointer to guarantee precise joint preparation. Clamping techniques like cauls or bar clamps help maintain even pressure and surface contact. These tools and techniques work together like a well-oiled machine, helping you achieve a tight, springy joint that’s strong and reliable for your glue-up.
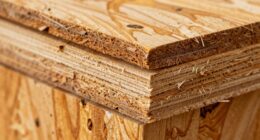
What Are the Signs of a Poor Spring Joint in a Finished Piece?
If you notice joint failure or an uneven surface in your finished piece, it’s a sign of a poor spring joint. These issues indicate that the joint didn’t bond evenly or lacked proper spring tension. You might see gaps, misalignment, or areas where the wood separates under pressure. To avoid this, verify your joint has consistent tension during glue-up and check for a tight, even fit before clamping.
How Does Spring Joint Technique Differ Between Softwood and Hardwood?
Think of softwood as a gentle breeze and hardwood as a sturdy gale. When jointing, you adapt your spring joint technique by aligning grain direction carefully—softwoods often require less aggressive spring, given their lower density, while hardwoods demand a more pronounced spring to counteract their tight grain and density. This guarantees tight, durable glue-ups, preventing gaps and ensuring a smooth, seamless surface.
Conclusion
Now that you know the truth behind spring joints, imagine your next project—edges perfectly aligned, glue sealed tight, and surfaces seamlessly joined. Will you fall for the myth and risk weaker bonds, or will you apply proven techniques that guarantee strength and durability? The choice is yours, but the secret to flawless glue-ups might just be one simple step away. Are you ready to take your woodworking to the next level? The result could be breathtaking.