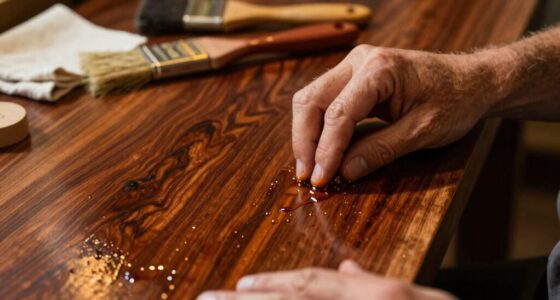
When you sand between coats, you’re really fixing texture, dust nibs, and imperfections that can ruin your finish. This step enhances adhesion, preventing issues like peeling or bubbling. It also creates a smooth base for the next layer, improving the overall appearance and durability. Skipping this process can lead to unsatisfactory results. By focusing on proper sanding techniques, you set the stage for a professional look that lasts. There’s more to explore on ensuring that flawless finish!

Get tools and workshop supplies delivered free — and shop member deals
- Fast, free delivery on millions of items
- Access to Prime Big Deal Days deals on October 6–7
- Prime Video, Amazon Music and more included
Key Takeaways
- Sanding between coats smooths out imperfections, ensuring a flawless finish and enhancing overall appearance.
- It removes dust nibs and texture issues, leading to a more polished look.
- Proper sanding promotes better adhesion for subsequent layers, preventing peeling or bubbling.
- Light sanding creates a key on the surface, essential for a durable and long-lasting finish.
- Neglecting this step can compromise the quality and longevity of the paint job.
When you’re finishing a project with multiple coats of paint or varnish, sanding between those layers is essential for achieving a smooth, professional look. The purpose of sanding isn’t just about aesthetics; it’s about addressing issues that can impact the quality of your finish. By employing proper sanding techniques, you can greatly enhance finish smoothness and guarantee that each layer adheres properly to the next.
First, let’s talk about surface preparation. Before you even think about applying that first coat, you need a clean, smooth base. Dust, dirt, and imperfections can lead to a host of problems. If you don’t take the time to properly prepare your surface, you’ll likely end up with an uneven finish. This can compromise paint adhesion and lead to peeling or bubbling down the line. Make sure to clean your surface thoroughly and consider sanding it lightly before your initial coat. This helps create a key for the paint to grip onto.
Proper surface preparation is crucial; a clean, smooth base ensures better paint adhesion and a flawless finish.
Once you’ve applied your first coat, you might notice some texture, dust nibs, or other imperfections. This is where sanding between coats comes into play. Using fine-grit sandpaper, you can gently smooth out these irregularities. The goal here is to create a surface that’s as flat and even as possible, which will allow the next layer to bond effectively. Remember, you’re not trying to sand down to the bare wood or previous layers; you just want to level out the surface. Proper surface preparation ensures a better overall finish and durability. Additionally, understanding the importance of adhesion can help you focus on key areas that influence the longevity of your project.
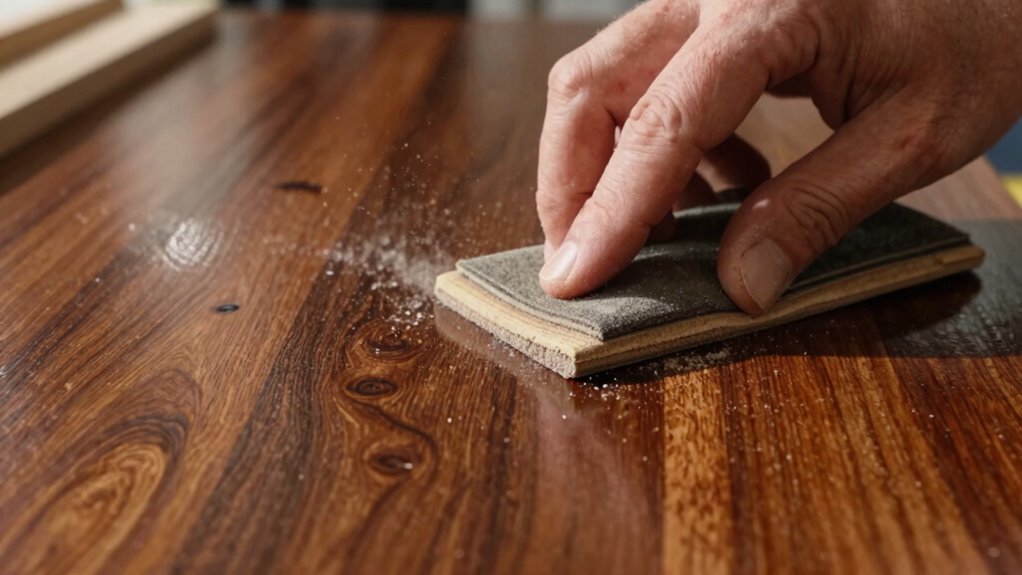
Choosing the right sanding techniques is essential. For most projects, a light hand with a sanding block or a sanding sponge will do the trick. You want to avoid aggressive sanding that could remove too much material. Instead, focus on even strokes, and make sure to clean off any dust after sanding. This is a critical step; any residue can wreak havoc on paint adhesion.
After sanding, when you apply your next coat, you should immediately notice an improvement in finish smoothness. The paint will glide on more evenly, and the overall result will be a polished, professional appearance. By taking these steps seriously, you’re not just fixing surface issues; you’re laying the groundwork for a long-lasting finish. So, remember, sanding between coats isn’t just an optional step; it’s an essential part of the finishing process that can make or break your project.
As an affiliate, we earn on qualifying purchases.
Frequently Asked Questions
How Often Should I Sand Between Coats?
You should sand between coats every time you apply a new layer. This guarantees a smooth surface and improves finish durability. Use light sanding techniques with fine-grit sandpaper to avoid damaging the previous coat. Sanding creates a better bond, helping each layer adhere properly. Don’t rush the process; take your time to achieve the best results. Remember, a little effort now leads to a more polished final look later.
What Grit Sandpaper Is Best for Sanding Between Coats?
You’ll want to use 220 to 320 grit sandpaper for sanding between coats. This fine grit smooths the surface without stripping away too much material, ensuring a perfect finish. But wait—what if you’ve chosen the wrong sandpaper type? Each sanding technique has its purpose, and using a coarser grit can lead to scratches that show through your final coat. Stick to the finer grits for that flawless, professional look you’re after.
Can I Skip Sanding Between Coats?
You can skip sanding between coats, but it’s not recommended. Depending on the finish types you’re using, skipping this step may lead to poor adhesion and an uneven surface. Proper sanding techniques help remove imperfections and create a smooth base for the next coat. If you want a professional-looking finish, take the time to sand lightly between coats; it’ll make a noticeable difference in the final result.
What Happens if I Sand Too Aggressively?
If you sand too aggressively, you risk damaging the surface, much like a storm eroding a sandy beach. Your project’s beauty hinges on proper sanding techniques for effective surface preparation. Over-sanding can create scratches or uneven surfaces, making the final finish less appealing. It’s essential to strike a balance; gentle, careful sanding guarantees a smooth foundation without compromising the integrity of your work. Remember, a delicate touch leads to stunning results.
Should I Clean the Surface After Sanding?
Yes, you should definitely clean the surface after sanding. This guarantees proper surface preparation for the next coat. Use a vacuum or a damp cloth to remove dust and debris left by your sanding tools. If you skip this step, any leftover particles can cause imperfections in your finish. So, take a moment to clean; it’ll make a big difference in the final result and help achieve that smooth, professional look.
As an affiliate, we earn on qualifying purchases.
Conclusion
In the grand symphony of finishing, sanding between coats is your conductor, fine-tuning each note for perfection. It’s not just about removing imperfections; it’s about creating harmony between layers. Each swipe of sandpaper breathes life into your project, ensuring every coat melds seamlessly like brush strokes on a canvas. So, don’t rush this essential step. Embrace the art of sanding and let your masterpiece shine brighter than a star in the night sky.
As an affiliate, we earn on qualifying purchases.
sanding paper for wood finishing
As an affiliate, we earn on qualifying purchases.
As an affiliate, we earn on qualifying purchases.
Halloween Picks
halloween
As an affiliate, we earn on qualifying purchases.