
To sand turned pieces without ruining crisp curves, use flexible sanding pads or sponges that conform to shapes. Start with a coarser grit like 120 or 150 to remove tool marks, then switch to finer grits. Apply light pressure and follow the wood grain to avoid scratches. Sand evenly with blocks for curves and check for rough spots often. Clean dust off the surface afterward for a clearer view of your work. There’s more to master for that perfect finish.
Key Takeaways
- Use flexible sanding pads or sponges to conform to the curves without damaging the shape.
- Start with coarser grit to remove marks, then transition to finer grits for finishing.
- Maintain even pressure with sanding blocks to preserve the integrity of crisp curves.
- Always sand along the wood grain to minimize scratches and maintain a smooth surface.
- Regularly check for imperfections and avoid over-sanding to protect delicate areas.
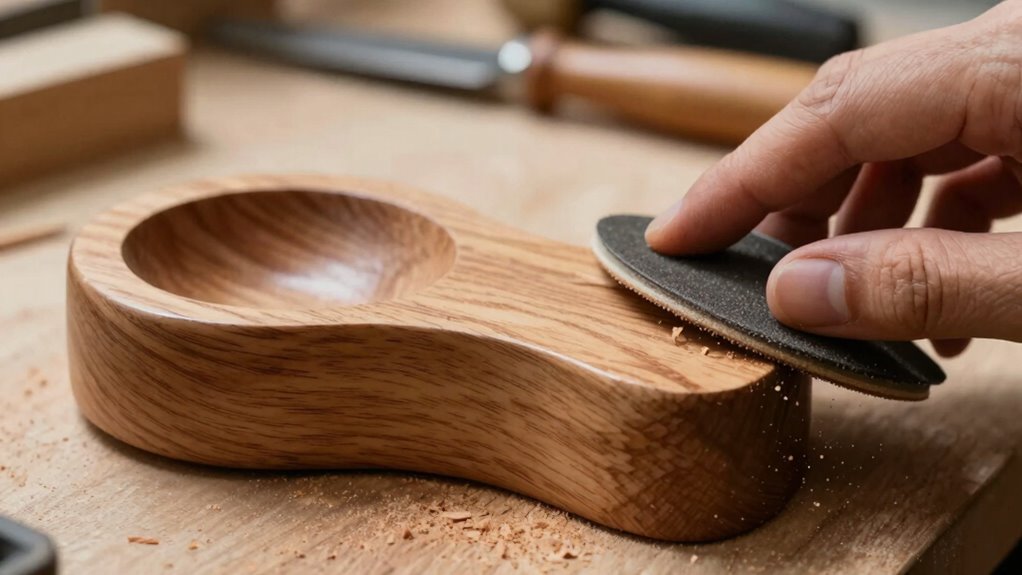
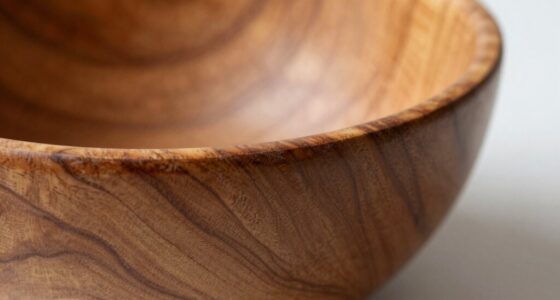
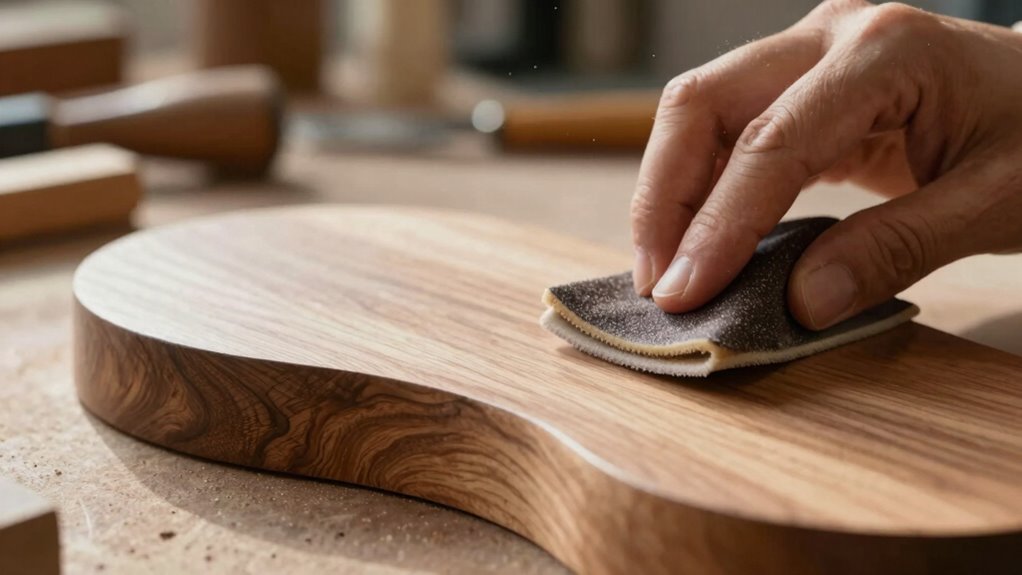
Sanding turned pieces is an essential step in achieving a smooth, professional finish on your woodwork. Whether you’re working on bowls, spindles, or decorative pieces, mastering proper sanding techniques is key to enhancing the beauty of your creations while ensuring curve preservation. It’s easy to overlook this step, but taking the time to sand correctly can make a world of difference in your final product. Using the right tools, such as flexible sanding pads or sponges, helps conform to the contours of your turned pieces and maintain the crisp curves. Start with a coarser grit, like 120 or 150, to remove any tool marks or rough spots. As you sand, use a light touch and let the sandpaper do the work. If you press too hard, you risk flattening those beautiful curves. As you move to finer grits—like 220 or 320—it’s vital to change your sanding technique. Switch to a back-and-forth motion or circular strokes, but always follow the grain of the wood. This approach minimizes scratches and helps preserve the smoothness of the curves. Don’t rush; take your time to feel the surface for any imperfections. If you notice any areas that still feel rough, give them a little extra attention, but avoid over-sanding. One effective technique for curve preservation is to use a sanding block or a flexible sanding pad. These tools can help you maintain even pressure along the curves, ensuring you don’t inadvertently flatten them. For tighter curves, you might find it beneficial to wrap sandpaper around a dowel or a similar object. This method allows you to reach those tricky areas without compromising the shape of your piece. After you’ve finished sanding, always wipe down your work with a clean cloth to remove any dust. This step not only gives you a clearer view of your work but also prepares the surface for finishing. Proper sanding techniques are fundamental in achieving a flawless finish and preventing damage to the delicate curves. Incorporating proper sanding techniques into your process ensures your turned pieces maintain their elegant curves and smooth surfaces. Remember, understanding the grain of the wood can significantly influence the quality of your sanding and final finish. Being aware of the grain orientation helps you decide the best sanding approach to avoid scratching or uneven surfaces. Paying attention to grain direction also ensures a more uniform and attractive final result.
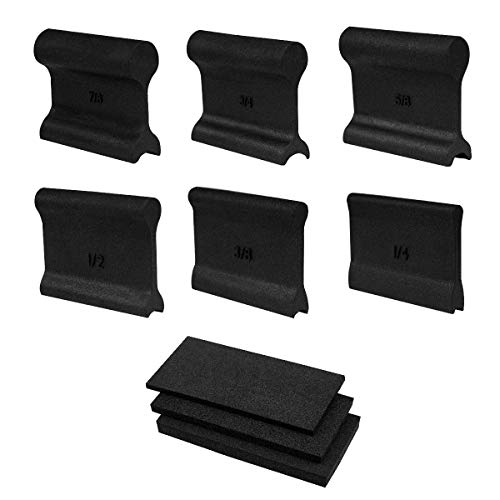
POWERTEC 71441 Flexible Contour Sanding Grips Set w/ 3 Flexible Foam Pads and 6 Profile Grips for Sanding Convex and Concave Profiles
INCLUDES: 9 piece set featuring 3 flexible foam contour pads with 3 unique thicknesses, and 6 sanding pad…
As an affiliate, we earn on qualifying purchases.
As an affiliate, we earn on qualifying purchases.
Frequently Asked Questions
What Type of Sandpaper Is Best for Turned Pieces?
For turned pieces, you’ll want to use sandpaper with a fine grit, like 220 or higher, to avoid damaging the curves. Experiment with different sanding techniques, like hand sanding or using a foam pad, to maintain those crisp edges. The type of wood matters too; harder woods might need a coarser grit first, while softer woods can usually skip straight to the finer grits. Keep it gentle, and you’ll achieve a smooth finish.
How Do I Avoid Sanding Marks on Curves?
To avoid sanding marks on curves, use gentle sanding techniques. Start with a finer grit sandpaper, and always sand in the direction of the grain. For curves, wrap the sandpaper around a flexible sanding block or your fingers to maintain the shape. Keep your pressure light and consistent, focusing on blending the area rather than aggressively sanding. This method helps guarantee curve preservation while eliminating unsightly marks.
Can I Use Power Tools for Sanding?
Can you really use power tools for sanding? Absolutely! Just remember to prioritize power tool safety. Start with sanding techniques that suit your piece; a random orbital sander can work wonders while minimizing marks. Use finer grits for delicate curves and always keep the tool moving to avoid flat spots. With the right approach, you’ll preserve those crisp edges while speeding up your sanding process. Don’t forget your safety gear!
What’s the Ideal Grit Progression for Sanding?
For ideal grit progression, start with 80 to 120 grit for shaping, then move to 180 grit for smoothing. Finish with 220 grit for a polished look. Use grit selection techniques that suit your material, and always prioritize sanding safety tips, like wearing a mask and goggles. This approach guarantees you maintain crisp details while achieving a smooth surface. Don’t rush; patience pays off in the final result!
How Do I Finish Turned Pieces After Sanding?
Finishing turned pieces is like polishing a gemstone—you want to bring out the beauty without losing its shape. After sanding, you can apply various finishing techniques like oils, lacquers, or waxes to enhance the wood’s natural grain. Each surface treatment offers a unique look and feel, so choose one that complements your design. Remember to apply thin coats, allowing each layer to dry properly, ensuring a smooth, professional finish.

SACKORANGE 12 Pack Single Sanding Sponge Set – 80/100/120/180/220/320 Grit Sanding Blocks Assortment, Washable and Reusable
2 PCS Each of 80/100/120/180/220/320 Grit -Coarse Medium Fine Hand Sanding Block Sandpaper Sponge for Metal Wood-Working Home…
As an affiliate, we earn on qualifying purchases.
As an affiliate, we earn on qualifying purchases.
Conclusion
To sum up, sanding turned pieces doesn’t have to be a nightmare. By using the right techniques and a gentle touch, you can preserve those stunning curves that make your work shine like the stars. Remember to start with coarse grit and gradually move to finer grits, always sanding with the grain. With a little patience, your pieces will be smoother than a slick dance floor, ready to impress anyone who lays eyes on them!

16-Piece Contoured Profile Hand Sanding Block Set with Hook and Loop Interchangeable Assorted Shapes Interchangeable Assorted Convex & Concave Shapes for Woodworking Furniture, Auto Paint and Crafts
Versatile sanding set: Featuring 16 pieces of assorted shape sanding blocks, this set is perfect for all your…
As an affiliate, we earn on qualifying purchases.
As an affiliate, we earn on qualifying purchases.

Performax Type Ready-to-Cut Ready-to-Wrap Drum Sander Sandpaper Rolls 3 inch by 35 feet Long for Jet 16-32 Drum Sander Paper, Aluminum Oxide Sandpaper – 80 Grit
EFFICIENT SANDING SOLUTION: Experience long-lasting performance with our abrasive wraps, designed specifically for Jet 16-32 and other machinery…
As an affiliate, we earn on qualifying purchases.
As an affiliate, we earn on qualifying purchases.