When a board cups due to uneven moisture, you can often save it if the damage is mild and the board is still structurally sound. Use controlled moisture and clamps to gently flatten it, checking with a moisture meter along the way. However, if the cupping is severe, cracks develop, or the board feels unstable, replacement is your best option. For tips on proper repair techniques and prevention, keep exploring the essentials behind wood cupping.
Key Takeaways
- Slight cupping with good internal density and stable grain may be repairable through moisture rebalancing and clamping.
- Severe or extensive cupping often indicates structural compromise, making repair ineffective and replacement the better option.
- Use moisture meters and visual checks to assess internal integrity before attempting repairs.
- Prevent cupping during drying by proper stacking, controlled drying methods, and stable storage conditions.
- When cupping causes significant warping, cracks, or instability, replacing the board ensures safety and long-term durability.

Wood Moisture Meter, with battery and LCD display, suitable for quick determination of moisture content of many types of logs, paper, plywood, plaster walls, floor coverings, etc.
🌲【Accurate and fast measurements reveal hidden water leaks】: It has 2 high-precision pins that can penetrate the surface…
As an affiliate, we earn on qualifying purchases.
As an affiliate, we earn on qualifying purchases.
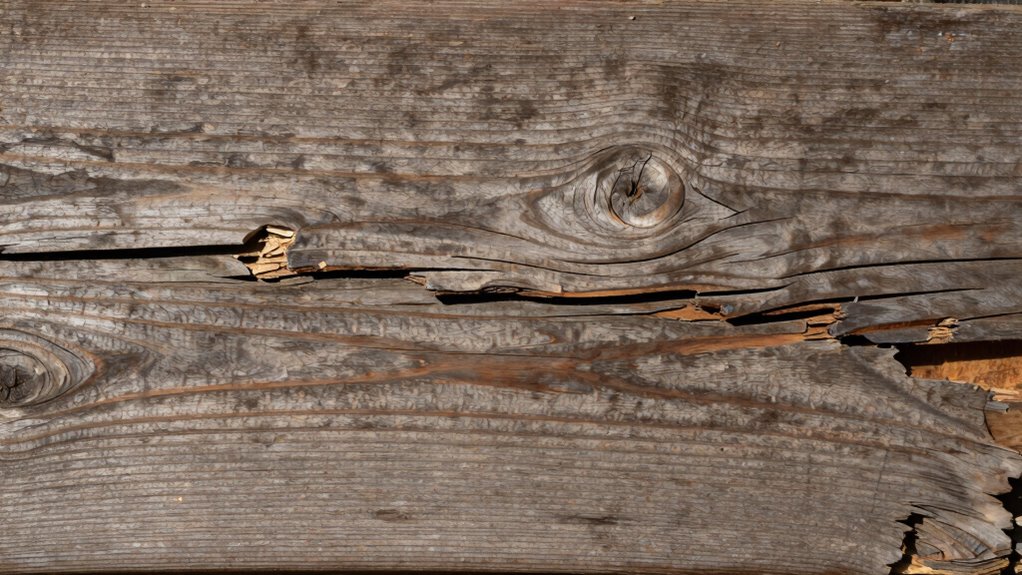
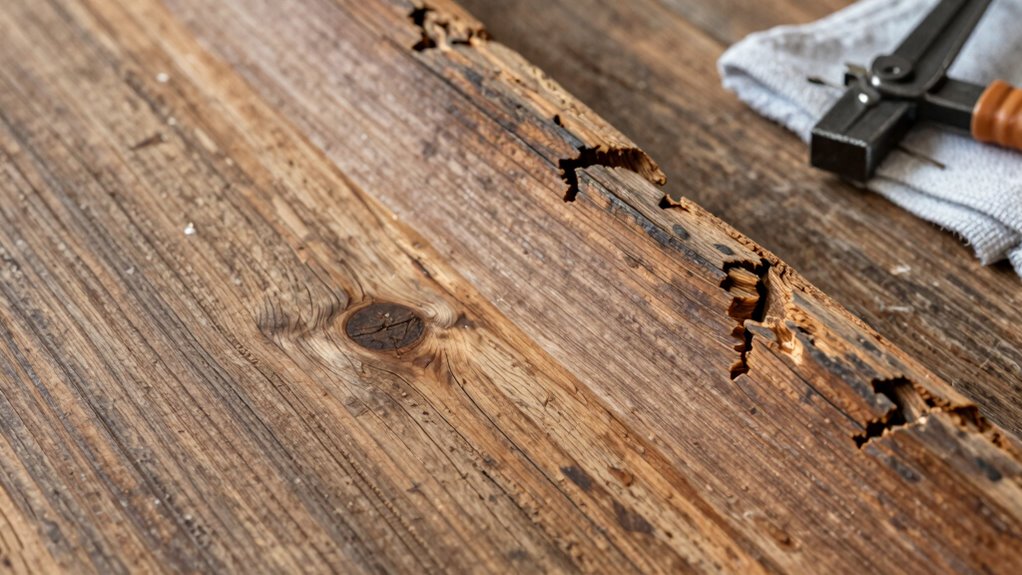
What Causes Wood to Cup and How Can You Recognize It?
Wood cups when its moisture content changes unevenly across its surfaces, causing one side to expand more than the other. This uneven expansion is often influenced by grain orientation; boards with tight, straight grain tend to cup less than those with wavy or irregular grain. Different wood species react differently to moisture fluctuations—hardwoods like oak may resist cupping better than softer woods like pine. When moisture penetrates unevenly, the side with more moisture swells, resulting in a curved or warped appearance. You can recognize cupping by examining the board’s edges—if they curve upward or downward, it’s likely cupped. Additionally, AI tools can help predict and analyze moisture-related issues in woodworking projects, aiding in better material selection and treatment. Understanding how grain orientation and wood species respond to moisture helps you predict and prevent cupping, ensuring your projects stay flat and stable over time.

Amazon Basics Adjustable Metal Face Clamps for Woodworking, Welding, or Repairs, 3-inch Jaw Reach, 2-Pack, Black/Silver
Clamp for holding items in place; ideal for pocket hole joinery, woodworking, welding, and other projects or repairs
As an affiliate, we earn on qualifying purchases.
As an affiliate, we earn on qualifying purchases.
How Do You Know if a Cupped Board Is Still Repairable?
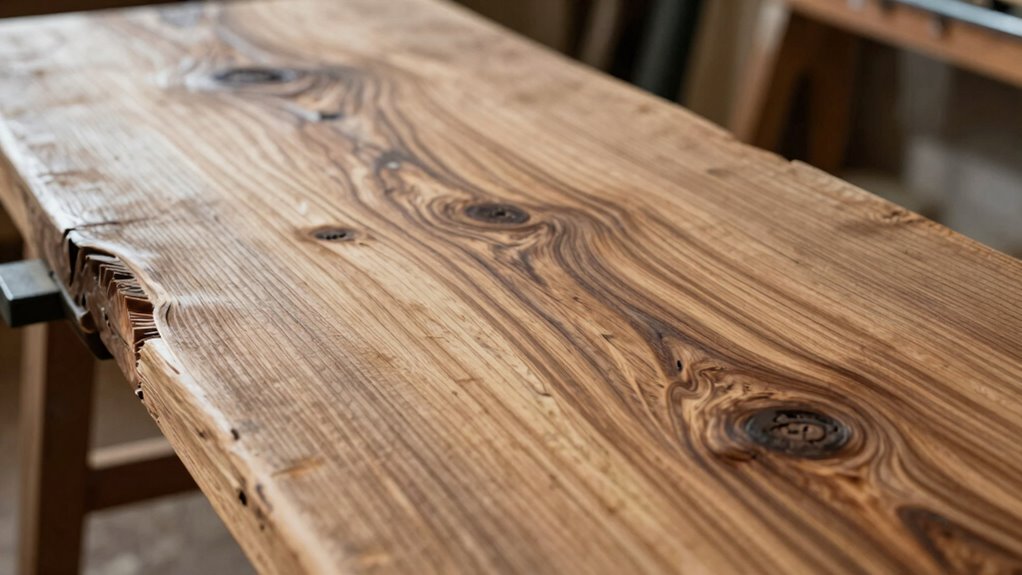
To determine if your cupped board is still repairable, start by evaluating how severe the cupping damage is. Consider the age and overall condition of the wood, as older or already weakened boards may not hold up to repairs. If the damage is minimal and the board is in good shape overall, restoration may still be possible. Additionally, understanding the material choice and how it influences the surface’s reflectivity can help assess whether repairing the board will yield a quality result.
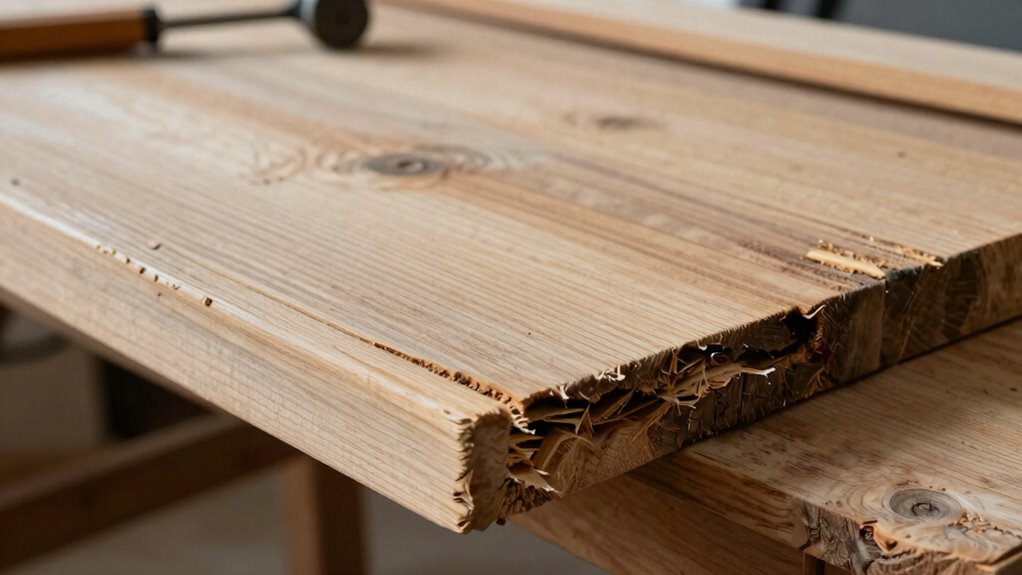
Extent of Cupping Damage
Wondering if a cupped board can still be saved? The extent of cupping damage depends on how deep and widespread it is. To assess this, consider these factors:
- Depth of Cupping: Light cupping affects only surface wood grain, while severe cupping shows deep, noticeable warping.
- Warping Pattern: Uniform cupping might be more manageable than irregular warping, which indicates uneven moisture loss.
- Moisture Content: Use a moisture meter to check if the wood is still adaptable with proper drying methods.
- Structural Integrity: If the wood remains stable and doesn’t crack or splinter, chances are better for repair.
Board Age and Condition
Determining if a cupped board is still repairable largely depends on its age and overall condition. Older boards often develop a more stable wood grain, making them better candidates for correction. Assess the wood grain pattern; if it remains consistent and not overly distorted, there’s a good chance you can restore the board. The drying process also plays a role—if the board is still moist or has warped during drying, it might be more challenging to fix. Freshly cupped boards generally respond better to flattening techniques, while very old, heavily warped boards may be beyond repair. Ultimately, a thorough inspection of the board’s condition, including checking for splits or rot, will help you determine if it’s worth saving. Additionally, understanding the wood grain stability can improve your assessment of a board’s repair potential.

REALINN Wood Furniture Repair Kit- Set of 28 – Touch Up Markers, Fillers with Wood Putty – Repair Scratch, Cracks, Hole, Discoloration for Wooden Door, Floor, Table, Cabinet
KIT INCLUDES our most powerful wood repair compounds, so you can repair all levels of damage to wood…
As an affiliate, we earn on qualifying purchases.
As an affiliate, we earn on qualifying purchases.
What Are the Best Techniques for Flattening Cupped Wood?
To flatten cupped wood effectively, you should start with moisture reversal techniques by carefully reintroducing moisture to the concave side. Then, apply consistent pressure using clamping and weighting to encourage the wood to straighten. These methods work together to restore the board’s flatness with minimal damage. Understanding wood movement is crucial to prevent future cupping and maintain your projects’ stability.
Moisture Reversal Techniques
When it comes to flattening cupped wood, reversing moisture imbalance is often the most effective approach. You need to carefully adjust the moisture content to restore the wood’s natural grain orientation. Here are some techniques to consider:
- Reintroduce moisture gradually – Mist the concave side, allowing the moisture to evenly penetrate, reducing uneven grain movement.
- Use humidification – Place the board in a controlled, humid environment to slowly increase moisture content.
- Apply moisture with a damp cloth – Lightly wipe the surface to elevate moisture levels without oversaturating.
- Monitor moisture levels frequently – Use a moisture meter to ensure even moisture distribution, preventing further cupping or cracking.
- Understand the importance of natural wood properties—recognizing how wood reacts to moisture changes helps in applying the most effective techniques for flattening cupped boards.
These methods help rebalance moisture content, encouraging the wood’s natural flattening without damaging the grain orientation.
Clamping and Weighting
Clamping and weighting are essential steps in flattening cupped wood, as they help hold the fibers in their correct position while the moisture content stabilizes. Proper clamping maintains pressure across the board, encouraging even wood stabilization. Use flat, smooth surfaces for the clamps to avoid damage, and apply enough force to press out the cup without causing indentations. Weighting can be an effective alternative or supplement when clamps aren’t practical. Place weights evenly over the surface, ensuring consistent pressure. Incorporate drying techniques before clamping to reduce moisture gradually, minimizing further warping. Patience is key; allow the wood to stabilize under pressure for several days. Understanding the properties of different woods can help you determine the best methods for flattening each type. This combination of clamping and weighting, aligned with effective drying techniques, offers the best chance to flatten cupped boards successfully.

Wood Super Glue Liquid 1.76 oz XXL – for Cracks in Hardwood, Softwood, Plywood & MDF – Fast-Drying, Waterproof CA Bond for Woodcraft & Turning – Thin Cyanoacrylate
GOES DEEP INTO WOOD CRACKS & SPLITS: Ultra-thin formula wicks into hairline fractures, loose grain, and tight wood-to-wood…
As an affiliate, we earn on qualifying purchases.
As an affiliate, we earn on qualifying purchases.
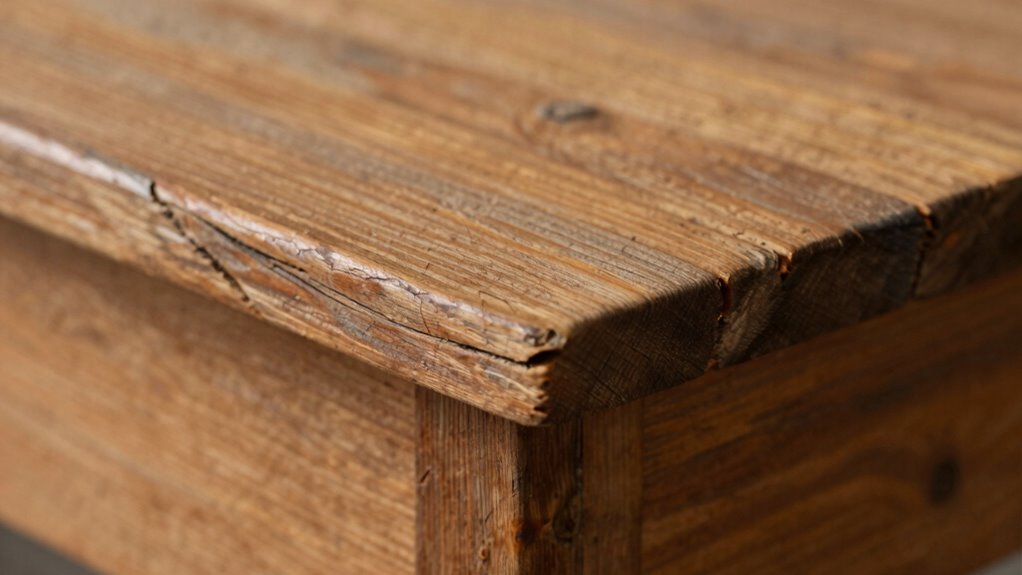
How to Spot Signs That Repair Might Do More Harm Than Good
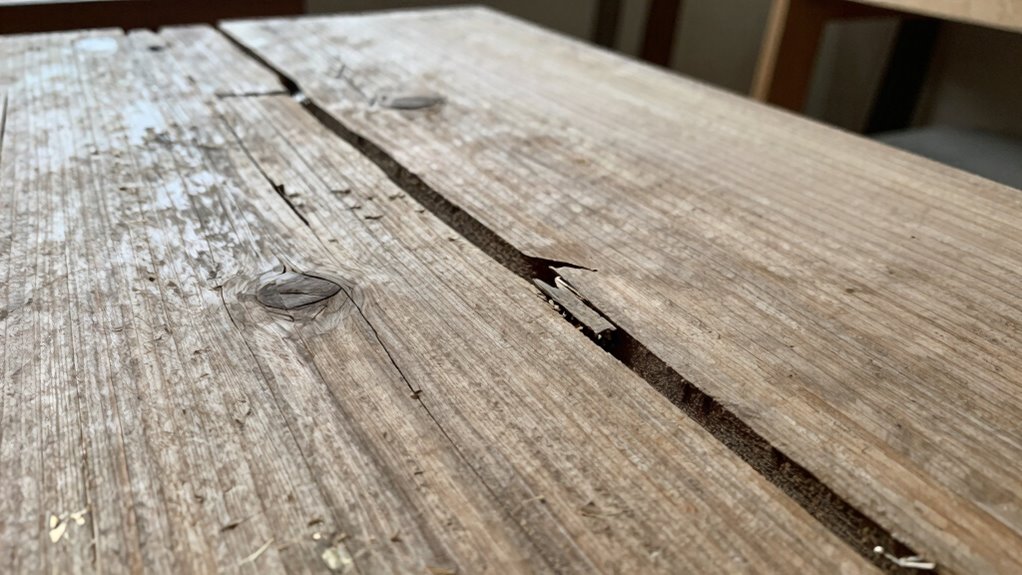
Recognizing whether a repair might cause more harm than good requires careful observation. Look for these signs:
Watch for worsening cracks, gaps, warping, or cupping—signs your repair may be causing more harm than good.
- Excessive cracking or splitting near the repair area, indicating glue failure or stress from wood movement.
- Gaps or uneven surfaces that suggest the patch isn’t adhering properly or is shifting.
- Persistent warping or worsening cupping, which shows the repair can’t stabilize ongoing wood movement.
- New or enlarged cupping patterns around the repair, implying the fix is amplifying the problem rather than solving it.
- Understanding wood movement and its impact on repairs is essential to prevent further damage over time.
If you notice these signs, the repair might be doing more harm than good. Forcing a fix can trap underlying issues, worsen glue failure, or restrict natural wood movement, leading to more damage over time.
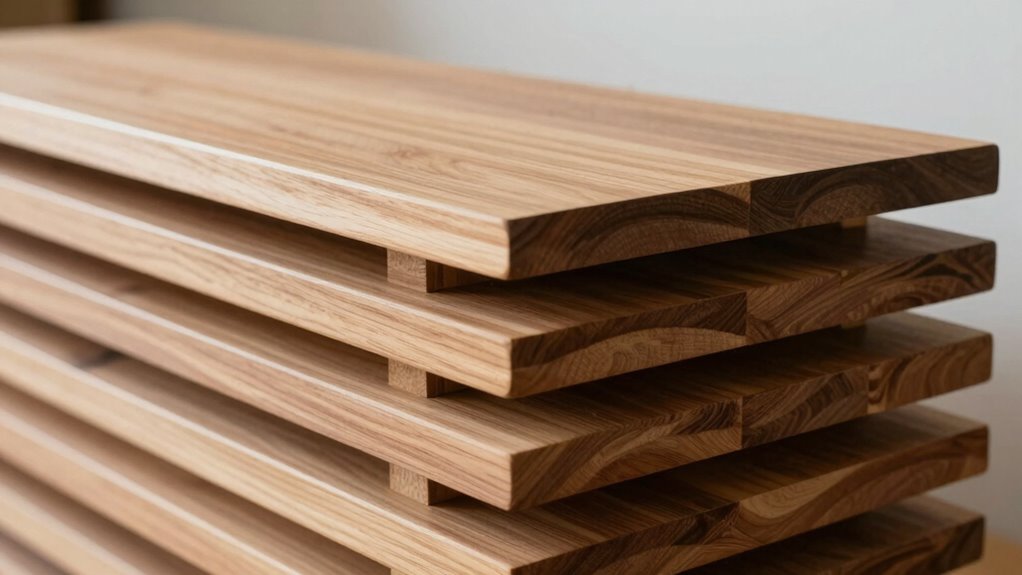
How to Test if a Cupped Board Still Has Structural Strength
Before deciding to reuse a cupped board, you need to assess whether it still has enough structural strength to support its intended use. First, check the wood density; higher density generally indicates stronger, more durable wood. Examine the grain orientation—if the grain runs parallel to the length of the board, it’s more likely to maintain strength. Gently apply pressure at different points to see if the board resists bending or cracking under load. Look for any visible signs of weakness, such as cracks or splits, especially along the grain. A board with consistent grain orientation and good density can often bear weight despite cupping. If the board feels solid and stable when tested, it may still have sufficient structural strength for your project. Additionally, understanding wood strength factors can help you make more informed decisions about reuse.
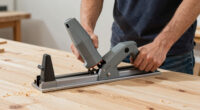
Tools and Products to Help Fix or Flatten Cupped Wood
To effectively fix or flatten cupped wood, you’ll need the right tools and products designed for this purpose. Proper tools help you apply even pressure and ensure the grain orientation remains intact. Consider these options:
- Clamps and Bar Clamps – For applying uniform pressure to flatten the board.
- Moisture Meters – To monitor moisture levels, preventing further cupping.
- Wood Preservatives – Help protect the wood during the flattening process and prevent future warping.
- Hand Planes or Smoothing Planes – To gently remove high spots once the cupping is reduced, respecting the grain orientation.
- Regular inspection of moisture content can be key in preventing excessive wood movement over time.
Using these tools in combination ensures a more effective fix. Applying wood preservatives can also stabilize the wood and help maintain its shape long-term, especially in environments prone to moisture fluctuations.
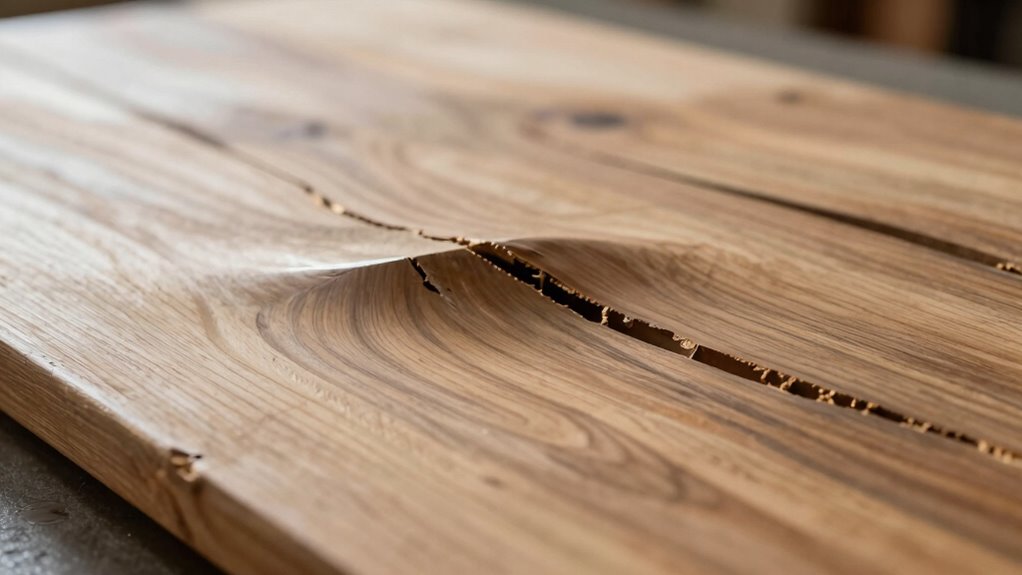
When Should You Replace a Cupped Board Instead of Trying to Fix It?
Sometimes, attempting to fix a severely cupped board isn’t worth the effort if the damage is extensive or persistent. If the wood grain is heavily distorted or the cupping affects the board’s structural integrity, replacement is your best option. No finishing techniques or flattening methods will fully restore a warped board to its original flatness. Trying to recondition a damaged board can lead to uneven surfaces or compromised stability, especially if the cupping causes gaps or uneven edges. When the cost of repair outweighs the value of the piece or the effort doesn’t produce a smooth, consistent surface, replacing the board saves time and guarantees quality. Recognizing structural integrity issues can help determine whether a repair is feasible or replacement is necessary. Knowing when to replace helps ensure your project maintains strength, appearance, and durability.
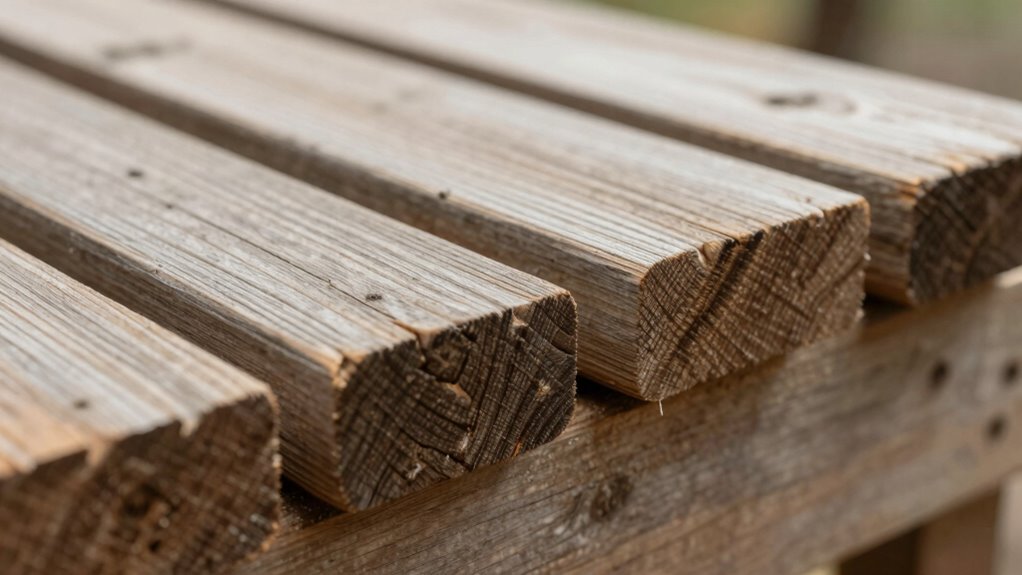
Preventing Cupping: Best Practices During Drying and Storage
Proper drying and storage are essential to prevent cupping in your wood. Managing wood movement relies on effective drying methods and proper storage techniques. To minimize cupping, you should:
- Use controlled drying methods like kiln drying or air drying with even airflow to reduce moisture unevenness.
- Stack boards with stickers—spacers that promote uniform moisture loss and airflow.
- Store wood in a stable environment with consistent temperature and humidity to prevent rapid moisture changes.
- Seal the ends of logs or boards to slow moisture loss and promote even drying.
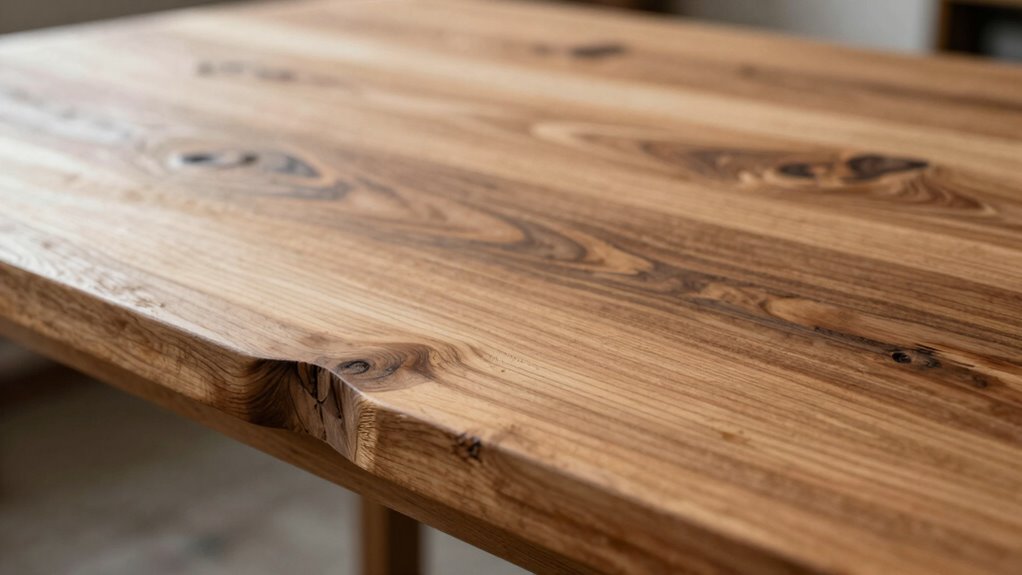
Final Tips for Maintaining Flatness and Extending Your Wood’s Life
Maintaining the flatness of your wood and ensuring its longevity requires ongoing care even after proper drying and storage. To achieve this, consider wood stabilization techniques to reinforce the board’s structure and prevent future warping. Applying a quality finish provides essential protection against moisture and environmental changes, which can cause cupping or further deformation. Regularly inspect your wood for signs of stress or moisture intrusion, and address issues promptly. Keep the surface clean and sealed, especially before finishing projects, to preserve flatness over time. Proper finish protection not only enhances appearance but also extends your wood’s lifespan by shielding it from external damage. Consistent maintenance helps you keep your boards flat and durable for years to come.
Frequently Asked Questions
Can Cupping Be Reversed Without Professional Help?
You can try a DIY correction for cupped boards if the damage is mild, but for more significant warping, professional intervention is your best bet. Gently pressing or weighting the board might help, but it’s not always effective. Keep in mind, attempting to reverse cupping yourself could cause further damage. When in doubt, consult a professional to guarantee proper repair and avoid compromising the integrity of the wood.
Does Humidity Control Prevent Cupping in Wood?
Humidity control is like a shield for your wood, preventing cupping before it starts. By managing humidity levels, you keep wood moisture consistent, which reduces the risk of warping. Proper humidity management helps maintain the natural shape of your boards, so they stay flat and stable. Investing in a humidifier or dehumidifier guarantees your wood retains the right moisture, making cupping less likely and your project more durable.
Are Certain Wood Types More Prone to Cupping?
Yes, certain wood types are more prone to cupping because of their grain and moisture absorption. Woods with uneven grain, like oak or maple, tend to absorb moisture unevenly, increasing cupping risk. Softwoods or woods with tight, straight grain are less susceptible. You should consider the wood’s natural characteristics and how it reacts to humidity changes, as these factors influence cupping tendencies and how you can manage them effectively.
How Long Does It Typically Take to Flatten Cupped Wood?
Imagine your wood as a restless river, seeking balance. Flattening cupped wood usually takes a few days to a week, depending on its moisture content and drying process. You’ll want to gradually reduce moisture, using even pressure and controlled humidity. Rushing can cause cracks or warping, so patience is key. Keep monitoring the moisture levels, and with care, your board will find its flat, peaceful state again.
Can Cupping Affect the Overall Durability of Furniture?
Yes, cupping can affect the durability of your furniture. When wood grain is distorted by cupping, it weakens the board’s structure. Moisture content fluctuations cause the wood to expand and contract, increasing the risk of future warping or cracking. If cupping isn’t addressed, the overall durability diminishes, making your furniture more prone to damage over time. Proper drying and stabilization help preserve its strength and longevity.
Conclusion
If you catch cupping early, you can often flatten your boards before they warp further, much like catching a small leak before it floods. Keep an eye on moisture levels and handle each board with care—sometimes, a simple fix saves your project. But remember, if a board’s structural integrity is compromised, it’s like trying to patch a sinking boat. Stay vigilant, and your wood will stay flat and strong, ready for whatever you build.