
Witness lines often appear after spot sanding because the edges aren’t properly blended or smoothed, making them stand out once the topcoat is applied. Applying clear coats with high gloss or reflectivity can magnify surface flaws, especially if the surface isn’t perfectly prepared. Residual debris, uneven sanding, or thin coats can also make lines more visible. If you want to fix this and achieve a seamless finish, stay with us to discover effective solutions.
Key Takeaways
- Spot sanding creates edges that become more visible after coating due to lack of blending.
- Uneven surface texture or residual debris from spot sanding highlights flaws under the topcoat.
- High-gloss finishes magnify surface imperfections, making witness lines more apparent.
- Inadequate surface preparation and inconsistent application exacerbate the visibility of witness lines.
- Over-sanding or improper spot repair can cause surface dips, ridges, or scratches that worsen after topcoating.

Romeda 8-Pack Sanding Sponge, Four Grits Per Pack 60/80/120/220, Washable and Reusable Handmade Sandpaper Block, Drywall Sandpaper Blocks for Wooden Drywall Sheetrock and Metal Glazing
【ASSORTED GRIT SANDING BLOCKS】 8 sand blocks, 4 sizes from coarse to ultra-fine sand, 60/80/120/220 grit, 2 blocks…
As an affiliate, we earn on qualifying purchases.
As an affiliate, we earn on qualifying purchases.
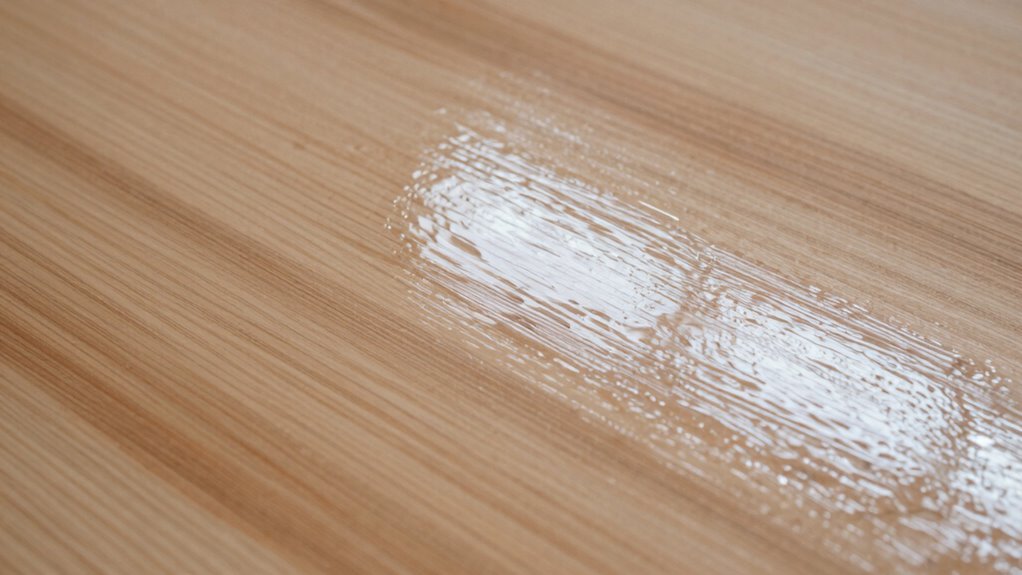
Why Do Witness Lines Appear After Spot Sanding?
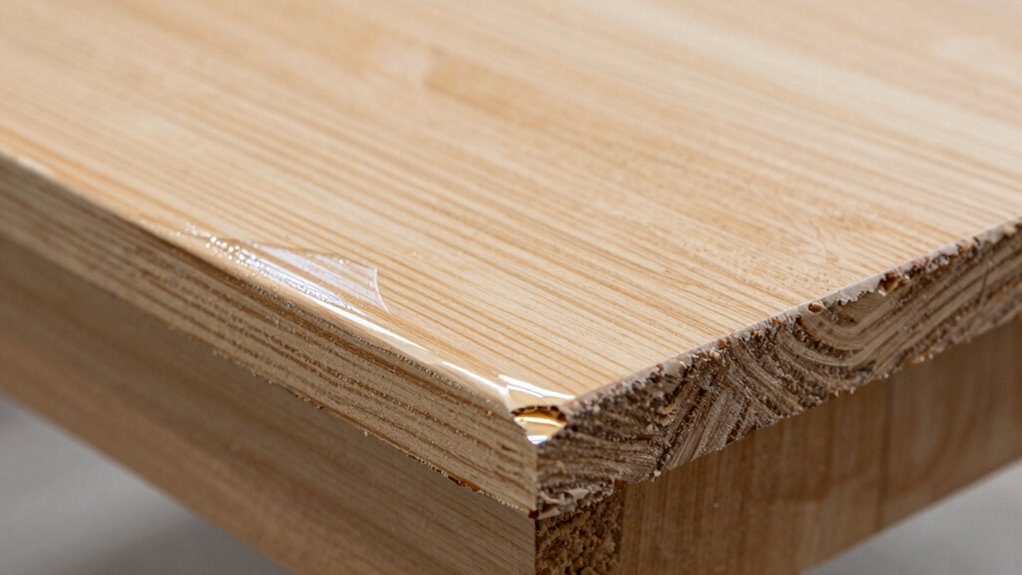
Witness lines often appear after spot sanding because the process removes only specific areas of paint or finish without blending seamlessly with the surrounding surface. When you sand, you might notice visible brush marks where the paint layers aren’t perfectly smooth. These marks can become more apparent after topcoating, especially if the underlying surface has uneven texture. Additionally, color bleed from adjacent areas can make witness lines stand out, as the new layer may not fully cover the differences in pigment or sheen. Spot sanding creates a patchy appearance, and if you don’t feather the edges well, the contrast between sanded and unsanded areas becomes obvious. This unevenness is what causes witness lines to look worse after applying the final coat. Proper surface preparation and careful feathering of edges are essential to minimize their appearance and achieve a smooth finish.

CAREGY 16Pcs Tack Cloth for Removing Dust from Woodworking, Sanding Particles, Clean & Polish, Ideal for Woodworking & Painting,Wax and Silicone Free, 18 x 36 Inches Dust Cloths
Package Includes: Each package contains a total of 16 tack cloths, with each tack cloth individually packaged for…
As an affiliate, we earn on qualifying purchases.
As an affiliate, we earn on qualifying purchases.
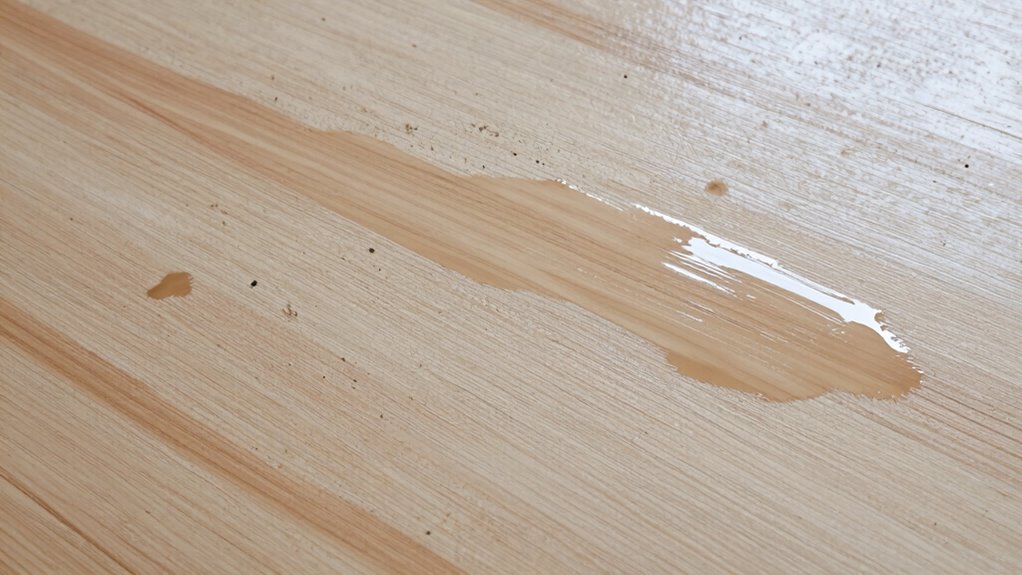
What Causes Witness Lines During Topcoating?
Witness lines during topcoating often happen because residual sanding material remains on the surface, creating uneven areas. Inconsistent surface levels also contribute, as they prevent the coating from applying smoothly. Addressing these issues guarantees a more uniform finish without visible lines. Proper surface preparation, including thorough cleaning and smoothing, is essential for optimal results visual and auditory cues.
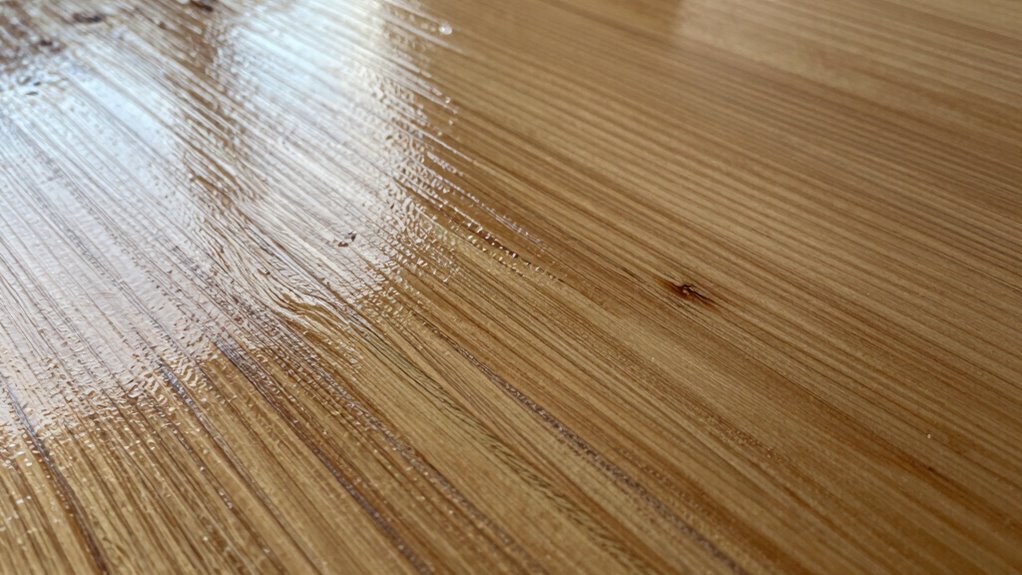
Residual Sanding Material
Residual sanding material is a common culprit behind witness lines during topcoating. When you don’t thoroughly remove dust, debris, or leftover sanding particles, surface contamination occurs, which can prevent the topcoat from adhering evenly. These tiny bits of residual sanding material create subtle ridges or differences in the surface’s smoothness. When you apply a new coat, these imperfections become visible as witness lines, making the finish look uneven or worse after topcoating. To avoid this, it’s essential to carefully clean the surface after sanding, using a tack cloth or vacuum to remove all dust and debris. Proper cleaning ensures a clean, contaminant-free surface, leading to a smoother, more uniform finish without witness lines. Additionally, understanding the importance of free floating in surface preparation can help prevent these issues from occurring.
Inconsistent Surface Levels
Have you ever noticed uneven lines appearing after topcoating? This often happens because of inconsistent surface levels. When areas are sanded unevenly, they don’t accept paint or topcoat uniformly, leading to visible ridges or dips. Proper color matching isn’t enough; the surface must be smooth and level for a seamless finish. Inconsistent drying times also play a role—if some sections dry faster or slower, the topcoat may settle unevenly. This results in witness lines that become more apparent after the topcoat cures. To avoid this, ensure all areas are sanded evenly, and give each section adequate drying time before applying the next coat. Maintaining consistent surface levels and drying times helps achieve a flawless, uniform finish without witness lines. Additionally, ventilation considerations can influence drying and curing, further impacting the final appearance.

Rust-Oleum 302110 Universal All Surface Clear Topcoat Spray, 11 oz, High Gloss Clear
Works on virtually any surface including wood, plastic, metal, fiberglass, concrete, wicker, vinyl and more
As an affiliate, we earn on qualifying purchases.
As an affiliate, we earn on qualifying purchases.
How Proper Surface Prep Prevents Witness Lines

To prevent witness lines, you need to prepare your surface carefully. Make sure you clean it thoroughly, use the right sandpaper grit, and keep your strokes consistent. Proper prep guarantees a smooth, even finish without visible marks. Paying attention to simple, room-by-room solutions can make your entire project more manageable and successful.
Clean Surface Thoroughly
Before applying any pigment or makeup, it’s vital to thoroughly clean the surface to guarantee a smooth finish. A clean surface prevents no dust, oil, or debris interfere with adhesion, which can cause witness lines after topcoating. Proper cleaning is a key step in thorough preparation, giving your work a flawless appearance. Use appropriate cleaning agents to remove grease, dirt, and residues, paying attention to corners and hard-to-reach areas. Skipping this step increases the risk of uneven absorption and visible lines once the topcoat is applied. Take your time to wipe down the surface carefully, making sure it’s free of contaminants. This thorough preparation creates a stable, even foundation, preventing witness lines from forming and helping your final finish look smooth and professional. Incorporating proper surface prep techniques ensures consistent results and enhances the longevity of your finish.
Use Proper Sandpaper Grit
Choosing the right sandpaper grit is essential for a smooth, even surface that prevents witness lines. After primer application, start with a medium grit, like 220, to remove imperfections without creating deep scratches. Using proper sanding techniques—gentle, even strokes—helps avoid uneven surfaces that can show through the topcoat. Gradually move to finer grits, such as 320 or 400, to refine the surface further. Skipping grits or sanding too aggressively can leave scratches that are highlighted after painting. Consistent pressure and avoiding excessive sanding in one spot are key. When you use the correct grit sequence and proper techniques, you ensure a flawless surface that minimizes the risk of witness lines appearing after your topcoat. Proper surface prep is crucial for achieving a professional-looking finish in your project.
Maintain Consistent Strokes
Maintaining consistent strokes during sanding is crucial for achieving a smooth, even surface that prevents witness lines. Your brush techniques and paint mixing methods influence how evenly the topcoat looks. When you sand with uniform pressure and direction, you remove imperfections without creating new ones. Think of your strokes as a pattern that keeps the surface uniform. To visualize, consider this table:
| Consistent Strokes | Uneven Strokes |
|---|---|
| Smooth, straight | Jagged, inconsistent lines |
| Uniform pressure | Varying pressure |
| Same direction | Changing directions |
| Controlled speed | Erratic motion |
| Even overlap | Gaps or overlaps |
Sticking to consistent strokes ensures your surface remains flawless, preventing witness lines after topcoat, especially when proper surface preparation is followed.

Brush Set Camel 3/Pkg-Mop
Good Quality material
As an affiliate, we earn on qualifying purchases.
As an affiliate, we earn on qualifying purchases.
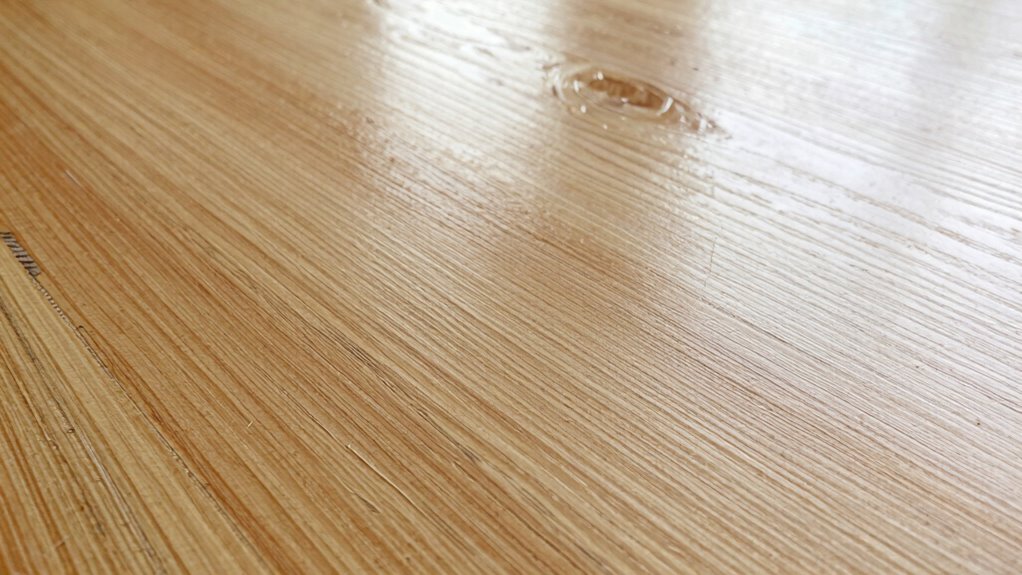
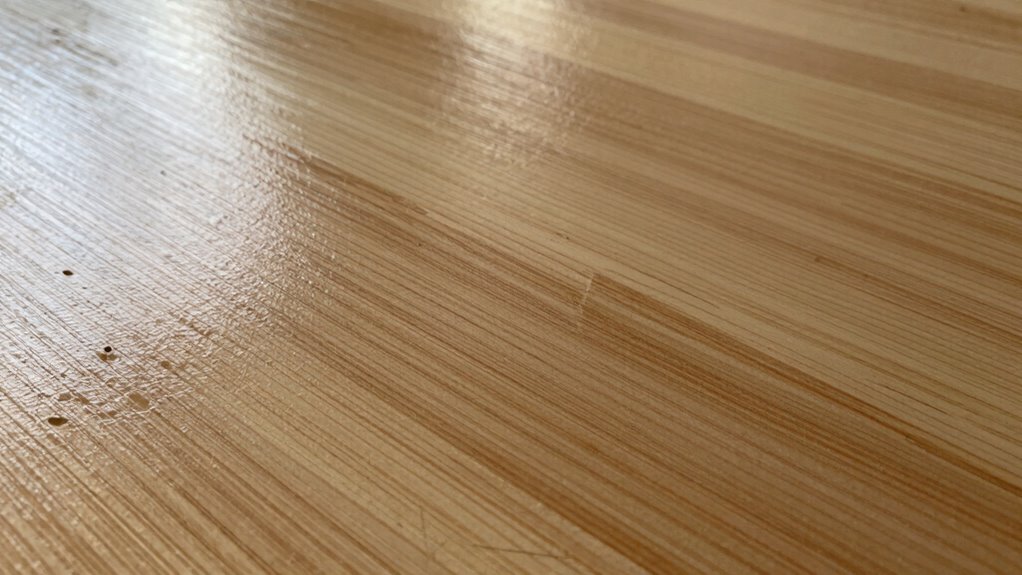
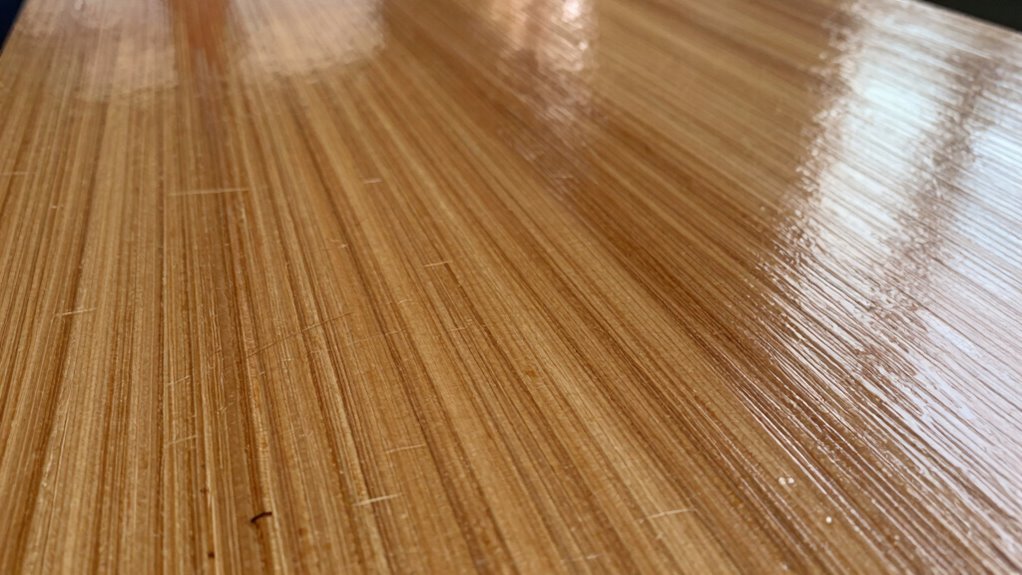
Why Topcoats Make Witness Lines More Visible
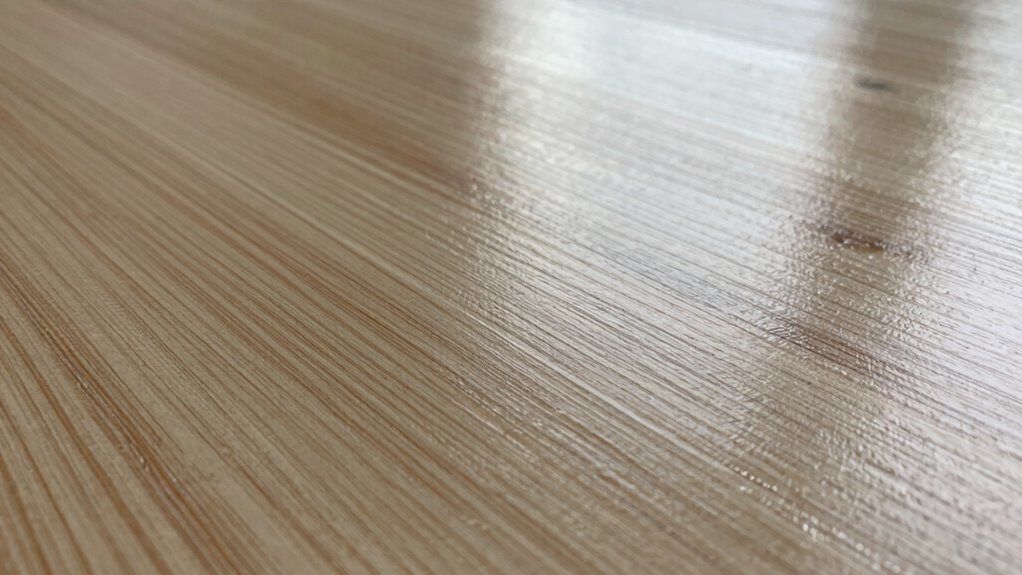
Topcoats can make witness lines more visible because they alter the surface’s reflective properties and thin out the underlying paint layers. When you apply a clear topcoat, it enhances the gloss effect, making surface imperfections stand out more. This increased gloss heightens the color contrast between the witness lines and surrounding areas, drawing attention to any unevenness or sanding marks. Because the topcoat smooths over the surface, it can also magnify the appearance of even minor flaws, especially if the underlying paint wasn’t perfectly blended. As a result, witness lines become more apparent after applying the topcoat, making it essential to sand and prepare carefully beforehand. Otherwise, the final finish will emphasize, rather than conceal, those imperfections. Additionally, understanding the role of surface reflectivity can help in achieving a more seamless finish.
How to Smooth Witness Lines Before the Final Coat
Before applying the final coat, it’s important to address any witness lines to guarantee a smooth, flawless finish. Start by lightly sanding the area with fine-grit sandpaper after the primer has dried thoroughly. This helps level the surface and reduces the visibility of witness lines. Be sure to follow the recommended drying time for your primer before sanding; rushing this step can cause adhesion issues. Use a tack cloth to remove dust and debris, ensuring a clean surface. Then, lightly reapply primer if needed, and allow proper drying time. Proper surface preparation can also prevent issues with adhesion during the final coat. Here’s a quick overview:
| Step | Key Point |
|---|---|
| Primer application | Use thin, even coats for a smooth base |
| Drying time | Allow full drying before sanding |
| Light sanding | Gently sand witness lines to smooth out |
This process prepares your surface for a flawless final coat.
Best Practices for Applying Topcoats to Hide Flaws
Applying topcoats with care is essential for effectively hiding flaws and achieving a professional finish. To guarantee ideal paint adhesion, use consistent, smooth strokes and avoid overloading your brush or roller. Thin coats dry faster and reduce the risk of visible imperfections like witness lines. Proper surface prep, including cleaning and sanding, promotes better adhesion and finish durability. Avoid applying thick coats, which can trap air and cause bubbling or uneven coverage. When applying the topcoat, maintain a wet edge to prevent lap marks and ensure a seamless look. Using high-quality paints and finishing products also enhances the durability of your finish, making flaws less noticeable over time. Consistent technique and attention to detail are key to hiding flaws and creating a flawless, durable surface.
Troubleshooting Persistent Witness Lines?
Persistent witness lines can undermine an otherwise flawless paint job, indicating that something went wrong during application or surface preparation. To troubleshoot, start by checking primer adhesion—poor adhesion can cause lines to show through the topcoat. If the primer didn’t stick properly, sanding or reapplying may be necessary. Also, consider paint compatibility; using incompatible paints can lead to uneven drying or adhesion issues, resulting in visible witness lines. Ensure you’re selecting products designed to work together. Sometimes, witness lines appear because of uneven sanding or insufficient surface preparation before the final coat. Correct these issues by thoroughly cleaning and smoothing the surface, then applying compatible primers and paints. Proper surface prep and product compatibility are key to eliminating persistent witness lines.
Tips for Achieving a Smooth, Flawless Finish Next Time
Achieving a smooth, flawless finish requires careful attention to every step of the painting process. Start with proper tool selection—use high-quality brushes and rollers suited for your project. Always inspect your finish thoroughly before moving to the next coat; look for uneven spots or imperfections. Proper tool choice minimizes the need for excessive sanding later. When applying topcoat, maintain a consistent technique to prevent witness lines. After each layer, perform a finish inspection under good lighting to catch flaws early. Here’s a quick guide:
| Tool Selection | Finish Inspection |
|---|---|
| Quality brushes and rollers | Check for smooth, even coats |
| Appropriate abrasives | Seek areas of uneven coverage |
| Consistent application speed | Identify witness lines or blemishes |
| Clean tools regularly | Ensure flawless final appearance |
Frequently Asked Questions
Can Witness Lines Be Entirely Eliminated With Specific Sanding Techniques?
Yes, you can eliminate witness lines with proper sanding techniques. Focus on feathering the edges of the sanded area and using fine-grit sandpaper to smooth the surface evenly. Consistent pressure and careful attention to detail help achieve better witness line elimination. Remember, thorough sanding guarantees the topcoat blends seamlessly, reducing visible lines and giving your finish a professional, flawless look.
Does the Type of Topcoat Affect Witness Line Visibility?
Yes, the type of topcoat can affect witness line visibility. If you choose a topcoat with poor paint adhesion or skip proper primer selection, witness lines may become more noticeable after application. Using a high-quality primer helps guarantee smooth paint adhesion, reducing the chance of lines showing through. Additionally, selecting the right topcoat finish can minimize the appearance of witness lines, giving you a more flawless, professional look.
Are Certain Paints More Prone to Showing Witness Lines After Sanding?
Certain paints are more prone to showing witness lines after sanding, especially if surface preparation isn’t thorough. Think of it like a poorly tuned guitar; if paint doesn’t adhere well or the surface isn’t smooth, witness lines become glaring after topcoat. Low-quality paints or those with poor adhesion properties reveal imperfections more readily. To avoid this, guarantee proper surface prep and choose paints suited for your project to keep witness lines at bay.
How Do Environmental Conditions Influence Witness Line Formation?
Environmental conditions, like humidity effects and temperature influences, considerably impact witness line formation. High humidity can slow drying, causing uneven surfaces that highlight witness lines after sanding. Conversely, low humidity speeds up drying, potentially trapping imperfections. Temperature fluctuations can also cause paint to contract or expand, making witness lines more noticeable after topcoat. To minimize this, maintain consistent environmental conditions during sanding and painting for a smoother finish.
Is It Better to Sand Before or After Applying the Final Coat?
It’s better to sand after applying the final coat. You should use proper sanding techniques to smooth out imperfections without damaging the paint. Make sure to select the right paint, as some finishes are easier to sand than others. Lightly sand with fine-grit paper, then clean thoroughly before applying the topcoat. This approach guarantees a seamless, professional finish and minimizes witness lines or surface issues.
Conclusion
Next time you notice witness lines after topcoating, remember it’s all about prep and technique. For example, a DIYer once thought spot sanding was enough, only to see lines stand out after the final coat. By sanding evenly, feathering edges, and applying thin coats, you can avoid this. With patience and proper steps, you’ll achieve a smooth, flawless finish that truly looks professional—no more witness lines to distract from your perfect work.