
To fix dust nibs quickly, gently sand the imperfection with fine-grit sandpaper or finishing pads, then smooth it out by polishing the area. Keep your workspace clean and dust-free during application to prevent new nibs from forming. If a nib isn’t easily buffed out, you might need to recoat for a seamless look. For the best results, follow simple tips to keep dust at bay—more details help you achieve a perfect finish effortlessly.
Key Takeaways
- Lightly sand dust nibs with fine-grit sandpaper to smooth the surface quickly and effectively.
- Use a tack cloth or microfiber cloth to remove dust before sanding for best results.
- Follow up with polishing compounds to blend the repair and restore a seamless finish.
- Ensure a dust-free environment during finishing to prevent new nibs from forming.
- For minor imperfections, quick touch-ups can often fix dust nibs without re-coating the entire surface.

Sand Paper, 48 PCS Sandpaper, 120 to 5000 Assorted Grit Sandpaper Sheets, 9 x 3.6 Inch Premium Wet Dry Sandpaper for Wood Furniture Finishing, Metal Sanding, Automotive Polishing
Meets All Your Needs: 48 pcs sand paper kit, 16 grits sandpaper assortment, including 3 sheets of each…
As an affiliate, we earn on qualifying purchases.
As an affiliate, we earn on qualifying purchases.
What Are Dust Nibs and How Do They Appear During Finishing?
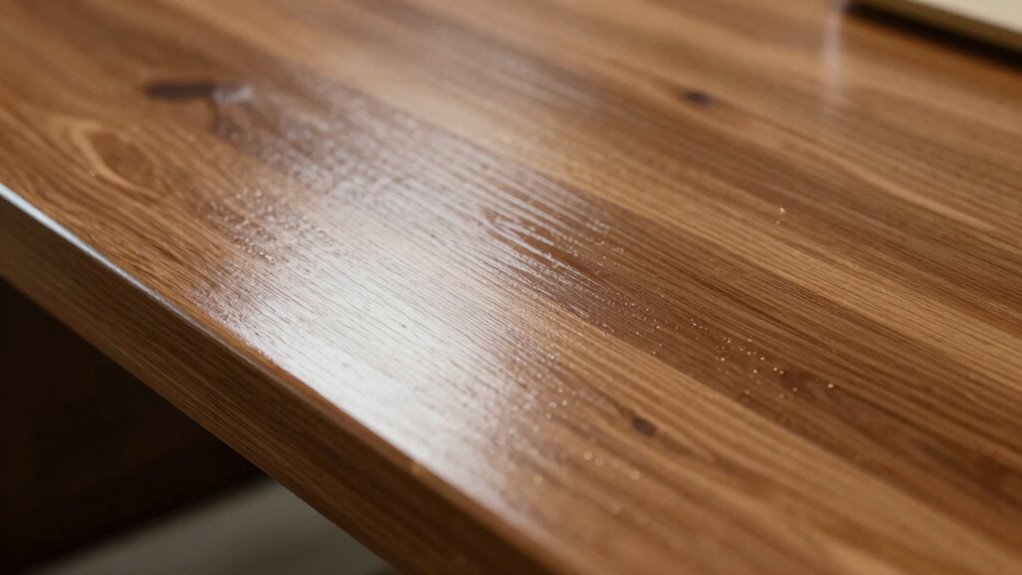
Dust nibs are tiny imperfections that form on a freshly applied finish when airborne dust particles land on the surface before the coating dries. This dust contamination causes small bumps or bumps that stand out against the smooth finish, often resulting in finish imperfections. When you apply a coat of paint, varnish, or lacquer, any dust floating in the air can settle on the wet surface. If you don’t prevent dust contamination, these particles become embedded in the finish as it dries, creating visible nibs. These imperfections are usually small but can be quite noticeable, especially on glossy surfaces. Understanding how dust nibs form helps you avoid them and achieve a smooth, flawless finish. Using proper dust control techniques can significantly reduce the likelihood of dust nibs appearing during finishing.

USANOOKS Microfiber Cleaning Cloth Grey – 12 Pcs (12.5"x12.5") – High Performance – 1200 Washes, Ultra Absorbent Microfiber Towel Weave Grime & Liquid for Streak-Free Mirror Shine – Car Washing Cloth
10x GRIP-ROOT WEAVE – TRAP MORE, WORK LESS: Ultra-absorbent microfiber towels for car Grip Root weave works like…
As an affiliate, we earn on qualifying purchases.
As an affiliate, we earn on qualifying purchases.
How Can You Spot Dust Nibs Early in Your Project?
To spot dust nibs early, keep an eye out for visible dust particles on your surface. Check for uneven reflections or spots that catch the light differently, indicating imperfections. Catching these signs early helps you address them before they become bigger issues. Recognizing surface imperfections early is crucial for achieving a smooth, professional finish.
Visible Dust Particles
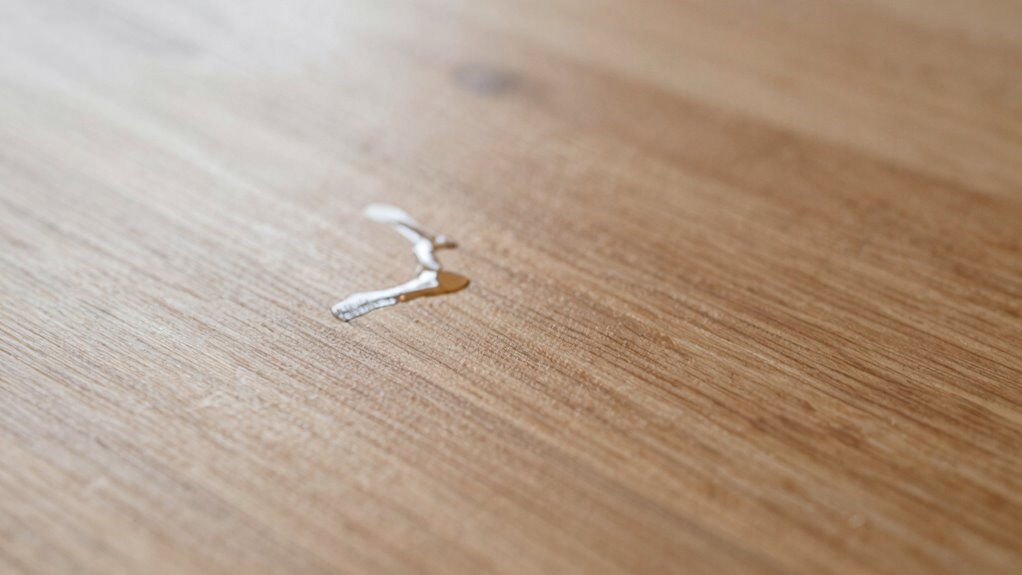
Spotting dust nibs early in your project can save you from costly rework later. Visible dust particles stand out when lighting hits the surface at the right angle, making contamination easy to detect. To catch dust nibs, examine your work in a well-lit finishing environment, preferably with a bright, focused light source. Look for tiny specks or bumps that disrupt the smooth surface. Keep an eye out for:
- Small, raised spots on the finish
- Dust particles that don’t blend with the surrounding area
- Irregularities in reflection or sheen
- Inconsistent gloss or matte patches
- Debris that remains stationary during inspection
Being vigilant helps you identify dust contamination early, ensuring a flawless finish and reducing the need for touch-ups. Additionally, understanding free floating dust particles can help you implement better dust control measures during your project.
Uneven Surface Reflections
Uneven surface reflections are a clear sign that dust nibs may be present on your work. When inspecting your finish, pay attention to the surface sheen under different lighting conditions. Dust nibs can cause irregularities in light reflection, making certain areas appear dull or uneven compared to the surrounding surface. These inconsistencies are often more noticeable when the finish is still wet or under direct light. If you notice patches where the reflection isn’t smooth or the sheen seems disrupted, it’s likely dust nibs are affecting your project. Catching these early allows you to sand lightly and reapply the finish, ensuring a flawless, even surface. Recognizing uneven surface reflections helps you maintain a professional look and avoid larger issues later.

Surface Restoration Polish with Pad, Multi-Surface Scratch Remover, Polishing & Surface Protection, for Leather Wood Marble Countertop Refrigerators & Cookware Ovens Sinks
All-in-One Surface Restoration Polish with Pad:Expertly formulated to work on a wide variety of materials, including metal, stone,…
As an affiliate, we earn on qualifying purchases.
As an affiliate, we earn on qualifying purchases.
Easy Fix: How to Smooth Small Dust Nibs With Sanding and Polishing

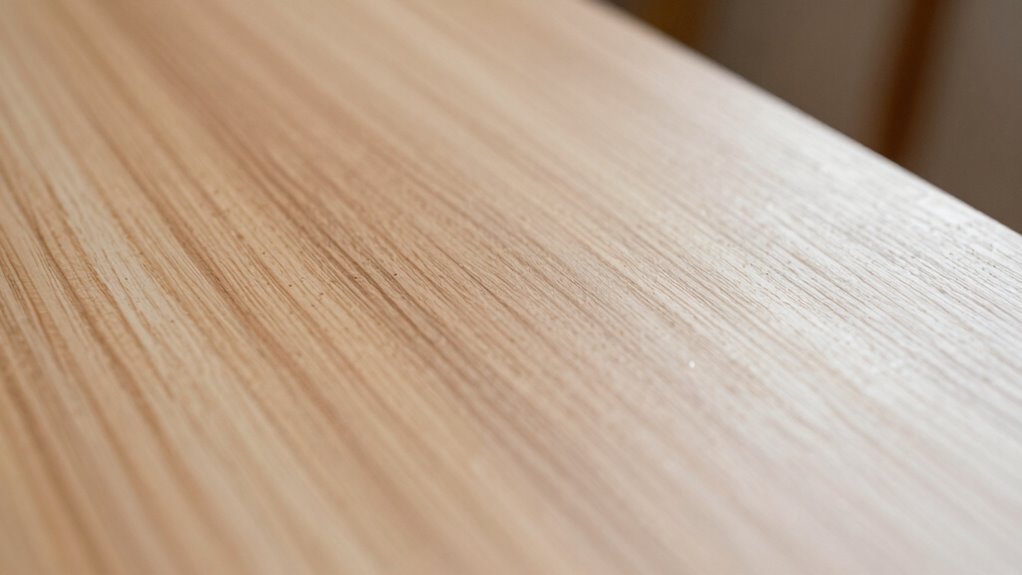
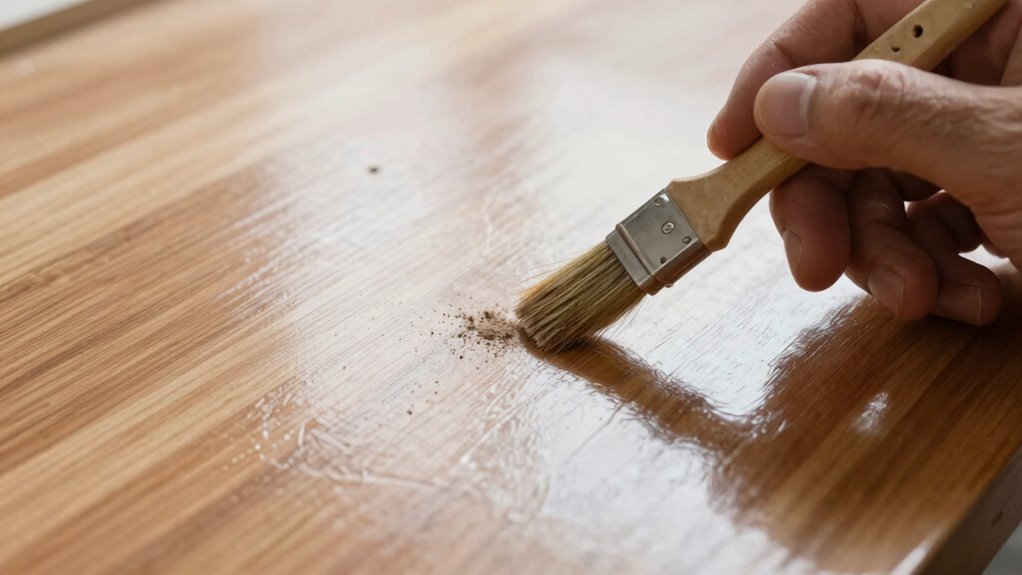
Small dust nibs can be easily smoothed out with a simple sanding and polishing process. First, verify you remove any loose dust by gently wiping the surface. Use fine-grit sandpaper or sanding pads to target the nibs, applying light, even pressure with proper sanding techniques. Once the nibs are smoothed, switch to a finer abrasive for polishing to blend the area seamlessly. For the best results, consider using educational resources to learn advanced techniques for finishing.
Smooth out dust nibs easily with gentle sanding and polishing for a flawless finish.
Consider these tips:
- Use a tack cloth or microfiber to remove dust after sanding
- Keep your sanding strokes consistent and gentle
- Test a small area first to avoid over-sanding
- Use polishing compounds for a glossy finish
- Work in a well-lit area to spot nibs easily
This approach provides a quick fix that results in a smooth, professional-looking surface.

Automotive Paint Nib File, Tungsten Carbide Paint Repair Scraper for Touch Up Paint, Denibbing Tool for Paint Runs, Dust Nibs, Spot & Clear Coat Repair
【PROFESSIONAL TUNGSTEN CARBIDE BLADE】 Crafted from premium tungsten carbide alloy with exceptional hardness and wear resistance, this paint…
As an affiliate, we earn on qualifying purchases.
As an affiliate, we earn on qualifying purchases.
Prevent Dust Nibs: Simple Tips for a Cleaner Finish
To achieve a smooth, professional finish, prevention is key in avoiding dust nibs before they form. Start by ensuring your workspace is clean and free of dust that can settle on wet paint or finish. Use a tack cloth or a lint-free cloth to wipe surfaces before applying your topcoat. Proper dust prevention also involves controlling airflow; keep fans and HVAC systems off during application and drying. When inspecting your finish, perform a thorough finish inspection to catch any dust nibs early. Touch up any areas immediately with a fine brush or light sanding. Additionally, understanding indoor air quality and its impact can help you create a cleaner environment that minimizes dust settling on surfaces. Taking these simple steps reduces the chances of dust nibs, resulting in a cleaner, more flawless surface without the need for extensive correction later.
When Should You Touch Up Versus Recoat the Entire Surface?

If you notice dry spots or dust nibs, a quick touch-up might do the trick. However, if the surface shows unevenness or large imperfections, it’s better to recoat the entire area. Knowing when to touch up versus recoat helps achieve a smooth, uniform finish, especially when understanding surface preparation can make all the difference in the final result.
Dry Spots or Dust Nibs
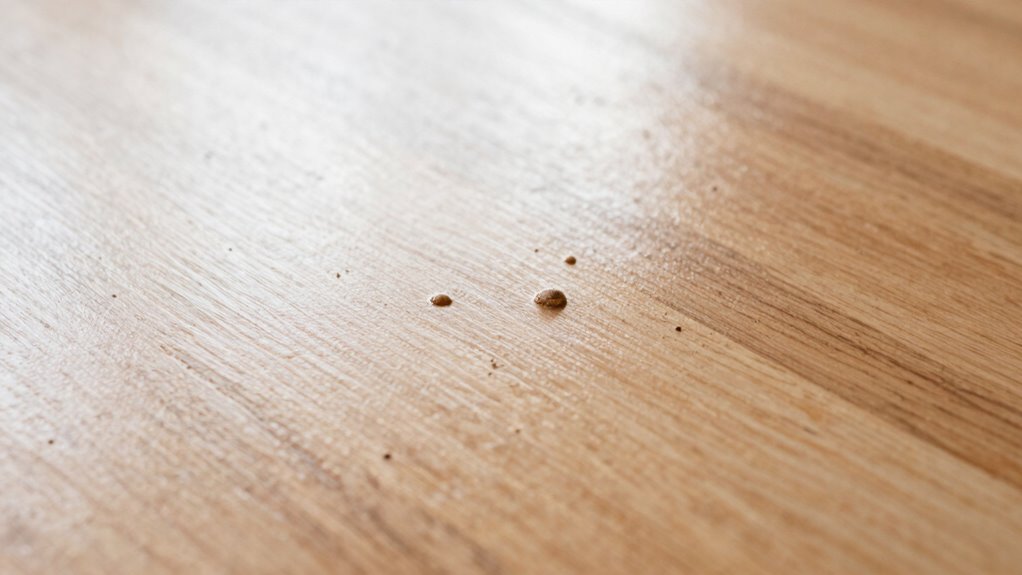
Ever wonder whether you should fix dry spots or dust nibs with a touch-up or recoat the entire surface? If the dry spots are tiny and isolated, a quick touch-up is usually enough. But if dust accumulation caused finish adhesion issues or the spots are widespread, re-coating is better. Consider these factors:
- Size and number of dry spots or nibs
- Overall uniformity of the finish
- Depth of dust nibs or dry areas
- Whether dust or debris caused finish issues
- The importance of a flawless look for your project
A small dust nib or dry spot can often be repaired with a quick touch-up, preventing the need for a full recoat. However, if surface irregularities are affecting finish adhesion, reapplying the coating ensures long-lasting results. Proper surface preparation and understanding finish adhesion are crucial to achieving a durable, professional-looking finish.
Surface Uniformity Concerns
When evaluating surface uniformity, your decision to touch up or recoat depends on how consistent the finish appears across the entire area. If the grain pattern looks mismatched or the color isn’t uniform, a full recoat might be necessary to achieve a seamless look. Small inconsistencies, like minor variations in sheen or slight differences in grain, can often be fixed by targeted touch-ups. Use the table below to help assess your situation:
| Issue | Recommended Action |
|---|---|
| Slight grain pattern mismatch | Touch up specific spots |
| Noticeable color streaks or patches | Recoat entire surface |
| Overall inconsistent sheen | Recoat for uniformity |
Deciding between touch-up and recoat hinges on the severity of the surface uniformity concerns. Additionally, understanding surface preparation techniques can help ensure a more consistent finish after touch-up or recoating.
Troubleshooting Common Dust Nib Problems and Best Practices
Dust nib problems can disrupt your workflow and compromise the quality of your work, but most issues have straightforward solutions. To troubleshoot, start by inspecting your environment for dust sources and implement dust prevention measures. Maintaining a clean workspace reduces debris that can settle on fresh finishes. Use proper finishing techniques to avoid disturbing the surface once applied. If dust nibs appear, gently sand the area with fine grit to smooth out imperfections. Always work in a controlled environment with stable humidity and airflow. Consider applying a dust filter or cover during drying to minimize airborne particles. Additionally, understanding how dark psychology tactics can influence perceptions may help you stay focused and avoid distractions that contribute to dust contamination. By following these best practices, you can minimize dust nibs and achieve a smooth, professional finish.
Frequently Asked Questions
Can Dust Nibs Occur With All Types of Finishes?
Dust nibs can occur with all types of finishes if you don’t pay attention to finish consistency and dust control techniques. Whether you’re working with lacquer, polyurethane, or oil-based finishes, dust can settle on the surface and cause nibs. To prevent this, you should maintain a clean workspace, use proper dust control methods, and guarantee your finish is applied smoothly. This proactive approach helps achieve a flawless, professional-looking finish every time.
What Tools Are Best for Removing Dust Nibs Effectively?
You should use brush tools or vacuum methods to remove dust nibs effectively. A soft brush helps gently sweep away nibs without damaging the finish, while a vacuum with a fine nozzle can suck up dust particles efficiently. Both tools give you control and precision, ensuring your surface stays smooth. Combine these methods for the best results, especially when working on delicate finishes or intricate surfaces.
Are There Any Finishing Products That Minimize Dust Nib Formation?
Imagine your finish as a smooth symphony; certain finishing product options act as the conductor, preventing dust nibs before they start. Look for sealers or primers designed for dust nib prevention, which create a resilient barrier. Using a high-quality finish and applying it carefully minimizes dust nib formation, ensuring your project remains flawless. These proactive finishing products help keep dust nibs at bay, making your work look professional and polished.
How Long Should You Wait Before Sanding After Applying Finish?
You should wait at least the recommended drying time before sanding after applying finish, typically 24 to 48 hours, depending on the product. During the curing process, the finish reaches ideal hardness, reducing the risk of damaging it. Rushing this step can lead to dust nibs or uneven surfaces. Always check the manufacturer’s instructions for specific drying time, and guarantee the finish is fully cured before sanding for the best results.
Can Dust Nibs Be Prevented During Outdoor or Humid Conditions?
Think of outdoor and humid conditions as the villain in your woodworking story. To prevent dust nibs, you need to control dust accumulation and guarantee proper finish curing by working in a sheltered, low-humidity environment or waiting for ideal weather. Keep surfaces covered, use a clean workspace, and give your finish ample time to dry. This way, you’ll minimize dust and achieve a smooth, flawless finish.
Conclusion
By catching dust nibs early and using simple sanding and polishing techniques, you can achieve a flawless finish. Did you know that over 60% of DIYers admit to redoing coats because of visible dust nibs? Don’t let tiny specks ruin your project—stay vigilant, keep your workspace clean, and fix small imperfections promptly. With these tips, you’ll enjoy a smooth, professional-looking finish that’s worth showing off.