Splined miters are a great way to create strong, stylish corners for your boxes without bulky joints. By cutting precise slots at 45-degree angles and fitting a spline, you reinforce the joint while adding a decorative touch. Using quality materials and sharp tools guarantees a tight fit that lasts. Proper preparation, accurate marking, and finishing techniques make these joints durable and sleek. Keep going, and you’ll discover how to master this elegant woodworking solution.
Key Takeaways
- Splined miters reinforce 45° corners, providing strength without bulky joints, ideal for boxes.
- Use hardwoods and precise routing to ensure tight-fitting, durable spline joints.
- Properly mark and cut miter angles for seamless, professional-looking corners.
- Fit splines tightly and sand for smooth, visually appealing joints.
- Apply adhesive evenly and clamp during curing to maximize joint strength and durability.

Feiyang Miter Spring Clamps Kit for Woodworking,Picture Frames,Wood Trim,Moldings
This kit consists of 8 clamps,1pcs clamp holder and one specialized pliers for effortlessly opening the clamp tips,designed…
As an affiliate, we earn on qualifying purchases.
As an affiliate, we earn on qualifying purchases.
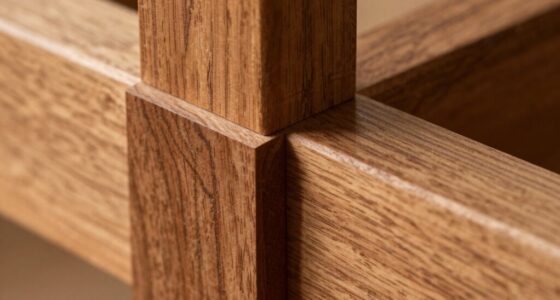
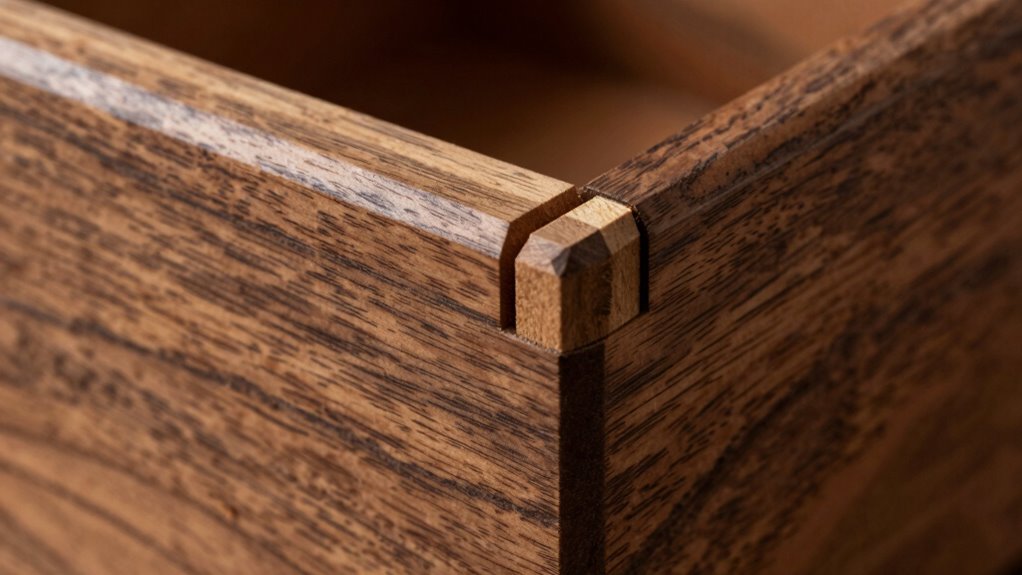
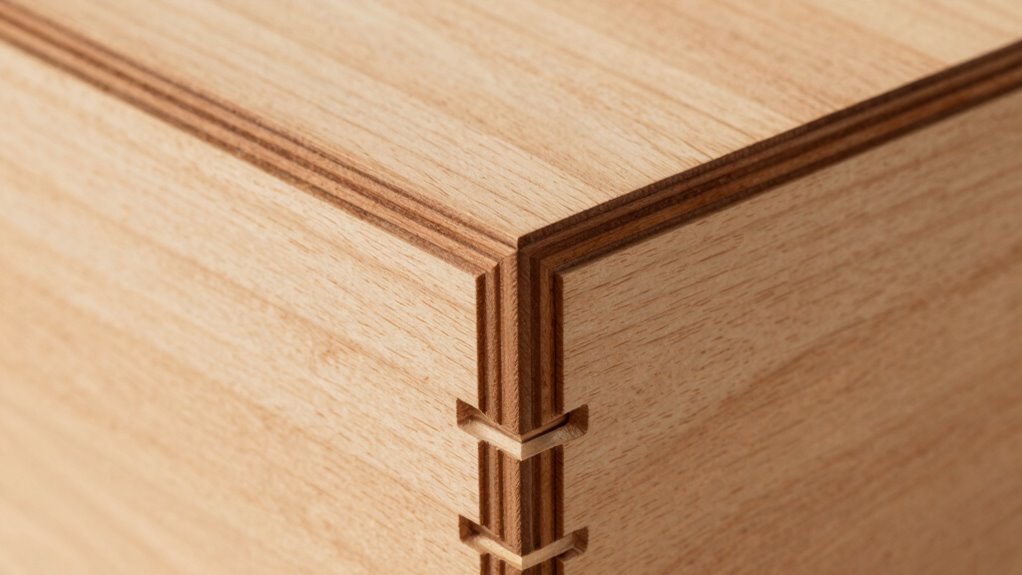
What Are Splined Miter Joints and Why Use Them for Your Box?
Splined miter joints are a woodworking technique that strengthens 45-degree corner connections, making them ideal for boxes. They add decorative accents that enhance the visual appeal of your project, giving a refined, professional look. Historically, this technique has been used for centuries in fine furniture and cabinetry, demonstrating its durability and aesthetic value. Using splines not only reinforces the joint but also introduces a subtle design element, especially when contrasting woods or finishes are employed. This method allows you to create strong, clean corners while maintaining a sleek profile. Whether you’re building a decorative jewelry box or a functional storage container, splined miters combine strength with elegance, making them a popular choice among woodworkers who want both form and function.
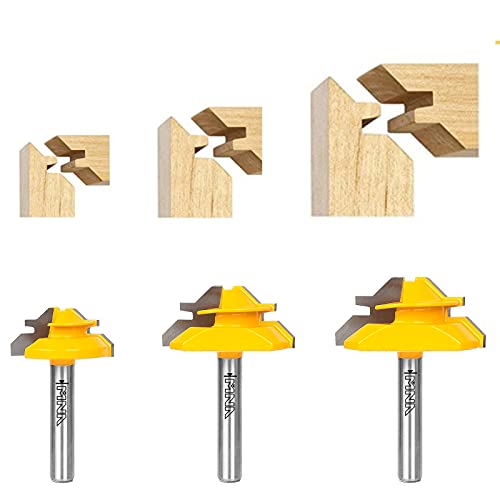
MNA 45 Degree Lock Miter Router Bit 3-Piece Set, for 1/2”, 5/8”, 3/4” Cutting Height, 1/4 Inch Shank. Easy to Create Lock Miter Joint
American industry classification C3 Carbide. Provide superior wear resistance and sharp edges for the best finish.
As an affiliate, we earn on qualifying purchases.
As an affiliate, we earn on qualifying purchases.
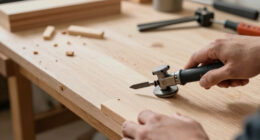
Choosing Materials and Tools for Stronger Splined Miters
Choosing the right materials and tools is essential to creating strong, durable splined miters. Selecting hardwoods with tight, consistent wood grain ensures stability and reduces splitting risks. Pay attention to spline orientation; running splines parallel to the wood grain enhances strength and minimizes warping. When choosing tools, use a precise router or dado blade to cut clean, accurate slots, and keep your saw blades sharp for smooth cuts. Consider these points:
- Use hardwoods like oak or maple for better strength
- Align spline orientation with the wood grain for maximum stability
- Maintain sharp, accurate tools for clean cuts
- Proper material selection is crucial for achieving long-lasting joints and ensuring the integrity of your construction.
Proper material choice and tool accuracy improve joint integrity, helping your mitered corners stay strong over time without bulky joints or gaps.

Building Small Projects: The New Best of Fine Woodworking
Used Book in Good Condition
As an affiliate, we earn on qualifying purchases.
As an affiliate, we earn on qualifying purchases.
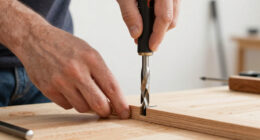
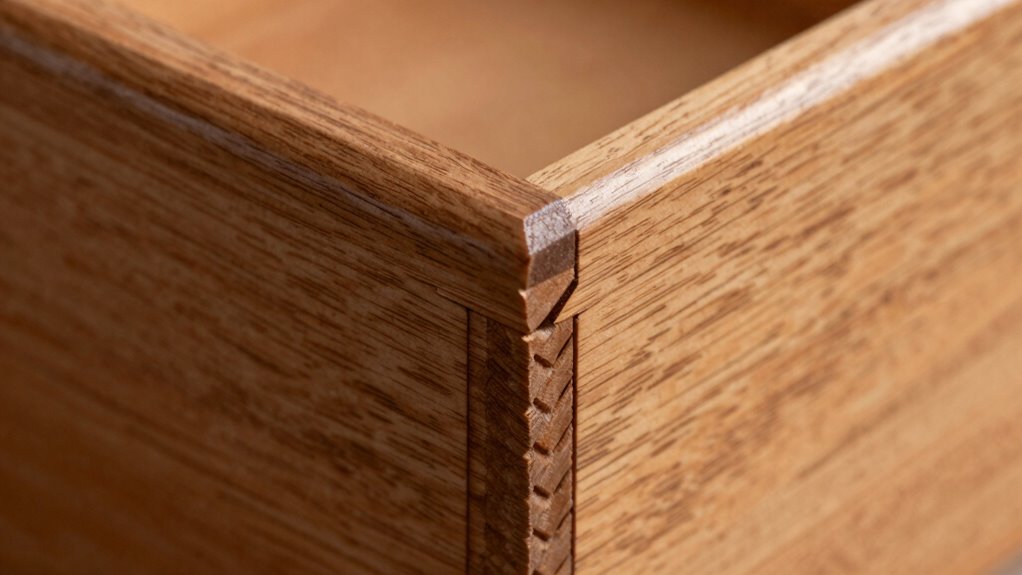
Preparing Your Wood and Marking Cuts for Perfect Mitered Corners
Before you start cutting, it’s important to properly prepare your wood and accurately mark your cut lines to guarantee perfect mitered corners. Begin by examining the wood grain; note its direction to ensure your cuts follow the natural flow, reducing splintering and improving fit. Use a sharp pencil to mark your miter lines clearly on the surface, making sure to measure precisely with a miter saw or square. Double-check your measurements before drawing to avoid errors. When marking, align your pencil with your measuring tools carefully, and consider marking both sides for consistency. Proper preparation and accurate pencil marking help ensure your cuts are clean and precise, which is essential for tight-fitting, professional-looking mitered corners in your box project. Additionally, understanding how to prepare your wood can significantly improve the strength and appearance of your corners.

Metabo HPT 10-Inch Single Bevel Compound Miter Saw, 15-Amp Power Saw with Xact Cut Shadow Line, Precision Miter Angles, Single Bevel 0-45°, 40T TCT Miter Saw Blade, Lightweight Design, C10FCG2
POWERFUL AND PRECISE: This 10-inch single bevel compound miter saw features a 15-Amp motor delivering high power for…
As an affiliate, we earn on qualifying purchases.
As an affiliate, we earn on qualifying purchases.
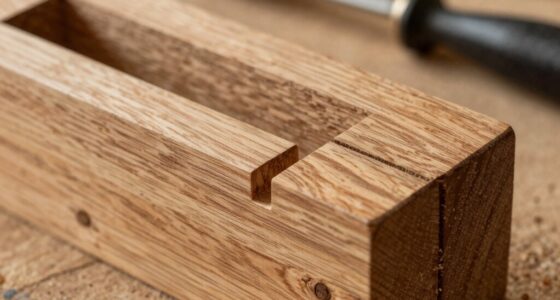
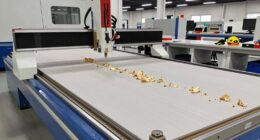
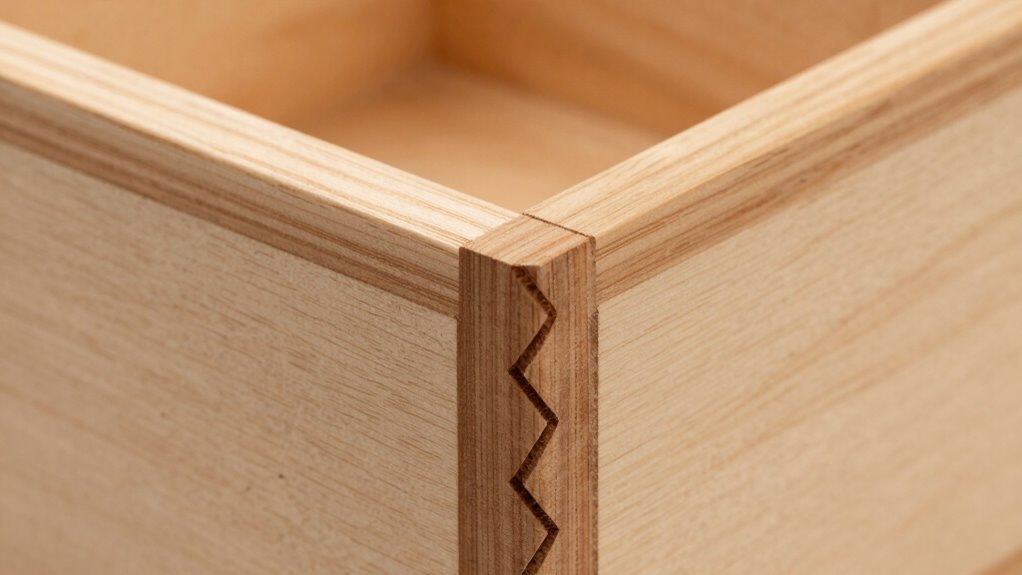
How to Make Strong, Precise Spline Miter Joints : A Step-by-Step Guide

To create a strong, precise spline miter joint, start by selecting the right materials and tools. Use quality wood and sharp blades to ensure clean cuts and maximum joint strength. Accurate marking is essential—measure carefully and double-check angles before cutting. To achieve ideal joint strength and aesthetic appeal:
Choose quality materials and precise cutting for a strong, attractive spline miter joint.
- Use a spline slot cutter or a router with a straight bit for consistent, smooth grooves
- Fit the spline tightly, avoiding gaps that weaken the joint
- Sand and finish the joint carefully to enhance appearance and durability
Align the spline precisely in the miter, then clamp firmly while gluing. This method ensures a seamless appearance and a robust, lasting connection, elevating both the strength and visual appeal of your project. Precise measurements are crucial for ensuring a perfect fit and professional-quality results.
Finishing and Reinforcing Splined Miters for Lasting Durability
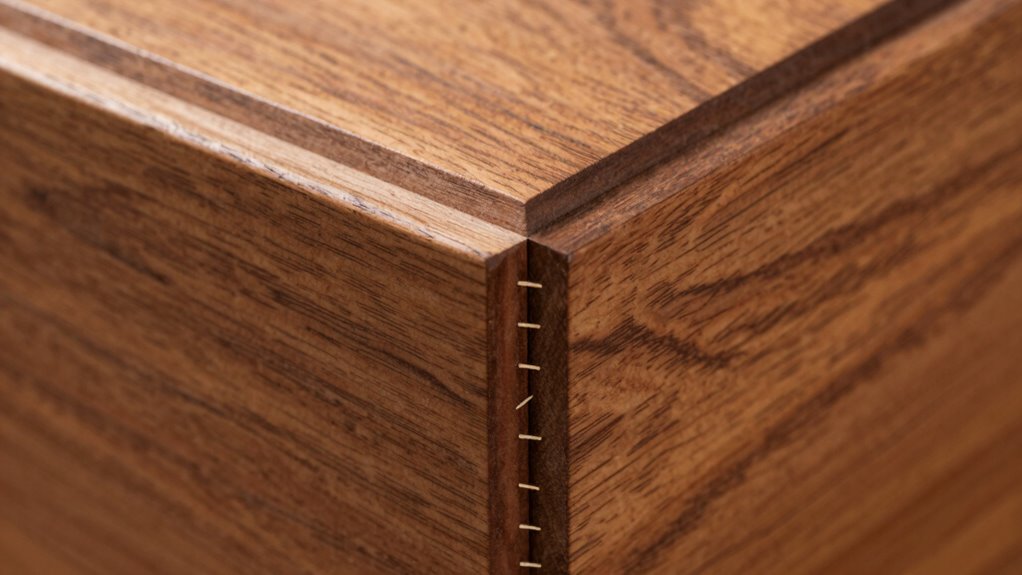
To guarantee your splined miter joints last, you need to focus on proper adhesive application. Using the right amount and technique helps bond the pieces securely without mess. Additionally, effective clamping and drying methods are essential to prevent gaps and ensure a strong, durable connection. Incorporating proper drying times allows the adhesive to cure completely, which is crucial for maintaining joint strength over time.
Proper Adhesive Application
Applying adhesive correctly is essential for guaranteeing your splined miter joints are strong and durable. Choose the right adhesive types—such as PVA glue, polyurethane, or epoxy—based on your project’s needs. Use proper application techniques to prevent gaps and weak spots. For precise results, apply a thin, even coat of glue to both the spline and miter surfaces, avoiding excess that could squeeze out and create messes. To ensure strong bonds:
- Use a small brush or applicator for control
- Spread adhesive evenly without overloading
- Remove excess immediately before it dries
This approach guarantees maximum contact and adhesion, reducing the risk of joint failure. Proper adhesive application is vital to create a lasting, secure fit for your splined miters. Adhesive application techniques are crucial for achieving optimal bonding strength and long-term durability.
Clamping and Drying Techniques
Once you’ve applied the adhesive, properly clamping your splined miter joints is essential for guaranteeing a strong, lasting bond. Use even clamping pressure to prevent gaps and maintain alignment, but avoid over-tightening, which can squeeze out too much glue or deform the joint. Keep the clamps in place for the recommended drying times, typically at least 30 minutes to an hour, depending on the adhesive. For maximum strength, allow the glue to cure fully before removing clamps, often 24 hours. Check regularly to ensure consistent pressure and proper contact. If necessary, use scrap blocks or cauls to distribute pressure evenly across the joint. Proper clamping and attentive drying times ensure your miters stay tight and durable over time.
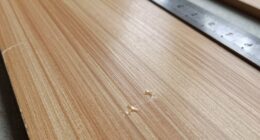
Troubleshooting Common Mistakes in Splined Miter Joints and How to Fix Them
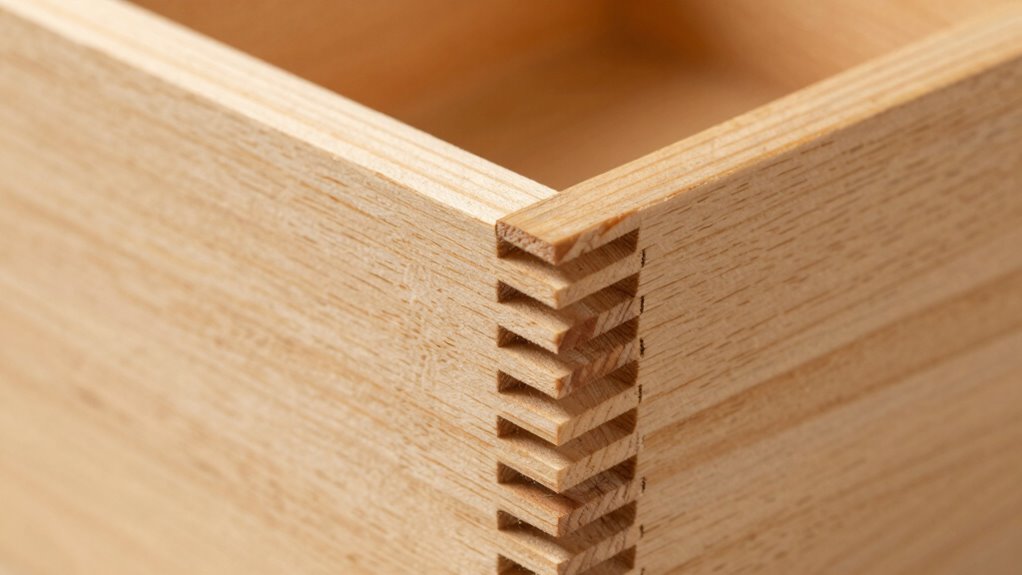
When splined miter joints don’t align properly, it’s usually due to measurement errors or improper cutting techniques. To fix this, double-check your measurements before cutting, ensuring the angles and lengths are precise. Incorrect joint alignment often results from uneven cuts or misaligned spline slots, which can be corrected by re-sawing or sanding the joint edges. Pay close attention to spline thickness; too thick or thin splines can cause gaps or tight fits. Additionally, consistent measurements are essential for achieving accurate and durable joints. Remember these points:
Ensure precise measurements and cuts for perfect splined miter joints.
- Verify the accuracy of your miter angles before cutting.
- Adjust spline thickness to match the slot width perfectly.
- Use a fine saw or router for cleaner, more precise cuts.
Addressing these issues will improve joint alignment and create a tighter, more professional fit.
Frequently Asked Questions
Can Splined Miters Be Used for Curved or Angled Boxes?
Yes, you can use splined miters for curved or angled boxes. They work well with curved joint techniques and angled box design because the splines provide extra strength and stability, even on non-straight joints. By carefully cutting the splines to match the curve or angle, you guarantee a tight fit. This method keeps your corners strong without bulky joints, making for a sleek, professional-looking finished project.
What Are the Best Types of Wood for Splined Miter Joints?
You should choose hardwoods like oak, maple, or cherry for splined miter joints because their tight wood grain provides strength and stability. These woods hold splines well and resist splitting. To enhance durability, use proper finishing techniques such as sanding smoothly and applying protective coats. This guarantees your joints stay strong, look professional, and resist wear over time, making your boxes both beautiful and long-lasting.
How Do I Prevent Splines From Loosening Over Time?
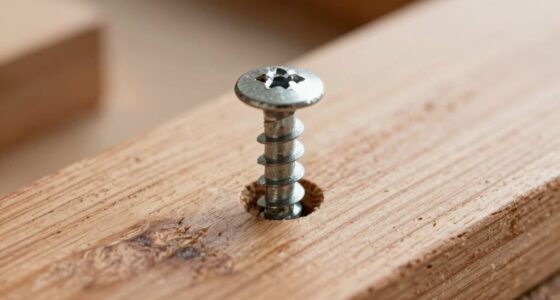
To prevent splines from loosening over time, apply a quality spline adhesive during assembly to guarantee a strong bond. Additionally, consider using joint reinforcement techniques like adding small nails or screws near the spline for extra stability. Regularly check your joints and reapply adhesive if you notice any looseness. Proper clamping during drying also helps maintain tight, durable joints that resist loosening with age.
Are Power Tools Necessary for Making Splined Miters?
You don’t necessarily need power tools for making splined miters. Hand tools like a saw and chisels can do the job, especially if you prefer more control. Using woodworking jigs can help you achieve precise cuts and perfect joints without power tools. With patience and proper setup, you can create strong, clean splined miters using just hand tools and jigs, making your project more accessible and safer.
How Do I Choose the Right Size and Shape of Splines?
To choose the right size and shape of splines, consider your joint strength and aesthetic appeal. Opt for thicker, wider splines for added durability, especially on larger or load-bearing projects. For a clean, seamless look, select narrow, matching shapes that blend with your wood. Experiment with different profiles to balance strength and visual appeal, ensuring the spline complements your box’s design while providing strong, durable corners.
Conclusion
By mastering splined miters, you can create boxes with strong, clean corners that stand the test of time. With the right materials, careful preparation, and precise techniques, you’ll avoid common pitfalls and achieve professional results. Isn’t it rewarding to know that your craftsmanship can elevate simple boxes into lasting, elegant pieces? With patience and practice, you’ll wonder why you ever settled for less — so why not give splined miters a try today?