A mitered half-lap joint combines angled cuts with recessed sections, creating a stronger, flush connection perfect for frames. It distributes forces evenly, adds stability, and hides intersections for a cleaner look. By fitting pieces snugly and aligning grain, you enhance both durability and aesthetics. Mastering this joint boosts your woodworking skills—and if you keep exploring, you’ll uncover tips for perfecting every cut and fit.
Key Takeaways
- Combines miter cuts with half-lap to create seamless, flush joints that enhance frame strength and stability.
- Provides a snug fit that distributes forces evenly, reducing weak points and increasing durability.
- Hides intersection lines for a cleaner, more aesthetic appearance in framed projects.
- Ensures precise, accurate cuts for a stronger, more reliable connection over time.
- Enhances both structural integrity and visual appeal, making frames more resilient and attractive.

Rockler Half Lap Jig – Woodworking Essentials To Easily Cut Tight-Fitting Half Lap Joints – Perfect Router Table Jig for Frames & Furniture Projects – Strong Precision Router Sled for Woodworking.
Precision Joint Cutting: Craft precise half-lap and miter joints with this portable router table jig for strong, perfectly…
As an affiliate, we earn on qualifying purchases.
As an affiliate, we earn on qualifying purchases.
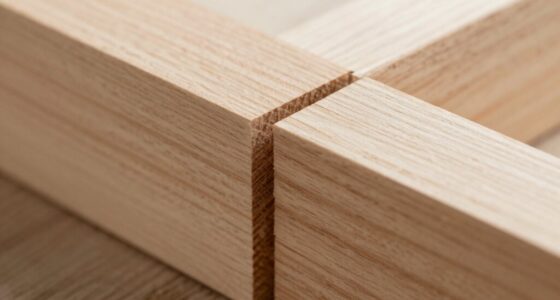
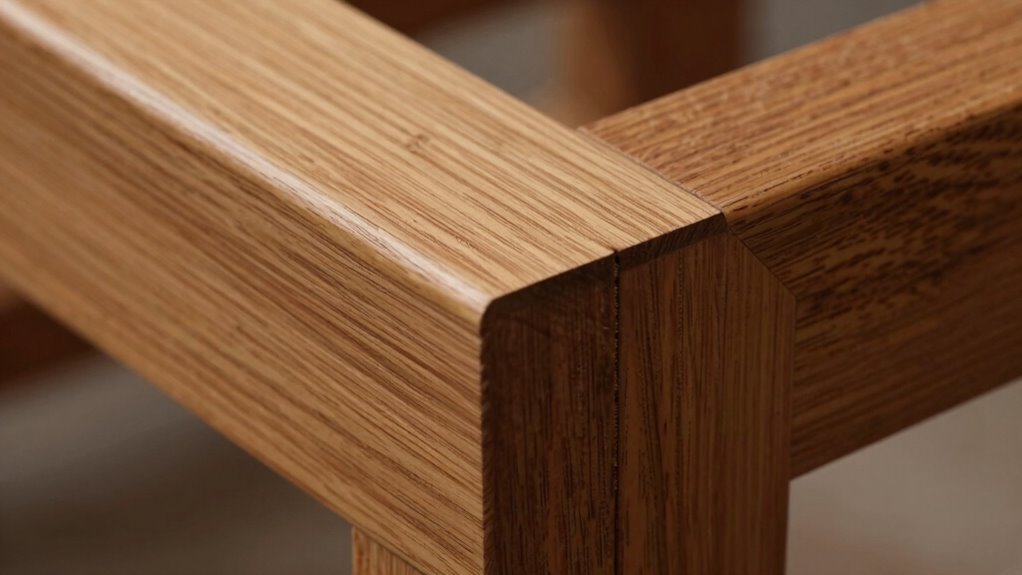
What Is a Mitered Half‑Lap Joint and Why Use It?
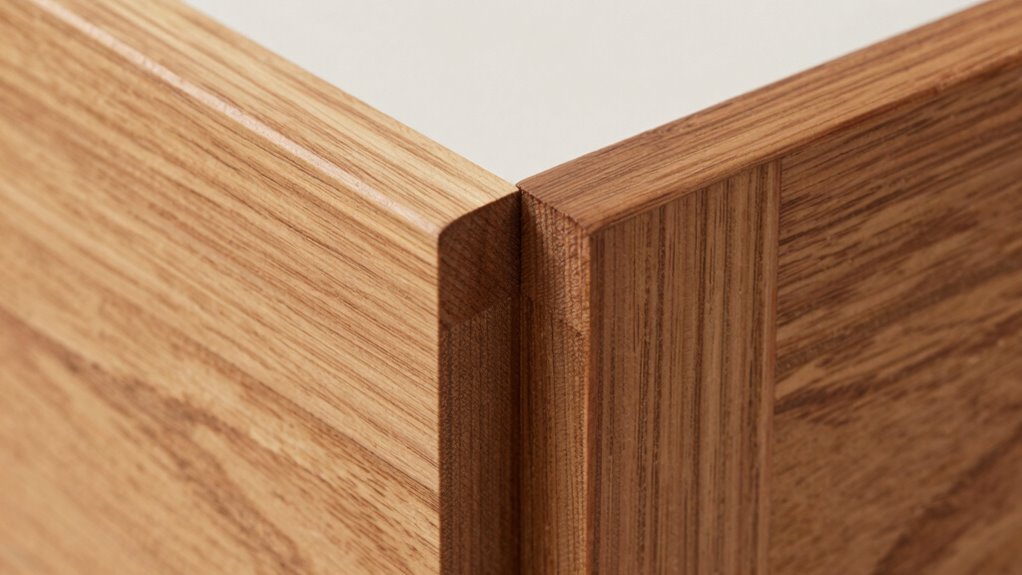
Have you ever wondered how to create a strong, seamless joint in woodworking projects? A mitered half‑lap joint offers just that. It combines a miter cut with a half‑lap, creating a flush, clean connection. This joint enhances joint stability by fitting pieces snugly together, reducing movement and increasing durability. Its precise fit also improves aesthetic appeal, giving your project a professional, polished look. The mitered edges hide the joint’s intersection, making it less noticeable and more attractive. This technique is ideal for frames, boxes, and furniture where appearance matters. By carefully aligning the mitered half‑lap, you ensure both strength and visual harmony, making it one of the most reliable and attractive joints in woodworking.

Maziloxe Corner Clamps for Woodworking, 8PCS 90 Degree Right Angle Clamps with Storage Box, 4PCS 5.5" & 4PCS 3.14" Aluminum Alloy Positioning Squares Woodworking Tools for Cabinets, Frames, Drawers
✅【Complete Woodworking Clamps Set contains totally 40pcs parts】You will get 8pcs positioning squares (4pcs 5.5" + 4pcs 3.14"),…
As an affiliate, we earn on qualifying purchases.
As an affiliate, we earn on qualifying purchases.
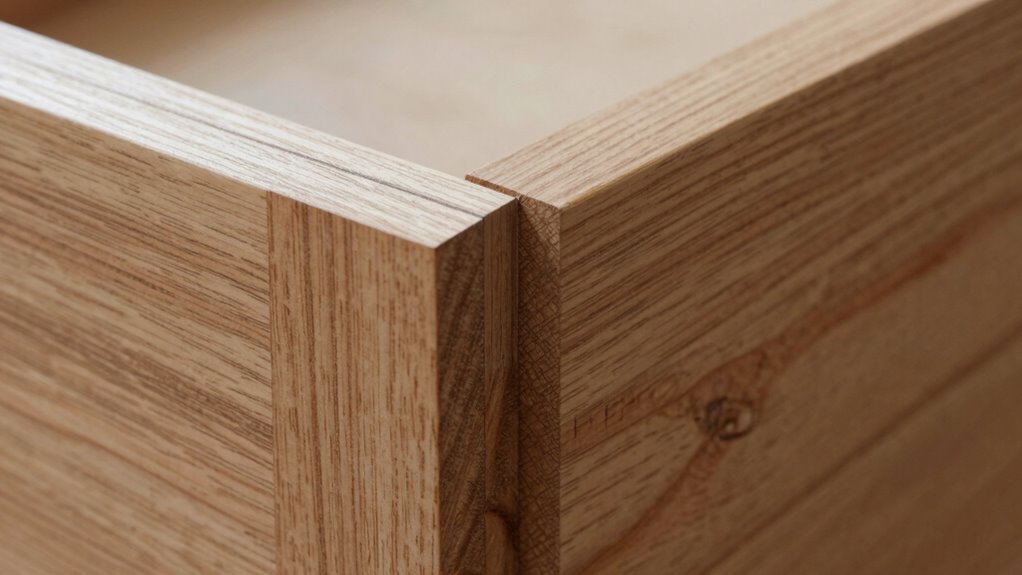
Benefits of Mitered Half‑Lap Joints for Frames
Mitered half‑lap joints offer several advantages for framing projects. They provide enhanced structural integrity, making your frames sturdier and more reliable. Plus, they deliver a precise aesthetic finish and increased durability, ensuring your work looks great and lasts longer. Incorporating energy-efficient materials into your framing can further improve the sustainability and performance of your projects.
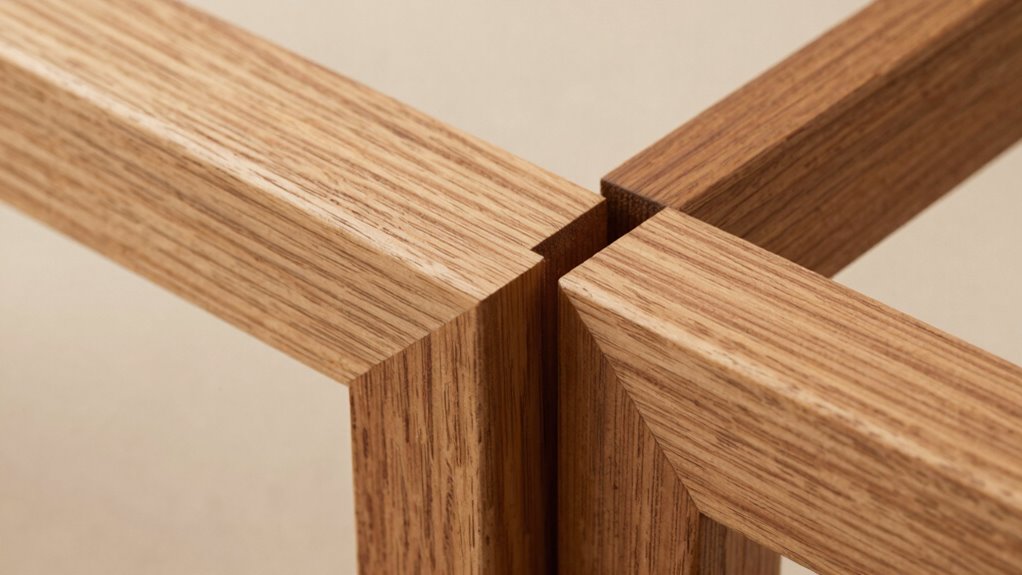
Enhanced Structural Integrity
Because of their precise geometric fit, mitered half-lap joints considerably enhance the structural integrity of frames. The tight fit provides excellent corner reinforcement, making the joint more resistant to stresses and preventing wobbling or separation over time. This reinforcement guarantees your frame remains strong and durable, even under load or shifting conditions. Additionally, the mitered cut distributes forces evenly across the joint, reducing weak points. While joint aesthetics are important, the primary benefit here is the reinforced stability that these joints offer. You’ll notice that frames built with mitered half-lap joints stay solid longer, maintaining their shape and strength regardless of environmental changes. This makes them ideal for projects where longevity and structural soundness are top priorities.
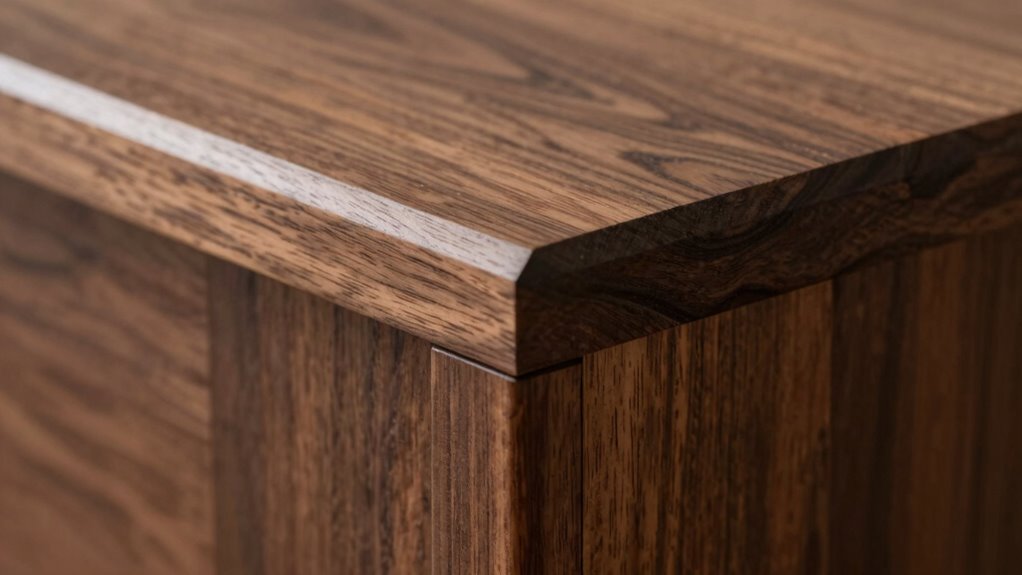
Precise Aesthetic Finish
A well-crafted mitered half-lap joint provides a clean and seamless appearance that elevates the overall look of your frame. This precision allows you to focus on finishing techniques that highlight the joint’s elegance. The smooth, flush surface enhances aesthetic considerations, making your project look polished and professional. Achieving a precise fit minimizes gaps, creating a refined edge that catches the eye. To maximize this effect, you can apply fine sanding, staining, or painting, which accentuate the joint’s clean lines. Consider this table for visual impact:
| Finishing Techniques | Aesthetic Considerations |
|---|---|
| Sanding for smoothness | Seamless, refined look |
| Staining or Painting | Highlights craftsmanship |
| Clear coatings | Preserves natural beauty |
| Fine detailing | Adds visual elegance |
These steps ensure your frame looks stunning and thoughtfully finished. Understanding joinery can help you appreciate how precise fitting contributes to both strength and beauty.
Increased Durability and Strength
The precise fit of a mitered half-lap joint not only enhances appearance but also markedly boosts the frame’s durability and strength. When joints are cut accurately, the wood grain aligns seamlessly, providing better resistance against splitting and movement over time. This tight fit distributes stress evenly, making the frame more resilient to daily wear and environmental changes. Additionally, proper finishing techniques, like sealing or staining, help protect the joint from moisture, which can weaken weaker connections. By emphasizing these finishing details, you guarantee the joint remains strong and durable for years. Proper wood grain alignment also minimizes potential weak points, further enhancing the joint’s longevity. The combination of precise cuts, aligned wood grain, and effective finishing makes mitered half-lap joints a reliable choice for long-lasting, sturdy frames.

Metabo HPT 10-Inch Single Bevel Compound Miter Saw, 15-Amp Power Saw with Xact Cut Shadow Line, Precision Miter Angles, Single Bevel 0-45°, 40T TCT Miter Saw Blade, Lightweight Design, C10FCG2
POWERFUL AND PRECISE: This 10-inch single bevel compound miter saw features a 15-Amp motor delivering high power for…
As an affiliate, we earn on qualifying purchases.
As an affiliate, we earn on qualifying purchases.
Tools and Materials Needed for Precise Mitered Half‑Lap Joints
Achieving precise mitered half-lap joints requires having the right tools and materials on hand. Proper equipment ensures clean cuts and accurate joinery techniques, which are essential for strength and aesthetics. Here’s what you need:
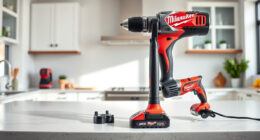
- Miter saw – For precise angled cuts, a sharp miter saw helps you achieve perfect miters without risking uneven joints.
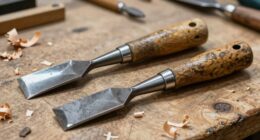
- Chisels and Mallet – These are crucial for cleaning out the half-lap recess and ensuring a snug fit.
- Clamps – Secure your workpieces during assembly to maintain alignment and ensure woodworking safety.
- Measuring tools – Accurate measurements are vital for a tight fit and balanced joints, especially when working with Free Floating components.
Using quality tools minimizes mistakes and enhances joint accuracy. Always prioritize joinery techniques that promote strength, and follow safety guidelines to avoid accidents during cutting and assembly.
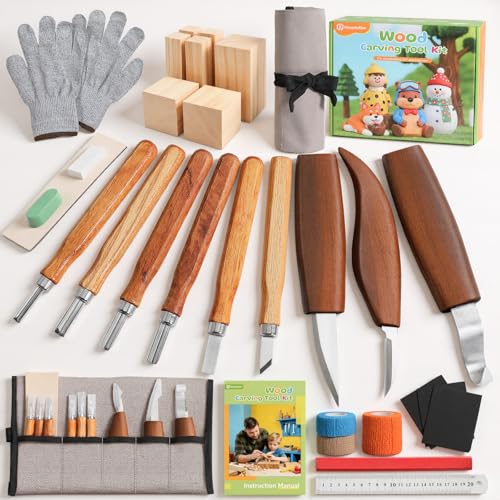
Housolution Wood Carving Kit with Carrying Bag, 29PCS Wood Carving Tools Whittling Kit Includes Carving Knives Carving Chisels Basswood Blocks Gloves, Woodworking Tools for Beginners DIY Hobbies, Gray
29pcs Woodcarving Tool Kit: Includes 9x wood carving knife, 7x oak wood, 1x cut-resistant gloves, 3x protective bandage,…
As an affiliate, we earn on qualifying purchases.
As an affiliate, we earn on qualifying purchases.
How to Prepare and Mark Your Wood for Cutting

Start by measuring and marking your wood carefully to guarantee accuracy. Use the right tools, like a sharp pencil and a square, to make clean, precise lines. Always double-check your measurements before making any cuts to avoid mistakes. Incorporate accurate measurements to ensure your joints fit together perfectly.
Measure and Mark Precisely
To guarantee clean, accurate cuts, you need to measure and mark your wood carefully before cutting. Proper measuring accuracy ensures your joints fit perfectly. Use these key steps:
- Double-check your measurements with a reliable tape measure or ruler to avoid errors.
- Mark your cut lines with a sharp pencil, applying consistent pressure for clear, visible marks.
- Use marking techniques like a square or a combination square to ensure your lines are straight and at the correct angles.
Use Appropriate Tools
Using the right tools makes preparing and marking your wood much easier and more accurate. Sharp, well-maintained tools ensure clean cuts and precise measurements. Select a quality saw, marking gauge, and square for accurate measuring techniques. Regular tool maintenance prevents inaccuracies caused by dull blades or misaligned parts. Keep your tools clean, sharp, and calibrated to avoid errors. Use a marking knife instead of a pencil for precise lines, especially on hardwoods. Properly maintained tools increase safety and efficiency. Here’s a quick reference:
| Tool | Purpose |
|---|---|
| Marking gauge | Precise line marking |
| Square | Ensures right angles |
| Saw | Cutting the wood |
| Blade sharpener | Maintains cutting accuracy |
| Clamps | Secures wood during marking |
Choosing the right tools and maintaining them guarantees accurate preparation for your mitered half-lap joint. Additionally, understanding wood grain direction can help prevent splintering and ensure cleaner cuts.
Double-Check Before Cutting
Before making any cuts, double-check your measurements and markings to make certain everything aligns perfectly. This step guarantees measurement accuracy and reduces mistakes. To do this effectively:
- Re-measure all marked lines to confirm they match your plans.
- Use a square or straightedge to verify that your markings are straight and true.
- Review safety precautions, such as securing the wood firmly and wearing eye protection, to prevent accidents.
- Incorporate proper measurement verification practices to ensure your cuts are precise and safe.
Taking these precautions keeps your cuts precise and safe. Always trust your measurements more than your eye, and avoid rushing through this stage. Proper preparation minimizes errors, saves time, and results in cleaner, stronger joints. Double-checking before cutting isn’t just a good idea—it’s essential for professional results.
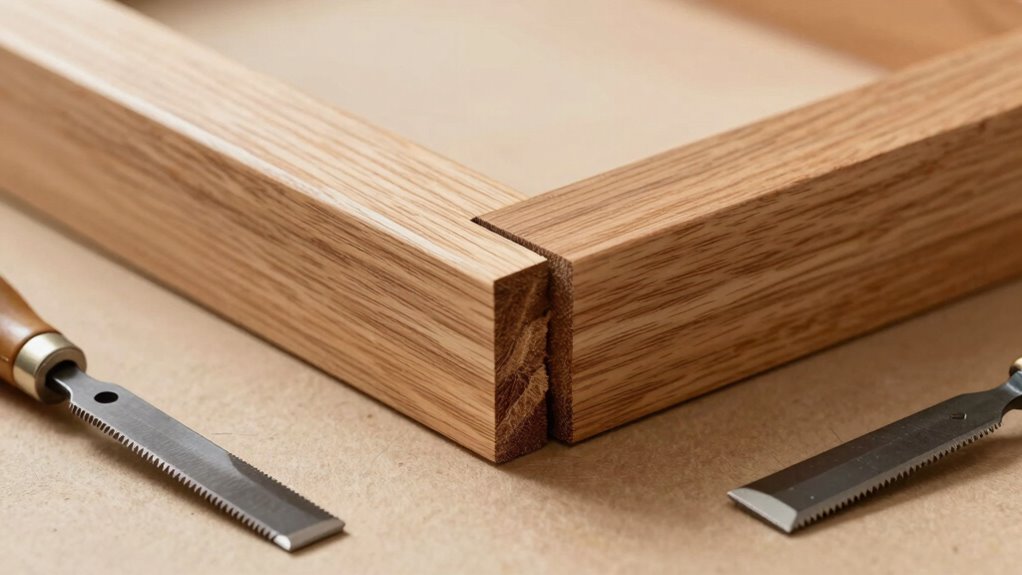
Step-by-Step: Cutting and Fitting a Mitered Half‑Lap Joint

Creating a precise mitered half-lap joint requires careful measurement and accurate cuts. Start by marking your wood, aligning the grain for strength and aesthetics. Use a miter saw to cut the pieces at a 45-degree angle, ensuring the joint fits snugly. Carefully remove material from the mating piece to create the half-lap, maintaining symmetry for a clean look. To visualize, consider this table:
| Step | Action | Tool Needed | Result |
|---|---|---|---|
| 1 | Measure and mark | Square, pencil | Accurate cut lines |
| 2 | Cut miters | Miter saw | Precise angles |
| 3 | Remove half-lap | Chisel or saw | Fit joint |
| 4 | Test fit | Hands | Seamless joint |
This process highlights how meticulous work preserves the wood’s grain, ensuring the joint’s strength and visual appeal. Additionally, understanding proper measurement techniques is essential for achieving optimal results in woodworking projects.
Tips for Achieving a Strong, Accurate Fit
Achieving a strong, accurate fit in a mitered half-lap joint hinges on meticulous measurement and careful cutting. Precise measurements guarantee the joint’s aesthetics remain clean and seamless. To improve your woodworking techniques, follow these tips:
- Use sharp tools and test cuts on scrap wood to prevent tear-out.
- Double-check measurements before cutting, especially at the miter angles, to avoid gaps.
- Dry-fit components frequently to assess fit and make minor adjustments before final assembly.
Proper technique ensures tight joints that boost the joint’s strength and enhance overall appearance. Attention to detail in your measurements and cuts leads to better joint aesthetics and a more professional finish. Mastering these tips will result in a resilient, attractive frame that reflects quality craftsmanship.
Common Mistakes to Avoid When Making Mitered Half‑Laps
One common mistake when making mitered half-laps is rushing the measurement process. Accurate measurements are essential to guarantee the joint fits seamlessly, especially when considering the wood grain direction. If you overlook grain alignment, the joint may look mismatched, harming the overall aesthetics. Take your time to mark and double-check your cuts; rushing can lead to uneven or misaligned mitered edges. Poorly executed cuts can also weaken the joint’s strength. Additionally, neglecting the wood grain flow can result in visible gaps or unattractive joint lines. To avoid these mistakes, work slowly, verify your measurements, and pay attention to grain direction. Proper understanding of material properties can help ensure the durability of your joint. Doing so helps you achieve a clean, professional-looking joint that enhances both the strength and beauty of your frame.
Creative Uses and Variations of the Mitered Half‑Lap Joint
The mitered half-lap joint isn’t limited to traditional framing; it also offers a variety of creative applications and design opportunities. With some inventive thinking, you can explore creative variations that enhance aesthetics and functionality. For example, you might:
- Combine mitered half-laps with decorative inlays for unique visual effects.
- Use unconventional applications to create intricate corner accents or geometric patterns.
- Experiment with different materials, like contrasting woods or metals, to add texture and interest.
Frequently Asked Questions
What Are the Ideal Wood Types for Mitered Half-Lap Joints?
You should choose hardwoods like oak or maple for mitered half-lap joints, as their high wood density provides strength and stability. Softwoods like pine can work too but may be less durable over time. Pay attention to grain orientation; aligning grains properly prevents splitting and enhances joint strength. Selecting the right wood makes certain your mitered half-lap joints are sturdy, durable, and resistant to warping or cracking.
How Does Climate Affect the Durability of These Joints?
Climate impacts your mitered half-lap joints through humidity effects and climate-induced expansion. When humidity rises, the wood swells, stressing the joint, while dry conditions cause it to shrink, potentially leading to gaps or cracks. You can improve durability by choosing stable wood types, applying sealants, and allowing for movement in your design. Regular maintenance helps manage these climate effects, ensuring your joint stays strong over time.
Can Mitered Half-Lap Joints Be Disassembled Easily?
You’ll find that mitered half-lap joints aren’t easily disassembled due to their design, which emphasizes strength over ease of disassembly. Over time, joint looseness can develop if not properly secured, making disassembly more challenging. If you need to take apart a frame, expect some difficulty, especially since the joint’s tight fit and mitered edges resist easy separation. Proper gluing or fastening methods further complicate disassembly efforts.
What Are the Best Adhesives for This Type of Joint?
Did you know that adding adhesive can increase joint strength by up to 50%? For mitered half-lap joints, your best options are wood glue and epoxy adhesive. Wood glue works well with porous surfaces, creating a strong bond when clamped properly. Epoxy adhesive offers excellent gap-filling properties and moisture resistance, making it ideal for more demanding conditions. Use these adhesives to guarantee your joints stay secure and durable.
How Do You Reinforce Mitered Half-Lap Joints for Heavy Loads?
To reinforce mitered half-lap joints for heavy loads, you should focus on optimizing the joint design for better load distribution. Incorporate metal fasteners like screws or dowels, and consider adding corner brackets for extra support. Using strong adhesives combined with mechanical reinforcements guarantees the joint can handle heavier weights. Properly aligning and gluing the joint also helps distribute loads evenly, making your frame much stronger and more durable.
Conclusion
Mastering the mitered half‑lap joint boosts your woodworking skills and creates stronger frames. While some believe it’s overly complex, proper tools and careful measurement prove it’s achievable for enthusiasts. With practice, you’ll see how this joint not only enhances strength but also adds a professional touch to your projects. So, give it a try—your frames will thank you, and you might just discover that precision truly makes all the difference.