
To flatten a board without a jointer, start by carefully evaluating high and low spots with a straightedge across the surface. Secure the board and straightedge with clamps, then use a hand plane to shave down high areas, checking progress frequently. Follow by scraping and sanding to refine the surface for smoothness. Keeping the board flat during assembly is key. Continue exploring these tips to master a reliable workflow for flat, professional results.
Key Takeaways
- Identify high spots using a straightedge across the board’s surface before planing.
- Secure the straightedge with clamps spanning the length of the board to guide your hand plane.
- Use a hand plane to remove high spots gradually, checking for flatness frequently.
- Finish with scraping and fine sanding to refine surface smoothness and eliminate remaining imperfections.
- Regularly recheck flatness during the process to prevent introducing new warps or unevenness.

JORGENSEN No.101 Mini Wood Planer – Mini Hand Planer for Woodworking, Block Plane, Small Hand Plane for Trimming, Wood Planing, Craft, Professional Ductile Iron Body, Adjustable Cutting Depth
Professional Level Blade: The blade is made of professional level O1 tool steel, improving cutting efficiency while minimizing…
As an affiliate, we earn on qualifying purchases.
As an affiliate, we earn on qualifying purchases.
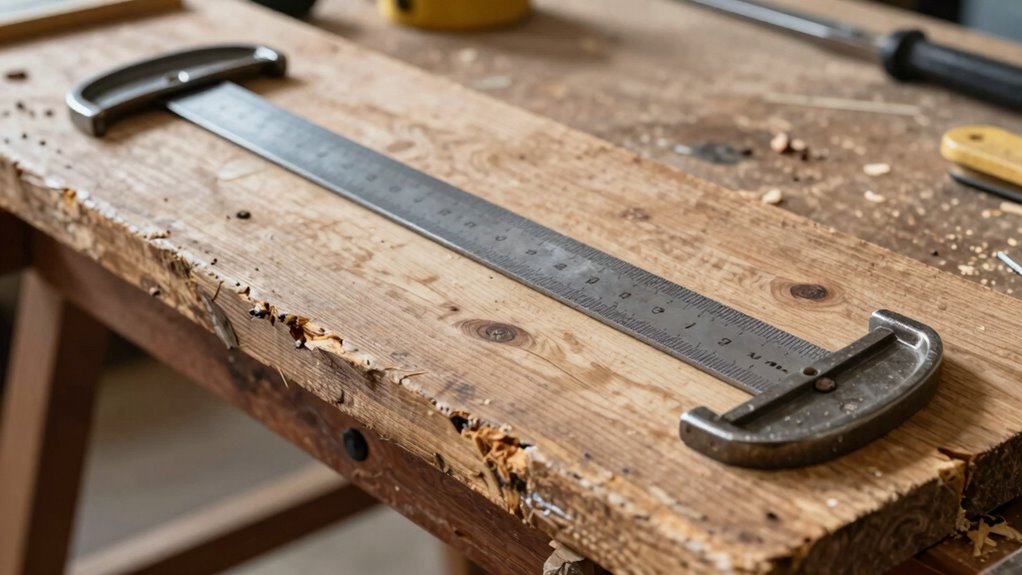
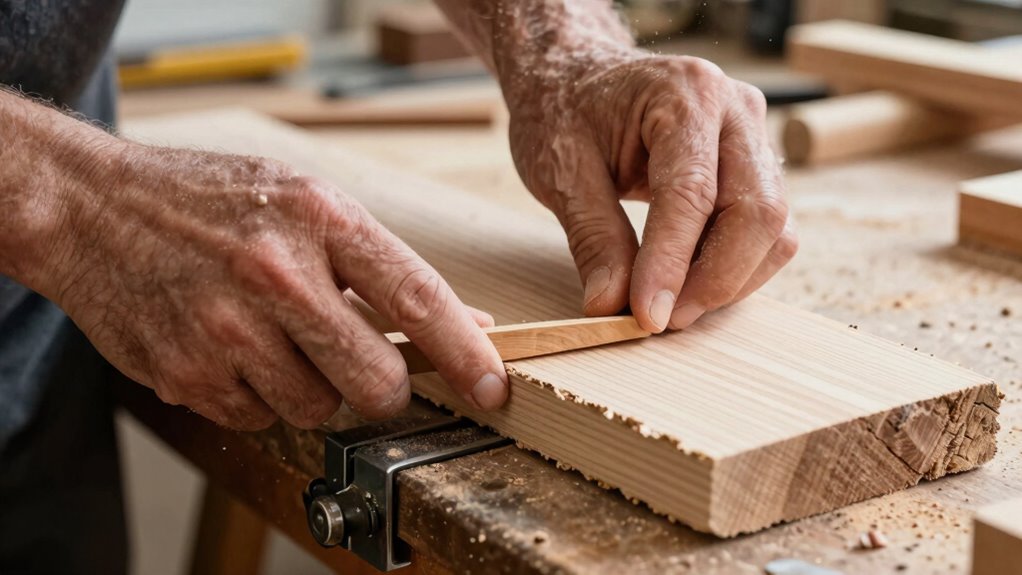
How to Assess High and Low Spots on Your Boards
To identify high and low spots on your boards, start by placing the board on a flat, stable surface. This setup allows you to perform an accurate low spot assessment. Use a straightedge or a long ruler to measure the board’s surface at various points, looking for areas where the straightedge tilts or gaps occur. When measuring high spots, place a feeler gauge or piece of scrap wood under the straightedge to see where it doesn’t sit flush. Check multiple locations along the board’s length and width. This process helps you pinpoint exactly where the board is uneven. By carefully measuring high spots and low spots, you’ll gather the essential data needed to plan your flattening approach effectively. Additionally, understanding the contrast ratio can help you evaluate how evenly a surface reflects light, which is useful when assessing the uniformity of a board’s surface. Recognizing the importance of accurate measurements ensures that your assessment leads to effective flattening results. Incorporating proper measurement tools can further improve your accuracy and efficiency during this process. Moreover, knowing how to interpret surface irregularities can assist you in selecting the best flattening method for your project. It’s also helpful to consider the performance of the board after flattening to ensure it meets your project’s specifications.

BARWALT Straightedge 5 Piece Set, Ideal for Leveling and Alignment, Vinyl Tote Included, Made in The USA, BWT80110
Set includes 5 straightedges in lengths of 2 Foot 2 Inch (66 cm), 3 Foot (91 cm), 4…
As an affiliate, we earn on qualifying purchases.
As an affiliate, we earn on qualifying purchases.
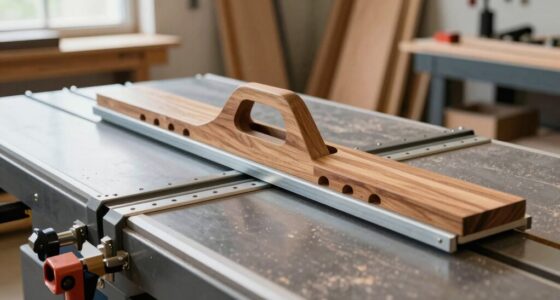
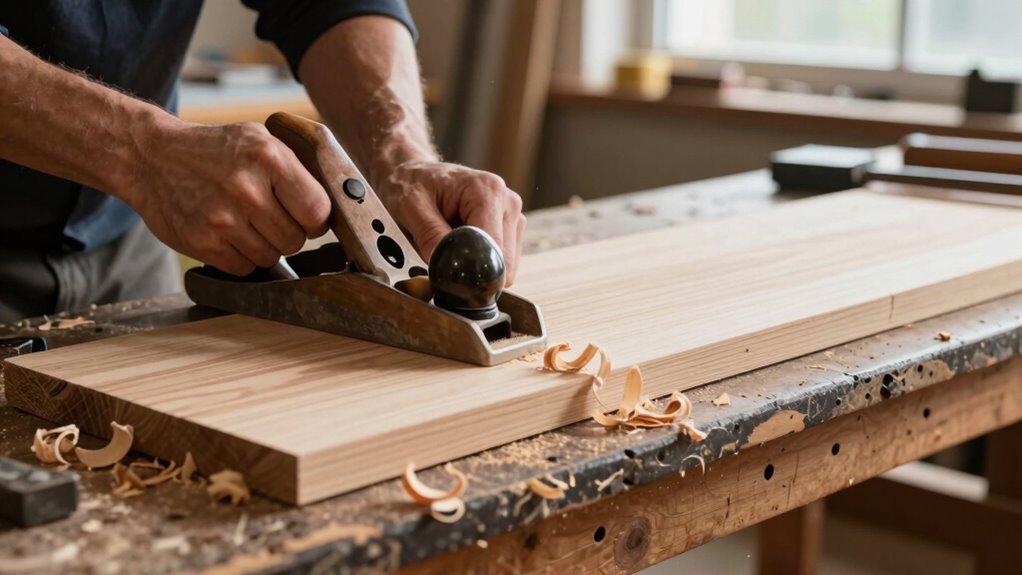
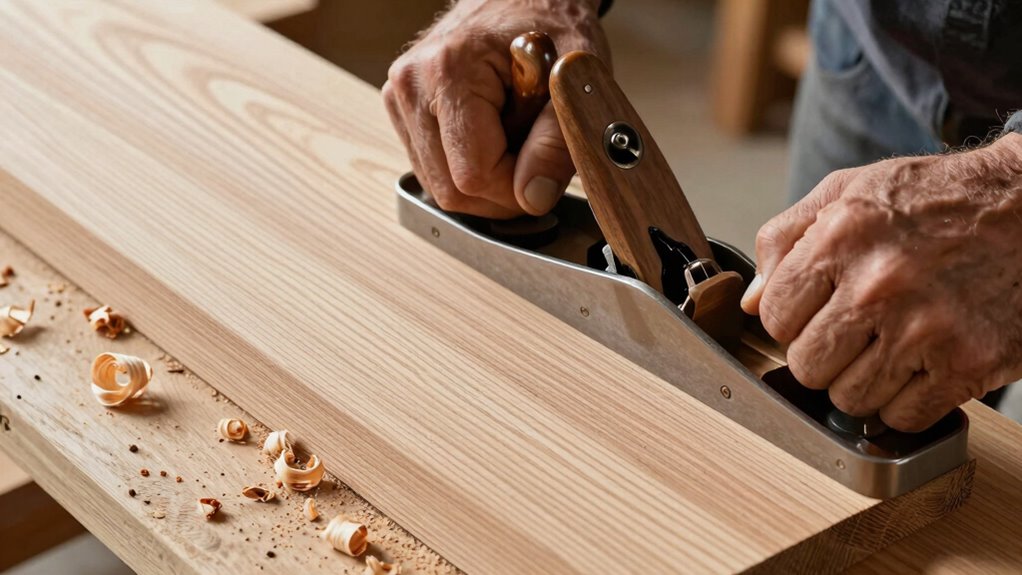
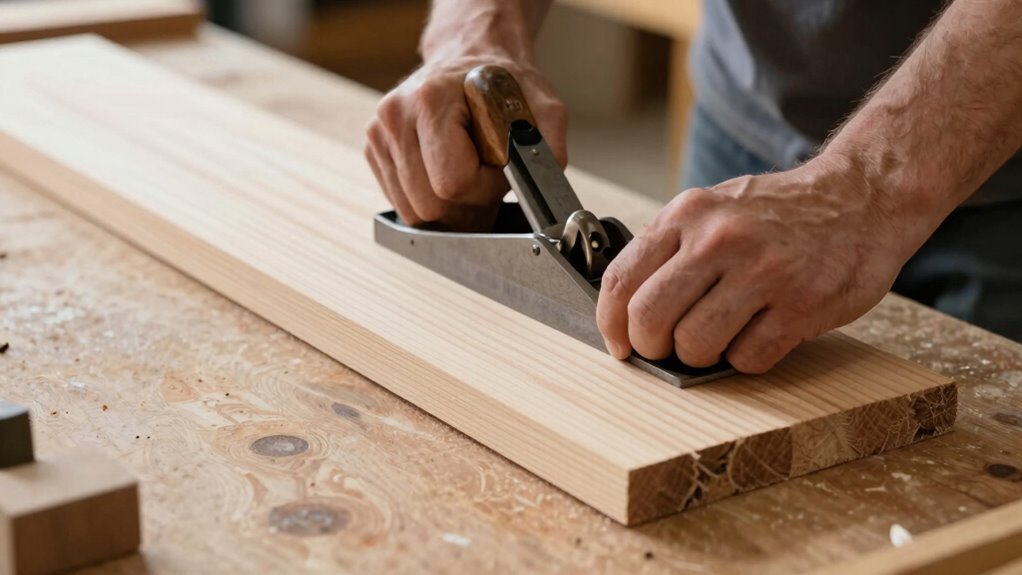
Flattening Boards Without a Jointer Using Straightedge and Clamps
Even without a jointer, you can still flatten a board effectively by using a straightedge and clamps. First, identify high spots and use your straightedge to locate uneven areas. Secure the straightedge along the high spots with clamps, ensuring it spans the entire length of the board. Use edge jointing techniques with a hand plane to carefully shave down the high spots, working along the straightedge as a guide. Keep checking your progress with the straightedge to ensure you’re removing enough material and staying flat. This method allows you to flatten boards accurately without a jointer, relying on simple tools and hand plane techniques. Remember to keep your tools sharp for more effective hand plane results. Utilizing a straightedge and clamps is a precision woodworking method that can produce professional results with patience and attention to detail. Additionally, practicing proper technique will help you achieve more consistent and smoother surfaces. By understanding material removal principles, you can better gauge how much material to take off each pass for optimal flatness.

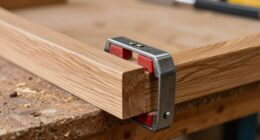
WETOLS Corner Clamp for Woodworking, 90 Degree Right Angle Clamp, Wood Clamps, 4Pcs Adjustable Spring Loaded Woodworking Clamp, Gifts for Dad, Birthday Gifts for Men, Photo Framing, Orange
Cool Gadgets Gifts for Men: WETOLS corner clamp comes with a nice gift box, which can be great…
As an affiliate, we earn on qualifying purchases.
As an affiliate, we earn on qualifying purchases.
Scraping and Sanding for a Smooth, Flat Surface
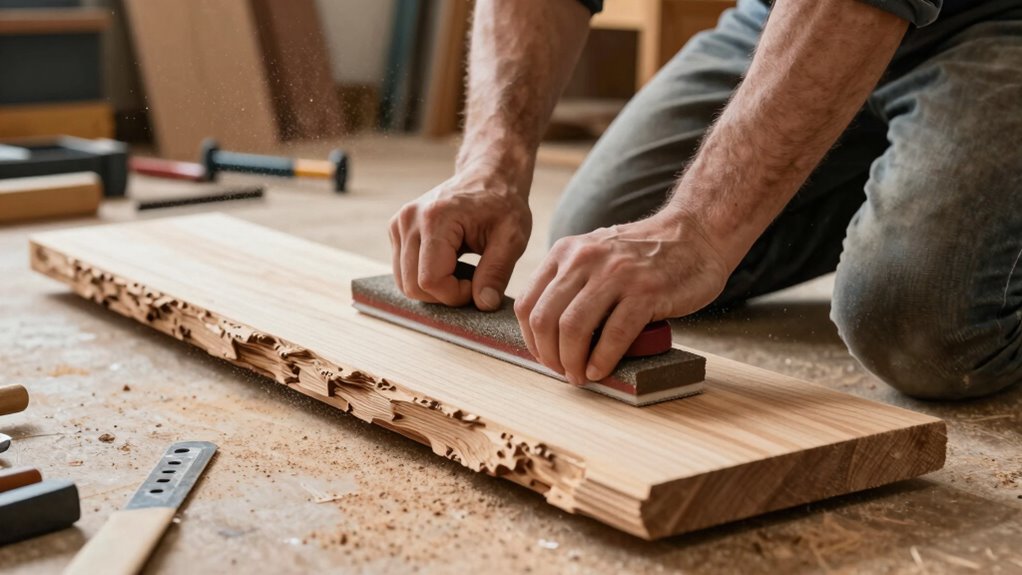
After you’ve flattened your board with scraping and hand planes, the next step is to refine the surface through scraping and sanding. Pay attention to the grain direction to avoid scratches that can mar the finish. Start with a coarse sanding grit, like 80 or 100, to remove any remaining imperfections. Always sand with the grain, which helps produce a smooth, even surface. Gradually progress to finer grits—150, 220, or higher—until the surface feels smooth to the touch. Use light, even pressure, and don’t skip grits, as this can leave visible scratches. Sanding not only enhances the flatness but also prepares the surface for finishing, ensuring a professional-looking result. Proper sanding techniques and the right tools are essential for achieving a flawless finish. Developing a consistent sanding rhythm can help prevent uneven spots and scratches. To further improve the surface quality, consider using fine abrasive pads for delicate polishing. This careful process guarantees a flat, smooth surface ready for the next steps.

Romeda 8-Pack Sanding Sponge, Four Grits Per Pack 60/80/120/220, Washable and Reusable Handmade Sandpaper Block, Drywall Sandpaper Blocks for Wooden Drywall Sheetrock and Metal Glazing
【ASSORTED GRIT SANDING BLOCKS】 8 sand blocks, 4 sizes from coarse to ultra-fine sand, 60/80/120/220 grit, 2 blocks…
As an affiliate, we earn on qualifying purchases.
As an affiliate, we earn on qualifying purchases.
Tips for Keeping Boards Flat During Assembly and Finishing
Maintaining flatness during assembly and finishing is essential to achieving a professional-looking project. Start with proper edge jointing to ensure tight, seamless boards. Use a guided straightedge or a simple jig to keep edges straight during glue-up, preventing gaps that can cause warping. Before assembly, calibrate your boards by checking for warps or twists and flattening them as needed with hand tools or sanding. During finishing, handle your boards carefully to avoid introducing new imperfections. Clamping evenly helps maintain flatness, so avoid over-tightening, which can cause bowing. Regularly check for flatness throughout the process. Incorporating sound vibrations during finishing can help relax the wood fibers and reduce internal stresses, aiding in maintaining flatness. Additionally, understanding the properties of wood can help you better anticipate how your boards will respond to various finishing techniques. These steps help you preserve the integrity of your boards and produce a smooth, flat surface without the need for a jointer. Incorporating proper drying techniques can also reduce warping caused by moisture imbalance, further supporting flatness. Being aware of how moisture content influences wood behavior is crucial for long-term flatness and stability.
Adding wood moisture measurement tools during your process can help you monitor and control moisture levels more precisely, ensuring consistent results.
Troubleshooting Common Flatness Problems When Working Without a Jointer
When working without a jointer, flatness problems often stem from uneven edges, warps, or twists that weren’t properly addressed before assembly. Start by checking the grain direction; working against the grain can cause tearing and uneven surfaces. Confirm the moisture content of your wood is consistent, as uneven moisture levels lead to warping and twists over time. If you notice a bow or twist, try identifying the high and low spots and use a straightedge or a straight board to guide your planing or flattening efforts. Adjust your technique based on grain direction—planing with the grain reduces tear-out. Regularly recheck flatness during the process to prevent small issues from magnifying. Properly understanding and managing grain and moisture content helps troubleshoot and resolve common flatness problems effectively.
Frequently Asked Questions
What Types of Wood Are Best Suited for Flattening Without a Jointer?
You should choose softwoods like pine or cedar, as their wood grain is easier to work with when flattening without a jointer. These woods typically have consistent moisture content, reducing warping risks. Avoid dense hardwoods like oak or maple, which can be harder to plane and may have variable moisture levels. Ensuring your wood’s moisture content is stable helps achieve a flat, smooth surface without a jointer.
How Do I Prevent Tear-Out When Scraping or Sanding?
It’s a coincidence, but focusing on grain direction and blade sharpness really helps prevent tear-out when sanding or scraping. Always work with the grain, not against it, to keep the fibers intact. Keep your blades or sandpaper sharp, as dull tools tug at the wood rather than cut cleanly. This combination minimizes tear-out, giving you a smooth, professional finish without risking damage to your wood.
Can Power Tools Replace Manual Methods for Flattening?
Power tools can definitely replace manual flattening techniques, making the process faster and more efficient. Alternatives like handheld planers or belt sanders are great for removing material quickly, but you still need to control the surface carefully to avoid tear-out. Use power tools with proper technique, and consider finishing with manual methods for a smooth, flat surface. Combining both approaches often yields the best results.
How Do Environmental Factors Affect Board Flatness?
Environmental factors like humidity effects and temperature considerations considerably impact board flatness. When humidity rises, wood absorbs moisture and may warp or swell, making it harder to keep flat. Conversely, low humidity causes wood to dry out and crack. Temperature fluctuations also cause wood to expand or contract. To maintain flatness, work in a stable environment, acclimate your wood, and account for these factors during your flattening process.
What Safety Precautions Should I Follow During Flattening and Finishing?
You should always prioritize safety by wearing personal protective equipment like eye protection and dust masks. Make certain the board remains stable during flattening to prevent slips or kickbacks. Keep your workspace clear of debris, and use clamps or supports to hold the board securely. Stay alert, and avoid distractions—your focus keeps you safe. Following these precautions helps prevent injuries and ensures a smooth, safe flattening and finishing process.
Conclusion
You might worry that skipping a jointer means sacrificing quality, but with the right techniques, you can achieve perfectly flat boards. By carefully evaluating high and low spots, using a straightedge and clamps, and refining with scraping and sanding, you’ll get professional results. Don’t let the lack of a jointer hold you back—this workflow proves that you can produce flat, smooth surfaces confidently and efficiently, even without specialized equipment.