
To clamp odd shapes effectively, use cauls that conform to the workpiece’s surface. Choose soft, flexible materials like leather or silicone, and pad them with foam or felt to prevent surface damage. Position multiple cauls to share force evenly, then tighten clamps gradually while checking alignment. Proper shaping and padding make all the difference. For more tips on achieving perfect results with cauls, keep exploring how to customize and maintain them.
Key Takeaways
- Use flexible, soft materials like leather or silicone to mold cauls to irregular shapes.
- Match caul size and shape precisely to the workpiece for even force distribution.
- Apply padding such as foam or felt to prevent surface marring during clamping.
- Gradually tighten clamps in stages to maintain alignment and avoid shifting.
- Incorporate multiple cauls along natural contours to share load and ensure even pressure.

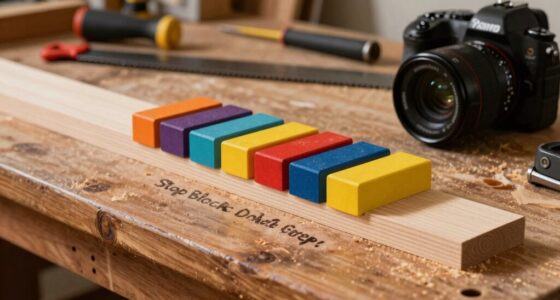
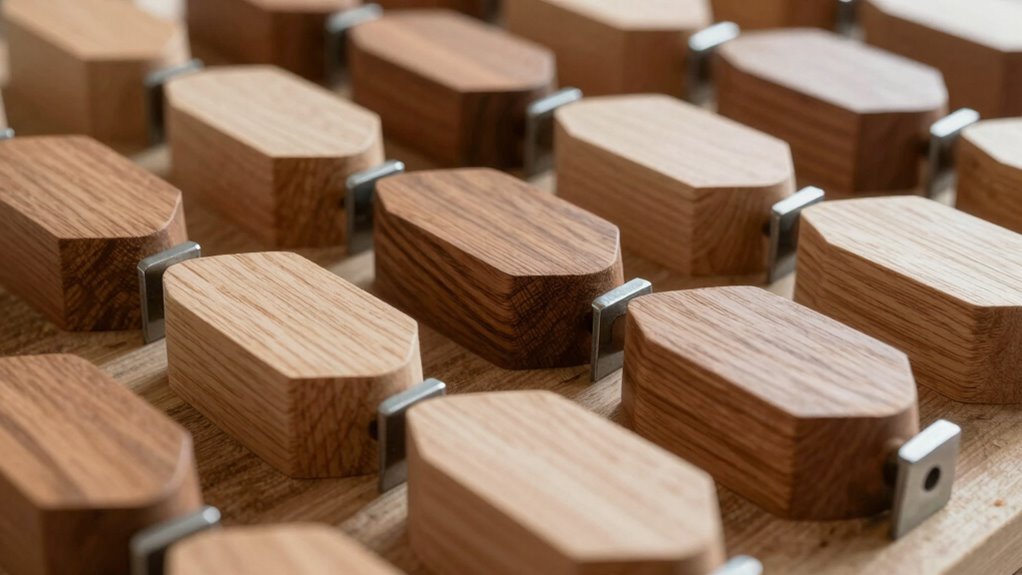
Rockler Box Joint Cauls (4-Piece) – Perfect Alignment Plastic Cauls Woodworking Tools for Small to Large Sized Boxes – Box Joint Clamps for Woodworking (6-3/8")
Router Box Joint Corner Clamp Caul Set: Making the perfect box isn’t a big task, but aligning them…
As an affiliate, we earn on qualifying purchases.
As an affiliate, we earn on qualifying purchases.
Why Cauls Are the Best Solution for Clamping Irregular Shapes

When working with irregular shapes, traditional clamps often struggle to apply even pressure without damaging the material. That’s where cauls shine, especially for wooden joints and finishing techniques. Cauls distribute force evenly across uneven surfaces, preventing dents or marks. Unlike standard clamps, they conform to the shape, guaranteeing a secure hold without compromising the integrity of your work. This precision is crucial when creating tight joints or smooth finishes, as uneven clamping can lead to gaps or imperfections. Cauls help you maintain control, making it easier to achieve flawless results. Whether you’re gluing complex joints or applying finishing coats, they’re essential for handling irregular surfaces. Their adaptability ensures your projects stay aligned and undamaged throughout the process. For optimal results, understanding clamping techniques can further enhance your craftsmanship. Additionally, selecting the right clamping tools can significantly impact the quality of your work, especially when dealing with complex shapes. Proper clamping pressure is vital to avoid deformation and ensure long-lasting joints. Using pressure distribution techniques with cauls can further improve the consistency and strength of your work.
silicone clamping cauls
As an affiliate, we earn on qualifying purchases.
As an affiliate, we earn on qualifying purchases.
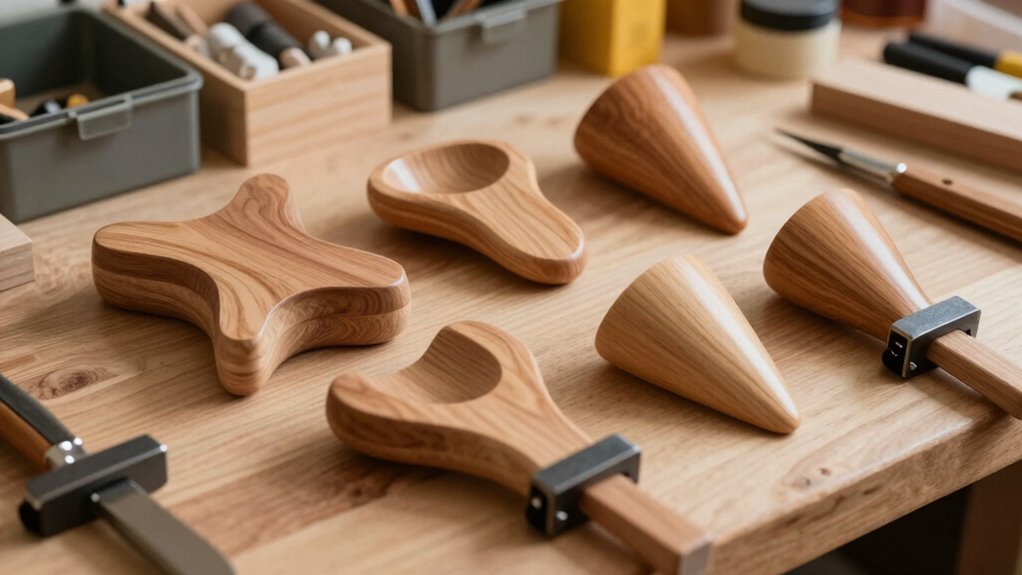
Choosing the Right Cauls: Materials, Size, and Padding Options
Choosing the right caul depends on your project’s specific needs, starting with selecting suitable materials. For materials selection, consider soft, flexible options like leather, silicone, or rubber that conform easily and distribute pressure evenly. The size of the caul should match the shape you’re clamping, ensuring it covers the area without excess bulk. Padding techniques are essential to prevent marring and uneven pressure; use foam, felt, or cloth layers to cushion delicate surfaces. Thicker padding offers more protection but may require adjustments in clamping pressure. Always tailor your padding choices to the material you’re working with and the shape of your project. Properly selected materials, size, and padding ensure secure, even clamping while safeguarding your workpiece’s surface. Additionally, selecting the appropriate architectural solutions can enhance the overall effectiveness of your clamping setup. Understanding clamping principles can help you optimize your process and achieve better results in your projects. For example, using the right material properties can significantly influence the success of your clamping strategy. Incorporating adaptive techniques can further improve the precision and safety of your work.

uxcell 5pcs Arc-Shaped Leather Punch, 10mm-40mm, Leather Cutter Arch Curve, Belt End Cutter, Iron Flatter Curve Punch Tool for Crafting Strap Belt, Wallet and Bag
5 Sizes Punch Tool: Arc-shaped for 10mm, 15mm, 20mm, 30mm, 40mm.
As an affiliate, we earn on qualifying purchases.
As an affiliate, we earn on qualifying purchases.
Preparing Your Workpiece and Cauls for Clamping Success
Preparing your workpiece and cauls properly sets the stage for a successful clamping process. First, focus on material selection: choose soft, non-marring materials like cork or silicone to prevent surface damage. Second, guarantee your workpiece is clean and free of debris to avoid uneven pressure. Third, protect your surfaces by applying thin sheets of protective material—like wax paper or scrap plywood—between the cauls and workpiece. This step prevents surface impressions and makes cleanup easier. Additionally, understanding the importance of material compatibility can help prevent issues with adhesion or damage during clamping. Being aware of clamping pressure ensures you do not apply excessive force that could deform or damage delicate shapes. Recognizing the significance of pressure distribution helps achieve even pressure across complex surfaces. Moreover, employing proper clamping techniques can improve the overall quality of your work by minimizing movement and stress during curing or setting. By carefully selecting materials, safeguarding delicate surfaces, and preparing your workpiece and cauls, you set yourself up for consistent, reliable clamping results. These simple actions reduce mishaps and help you achieve pristine, well-formed results every time, especially when working with delicate or irregular shapes.

Clamp foam for padding or bumper – 4 pack black
Pack of 4 Clamp foam
As an affiliate, we earn on qualifying purchases.
As an affiliate, we earn on qualifying purchases.
Step-By-Step: Clamping Odd-Shaped Pieces With Cauls

Clamping odd-shaped pieces with cauls requires a strategic approach to guarantee even pressure and accurate alignment. Begin by carefully selecting your material; soft, compressible materials like felt or rubber are ideal to prevent damage and ensure even force distribution. Place the caul on the workpiece, making sure it covers all critical areas. Secure the clamp gradually, tightening in stages to avoid shifting or uneven pressure. Always follow safety precautions—wear safety glasses, keep hands clear of clamps, and work in a stable environment. Check the alignment frequently as you tighten, adjusting as needed. Proper material selection and safety awareness help you achieve a secure, precise clamp, especially when working with irregular shapes. Using clamping techniques that distribute force evenly minimizes errors and ensures a quality finish. Additionally, understanding pressure regulation can enhance your control over the clamping process, leading to better results. Being aware of material properties allows for better selection of caul materials and improves overall clamping effectiveness. Incorporating visual cues can also assist in verifying proper alignment throughout the process.
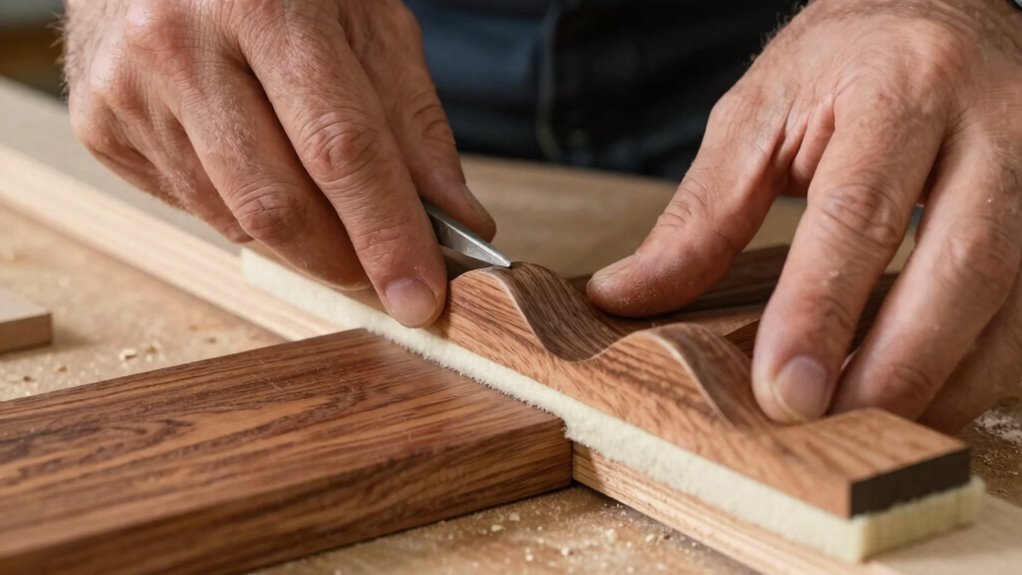
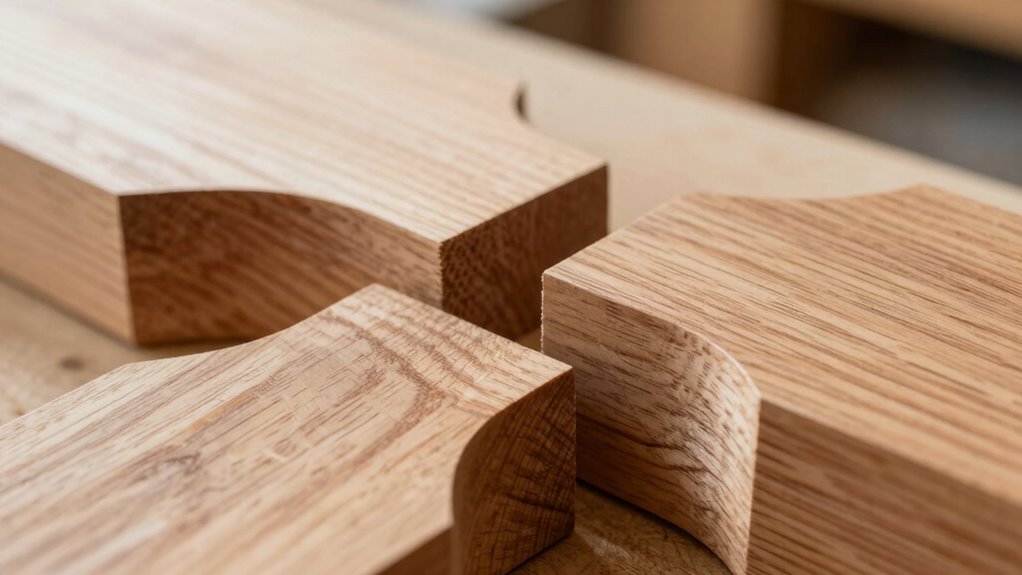
How to Shape and Customize Cauls for Complex Curves

When working with complex curves, shaping and customizing cauls is essential for achieving precise pressure and alignment. Proper caul customization guarantees your curves are perfectly supported, preventing warping or damage. To master curve shaping, consider these steps:
- Analyze the shape carefully, noting high and low points to guide your caul modifications.
- Use flexible materials like leather or silicone for easy curve shaping, molded to fit snugly.
- Test fit and refine your caul, adjusting pressure points until the shape matches perfectly.
- Incorporate essential oils for shaping to help soften or condition materials, making adjustments easier and more precise.
- Recognize that material flexibility plays a crucial role in achieving accurate curve conformity, especially when working with intricate designs. Understanding the material properties involved can significantly enhance your ability to craft effective cauls.
This process allows you to create tailored cauls that conform to intricate designs, giving you control over pressure distribution. Effective curve shaping and caul customization ensure your project maintains its integrity, preventing mishaps and delivering flawless results.
Applying Even Pressure: Tips to Prevent Damage and Warping
To prevent damage and warping, you need to apply even pressure across your workpiece. Use a distribution method that spreads pressure uniformly, avoiding hotspots that can cause deformation. Choosing the right clamps is essential—they should suit your shape and size for consistent, gentle contact. Additionally, testing the pressure distribution with simple tools like a pressure indicator can help ensure even application before proceeding with your project. Proper clamping techniques also play a crucial role in maintaining the integrity of your workpiece during this process. Incorporating pressure distribution methods can further enhance the evenness of pressure applied, reducing the risk of uneven stress. Being mindful of clamp placement ensures that pressure is spread properly across complex shapes, preventing uneven stress points.
Use Even Pressure Distribution
Applying even pressure across the entire surface of your clamp is essential to prevent damage and warping. Proper pressure distribution guarantees your project stays true and undamaged. To achieve this, focus on three key tips:
- Adjust your caul customization to match the shape precisely, ensuring pressure is evenly spread.
- Use multiple clamps strategically placed to avoid hotspots that cause uneven pressure.
- Check and tighten clamps gradually, balancing pressure to prevent distortion.
Select Suitable Clamps
Choosing the right clamps is vital to applying even pressure on irregularly shaped projects. When selecting clamps, focus on clamp selection that suits your project’s specific needs, making sure they can conform to odd shapes. Material compatibility is important; for example, rubber or padded clamps prevent surface damage, especially on delicate or soft materials. Consider the size and type of clamps—bar clamps, C-clamps, or spring clamps—based on the project’s complexity and the pressure required. Avoid over-tightening, which can cause warping or damage, and make certain the clamps distribute pressure evenly. By doing so, you’ll secure your project effectively without risking harm to its surface or structure. Proper clamp selection and attention to material compatibility are key to successful, damage-free clamping.
Troubleshooting Clamping Issues With Cauls
Clamping odd-shaped pieces with cauls can be challenging, especially when the pressure isn’t distributing evenly. If your clamp placement isn’t strategic, you risk uneven pressure that causes slipping or misalignment. To troubleshoot, consider these key steps:
- Check clamp placement—ensure clamps are positioned to apply even force across the caul and workpiece.
- Adjust pressure distribution—use shims or padding to fill gaps, spreading pressure more uniformly.
- Monitor contact points—make sure the caul conforms well to the shape, avoiding high spots that cause uneven clamping.
Using Multiple Cauls and Adjusting Clamping Pressure for Best Results
To get the best results, you need to balance clamping pressure carefully and place multiple cauls strategically. Too much pressure can cause deformation, while too little may lead to uneven results. Adjusting the pressure and positioning the cauls thoughtfully will help you achieve consistent, high-quality clamping.
Balancing Clamping Pressure
When working with irregular or delicate shapes, balancing clamping pressure becomes essential to avoid damaging the material or creating uneven joints. Too much clamping pressure can crush or warp your piece, while too little results in weak bonds. To achieve the best results:
- Distribute clamping pressure evenly across all cauls to prevent uneven force.
- Use multiple cauls to share the load, reducing the risk of concentrated stress points.
- Regularly check and adjust clamping pressure as needed, ensuring it’s firm but not excessive.
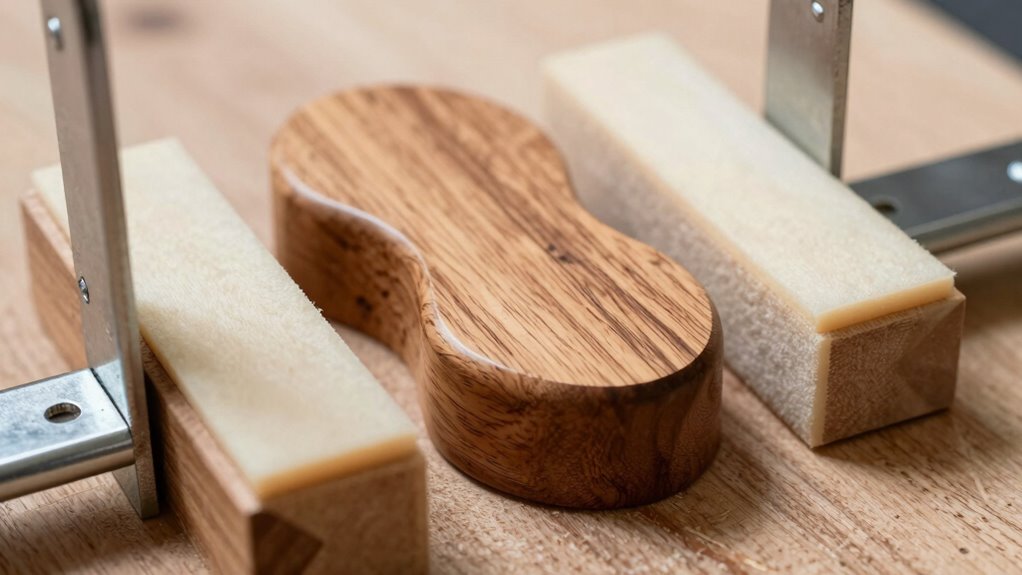
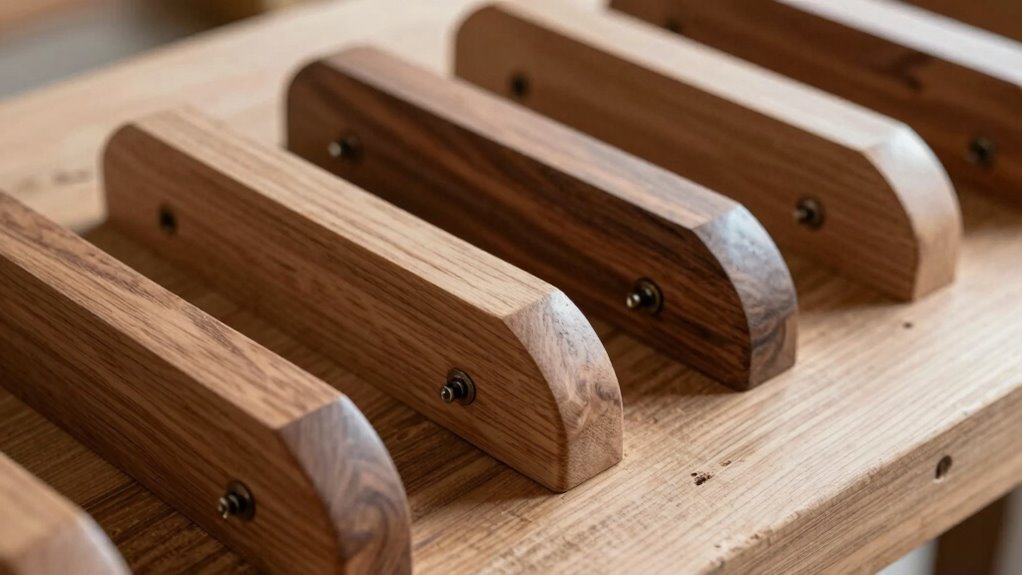
Strategically Placing Cauls
Placing multiple cauls strategically helps distribute pressure more evenly across irregular shapes, reducing the risk of damage or warping. By positioning cauls to follow the natural wood grain, you guarantee pressure aligns with the grain direction, minimizing splits. Use different sizes and shapes of cauls to target specific areas, especially where moisture control is crucial. Applying pressure unevenly can cause uneven glue distribution or deformation, so adjust the cauls to avoid excess force on delicate spots. Remember, controlling moisture levels in the wood helps maintain stability and reduces the likelihood of movement during clamping. Proper placement of multiple cauls ensures even pressure, enhances glue bond strength, and preserves the shape, especially when working with tricky or irregular pieces.
Maintaining Your Cauls: Storage and Care Tips
Proper storage and care are essential to keep your cauls in good condition and ready for their next use. Good caul maintenance ensures they stay effective and longevity is preserved. To do this, consider these storage solutions:
- Store cauls flat in a dry, cool place to prevent warping or cracking.
- Use padded containers to protect delicate shapes during transit or long-term storage.
- Regularly inspect and clean cauls with a damp cloth, avoiding harsh chemicals that could damage the material.
Frequently Asked Questions
Can Cauls Be Used on Delicate or Fragile Materials?
Yes, you can use cauls on delicate or fragile materials, but it’s vital to take into account material compatibility and caul selection. Choose soft, padded cauls made from materials like leather or felt to prevent damage. Make sure the caul distributes pressure evenly, avoiding concentrated spots that could cause cracks or dents. Always test on a small area first, and adjust the tightness to protect your fragile material while still securing it firmly.
How Do I Prevent Marks or Dents From Cauls on My Workpiece?
You can prevent marks or dents from cauls by ensuring proper surface protection and controlling clamping pressure. Place a soft, smooth material like wax paper or scrap wood between the caul and your workpiece to distribute pressure evenly. Adjust the clamping force so it’s firm but not excessive, avoiding indentations. Regularly check your setup during clamping, and use the right caul shape to match your workpiece for even pressure distribution.
Are There Specific Types of Glue or Adhesives Compatible With Cauls?
You should choose glue types that offer good adhesive compatibility with your workpiece and cauls, such as PVA or hide glue, which are gentle and easy to clean up. Avoid strong epoxies or super glues that might damage delicate surfaces or make removal difficult. Always check the manufacturer’s recommendations for specific adhesives to guarantee compatibility, and test on scrap material if you’re unsure. This way, you prevent damage and achieve a secure bond.
How Do I Store Cauls to Prevent Warping or Damage Over Time?
To prevent warping and keep your cauls in top shape, store them flat in a dry, stable spot—no juggling required. Avoid stacking or leaning them against a wall, which screams warping. Invest in proper caul storage—think racks or flat shelves—and regularly check for moisture or warping signs. With good storage habits, your cauls will stay true, ready for your next perfect clamp, no drama involved.
Can Cauls Be Reused for Different Projects or Shapes?
Yes, you can reuse cauls for different projects or shapes. To do so, you need to focus on caul maintenance by cleaning and inspecting them regularly. If necessary, customize your cauls by sanding or shaping them to fit new projects perfectly. Proper caul storage also helps prevent warping or damage. With good caul maintenance and customization, you guarantee your cauls remain effective and versatile for various woodworking tasks.
Conclusion
So there you have it—your secret weapon for conquering tricky shapes: cauls. With a little prep, patience, and maybe a sprinkle of luck, you’ll tame even the wildest curves without turning your project into a war zone. Remember, the right caul is like a good friend—supportive, adaptable, and always there when you need it. Now go ahead, clamp those odd shapes and make your woodworking dreams come true—no more excuses!