To keep your rough lumber flat, start by inspecting and measuring moisture content, then plan your milling sequence—flatten the face first to stabilize the board. Next, straighten edges, square ends, and remove any warping or bowing before running the final flattening pass. Uniform drying and proper storage are key to maintaining flatness during the process. Following these steps ensures stability, and staying attentive throughout helps prevent warping; explore more to perfect your workflow.
Key Takeaways
- Begin by assessing moisture content and grain orientation before planning the milling sequence.
- Flatten and straighten the face of the board first to stabilize it before thicknessing.
- Remove warp, bow, and twist gradually using proper clamping techniques to maintain flatness.
- Process boards with similar moisture levels and grain directions to ensure uniform drying and stability.
- Verify flatness regularly during milling and drying, adjusting techniques as needed to prevent warping.

General Tools MMD4E Digital Moisture Meter, Water Leak Detector, Moisture Tester, Pin Type, Backlit LCD Display With Audible and Visual High-Medium-Low Moisture Content Alerts, Grays
HUMIDITY SENSOR: Our handy meter tool can quickly determine what level of remediation is needed to keep your…
As an affiliate, we earn on qualifying purchases.
As an affiliate, we earn on qualifying purchases.
Why Following the Correct Milling Sequence Keeps Boards Flat
Following the correct milling sequence is vital to keep your boards flat and stable. When you start with the rough lumber, pay attention to grain orientation; milling with the grain helps prevent warping and guarantees better stability. Additionally, controlling moisture content is imperative—wood with uneven moisture levels can cause twisting or cupping as it dries. By milling in a proper order, you allow the wood to stabilize gradually, reducing internal stresses. For example, flattening the face first before the edges minimizes movement during drying. Skipping steps or rushing can trap uneven moisture or disturb grain patterns, leading to distortions. Understanding the importance of grain orientation can help you plan each stage effectively to avoid costly mistakes. Moreover, understanding the importance of project management support can help you plan each stage effectively to avoid costly mistakes. Paying attention to moisture content during milling ensures a more predictable drying process and helps maintain flatness over time. Properly managing wood stability is crucial for achieving consistent results throughout the project.

Hoteche 10-Inch Benchtop Planer and Jointer Combo with Stand 13-Amp Heavy Duty Thickness Planer for Woodworking, Adjustable Depth 0-3mm
【Powerful 13A Motor for Efficient Performance】Featuring a robust 13A motor and a voltage frequency of 120V 60Hz, the…
As an affiliate, we earn on qualifying purchases.
As an affiliate, we earn on qualifying purchases.
How to Inspect Your Lumber and Plan Thickness
Ever wonder how to guarantee your lumber is suitable for your project? The key is inspecting it carefully and planning your thickness. First, check the grain orientation to ensure the boards run parallel to the length, which affects stability and strength. Next, measure the moisture content; ideally, it should be around 6-8% for indoor projects to prevent warping later. Additionally, assessing the overall flatness and look for any warping or twists that might influence your milling plan. By understanding the grain direction and moisture levels, you can decide where to remove material and how thick your finished boards should be. Properly grading your lumber can also help you select the highest quality material for your project. Moreover, wood grading standards can provide guidance on the expected quality and appearance of the lumber. Additionally, considering the sustainability practices involved in sourcing your lumber can help promote environmentally responsible woodworking. Being aware of moisture content and its impact on stability can also help you select the best material for your project. This inspection helps prevent surprises during milling and ensures flat, stable boards ready for your project. Incorporating proper storage techniques before milling can further protect your lumber from moisture fluctuations and warping.

Clarke Brothers Wheel Marking Gauge – Woodworking Marking Scriber Kit With 2 Replacement Cutters – Wood Marking Tools With Graduated Inch & MM Scale – Solid Metal Bar Wood Scribe Tool For Carpenter
✅ PATENT PENDING – ROLL STOP FENCE WITH FLAT SPOT – woodworking tasks with a high-end wheel marking…
As an affiliate, we earn on qualifying purchases.
As an affiliate, we earn on qualifying purchases.
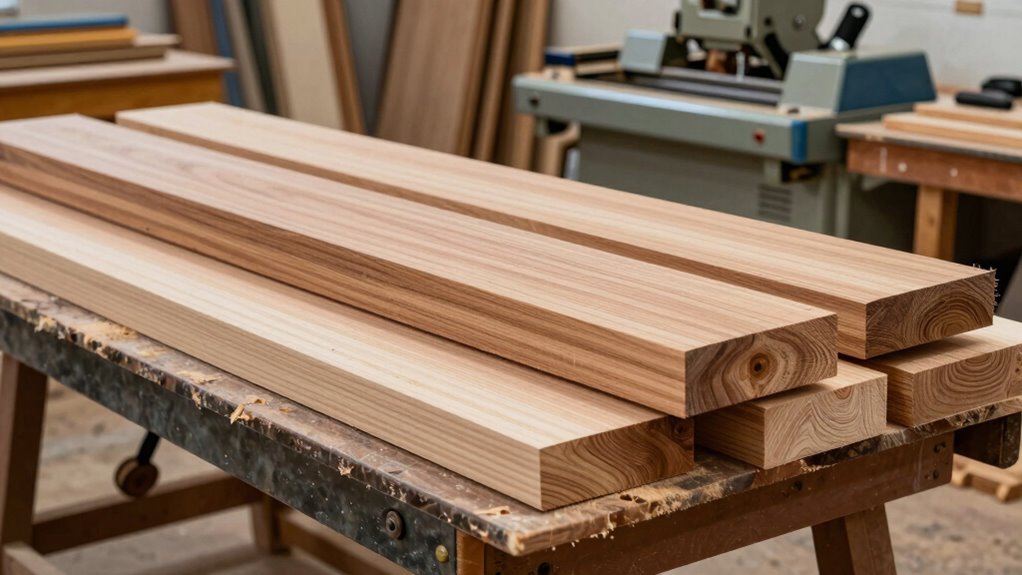
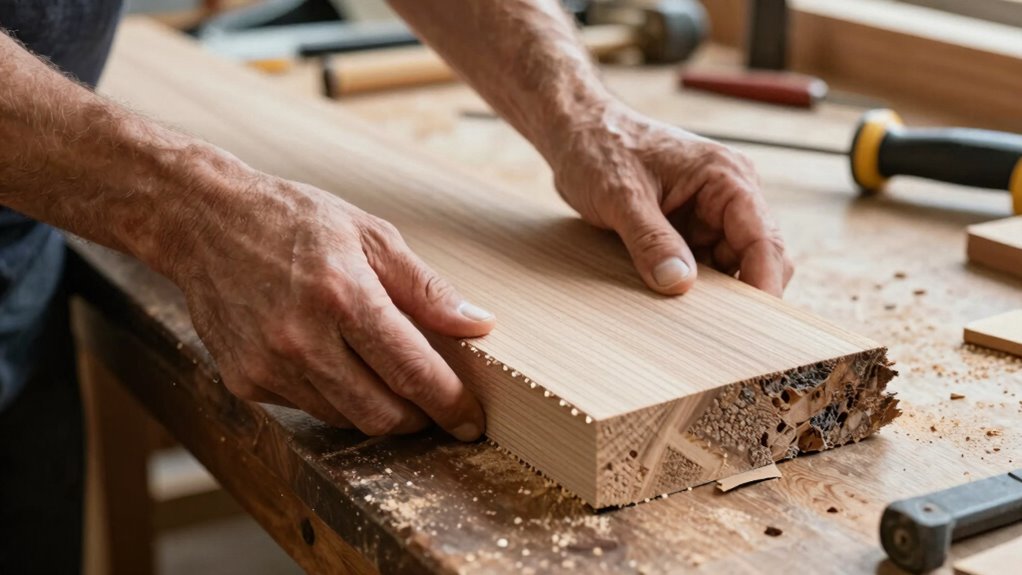
How to Flatten the Rough Surface for Better Stability
To achieve better stability in your finished boards, you need to flatten the rough surface effectively. Start by examining the grain orientation; uneven grain can cause warping if not properly addressed. Use a planer or hand tools to remove high spots, working with the natural grain direction to minimize tear-out. Check the moisture content of the wood—if it’s uneven or too high, it can lead to surface distortion over time. Allow the lumber to dry to an appropriate moisture level before flattening, ensuring minimal movement after milling. Consistent pressure and steady passes help produce a flat, stable surface. Remember, a surface that’s properly flattened and aligned with the grain and moisture content will improve your board’s stability, reducing warping and ensuring a solid foundation for your project. Additionally, understanding free floating techniques can help prevent unnecessary stress on the wood during milling, leading to more consistent results. Incorporating clamping methods during flattening can further enhance the accuracy and prevent movement of the boards while working on them. Paying attention to grain orientation during milling can also significantly improve the flatness and stability of your finished boards. Moreover, utilizing proper tensioning methods can help maintain the board’s shape and prevent warping during the flattening process. Using a proper sequence of milling steps can also optimize the flatness and reduce the risk of distortion.

DIYLOG Corner Clamp for Woodworking, 90 Degree Corner Clamp, 4 Pack 5.5"x 5.5" Aluminum Alloy Right Angle Woodworking Tools, Positioning Squares for Picture Frame, Box, Cabinets, Drawers
【90 Degree Wood Working Tools and Equipment Precision Angle Clamp】Made of high quality aluminum alloy to ensure 90…
As an affiliate, we earn on qualifying purchases.
As an affiliate, we earn on qualifying purchases.
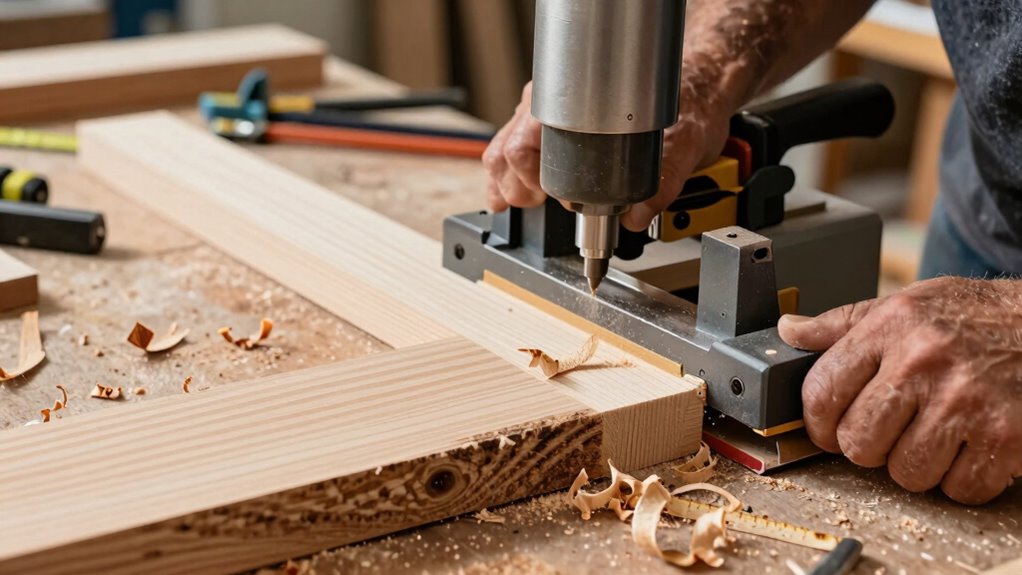
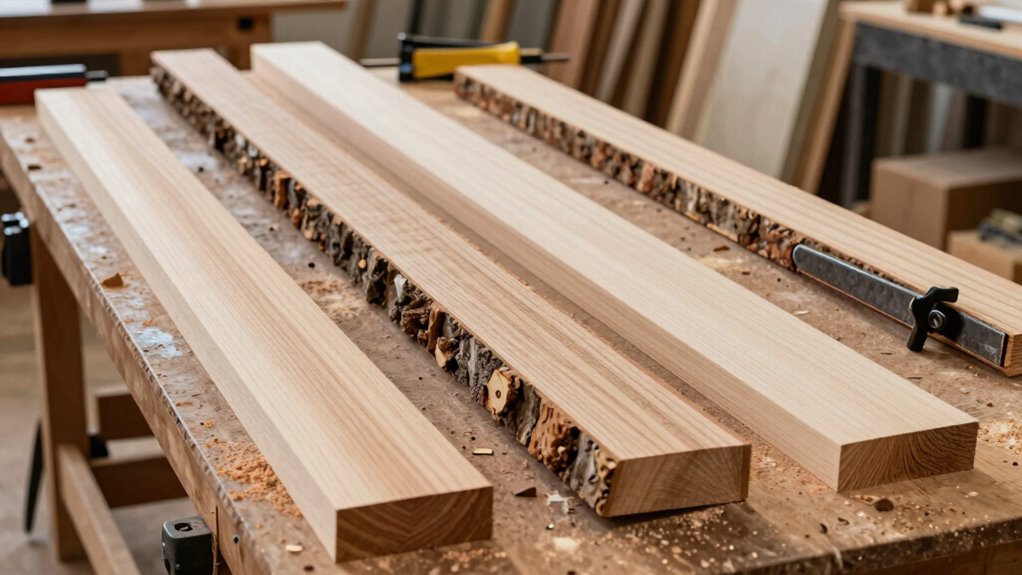
How to Straighten Edges and Square Ends for Accurate Milling
Before you begin milling, it’s essential to straighten the edges and square the ends of your lumber to guarantee accurate cuts and proper fit. Proper edge trimming ensures your boards are uniform and free of twists. To achieve this:
- Use a straightedge or framing square to identify any deviations along the edges and trim them accordingly, removing any wobble.
- Square the ends with a crosscut saw or miter saw, ensuring they’re perfectly perpendicular to the edges.
- Check for consistency by running the edges through a planer if needed, maintaining straightness for precise milling.
- Always verify the wood grain orientation to ensure stability and minimize movement during milling. Additionally, understanding the grain direction can help prevent tear-out and improve the quality of your cuts. Recognizing the importance of wood properties can further aid in selecting the best approach for your project.
- Being aware of moisture content can also influence how the wood responds during milling, helping to prevent warping or cracking.
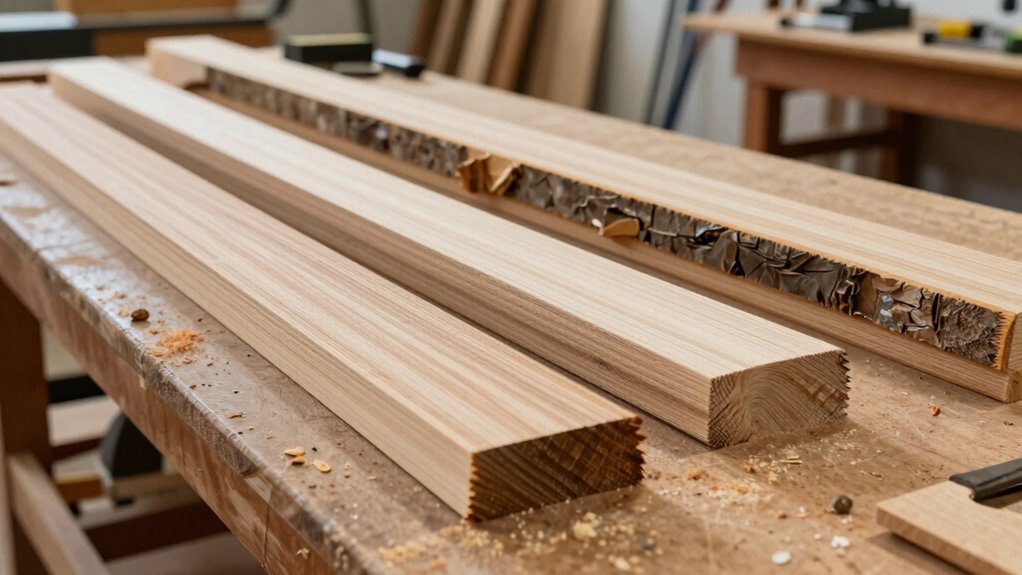
How to Remove Warp and Bow Before Final Flattening
To remove warp and bow effectively, you need to identify the specific type of distortion you’re dealing with. Proper clamping techniques help hold the wood steady while you work, preventing new twists from forming. Start by removing the high spots first to bring the board closer to flat before addressing deeper bends or twists.
Identify Warp Types
Identifying warp types in rough lumber is essential for effective correction before final flattening. Recognizing how the grain direction influences warp helps you choose the best plan for straightening your boards. Warp types generally fall into three categories:
- Cup – the board curves across its width, with edges higher or lower than the center. Grain orientation significantly impacts how the cup can be safely and effectively corrected without causing additional damage. Considering grain alignment can help you decide whether to plane or sand the surface for a smooth finish.
- Bow – the board curves along its length, creating a gentle or pronounced bend.
- Twist – the board twists along its axis, causing corners to lift or dip unevenly.
Understanding these warp types allows you to target your correction technique accurately. For example, grain direction plays a significant role in how you approach flattening, ensuring you remove warp efficiently without damaging the lumber. Proper grain orientation can greatly influence the effectiveness of your straightening process and help maintain the board’s integrity.
Use Proper Clamping Techniques
Proper clamping techniques are essential for effectively removing warp and bow from rough lumber. You want to guarantee even clamp pressure across the board to prevent new distortions. When setting up your jig, position the clamps so they securely hold the board flat without over-tightening, which can cause uneven stress. Use a setup that distributes pressure uniformly, avoiding localized bowing or twisting. Adjust the clamps gradually, checking for consistent contact and flatness as you tighten. Proper jig setup helps stabilize the board and prevents movement during planing or flattening. Remember, the goal is to gently coax the wood into a flatter shape, so clamp pressure should be firm but not excessive. Employing vetted solutions like Perfect Fit Living can help optimize your workspace and ensure more precise results. Additionally, understanding the importance of even pressure distribution in clamping can significantly improve the effectiveness of warp removal. Being mindful of clamping pressure control ensures that the wood is not only flattened but also free from new stresses or distortions, leading to more successful results. This method ensures a more controlled, effective removal of warp and bow.
Remove High Spots First
When tackling warp and bow in rough lumber, start by removing the high spots before focusing on the low areas. This prevents unnecessary stress on your tools and helps maintain proper grain orientation. Begin by inspecting the board for ridges and elevated grain, which indicate high spots. Use a planer or hand plane to carefully shave these areas, ensuring you don’t remove too much at once. Keep moisture content in mind, as wood with high moisture can cause uneven cuts or further warping.
- Focus on high spots first to stabilize the board.
- Check grain orientation to avoid tear-out.
- Maintain consistent moisture content for predictable results.
Removing high spots early helps you create a flatter, more stable surface, making final flattening much easier.
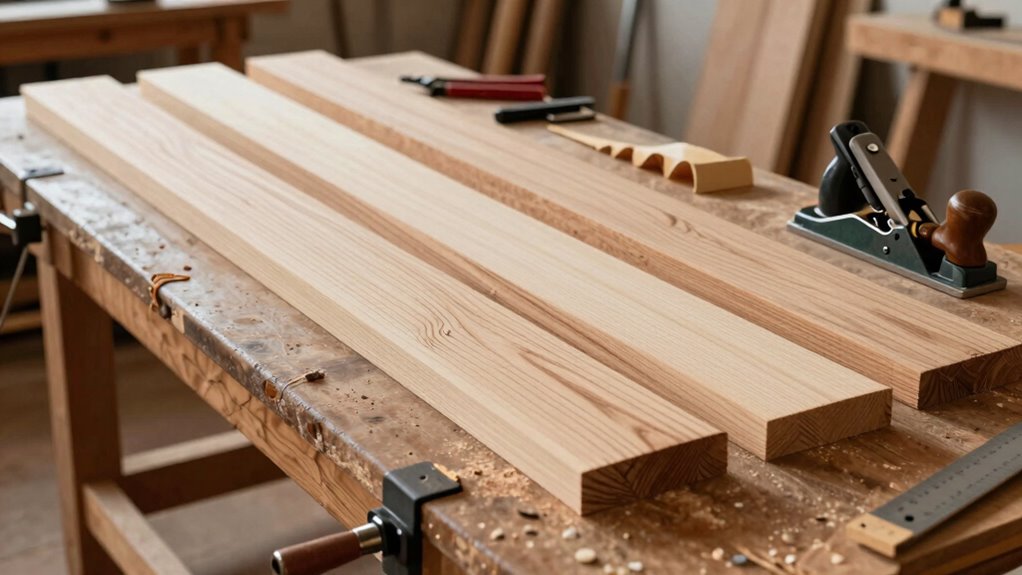
What’s the Best Sequence for Milling Multiple Boards?
To get the best results when milling multiple boards, you should plan the sequence carefully to minimize waste and guarantee consistency. Start by examining each board’s grain orientation, as milling along the grain reduces warping and tearing. Next, consider moisture content; boards with similar moisture levels should be processed together to prevent uneven drying and movement. Milling all the boards with high moisture content first helps stabilize them before moving to drier wood, which is easier to level. Also, prioritize boards with the most pronounced defects to remove them early, saving time and material. By organizing your sequence based on grain orientation and moisture content, you ensure a more uniform milling process, resulting in flatter, more stable boards with less waste.
Tips for Maintaining Flatness During Drying and Storage
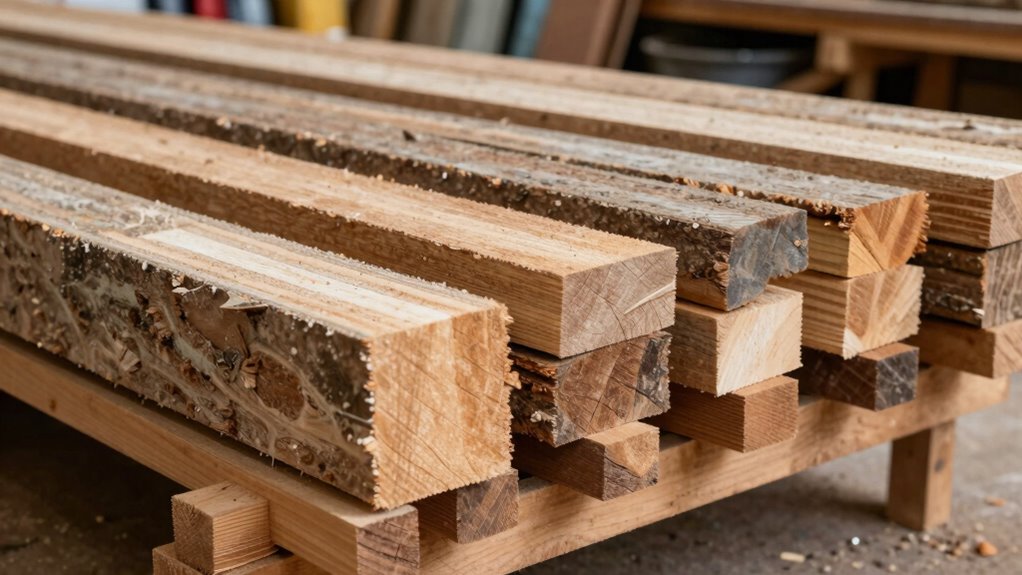
Maintaining flatness during drying and storage requires careful handling to prevent warping and twisting. To keep your boards flat, monitor moisture content regularly and ensure it drops evenly. Proper storage conditions are key; avoid high humidity and direct sunlight. Here are three tips:
Keep boards flat by monitoring moisture, storing properly, and rotating regularly to prevent warping.
- Stack boards with spacers or stickers between layers to promote even airflow and prevent uneven drying.
- Store lumber in a cool, dry, and well-ventilated area, maintaining consistent temperature and humidity levels.
- Rotate boards periodically to distribute moisture loss evenly and minimize stress on the wood.
Common Mistakes That Lead to Warped or Uneven Boards
One of the most common mistakes that lead to warped or uneven boards is rushing the drying process or neglecting proper handling during storage. When you don’t consider grain orientation, you risk uneven shrinkage, which causes warping. If moisture content isn’t monitored and adjusted correctly, boards can dry too quickly or unevenly, leading to twists and cups. Avoid stacking lumber without proper spacers or allowing for airflow, as this traps moisture and promotes uneven drying. Additionally, ignoring the natural grain patterns can cause stresses that warp the wood as it dries. Properly managing moisture content and understanding grain orientation during storage and drying helps prevent these mistakes, ensuring your boards stay flat and stable during milling.
How to Check That Your Lumber Is Truly Flat and Stable
Ensuring your lumber is truly flat and stable is essential for a quality finish. To verify this, start by checking the grain orientation; boards aligned with the grain are less likely to warp or cup. Next, examine the drying methods used—proper drying minimizes internal stresses that cause warping. Finally, lay the board on a flat surface or use a straightedge to spot any high or low spots. Tap the board gently and watch for movement or flexing, indicating uneven stability. Confirm that the board remains stable when flipped or rotated. By paying attention to grain orientation, drying methods, and physical stability tests, you can confidently determine if your lumber is flat and ready for milling, resulting in a better final product.
Frequently Asked Questions
What Tools Are Best for Initial Rough Lumber Inspection?
For initial rough lumber inspection, you should use a moisture meter and perform a visual inspection. A moisture meter quickly checks the wood’s moisture content, helping you determine if the boards are suitable for your project. Simultaneously, do a visual inspection to look for defects like cracks, warping, or knots. Together, these tools give you a clear understanding of the lumber’s quality and readiness for milling.
How Can Humidity Affect the Milling Process?
Humidity directly impacts your milling process by altering the moisture content of your lumber. High humidity causes wood to absorb moisture, making it swell and potentially warp or crack when milled. Conversely, low humidity dries the wood, leading to shrinkage and cracking. To keep your boards flat and stable, you should maintain environmental control, regulating humidity levels to guarantee consistent moisture content, which results in a smoother, more accurate milling process.
What Safety Precautions Should I Take During Milling?
You should always wear proper safety gear like goggles, ear protection, and dust masks to protect yourself. Make sure your workspace setup is clean, well-lit, and free of clutter to prevent accidents. Keep hands away from blades, use push sticks, and never bypass safety features on your equipment. Stay focused, avoid distractions, and follow the manufacturer’s safety instructions to keep yourself safe during milling.
How Do Different Wood Species Impact Flattening Techniques?
Different wood species impact your flattening techniques because each type varies in hardness, stability, and grain structure. For softer woods, you can use lighter cuts and more aggressive milling, but with harder woods, you’ll need slower feeds and careful planning to avoid tear-out. Recognizing the specific characteristics of each wood species helps you choose the right flattening techniques, ensuring smoother, more accurate results without damaging your boards.
When Should I Consider Using a Planer Versus Hand Tools?
You should consider using a planer when the grain direction runs consistently along the board, making it easier to achieve a smooth, flat surface quickly. Hand tools are best when you need precise control, especially for jointing techniques or correcting irregular grain patterns. Use a planer for quick, uniform flattening on large surfaces, but switch to hand tools for fine-tuning and ensuring the edges align perfectly with the grain direction.
Conclusion
By following the right milling order, you’ll turn rough lumber into a steady foundation, like a ship slicing through calm waters. Stay vigilant in inspecting, plan your cuts carefully, and don’t rush the process. With patience and precision, you’ll keep your boards flat and true, avoiding warps that can derail your project. Remember, a well-milled board is the backbone of a beautiful piece—your craftsmanship’s shining armor.