When deciding between shims and re-cutting for gaps in joinery, assess their size and severity. Small, natural gaps caused by wood movement can often be fixed quickly with shims, which are easy and cost-effective. However, if you see large, misaligned, or unsightly gaps that affect stability or appearance, re-cutting is the better option for a tight, lasting fit. Keep in mind, understanding these signs helps guarantee your project stays durable and attractive.

Get tools and workshop supplies delivered free — and shop member deals
- Fast, free delivery on millions of items
- Access to Prime Big Deal Days deals on October 6–7
- Prime Video, Amazon Music and more included
Key Takeaways
- Use shims for small, minor gaps caused by natural wood movement that do not compromise joint integrity.
- Re-cut joints when gaps are large, visible, or misalignments require precise, seamless corrections.
- Shims are a quick, cost-effective fix suitable for temporary or minor adjustments; re-cutting is more durable for long-term stability.
- Large gaps that affect door or drawer function typically need re-cutting rather than shimming for proper alignment.
- Consider material type, gap size, and structural stability; re-cut when accuracy and durability are priorities.
As an affiliate, we earn on qualifying purchases.
What Causes Gaps in Joinery and How to Recognize Them
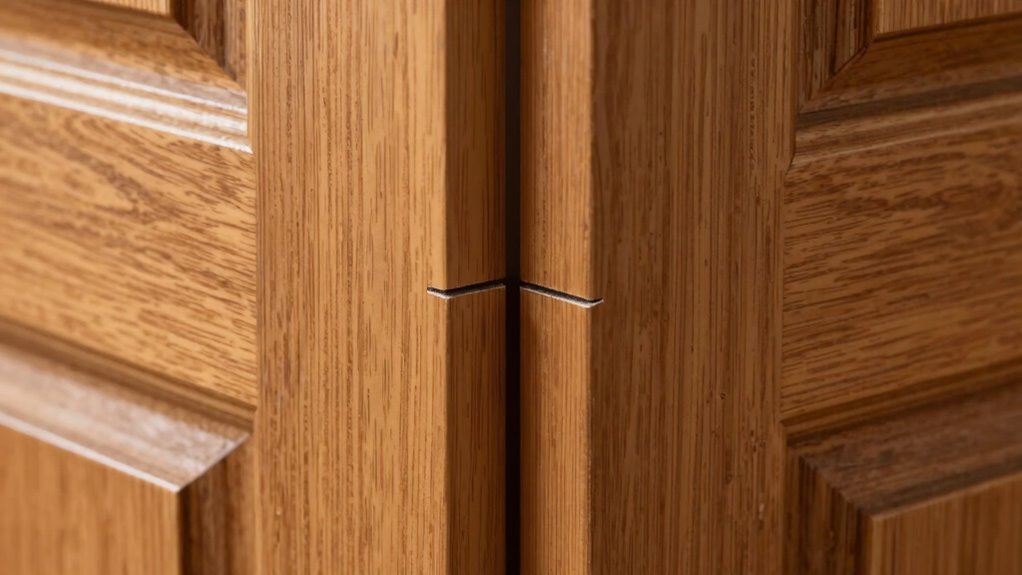
Gaps in joinery often occur because of uneven wood shrinking, swelling, or shifting over time. Wood expansion happens when moisture levels increase, causing the material to swell and push apart joints. Conversely, material shrinkage occurs during dry periods, as the wood loses moisture and contracts, creating gaps. These changes aren’t always uniform, so some parts of the joinery may shift more than others. You’ll notice gaps forming around door frames, window sashes, or cabinet joints, especially in areas with fluctuating humidity. Recognizing these signs early helps you understand that natural wood movement is behind the gaps. By understanding how wood expands and shrinks, you can better determine when repairs are needed to maintain the integrity and appearance of your joinery. Additionally, proper wood movement management techniques can help minimize future gaps and keep your joinery tight over time.
As an affiliate, we earn on qualifying purchases.
How to Tell If a Gap Is Too Large for Shims or Can Be Fixed With Shims
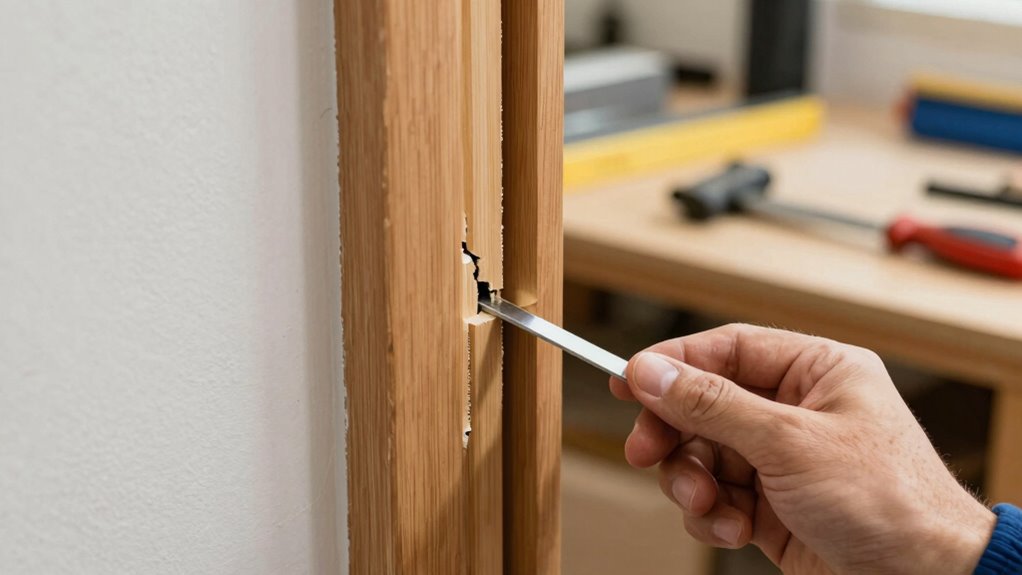
Before deciding whether shims can fix a gap, you need to assess its size and severity. If the gap is too large, shims may not provide a stable or visually appealing solution. Consider these factors:
- Aesthetic considerations: Larger gaps can look unsightly and may require re-cutting for a seamless finish.
- Material compatibility: Some materials don’t support thick shims or may be damaged by improper shim placement.
- Structural stability: Excessively wide gaps can compromise the integrity of the joint, making shims ineffective.
- Material durability is also an important factor, as some materials may degrade over time if improperly shimmed.
As an affiliate, we earn on qualifying purchases.
When Shimming Is Sufficient for Small Gaps
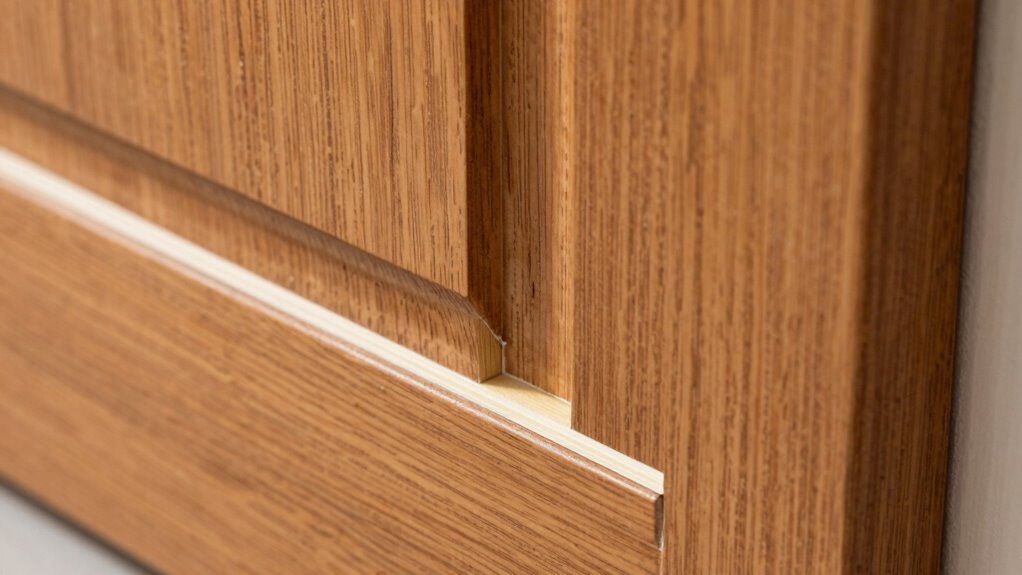
When the gap between joinery pieces is small, shimming is often a simple and effective solution. Wood naturally expands and contracts with changes in temperature and humidity, which can cause slight gaps over time. Shims help accommodate this grain movement and wood expansion, maintaining a tight fit without altering the original joinery. If the gap is minor and consistent, adding thin shims can fill the space without risking damage or compromising stability. It’s important to select shims that match the wood’s grain direction to prevent splitting or warping. Additionally, understanding the natural movement of wood can help determine when shimming is sufficient for small gaps. Shimming works best when the gap is manageable and you want a quick fix that respects the natural movement of the wood, ensuring a smooth, durable finish.
As an affiliate, we earn on qualifying purchases.
Signs That Gaps Are Too Big and Need Re-Cutting
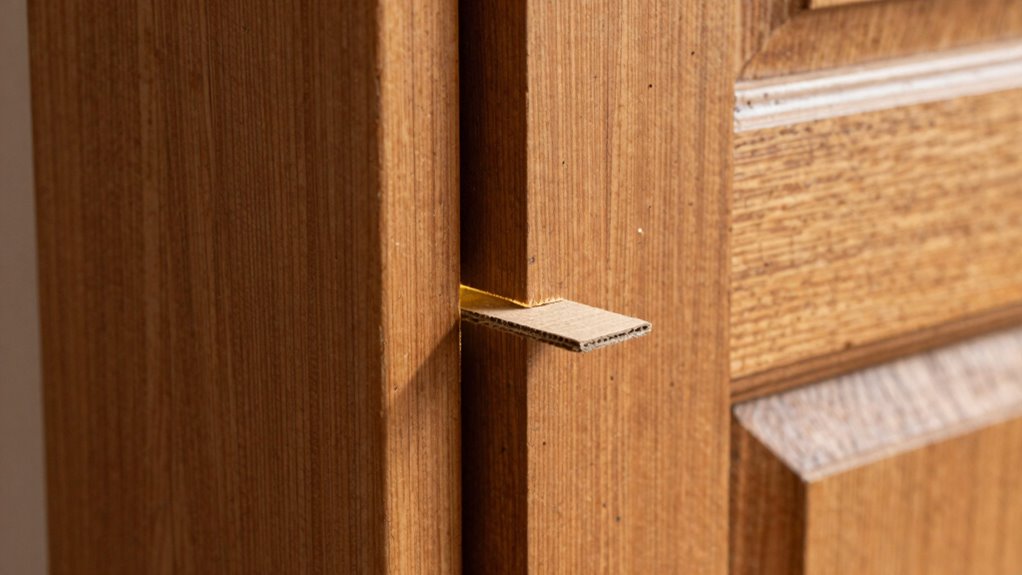
If you notice large, obvious gaps or misalignment in your joinery, it’s a clear sign that shimming won’t cut it anymore. These gaps can also compromise the structural stability of your project, making re-cutting necessary. Ignoring these signs could lead to long-term issues or even failure of the joint.
Visible Gaps and Misalignment
Visible gaps and misalignment are clear signs that your joinery is too wide or uneven and may require re-cutting. These issues often indicate that your finish carpentry isn’t fitting correctly, affecting both appearance and function. You might notice:
- Gaps that are large enough to see without close inspection
- Doors or drawers that don’t close flush
- Visible misalignment along joints or edges
Such signs suggest the gaps are beyond the scope of shims and need precise correction through re-cutting. Applying proper woodworking techniques ensures tight, seamless joints. When gaps are too prominent, re-cutting provides a cleaner, more professional finish. Recognizing these signs early helps maintain the integrity and aesthetic of your project, avoiding future structural or cosmetic issues. Additionally, understanding the importance of precision in measurements can help prevent these problems from occurring in the first place.
Structural Stability Concerns
Large gaps between joinery components can compromise the structural stability of your project, making it unsafe or prone to shifting over time. Excessive gaps often result from wood expansion due to moisture changes, which can weaken joints if left unaddressed. When gaps are too wide, they allow movement that can cause joint failure or misalignment under load. If you notice shifting, creaking, or instability, it’s a sign that the gaps are beyond shimming and need re-cutting. Proper moisture control is essential to prevent further expansion and contraction, maintaining tighter joints over time. Using moisture management techniques can help prevent future gaps caused by environmental fluctuations. Don’t ignore these signs, as they threaten the integrity of your structure. Re-cutting ensures precise fit and long-term stability, especially in environments with fluctuating humidity.
How to Properly Install Shims for a Secure, Long-Lasting Fit
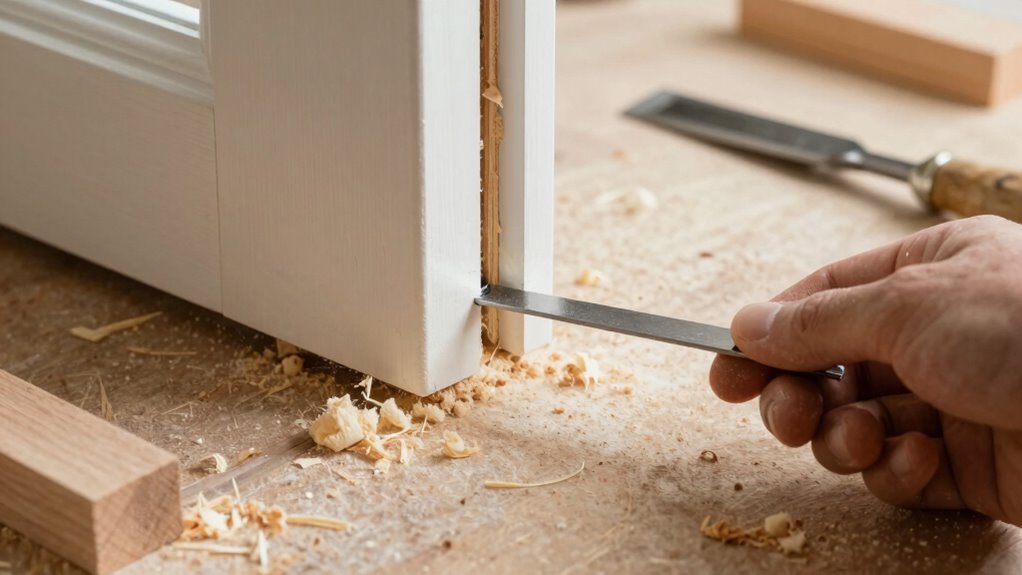
To guarantee your shims stay secure and last long, start by preparing the surface properly—clean and smooth it before installation. Choose the right shim material for your specific needs to prevent movement or damage over time. Then, secure the shims firmly in place and check the alignment frequently as you go to achieve a perfect fit. Additionally, understanding global chaos caused by outages can remind you of the importance of contingency planning for your projects.
Prepare the Surface Properly
Before installing shims, preparing the surface thoroughly is essential. A clean, smooth foundation ensures a secure, long-lasting fit. Focus on achieving a good joint finish by removing debris, dust, and grease that could compromise the shim’s stability. Proper material prep involves sanding rough spots and ensuring the surface is level. Additionally, understanding auditory processing can help in recognizing how surface irregularities might affect overall stability.
Use the Correct Shim Material
Choosing the right shim material is essential for ensuring a secure and durable fit. Material selection directly impacts shim quality, influencing how well the shim can support weight and withstand environmental factors. For load-bearing applications, metal shims like steel or aluminum are best due to their strength and stability. Plastic shims work well in non-structural settings and resist moisture, but they may wear faster. Wood shims are suitable for temporary adjustments or non-critical joints. Always select a shim material that matches the specific demands of your project. High-quality shims prevent shifting or compression over time, ensuring a long-lasting, precise fit. Proper material selection helps you avoid future issues and guarantees your joinery stays tight and functional. Additionally, considering appliance maintenance plans can help preserve the integrity of your fixtures and prevent the need for frequent adjustments.
Secure and Check Alignment
Properly installing shims guarantees your joinery remains secure and aligned over time. To ensure joint stability, check the alignment carefully before finalizing placement. Use a level or straightedge to verify the surface, adjusting shims as needed. Be mindful of material expansion; temperature changes can affect shim fit and joint integrity. Additionally, selecting the appropriate type of essential oils can help maintain the integrity of the materials involved, preventing issues such as warping or deterioration.
- Secure shims firmly but avoid over-tightening, which can distort the joint.
- Double-check alignment after any adjustments to prevent gaps or misalignment.
- Use a suitable tool, like a pry bar or mallet, to position shims accurately without damaging the material.
How to Re-Cut Joints for a Seamless, Durable Connection
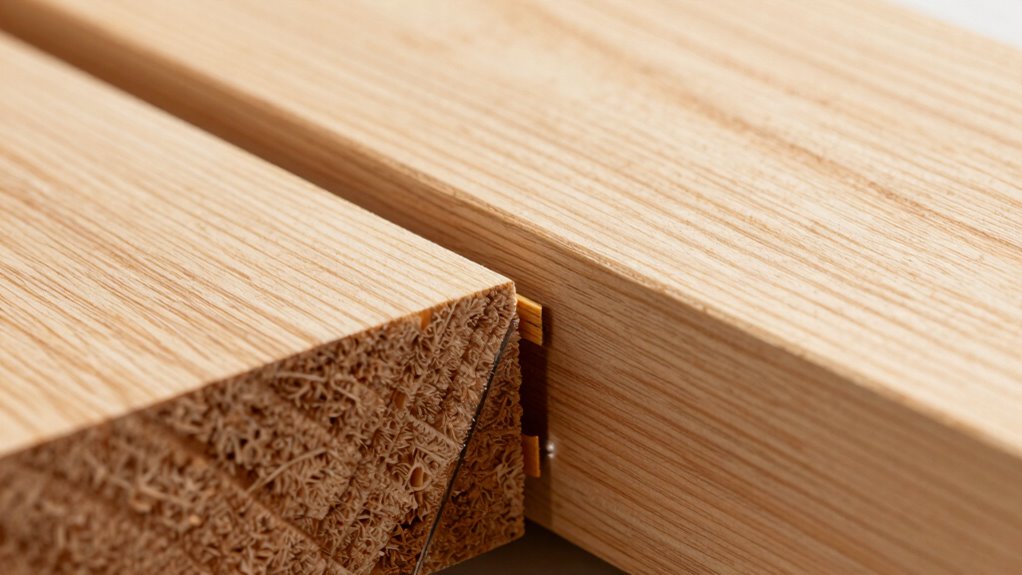
When a joint doesn’t fit snugly, re-cutting the edges is often the best way to restore a seamless, durable connection. Start by carefully marking the areas that need trimming, ensuring you maintain the joint material’s integrity. Use a sharp saw or chisel to remove small increments, checking fit frequently to avoid overcutting. Re-cutting allows you to create precise edges that align perfectly. To achieve a seamless look, sand and finish match the joint material’s surface after re-cutting. This step helps blend the repaired joint with the surrounding wood, maintaining the original finish. Take your time to ensure the joint is tight and smooth. Proper re-cutting results in a sturdy, clean connection that enhances the overall quality of your project. Additionally, understanding sound vibrations can help you develop techniques for smoother, more precise cuts and finishes, leading to better joint repair outcomes.
Comparing the Durability of Shims and Re-Cut Joints

Re-cut joints typically offer greater long-term durability because they create a tight, precise fit that withstands stress and movement over time. This method minimizes issues caused by grain movement and wood expansion, reducing gaps that develop with seasonal changes. Re-cut joints are less susceptible to loosening or shifting, maintaining structural integrity longer. In contrast, shims can compress or deteriorate under constant pressure, leading to gaps or instability. Consider these points:
- Re-cut joints resist effects of wood expansion better, maintaining alignment.
- They prevent loosening caused by grain movement over time.
- Durability depends on precision, which shims cannot provide consistently.
Choosing re-cutting ensures your joinery remains tight and stable, regardless of wood’s natural tendencies to shift.
Cost and Time: Shimming vs. Re-Cutting – What to Expect
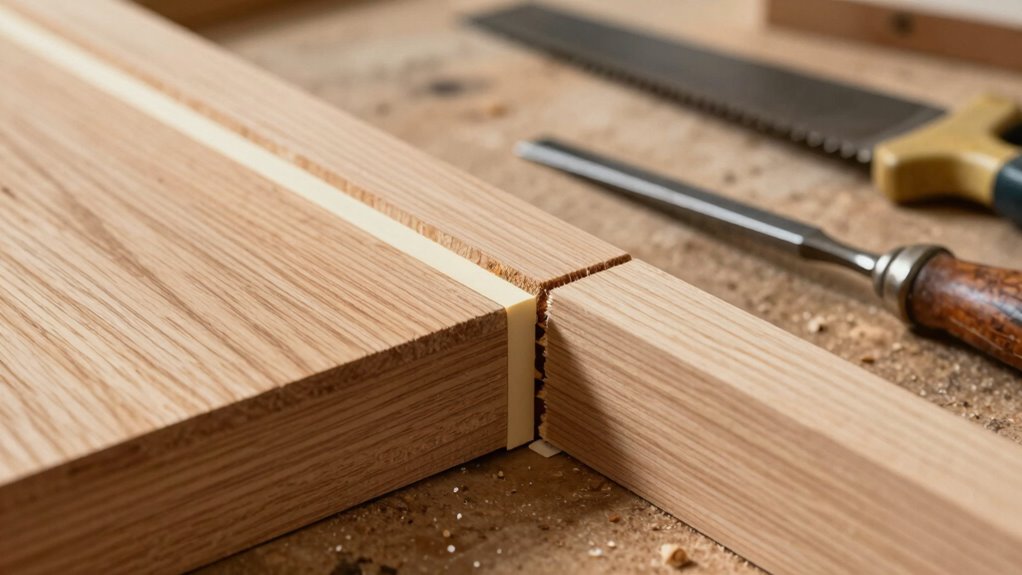
Re-cut joints generally require more time and higher upfront costs due to the precise cutting involved and the need for specialized tools. You’ll need to carefully calibrate your tools and select the right materials to guarantee accuracy. This process involves removing the existing joint, which can be labor-intensive, especially if the wood material is dense or tricky to work with. Shimming, on the other hand, is quicker and less costly upfront since it involves placing thin wedges or fillers to close gaps. However, re-cutting offers a more permanent fix, reducing the likelihood of future adjustments. Expect that material selection impacts both methods: softer woods are easier to re-cut, while harder materials might favor shimming for a faster, cost-effective solution.
Troubleshooting When Shims or Re-Cutting Don’t Fix the Gap
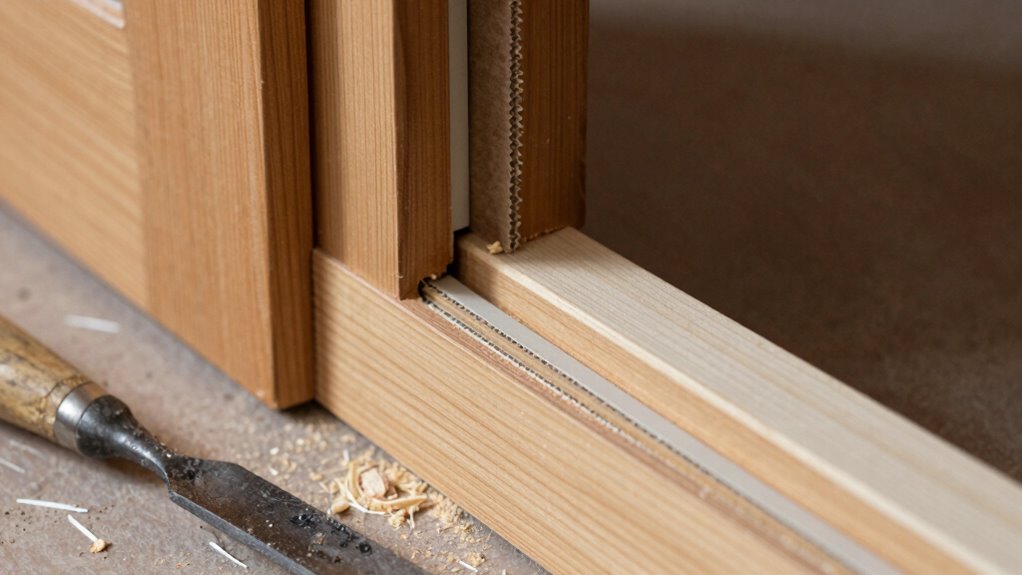
Even with careful shimming or re-cutting, gaps can sometimes persist, signaling underlying issues that simple fixes can’t address. When this happens, you need to troubleshoot beyond surface solutions. First, evaluate your material selection; some woods expand or contract unevenly, creating unpredictable gaps. Second, inspect your finishing techniques—unfinished or improperly sealed surfaces can cause movement or misalignment over time. Finally, consider joint design flaws or installation errors that shims or re-cutting can’t correct. To better manage these issues, focus on selecting stable, well-dried materials and applying consistent finishing techniques. Be proactive by checking for movement or moisture changes in the wood and ensuring joints are properly aligned before finalizing the assembly. Addressing these root causes helps prevent ongoing gap problems.
Tips to Prevent Gaps in Your Joinery Projects
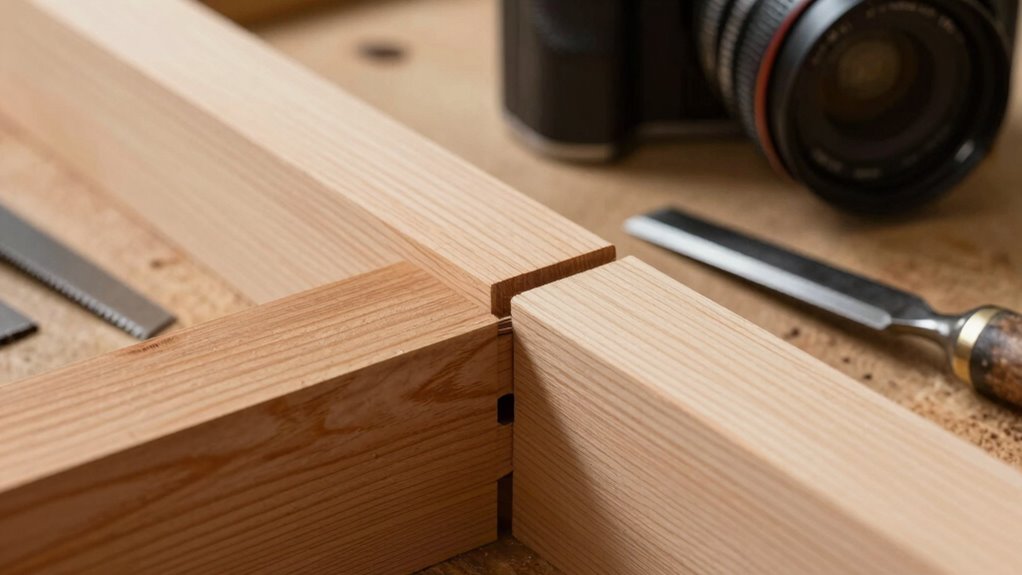
To prevent gaps in your joinery projects, start by selecting high-quality, stable wood that’s properly dried and seasoned. This minimizes wood expansion and contraction, maintaining tight joints over time. Additionally, plan your joints carefully, ensuring proper fit and alignment from the start. Use precise tools and techniques to avoid over-tightening, which can cause future gaps. Keep in mind that well-executed joinery enhances joint aesthetics, making your work look professional. Consider moisture content and environmental conditions throughout the project to reduce wood movement. To help visualize, here’s a quick guide:
| Tip | Benefit |
|---|---|
| Use seasoned wood | Reduces wood expansion |
| Maintain proper fit | Improves joint aesthetics |
| Control humidity | Prevents gaps caused by wood movement |
Frequently Asked Questions
Can Environmental Changes Cause Gaps to Appear Over Time?
Yes, environmental changes can cause gaps to appear over time. You might notice wood expansion or moisture migration, which affects how your joinery fits together. As moisture levels fluctuate, wood can swell or shrink, creating gaps. To prevent this, keep your environment stable by controlling humidity and temperature. Regular maintenance will help minimize these effects, ensuring your joinery stays tight and secure over the years.
Are There Specific Wood Types More Prone to Gaps?
Think of wood like a sponge—some types, like pine, with lower density and irregular grain orientation, are more prone to gaps. These woods expand and contract more with humidity changes, making gaps more likely over time. Hardwoods like oak, with higher density and consistent grain, resist gaps better. So, if you’re working with softer, less dense wood, expect more gaps and plan accordingly for movement.
How Can I Prevent Gaps During Initial Joinery Assembly?
To prevent gaps during initial joinery assembly, you should focus on proper wood joint techniques and effective shim placement strategies. Guarantee your cuts are precise and fit snugly before assembly. Use shims to fine-tune tightness without forcing joints, which helps avoid gaps. Regularly check your alignment and fit as you work, adjusting shim placement strategically to maintain tight, seamless joints.
What Tools Are Best for Precise Shimming and Re-Cutting?
For precise shimming, use a feeler gauge or a dedicated shim stock for accuracy, and employ shimming techniques like stacking shims for better fit. When re-cutting, high-quality re-cutting tools such as a sharp chisel, router with a fine bit, or a hand plane guarantee clean, precise cuts. Always double-check measurements and alignments to avoid gaps, and work carefully to maintain consistent results during adjustments.
How Do Humidity Levels Affect Joinery Gap Management?
Humidity levels can turn your joinery into a dance floor, causing wood expansion or contraction. When moisture content rises, wood swells, widening gaps, while dry conditions shrink it, revealing gaps. You must monitor humidity to manage these shifts effectively. Keep indoor humidity stable, ideally between 40-60%, to prevent unpredictable gaps, and adjust your approach accordingly, whether shimming or re-cutting, to maintain tight, durable joins.
Conclusion
Think of your joinery like a finely tuned orchestra—every piece must fit perfectly for harmony. When small gaps show up, shims are your quick fix, like tuning a single instrument. But if the gaps grow, it’s time to re-cut and reset, ensuring lasting harmony. Skipping proper fixes can lead to squeaks or misalignment. Trust your judgment, and remember, a well-fitted joint is the melody that lasts through time.
Fall yard work Picks
leaf blowers
As an affiliate, we earn on qualifying purchases.