
To quickly identify the source of squeaky furniture, start by inspecting joints, hinges, and moving parts for looseness or wear. Gently test different areas by applying pressure or shifting the furniture to see where sounds occur. Use a flashlight and a lubricant like silicone spray to pinpoint and silence squeaks. Properly diagnosing the problem saves time and effort. Keep going for more tips to fix the squeak permanently and prevent future issues.
Key Takeaways
- Systematically inspect joints, hinges, and legs to identify movement or looseness causing the squeak.
- Use gentle pressure and listen for changes to locate the exact squeak source during testing.
- Mark areas that produce squeaks for targeted repair and easier diagnosis.
- Differentiate between wood, metal, and plastic sounds to pinpoint friction points.
- Apply lubrication and tighten fasteners only after confirming the specific parts responsible for noise.

WD-40 Specialist Silicone Lubricant with SMART STRAW SPRAYS 2 WAYS, 11 OZ
Use on a variety of surfaces – metal, rubber, vinyl, plastic and more. Use on 100s of items…
As an affiliate, we earn on qualifying purchases.
As an affiliate, we earn on qualifying purchases.
Why Does My Furniture Squeak? Common Causes
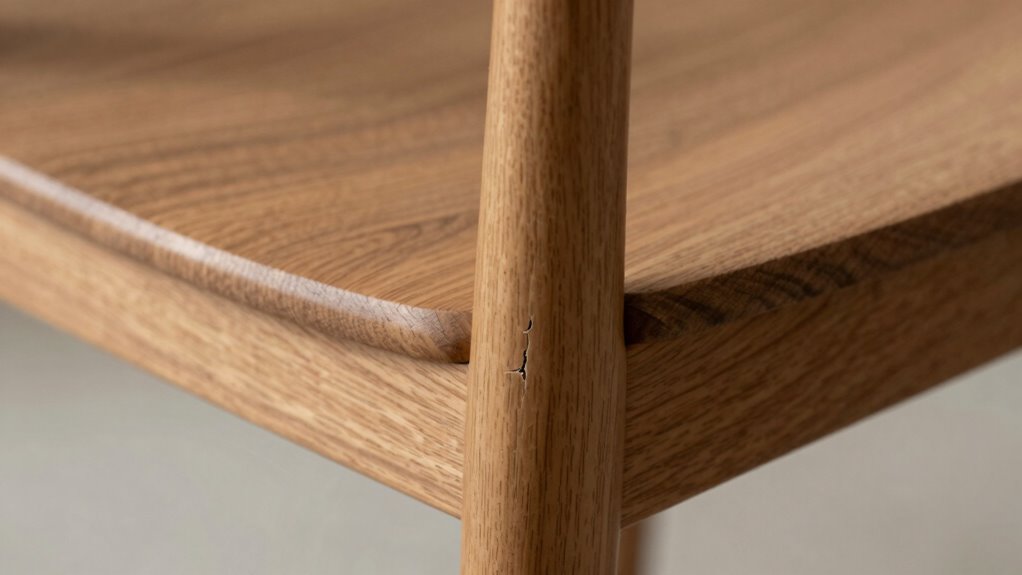
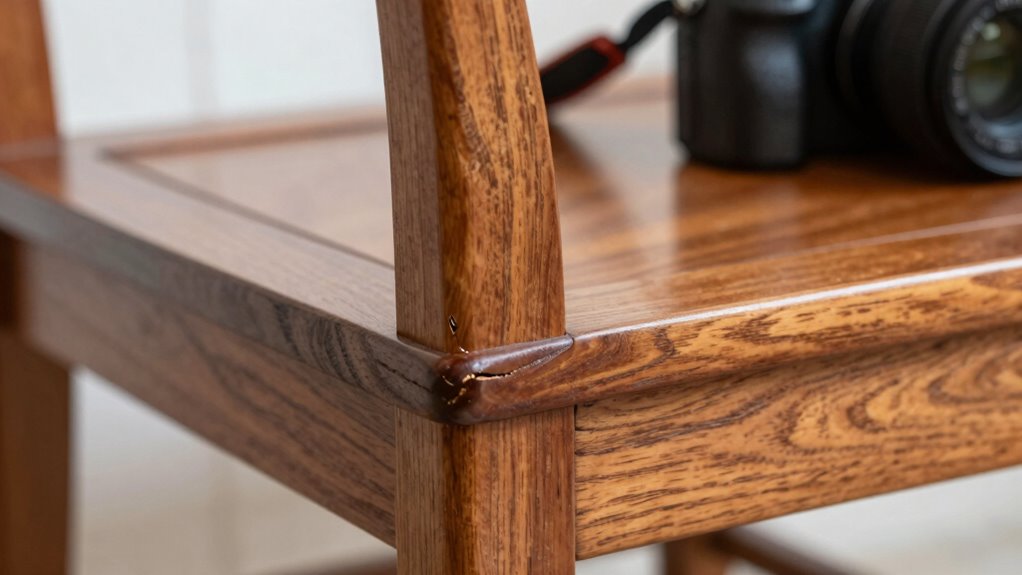
Squeaky furniture is often caused by loose joints or parts rubbing against each other. As wood expands and contracts with temperature and humidity changes, it can loosen joints, creating friction that results in squeaks. These tiny movements make the wood parts rub together or against nails and screws, producing noise. To address this, lubrication solutions like applying wax or silicone spray can help reduce friction. Sometimes, the squeak stems from loose screws or bolts that need tightening. Recognizing that wood expansion and contraction are natural processes helps you understand why squeaks occur over time. Regular maintenance, such as checking and tightening joints and applying lubrication, can keep your furniture quiet and prolong its lifespan. Incorporating AI tools can also assist in diagnosing and preventing squeaks by providing maintenance reminders and solutions.

SQUEEEK NO MORE Squeaky Floor Repair Kit for Hardwood, Carpet, Vinyl & Linoleum – Complete Floor Squeak Repair Kit Includes Joist Finder Drill Bits, Tripod Fixture and 50 Counter-snap Screws
Eliminate Squeaky Floors for Good – A trusted US brand since 1993, The SQUEEEK NO MORE squeaky floor…
As an affiliate, we earn on qualifying purchases.
As an affiliate, we earn on qualifying purchases.
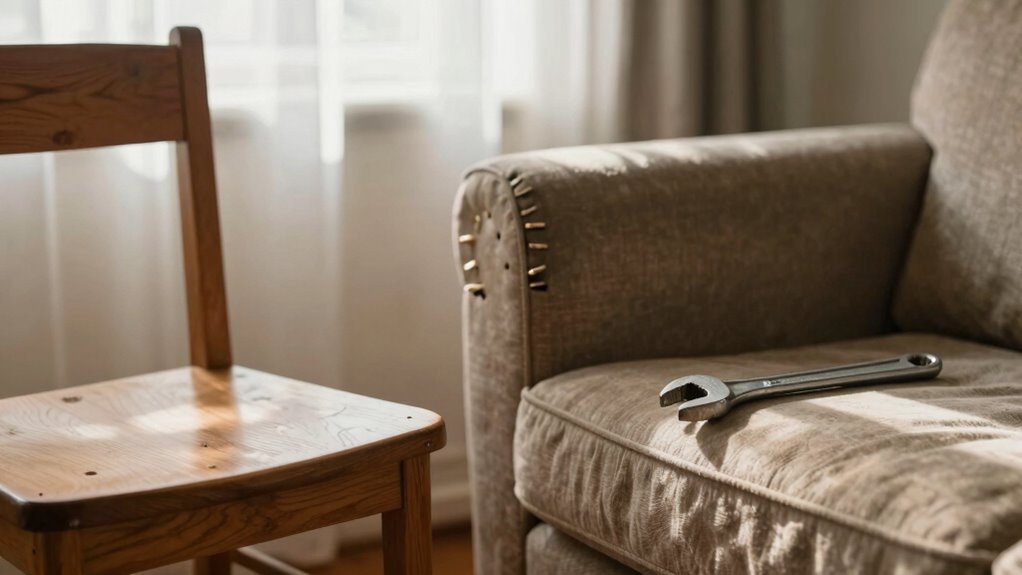
How to Prepare Your Space and Tools for Inspection

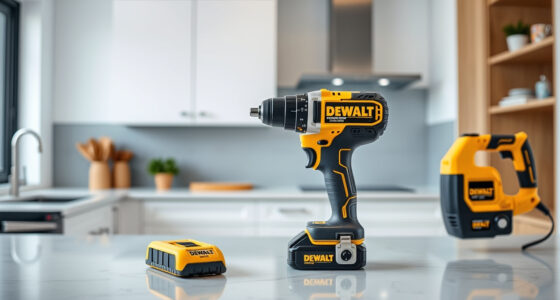
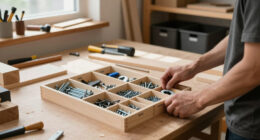
Before you start inspecting your furniture, it’s important to clear the surrounding area and organize your tools. A tidy space helps you move easily and focus on finding the squeak’s source. Begin by removing any clutter around the furniture piece, so you have full access. Next, gather your essential tools—screwdrivers, a wrench, a flashlight, and a lubricant like WD-40. Proper tool preparation guarantees you’re ready for quick adjustments or inspections. Keep everything within reach to avoid unnecessary searches. Good space organization minimizes distractions and helps you work efficiently. When your workspace is clear and tools are prepared, you can systematically check joints, legs, and panels for loose or worn parts, making the inspection process faster and more effective. Evidence‑informed guidance can help you identify the most common causes of squeaks and address them effectively.

Wonderlokking Tite Chairs, Adhesive for Chair Joint and Furniture Repair by PC-Products, 5 gram 208120
The adhesive permanently tightens loose wood joints
As an affiliate, we earn on qualifying purchases.
As an affiliate, we earn on qualifying purchases.
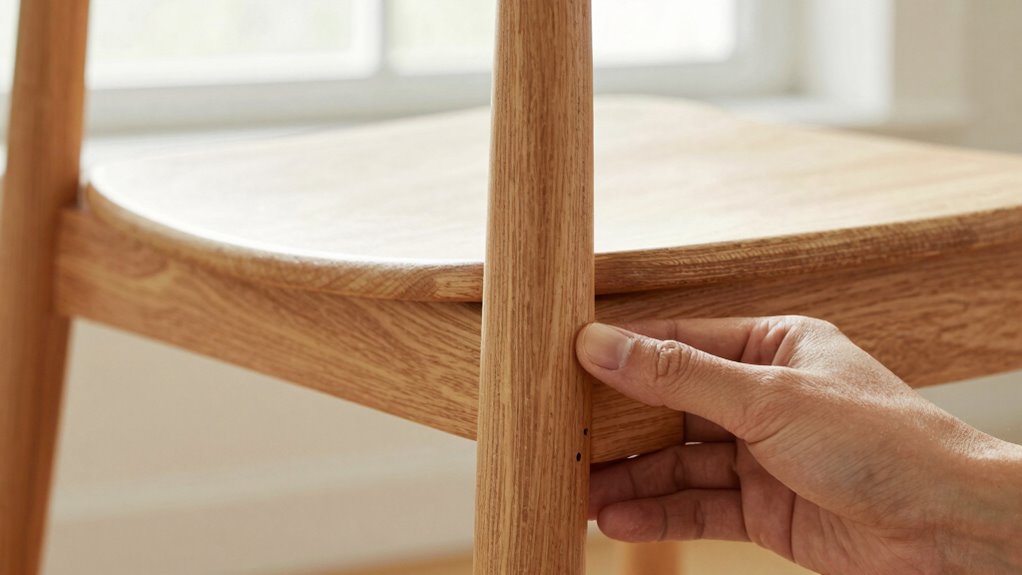
Find the Exact Location of the Squeak
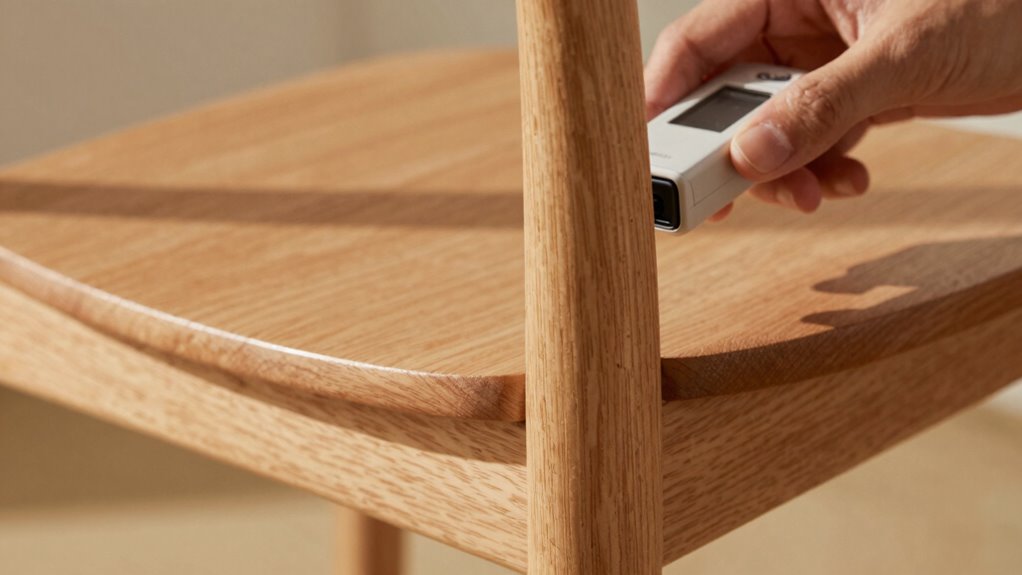
To accurately locate the source of the squeak, you need to systematically test different parts of the furniture while applying gentle pressure or movement. Pay close attention to squeak patterns—notice where the noise starts, changes, or stops as you test each area. Focus on areas with noticeable furniture vibration, as these often indicate the source. Move around the piece slowly, pressing or shifting different joints, legs, or panels, and listen carefully. Mark areas that produce consistent squeaks or unusual vibrations. By doing this, you’ll narrow down the exact spot causing the noise, avoiding unnecessary part replacements. Incorporating Free Floating techniques can also help identify issues without disassembly. This method ensures pinpoint accuracy, saving you time and effort in troubleshooting and fixing your squeaky furniture effectively.

ZDBB Wood Drawer Wax Lubricant Paste Lubricant Wear-Resistant Eliminate Sticking Noise Loosen Drawer Slide Grease for Wood Furniture, Window Track, Sliding Glass Doors, Hinges, 1 oz 2-Pack
Odorless and Easy-to-Apply: This siliding door lube is odorless and non-irritating, ideal for indoor use. Its silky texture…
As an affiliate, we earn on qualifying purchases.
As an affiliate, we earn on qualifying purchases.
How to Identify What’s Causing the Noise
Have you ever wondered what actually causes furniture to squeak? The key is to observe material types and squeak frequency. Different materials, like wood, metal, or plastic, produce distinct sounds. For instance, metal-on-metal often squeaks loudly and frequently, while wood-on-wood sounds softer but persistent. To identify the culprit, listen carefully during movement—note if the squeak happens with every shift or occasionally. Recognizing material interactions can help pinpoint the source more accurately.
Easy Ways to Test Different Parts of Your Furniture
To find out what’s causing the squeak, start by tapping different parts and listening carefully for sounds. Make sure to tighten any loose joints securely, as this often reduces noise. Don’t forget to check and lubricate moving parts to keep everything running smoothly. Additionally, inspecting furniture stability can help identify underlying issues that contribute to squeaking.
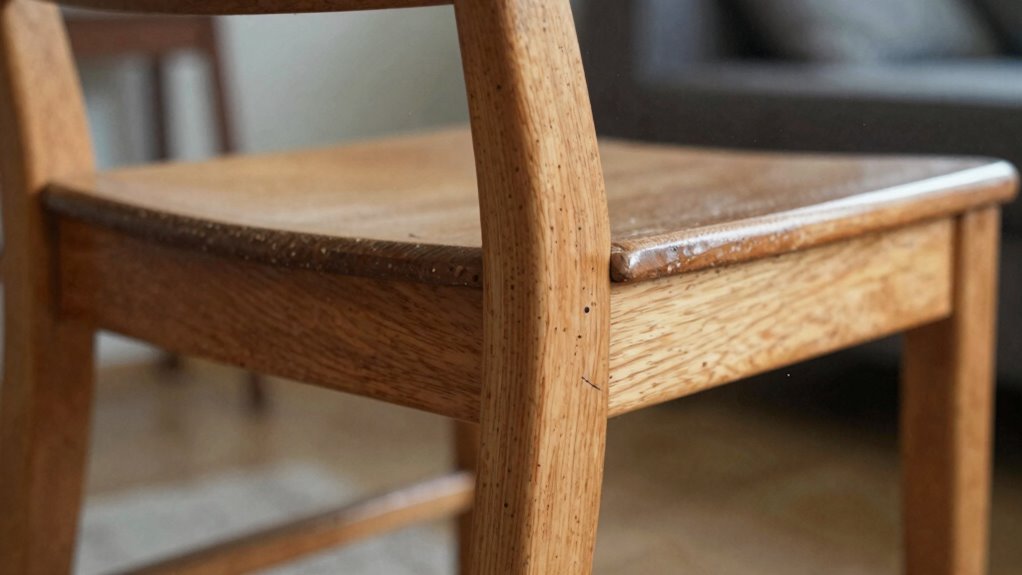
Tap and Listen
Tapping different parts of your furniture is a quick and straightforward way to check for loose joints or weak spots. As you tap, listen for changes in sound resonance; a solid area produces a clear, consistent tone, while a dull or muffled sound indicates a problem. Pay attention to how the material expands and contracts with temperature changes, as this can cause joints to loosen over time. When you tap on the frame, legs, or joints, you might notice a hollow or higher-pitched sound that signals looseness or instability. This simple test helps you identify the specific area causing squeaks, allowing you to focus your efforts on the right spot. Regular tapping and listening can save you time and prevent further damage. Incorporating professional architectural insights can enhance your understanding of furniture stability and durability.
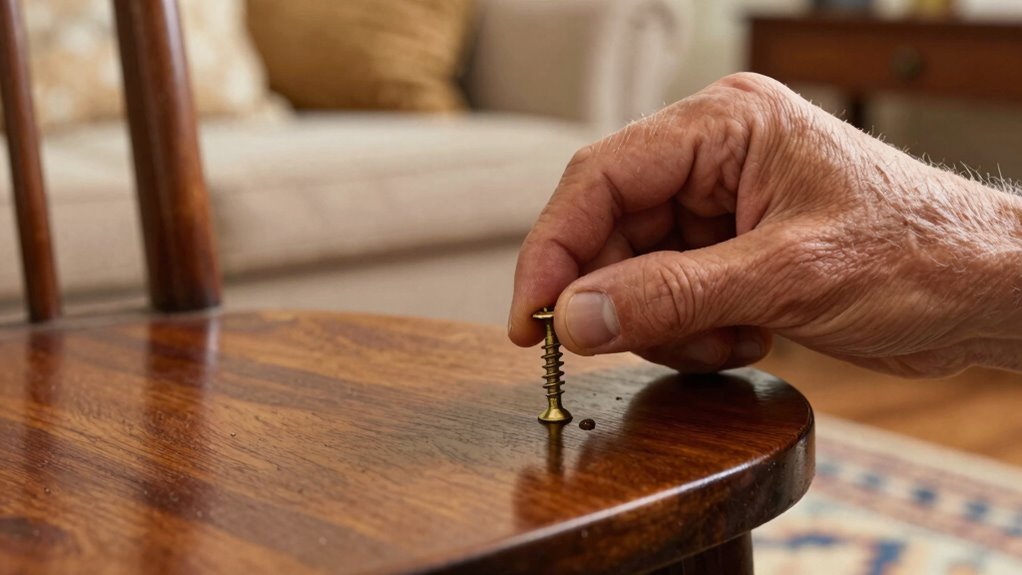
Tighten Joints Securely
If you suspect a loose joint or instability, the next step is to tighten it securely. Start by inspecting the joint closely; loose joints often result from insufficient material tightening. Use a screwdriver or wrench to tighten any screws or bolts, ensuring they’re snug but not over-tightened, which can damage the material or reduce joint stability. For wooden joints, apply a small amount of wood glue or filler if tightening alone doesn’t fully stabilize it. Focus on maintaining proper joint stability by evenly tightening all connecting points. Be cautious to avoid overtightening, which can cause cracks or warping. Once secure, gently test the joint’s firmness by applying light pressure. Proper material tightening restores stability and reduces squeaks caused by loose connections. Additionally, understanding the comparative advantage of different repair methods can help you choose the most effective solution for your furniture.
Check Moving Parts
After tightening joints and ensuring they’re secure, it’s important to check the moving parts of your furniture. First, test each moving component for looseness or squeaks. Here’s what to do:
- Open and close doors or drawers to spot squeaking or resistance.
- Apply hinge lubrication to hinges that creak or stick.
- Inspect sliding parts like drawers or extendable tables for smooth movement.
- Move any adjustable components, ensuring they glide effortlessly without noise.
- Remember that energy-efficient lubricants are better for maintaining your furniture and the environment.
If a component feels stiff or squeaks, lubricate the hinge or moving part directly. Regular maintenance keeps these moving parts functioning quietly and prevents future squeaks. By focusing on these key areas, you’ll identify and fix the source of squeaks quickly.
When to Fix It Yourself or Call in a Professional
Deciding whether to fix squeaky furniture yourself or call in a professional depends on the severity of the issue and your comfort level with repairs. For minor squeaks, a DIY approach often makes sense, especially if you’re comfortable with basic tools and techniques. It’s cost-effective and quick, saving you money on labor fees. However, if the squeak persists despite simple fixes or involves complex structural issues, a professional may be your best bet. The key is weighing DIY vs. professional options based on cost considerations and the potential risk of causing further damage. If you’re unsure or uncomfortable tackling repairs yourself, consulting a furniture repair specialist guarantees the job’s done correctly and safely, avoiding unnecessary frustration or expense. Addressing structural issues early can prevent more extensive damage later.
Tips to Keep Your Furniture Quiet and Squeak-Free
Keeping your furniture quiet and squeak-free often starts with regular maintenance and mindful use. To prevent squeaks, focus on these key tips:
- Apply wood repair techniques to loose joints, tightening screws or using wood glue to stabilize parts.
- Lubricate hinges and moving components with a silicone spray or wax to reduce friction.
- Regularly inspect and tighten bolts and screws to keep everything secure.
- Maintain upholstery by fluffing cushions and avoiding excessive weight, which can cause undue stress on frames.
- Using proper assembly techniques during furniture setup can help prevent early squeaking and prolong the lifespan of your pieces.
Frequently Asked Questions
Can Squeaks Indicate Structural Damage or Just Loose Parts?
Squeaks can indicate either loose joints or potential structural damage. If the squeak is due to loose parts, tightening or re-gluing joints usually solves the issue. However, persistent squeaks that worsen or are accompanied by wobbling might signal compromised structural integrity. It’s important to examine the furniture closely, addressing loose joints promptly to prevent further damage and ensure safety. When in doubt, consult a professional for a thorough assessment.
What Tools Are Essential for Quick DIY Furniture Squeak Repairs?
To fix squeaky furniture quickly, you’ll need a screwdriver set to tighten loose joints and screws, and a lubricant spray to reduce friction causing the noise. First, identify the squeak’s source, then tighten any loose bolts or screws with your screwdriver. Apply lubricant spray to squeaky joints or hinges to silence the noise. These tools make DIY repairs efficient and straightforward, saving you time and money.
How Often Should I Inspect My Furniture for Squeaks?
You should inspect your furniture for squeaks at least every few months as part of preventive maintenance. Regular checks help you catch increased squeak frequency early, indicating loose joints or worn components. By staying proactive, you can address issues promptly, preventing more extensive damage. Frequent inspections also make quick DIY repairs easier, saving you time and money while keeping your furniture in good shape.
Are Certain Furniture Materials More Prone to Squeaking?
Certain furniture materials are more prone to squeaking, especially wood and particleboard, due to their natural or manufactured structure. You’ll notice higher squeak frequency with these materials, particularly in joints and moving parts. If your furniture is made of metal or plastic, squeaks are less common but can still occur. Regular inspections and applying appropriate lubricants can help reduce squeak frequency, keeping your furniture quieter and longer-lasting.
How Long Does It Typically Take to Eliminate a Squeak Completely?
Like a detective in a mystery novel, you can often eliminate squeaks in a matter of minutes with step-by-step troubleshooting and testing squeak sources. Usually, it takes about 15 to 30 minutes to identify and fix the issue, but complex cases may need more time. Patience and methodical testing guarantee you find the root cause, leading to a squeak-free piece of furniture you can enjoy quickly.
Conclusion
Now that you know how to identify the squeak’s source, you’re better equipped to fix it quickly. Sometimes, a simple tighten or lubricant does the trick, while other times, calling in a pro is the best move. With this knowledge, you’ll find the cause almost by accident—like discovering a hidden clue. Keep your furniture quiet and your space peaceful, and enjoy the little victories of a squeak-free home.