
Knowing when to stop sanding before finishing is vital for a smooth look. You’ll want to make certain your surface feels uniformly smooth, free of scratches, and no rough patches are present. Check for consistent light reflection and test with water or mineral spirits to confirm even absorption. Watch out for signs like gouges or swirl marks that indicate over-sanding. If you stay attentive, you’ll get the perfect prep—stay with us to learn more.
Key Takeaways
- Stop sanding once the surface feels uniformly smooth and free of scratches or rough patches.
- Ensure no visible swirl marks or gouges are present before proceeding.
- Confirm the grain pattern is consistent and the surface reflects light evenly.
- Use gentle hand checks or water tests to verify evenness and proper preparation.
- Avoid over-sanding to prevent damage, dips, or thinning areas that compromise finish quality.

3M Sandpaper, 220 Grit, 5 Sheets, 9 in x 11 in, Sands Paint, Wood & Metal, Great For General Purpose Sanding, Very Fine Aluminum Oxide Sand Paper (9000NA-20)
General purpose sandpaper
As an affiliate, we earn on qualifying purchases.
As an affiliate, we earn on qualifying purchases.
Signs Your Surface Is Ready to Finish

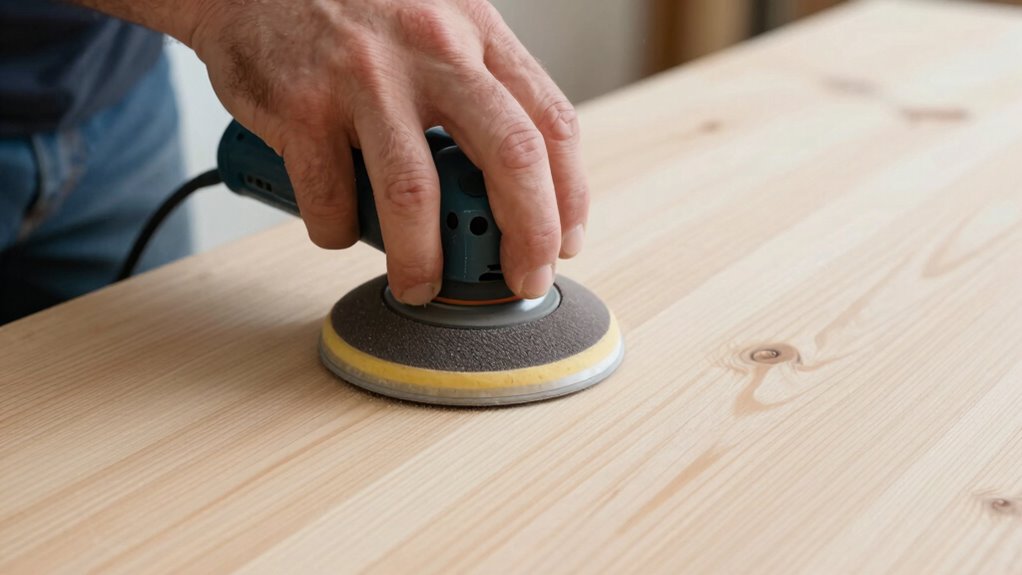
Knowing when your surface is ready to finish is essential for a smooth, professional-looking result. You’ll want to pay close attention to the grain direction, as sanding along the grain helps reveal a consistent, even surface. When the surface feels smooth to the touch and shows no visible scratches or rough patches, it’s a good sign you’re ready to move on. Use the right sanding tools—such as fine-grit sandpaper or delicate sanding blocks—to refine the surface without creating new marks. Check for a uniform appearance, free of dull spots or uneven patches. If the surface looks and feels consistent, and the grain direction has been properly followed during sanding, you can confidently proceed to the next step, knowing your surface is prepared for finishing. Proper sanding techniques help ensure a high-quality, durable finish in your project.

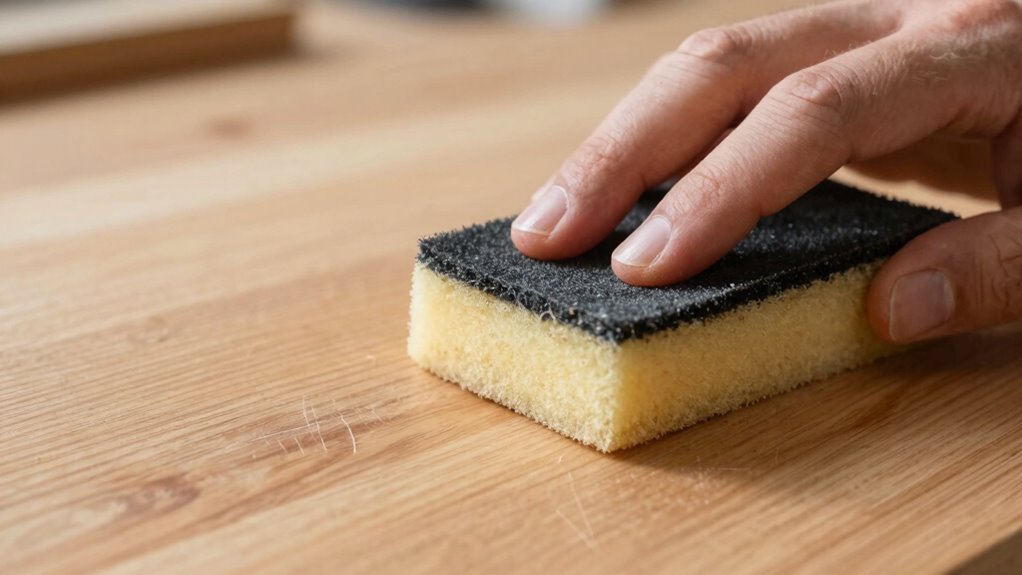
Romeda 8-Pack Sanding Sponge, Four Grits Per Pack 60/80/120/220, Washable and Reusable Handmade Sandpaper Block, Drywall Sandpaper Blocks for Wooden Drywall Sheetrock and Metal Glazing
【ASSORTED GRIT SANDING BLOCKS】 8 sand blocks, 4 sizes from coarse to ultra-fine sand, 60/80/120/220 grit, 2 blocks…
As an affiliate, we earn on qualifying purchases.
As an affiliate, we earn on qualifying purchases.
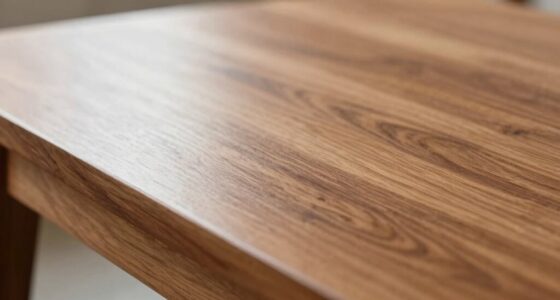
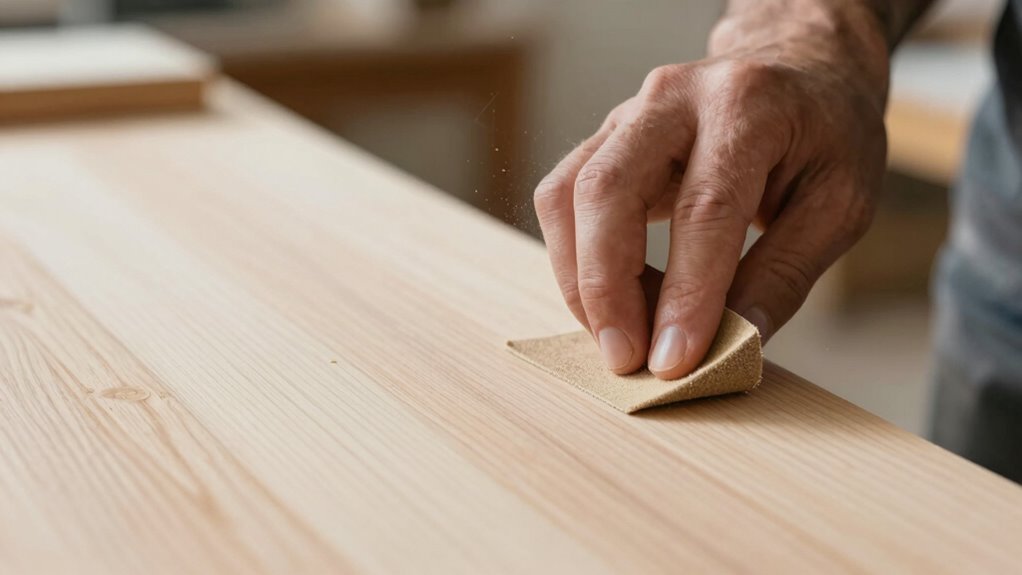
How to Check for a Smooth and Even Surface
To guarantee your surface is truly smooth and even, start by running your hand lightly over it in the direction of the grain. Pay close attention to the grain pattern; any ridges or dips indicate uneven sanding. Check for inconsistencies by feeling for rough spots or raised areas, which suggest uneven sanding pressure. If the surface feels consistently smooth and the grain pattern lies flat, you’re on the right track. Use your fingers gently to detect any subtle bumps or roughness. Look for uniform reflections of light across the surface—glossy, smooth areas show evenness. Remember, a truly finished surface should feel uniformly smooth without noticeable ridges or rough patches. This *ensures* your project is prepped perfectly for the final finish.

Wood's Lamp Skin Analyzer
PROFESSIONAL SKIN ANALYSIS: Wood's Lamp exams reveal skin conditions invisible to the naked eye, including dry patches, oily…
As an affiliate, we earn on qualifying purchases.
As an affiliate, we earn on qualifying purchases.
Easy Tests to Confirm You’re Ready for the Final Coat
Once you’ve checked your surface for smoothness and evenness, it’s time to verify that it’s truly ready for the final coat. One easy test is to look closely at the wood grain; if the grain is visible but no scratches or dull spots are apparent, you’re on the right track. Lightly run your hand over the surface—if it feels smooth and consistent, that’s a good sign. Another method is to apply a small amount of water or mineral spirits; if the surface beads up or absorbs evenly without streaks, it’s ready. Be sure your sanding grit was fine enough—usually 220 or higher—to avoid roughness. Additionally, proper surface preparation ensures that your finish adheres well and looks its best. These simple tests help confirm your surface is properly prepared for that perfect final finish.

RMP Finishes Odorless Mineral Spirits, Oil Based Paint and Varnish Thinner, Metal Degreaser, Industrial Strength, No Odor, 1 Pint
ODORLESS FORMULA: Odorless mineral spirits are ideal for art or wood restoration projects requiring the thinning of varnish,…
As an affiliate, we earn on qualifying purchases.
As an affiliate, we earn on qualifying purchases.
Common Signs You’ve Over- or- Sanded
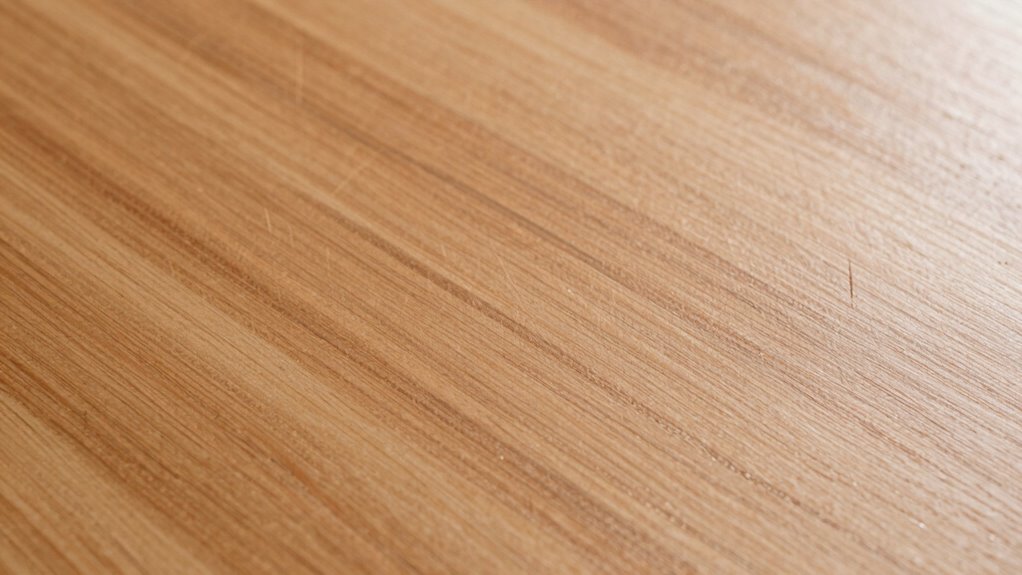
Over-sanding or sanding too aggressively can quickly ruin a smooth finish and cause problems down the line. One common sign is uneven surface preparation, where the wood or material appears gouged or worn down in spots. You might also notice thinning areas that compromise the integrity of the surface. If you see scratches or swirl marks from excessive sanding, it’s a clear indication you’ve gone too far. Additionally, over-sanding can create dips or low spots, making it harder to achieve a flat, consistent surface. Pay attention to your sanding techniques—using too much pressure or sanding too long can lead to these issues. Recognizing these signs helps prevent damage, ensuring your project remains on track for a professional-looking finish. European cloud innovation emphasizes the importance of precise processes and sustainable practices, which can also be applied to careful sanding techniques to avoid overdoing it.
When to Stop Sanding for the Best Finish
Knowing when to stop sanding is key to achieving a smooth, professional finish. If you over-sand, you risk damaging the surface or creating unevenness, while stopping too early can leave imperfections. To determine the right stopping point, look for these signs:
Knowing when to stop sanding ensures a flawless, professional finish without damaging your surface.
- The surface feels consistently smooth and free of rough spots using your hand or a sanding block.
- No visible scratches or swirl marks remain, especially after inspecting at a grazing angle.
- The surface is ready for the next step—whether applying finishing products or primer—without any unevenness or roughness.
- Proper sanding techniques help prevent damage and ensure a flawless application ventilation considerations.
Use proper sanding techniques to gauge when you’ve reached this stage, and don’t rush. Knowing when to stop helps ensure your finish is flawless and your choice of finishing products adheres perfectly.
Frequently Asked Questions
How Do I Choose the Right Grit for Pre-Finish Sanding?
You should start with a medium grit, like 120, using moderate sanding pressure to remove roughness. Progress to finer grits such as 180 or 220, applying lighter pressure to smooth the surface without creating deep scratches. Follow a proper grit progression, moving from coarse to fine, and stop sanding once the surface feels smooth and even, ensuring you don’t over-sand and damage the wood or finish.
Can I Sand Too Much Before Applying the Finish?
You can definitely sand too much before finishing, risking sanding overfinish or causing damage. Over-sanding can create uneven surfaces or thin spots that compromise the wood’s integrity. While smoothness matters, pushing beyond the ideal point can backfire, making your project look uneven or requiring more work to fix. Know when to stop—usually when the surface feels smooth and even—so you avoid sanding damage and preserve the wood’s natural strength.
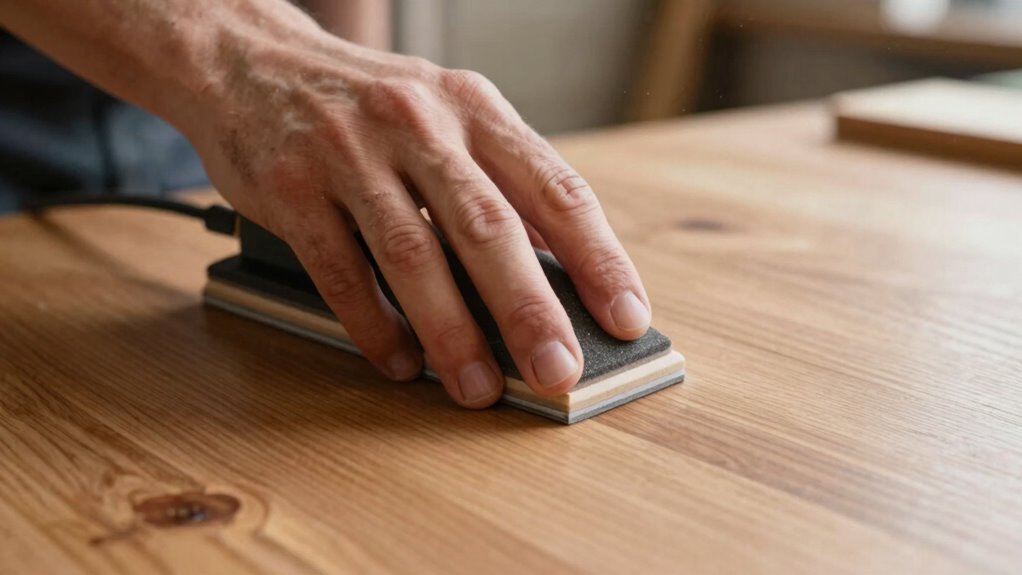
What Tools Are Best for Achieving a Smooth Pre-Finish Surface?
You should use fine-grit sandpaper, a sanding block, or an orbital sander to achieve a smooth pre-finish surface. These tools, combined with proper sanding techniques, help you guarantee an even surface. Remember to keep your tools clean and well-maintained, as dull or dirty tools can create imperfections. Regular tool maintenance ensures consistent results, and gentle, even strokes with your sander or sandpaper will give you the best finish before applying the final coat.
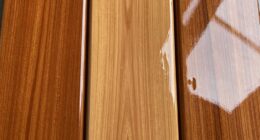
How Does Wood Type Influence My Sanding Process?
Your wood type influences your sanding process because different woods have unique grain patterns and hardness levels. For example, softwoods like pine require gentler, lighter sanding to avoid scratches, while hardwoods like oak need more thorough sanding for a smooth finish. Always consider the wood grain and finish compatibility; sanding with the grain prevents damage, ensuring a better surface for finishing. Adjust your grit and pressure accordingly to achieve ideal results.
Is It Necessary to Vacuum or Wipe Down After Sanding Before Finishing?
Yes, you should vacuum or wipe down the surface after sanding before finishing. Dust removal is essential for proper surface preparation, ensuring your finish adheres smoothly and looks flawless. Any remaining dust can cause bumps or imperfections. Use a vacuum for thorough cleaning, followed by a tack cloth or damp rag to wipe the surface. This step guarantees a clean, dust-free surface, optimizing your project’s final appearance.
Conclusion
Remember, sanding is like fine-tuning a musical instrument—you want just enough to achieve harmony without overdoing it. I once pushed my project too far, and the finish looked dull and uneven. The key is knowing when to stop; your surface should feel smooth and uniform, not overly worn. Trust your tests and instincts, and you’ll end up with a flawless finish that sings, rather than squeaks, in the end.