Proper surface prep is key to preventing paint from peeling. Start by cleaning your surface thoroughly to remove dirt and grease, then sand lightly to create a smooth, rough surface for better adhesion. Fix any cracks, holes, or peeling areas before applying primer. Use the right primer for your surface type and apply it in thin, even coats. Well-prepared surfaces and correct primer use lead to long-lasting, bubble-free paint finishes—learn more for flawless results.
Key Takeaways
- Proper surface cleaning and removal of dirt, grease, and loose paint ensure better primer adhesion.
- Sanding the surface lightly creates a smooth, roughened texture for the primer to bond effectively.
- Filling cracks, holes, and surface flaws prevents future peeling and provides a uniform base.
- Choosing the correct primer type for the surface (e.g., bonding primer for slick surfaces) enhances adhesion.
- Allowing adequate drying time and applying thin, even coats of primer reduce the risk of bubbling and peeling.

Zinsser 286258 Bulls Eye 1-2-3 All Surface Primer, Quart, Gray
Interior/Exterior use on new or previously painted drywall, concrete, wood, masonry, metal and glossy or difficult surfaces
As an affiliate, we earn on qualifying purchases.
As an affiliate, we earn on qualifying purchases.
Why Proper Surface Prep Prevents Peeling and Bubbles

Proper surface preparation is essential because it guarantees the paint adheres correctly and lasts longer. When you prepare the surface properly, you improve paint durability and ensure it stays intact over time. A clean, smooth surface promotes better surface adhesion, reducing the risk of peeling and bubbling. Dirt, grease, or loose paint can create weak spots, causing the new coat to lift or form bubbles as it dries. By removing these contaminants and fixing surface flaws, you create an ideal bonding environment. This not only enhances the appearance but also protects your investment. Skipping proper prep may save time initially, but it leads to costly repairs later. Investing in good surface prep ultimately results in a more durable, professional-looking finish that resists peeling and bubbling. Using high-quality primers can further enhance adhesion and longevity of the paint.

Romeda 8-Pack Sanding Sponge, Four Grits Per Pack 60/80/120/220, Washable and Reusable Handmade Sandpaper Block, Drywall Sandpaper Blocks for Wooden Drywall Sheetrock and Metal Glazing
【ASSORTED GRIT SANDING BLOCKS】 8 sand blocks, 4 sizes from coarse to ultra-fine sand, 60/80/120/220 grit, 2 blocks…
As an affiliate, we earn on qualifying purchases.
As an affiliate, we earn on qualifying purchases.
How to Assess and Fix Surface Imperfections Before Painting
Before you start painting, it’s vital to spot any surface flaws that could affect the finish. Make certain to clean and sand the area thoroughly to create a smooth, even surface. If you find damaged spots, repair them properly to guarantee your paint adheres perfectly and looks great. Paying attention to surface preparation ensures the longevity and quality of your paint job.
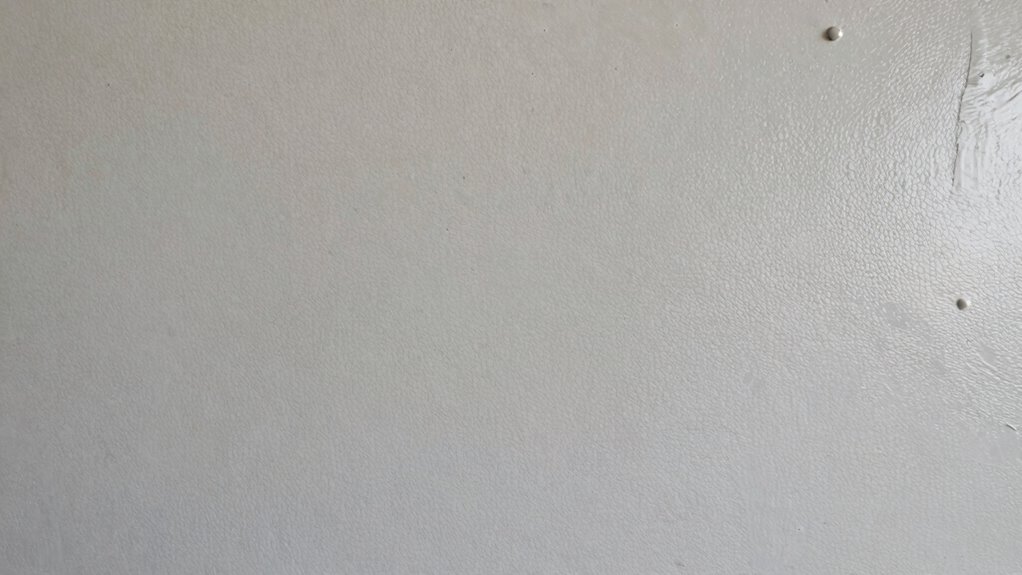
Identifying Surface Flaws
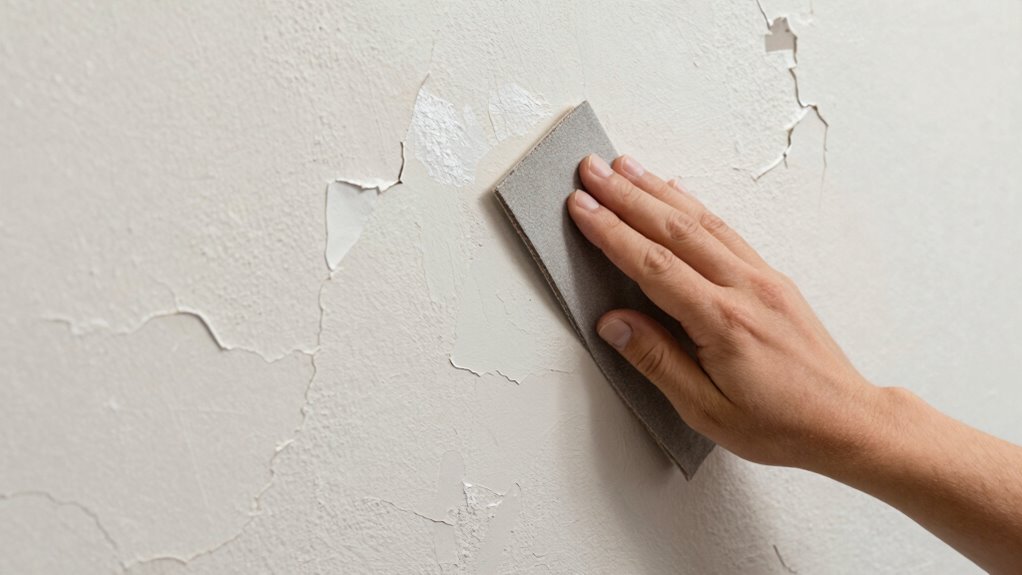
Evaluating surface imperfections is an essential step to guarantee a smooth, professional-looking paint job. Begin by inspecting the surface closely for any surface flaws that could affect adhesion or appearance. Look for cracks, chips, or dents, as well as uneven surface texture, which can cause paint to peel or look patchy. Run your hand over the surface to feel for rough patches or bumps. Pay attention to areas where previous paint may be peeling or blistering. Identifying these imperfections early allows you to address them properly. Small surface flaws can often be fixed with simple sanding or filling, while larger issues might require more extensive repairs. Properly assessing the surface ensures your primer and paint will adhere evenly and last longer.
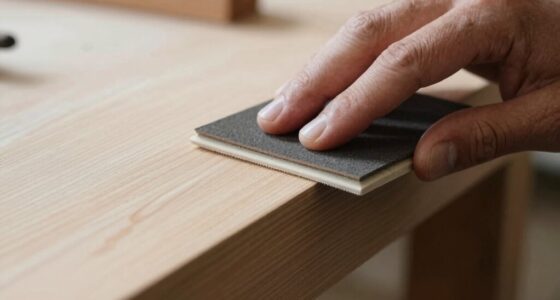
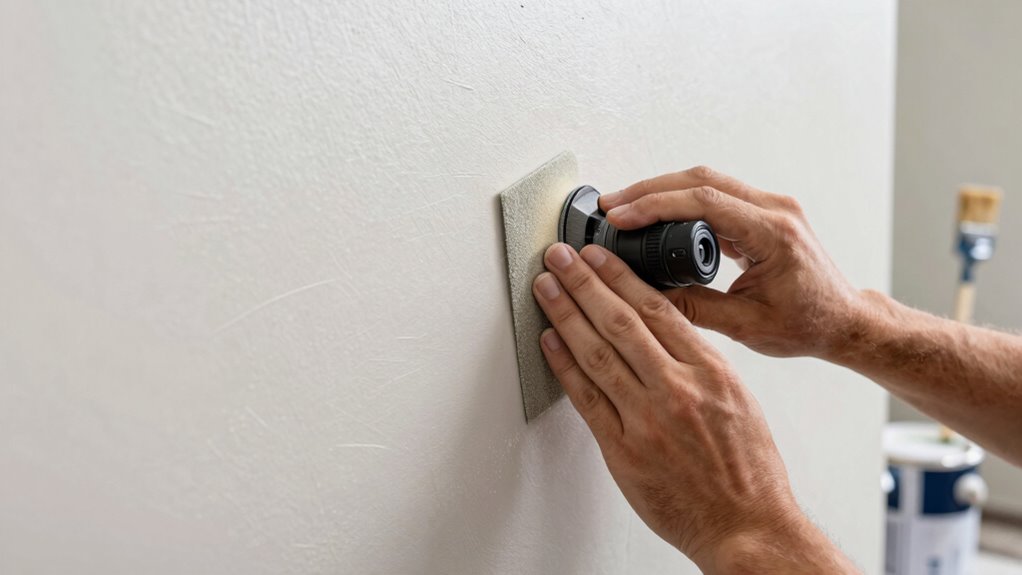
Cleaning and Sanding Properly
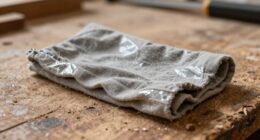
To make certain your surface is ready for a flawless paint job, start by thoroughly cleaning it to remove dirt, grease, and loose paint. Surface contaminants like grease or oils can prevent primer adhesion, so use a degreaser or mild soap and water to clean the area. After cleaning, ensure dust removal by wiping down the surface with a damp cloth or tack cloth to pick up any residual dust. Proper sanding is essential to smooth out imperfections and create a good bonding surface. Use fine-grit sandpaper to lightly scuff the surface, especially around rough spots or uneven areas. Always remove sanding dust thoroughly before applying primer. This careful cleaning and sanding set the foundation for a long-lasting, professional-quality paint job. Additionally, understanding Gold IRA Markets can help investors explore secure retirement options with tangible assets.
Repairing Damaged Areas
Inspect your surface carefully to identify any imperfections such as cracks, holes, dents, or peeling paint. Look for wall cracks that could worsen over time and surface staining that may indicate underlying issues. Repair small cracks with a high-quality filler, making sure they’re smooth and level with the surrounding wall. For larger cracks or holes, use a patching compound and sand it smooth once dry. Address surface staining by cleaning the area thoroughly and applying a stain-blocking primer if needed. Dents should be filled and sanded to create an even surface. Properly repairing these imperfections before painting prevents future peeling and ensures a clean, professional finish. Taking the time to fix damage now saves you from costly touch-ups later. Additionally, assessing the surface’s surface preparation early on helps identify potential issues like moisture intrusion that could compromise the paint’s adhesion over time.
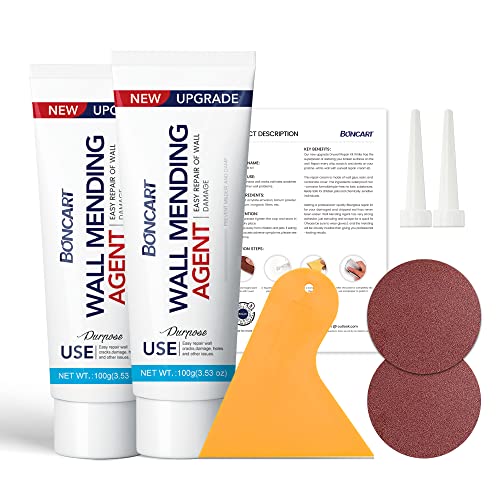
Drywall Repair Kit,2 Pack Wall Mending Agent,Wall Spackle with Scraper, Wall Surface Hole Fill Quick and Easy Solution
The drywall repair kit includes 2x Wall mending agent (100g), 2x Nozzle Extender, 1x Scrapers, and 2x Sandpaper.
As an affiliate, we earn on qualifying purchases.
As an affiliate, we earn on qualifying purchases.
Choosing the Best Primer for Your Surface Type
Choosing the right primer depends on ensuring surface compatibility and strong adhesion. You need to match the primer type to your surface and properly prepare it for ideal results. By understanding these factors, you can select a primer that provides a solid foundation for your paint. Incorporating visual and auditory cues can also enhance your understanding of surface preparation techniques.
Surface Compatibility and Adhesion
Choosing the appropriate primer is crucial because it guarantees your paint will adhere properly and last longer. Surface compatibility ensures the primer bonds well, preventing peeling and ensuring durability. For ideal adhesion, match the primer to your surface type—wood, drywall, metal, or masonry. Keep in mind that primer drying time varies; rushing can compromise adhesion. Additionally, consider paint color coordination—some primers can influence the final color or hide stains. Use this table to select the right primer:
| Surface Type | Recommended Primer | Notes |
|---|---|---|
| Wood | Oil-based or latex | Prevents bleed-through, improves adhesion |
| Metal | Bonding primer | Stops rust, enhances durability |
| Masonry | Masonry primer | Seals porous surfaces, prevents efflorescence |
| Drywall | PVA primer | Hides stains, quick drying |
| Previously painted | Stain-blocking primer | Ensures adhesion over glossy surfaces |
Choosing the right primer is also essential for surface preparation, ensuring the coated surface remains intact over time.
Surface Preparation and Primer Type
To guarantee your paint adheres properly and lasts longer, preparing the surface before priming is essential. Selecting the right primer depends on your surface’s paint texture and material. For smooth surfaces, a bonding primer ensures strong adhesion, especially on glossy or slick finishes. If you’re working with porous surfaces like drywall or plaster, choose a primer compatible with these textures to prevent peeling and ensure even coverage. For surfaces with existing paint, verify primer compatibility to avoid mismatched ingredients that might cause peeling or uneven wear. Always clean and dry your surface thoroughly before applying primer. This preparation helps the primer bond effectively, sealing the surface and creating an ideal foundation for your topcoat. Proper surface prep with the right primer type guarantees a durable, lasting finish. Additionally, incorporating connected fitness technology into your routine can help maintain the motivation and discipline needed for consistent home improvement projects.

Prevention Ready-To-Use Disinfectant Cleaner – Surface Disinfecting & Cleaning Solution for Salons, Spas, Clinics – Hospital Grade, Gallon Refill – 1 Gallon (1 Pack)
Easy To Use – This ready-to-use spa and salon disinfectant solution does not require any mixing or diluting,…
As an affiliate, we earn on qualifying purchases.
As an affiliate, we earn on qualifying purchases.
Cleaning and Sanding Surfaces for Better Primer Adhesion
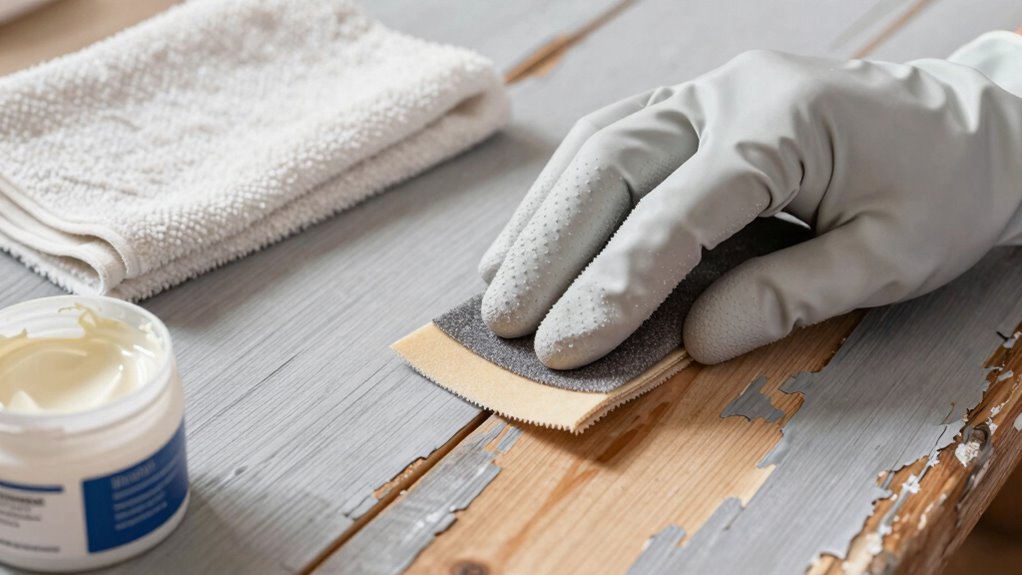
Before applying primer, it’s essential to thoroughly clean and sand the surface to guarantee ideal adhesion. Proper cleaning removes dirt, grease, and dust that can interfere with the primer’s grip. Sanding smooths out surface texture irregularities and creates a slightly rough surface, helping the primer bond better. Keep moisture control in mind—wait until surfaces are dry to prevent peeling or bubbling later. Additionally, considering water resistance can help ensure long-lasting paint adhesion, especially in humid environments.
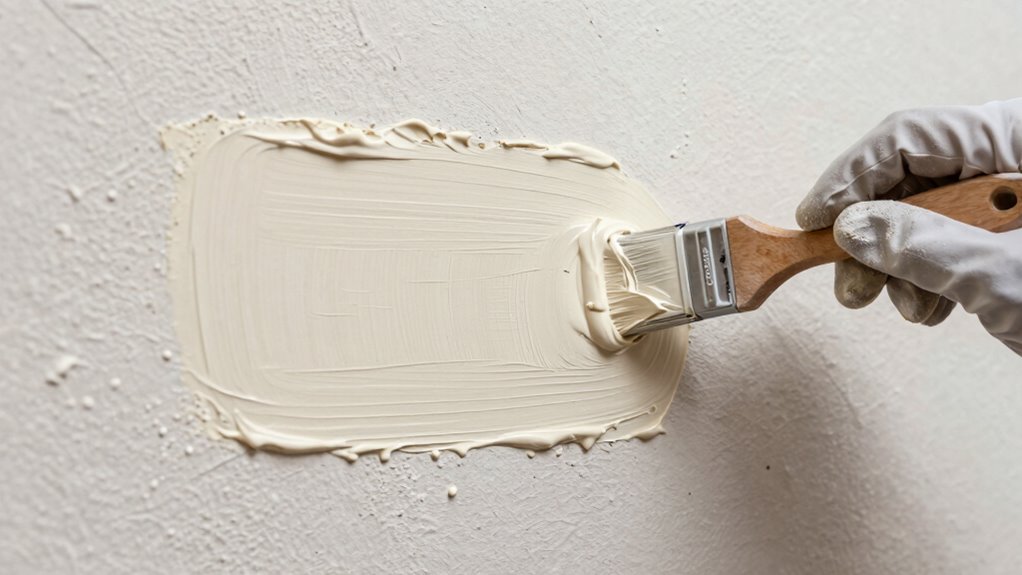
Step-by-Step Guide to Applying Primer Correctly

Applying primer properly starts with preparing your surface using the right techniques to guarantee adhesion. Next, follow specific application tips to achieve a smooth, even coat. Mastering these steps helps your paint job last longer and look better. Incorporating a quality gelato-like texture in your primer can also improve its bonding properties, ensuring a more durable finish.
Surface Preparation Techniques
Proper surface preparation is essential for ensuring that your primer adheres smoothly and effectively. Before applying primer, inspect your surface for imperfections like holes, cracks, or peeling paint. Use a scraper or sandpaper to smooth out rough areas, paying attention to texture patterns that could affect the finish. Clean the surface thoroughly to remove dust, grease, and debris, which can interfere with adhesion. For surfaces with multiple colors, ensure color matching so primer provides a uniform base. If necessary, apply a stain-blocking primer to prevent bleed-through. By preparing the surface properly, you create an even, receptive foundation for the primer, which ultimately prevents peeling and extends the life of your paint job. Additionally, understanding surface adhesion principles can help you choose the right primer and application techniques for lasting results.
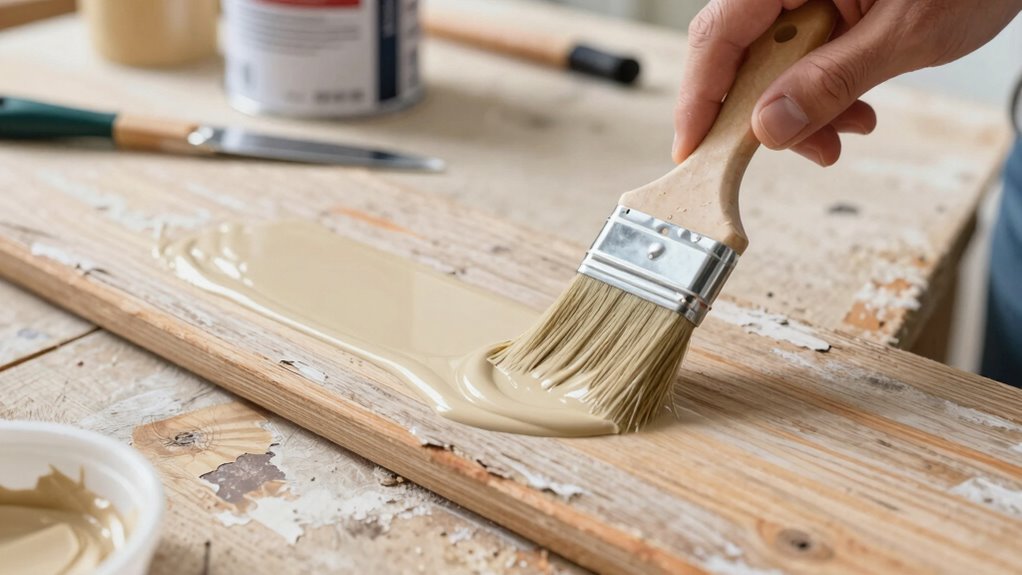
Primer Application Tips
To achieve a smooth, even coat, start by stirring your primer thoroughly to guarantee consistency. Proper primer consistency guarantees it applies evenly and adheres well. Use a high-quality brush or roller suited for your surface, and avoid overloading them. Apply the primer in thin, even coats, working in manageable sections. Pay attention to the drying time specified on the product label—rushing the process can lead to uneven coverage or peeling later. Allow each coat to dry completely before applying the next. If needed, lightly sand the surface after drying to remove any imperfections and improve adhesion. Following these primer application tips helps ensure a uniform base, reduces the risk of peeling, and promotes a professional-looking finish.
Common Primer Application Mistakes and How to Avoid Them
Have you ever rushed through primer application only to face peeling paint or uneven coverage later? Common mistakes can undermine your project. One mistake is choosing the wrong primer color, which can affect the final look, especially if you’re applying a tinted primer vs paint. Another is applying too thick an even coat, leading to drips and bubbles. Finally, skipping surface prep or not letting the primer dry properly can cause adhesion issues. To avoid these pitfalls, always select the right primer vs paint for your project, follow manufacturer instructions, and apply thin, even coats. Proper surface prep and patience are key to a flawless finish that prevents peeling and ensures your paint job lasts.
Tips for Even Primer Coverage and Bubble-Free Finish

Achieving even primer coverage and a bubble-free finish starts with surface preparation. To prevent uneven primer thickness, apply thin, even coats, avoiding overloading your brush or roller. Proper technique ensures the primer spreads smoothly and reduces the chance of drips or thick spots. Allow adequate drying time between coats; rushing this step can trap bubbles or create an uneven surface. Check the manufacturer’s recommended drying time, and don’t skip sanding lightly if needed, as it helps smooth out any imperfections. Keep your tools clean for a uniform application. By paying attention to primer thickness and respecting drying times, you’ll promote better adhesion and a flawless finish. This careful approach minimizes bubbles and ensures your primer creates a solid base for the topcoat.
How Surface Damage Affects Primer Performance and Longevity

Surface damage, such as cracks, holes, or peeling paint, can considerably compromise primer adhesion and durability. When the surface is damaged, contaminants like dirt, grease, or old paint residues can interfere with the primer’s ability to bond properly. Moisture issues, including dampness or leaks, can cause the primer to fail prematurely or peel over time. Damaged surfaces often trap moisture, leading to mold or paint failure later on. To prevent these issues, it’s essential to address surface damage before priming.
- Remove loose paint and fill cracks or holes for a smooth surface
- Clean thoroughly to eliminate surface contamination
- Ensure moisture issues are resolved to prevent future peeling
Troubleshooting Peeling and Bubbles After Primer
Peeling and bubbles after applying primer often indicate underlying issues that need addressing. Surface contamination, such as dust, grease, or oil, prevents proper adhesion, leading to bubbling. Make sure to thoroughly clean and degrease the surface before priming. Moisture issues can also cause bubbles or peeling, especially on exterior surfaces or in humid environments. Check for signs of trapped moisture and allow the surface to dry completely before applying primer. If moisture or contamination is present, you may need to sand the area lightly, clean it again, and wait for it to dry fully. Using a high-quality primer suitable for your surface type can also help prevent these issues. Proper surface preparation is key to avoiding peeling and bubbles after priming.
Final Tips for a Smooth, Lasting Paint Job
To guarantee your paint job looks great and lasts for years, paying attention to a few final details can make all the difference. First, ensure proper ventilation to minimize paint fumes, especially if you’re working indoors. This not only keeps the air safer but also helps paint cure evenly. Next, take your time with color matching; a perfect match prevents touch-ups from standing out. Finally, smooth out any drips or brush marks before the paint fully dries to achieve a professional finish. Remember, patience during cleanup and curing phases results in a longer-lasting, flawless surface. Keeping these tips in mind will help you enjoy vibrant, durable results that stand the test of time.
Frequently Asked Questions
How Long Should Primer Dry Before Painting?
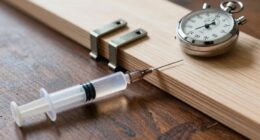
You should wait for the primer to dry completely before painting, which typically takes about 1 to 4 hours depending on the product and environmental conditions. Keep in mind the drying time can vary, so check the manufacturer’s instructions. Allow for a curing period of at least 24 hours if recommended, ensuring the primer fully bonds and prevents peeling. Rushing this step may compromise your paint job’s longevity.
Can I Use Primer Over Existing Paint or Wallpaper?
Ever wondered if you can use primer over existing paint or wallpaper? Yes, you can, but you need to check primer compatibility first. For wallpaper preparation, make sure the surface is clean, smooth, and free of peeling. Using the right primer helps seal the surface and improves adhesion for your new paint. Always follow manufacturer instructions to prevent issues like peeling or bubbling, and enjoy a flawless finish!
What Environmental Factors Affect Primer Adhesion?
Environmental factors like moisture interference and surface contaminants can considerably affect primer adhesion. If there’s high humidity or moisture, the primer might not stick properly, leading to peeling later. Likewise, dirt, grease, or other contaminants on the surface prevent the primer from bonding effectively. To guarantee good adhesion, you should work in dry conditions, clean the surface thoroughly, and avoid applying primer when environmental conditions aren’t ideal.
Are There Eco-Friendly Primer Options Available?
Think of eco-friendly primers as gentle rain nourishing your walls instead of harsh chemicals. Yes, there are natural paint primers and eco-friendly primers that reduce environmental impact without sacrificing quality. These options contain biodegradable ingredients and fewer volatile organic compounds, making them safer for you and the planet. Choosing such primers helps protect your indoor air quality while ensuring your paint adheres well and lasts longer, much like a sturdy foundation for a beautiful home.
How Do I Remove Excess Primer for a Smooth Finish?
To remove excess primer for a smooth finish, start by letting it dry completely. Use fine-grit sanding techniques, like 220-grit sandpaper, to gently sand down thick areas. Focus on maintaining an even primer thickness across the surface. Be careful not to sand too hard, which can damage the surface. Wipe away dust with a damp cloth before applying your paint, ensuring a sleek, professional look.
Conclusion
By properly prepping your surface and applying primer carefully, you set the foundation for a flawless paint job that lasts. Skipping these steps might save time now, but peeling and bubbles will cost you later. Are you ready to enjoy a smooth, professional finish that truly stands the test of time? Take your time with surface prep, choose the right primer, and follow these tips—you’ll be glad you did when your paint looks perfect for years to come.