
Burnishing wood often outperforms sandpaper by compressing fibers and creating a smooth, glossy finish without removing surface material. It’s ideal when you want a polished look that enhances natural grain and maintains surface integrity. You should choose burnishing for a high-shine effect on softer woods or delicate surfaces. Using proper tools and techniques, you can achieve professional results by focusing on fiber compression, which the next steps will help you master.
Key Takeaways
- Burnishing compresses wood fibers for a high-gloss, smooth finish without removing material, unlike sandpaper.
- It is ideal for achieving a polished look on softer woods or delicate surfaces where material removal risks damage.
- Burnishing enhances natural wood grain and increases sheen, providing a more refined appearance than sanding.
- It creates a uniform surface by filling tiny pores and smoothing imperfections through friction.
- Combining burnishing with fine sanding yields a superior, durable finish that emphasizes natural beauty.

Aliotech Professional Round Head Leather Edge Burnish Kit Ebony Wood Leather Edge Burnisher Tool for Burnishing Leather Hand Making Projects by Alitech
Aliotech Package includes one unit of Ebony Edge Burnisher Tool for Burnishing Leather Projects
As an affiliate, we earn on qualifying purchases.
As an affiliate, we earn on qualifying purchases.
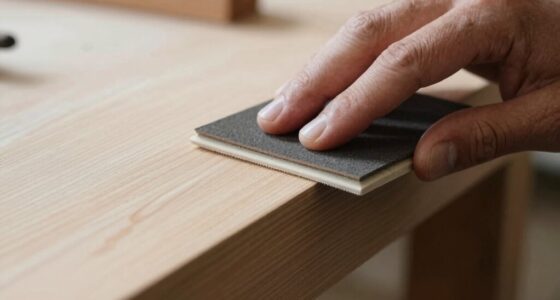
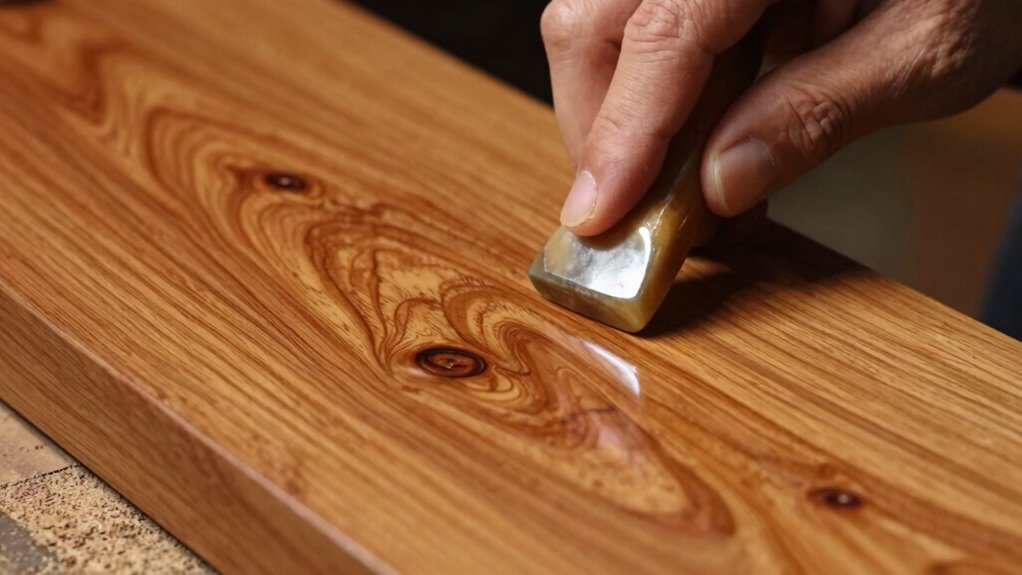
Why Burnishing Often Outperforms Sandpaper for a Smooth Finish
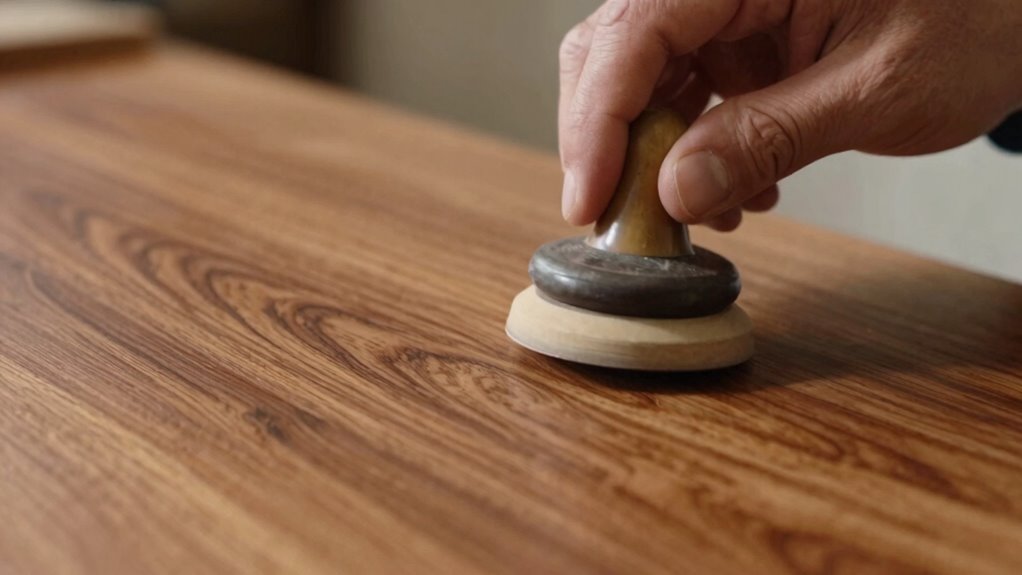
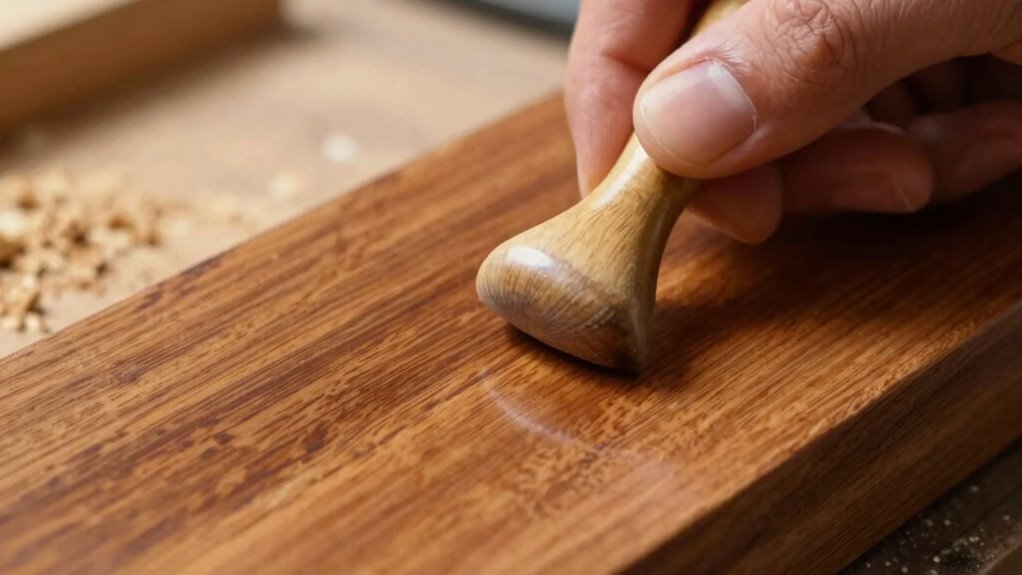
Have you ever wondered why burnishing can produce a smoother finish than sandpaper? It’s because burnishing compresses the wood grain fibers, creating a tighter, more uniform surface. Unlike sandpaper, which abrades and removes material, burnishing works by polishing the surface, enhancing the natural wood grain’s appearance. This process increases the finish sheen, giving your project a polished, professional look without the dullness that sometimes comes from sanding. Burnishing also helps fill tiny pores and smooth out imperfections, resulting in a more consistent texture. Because it relies on friction rather than abrasive particles, burnishing preserves the wood’s integrity and enhances its natural beauty. Additionally, understanding the importance of surface preparation can help you achieve better results when burnishing. Overall, burnishing offers a refined, glossy finish that’s often superior to what sandpaper can achieve on its own.

Straight Blade Steel Burnisher 6-1/4" with Hardwood Handle – Jewelry Setting, Polishing & Stone Burnishing Tool for Jewelers
Straight Burnisher
As an affiliate, we earn on qualifying purchases.
As an affiliate, we earn on qualifying purchases.
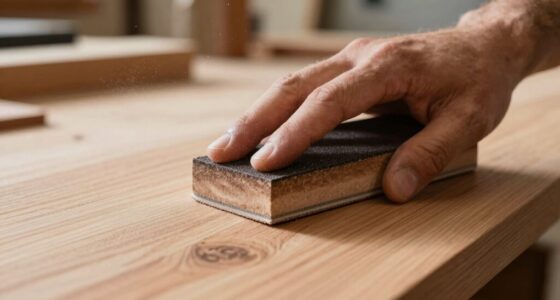
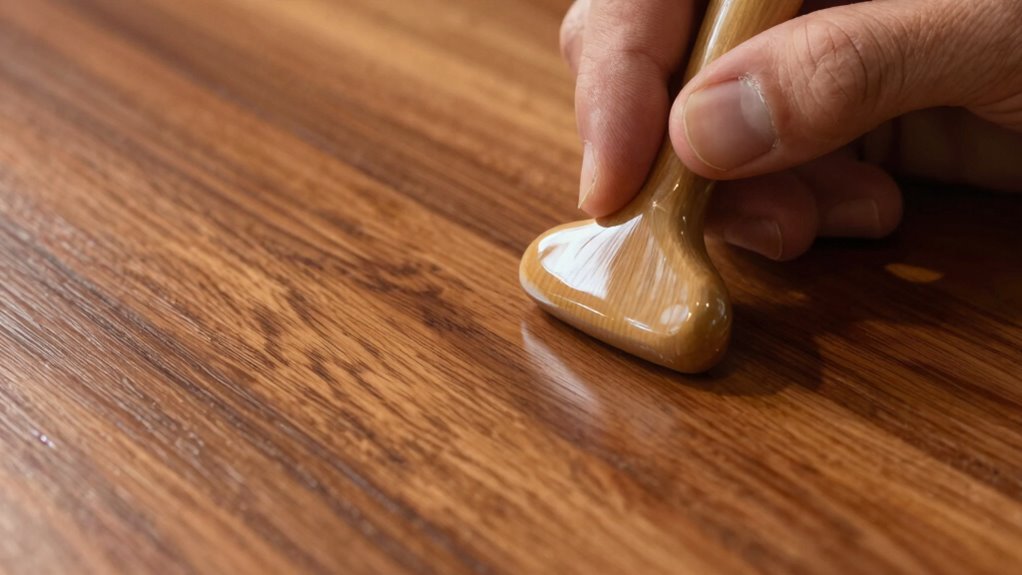
When Should You Choose Burnishing Over Sanding? Key Factors to Know
Choosing burnishing over sanding depends on several key factors, especially when you want a smooth, glossy finish without removing much material. If your goal is to enhance the wood grain’s natural beauty while maintaining surface durability, burnishing is ideal. It’s particularly useful on softer woods or thin surfaces where aggressive sanding might cause damage or unevenness. Burnishing also works well when a high-gloss, reflective surface is desired, as it compacts the fibers and creates a sleek, polished look. Additionally, burnishing can improve the adhesion of finishes by creating a smoother surface for finishing. However, if you need to remove roughness, deep scratches, or uneven layers, sanding remains the better option. Ultimately, consider the wood’s properties, the desired finish, and how much material you’re willing to remove to decide whether burnishing or sanding suits your project best.
Aliotech Professional Round Head Leather Edge Burnish Kit Ebony Wood Leather Edge Burnisher Tool for Burnishing Leather Hand Making Projects by Alitech
Aliotech Package includes one unit of Ebony Edge Burnisher Tool for Burnishing Leather Projects
As an affiliate, we earn on qualifying purchases.
As an affiliate, we earn on qualifying purchases.
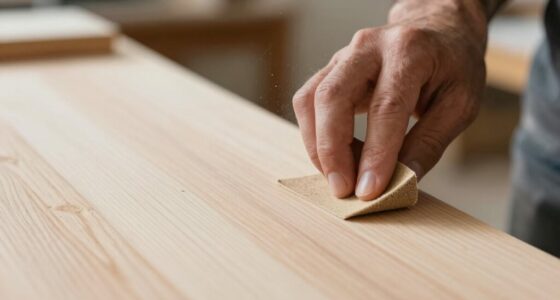
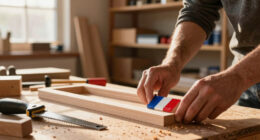
Essential Tools and Techniques for Effective Wood Burnishing

To achieve a polished, high-gloss finish through burnishing, using the right tools and techniques is essential. Start with traditional tools like hardwood burnishing stones, smooth agate, or steel burnishers, which help create consistent pressure and friction. Use finishing techniques such as applying moderate pressure and maintaining steady, circular motions to evenly smooth the wood surface. Keep the tool clean and free of debris to prevent scratches. Experiment with different materials to find what works best for your project, and always test on scrap wood first. Focus on gradual, deliberate passes rather than rushing, allowing the natural shine to develop without damaging the surface. Mastering these techniques and selecting appropriate tools guarantees a professional, mirror-like finish. Incorporating auditory feedback techniques can also help refine your burnishing skills by providing real-time guidance and improving technique consistency.
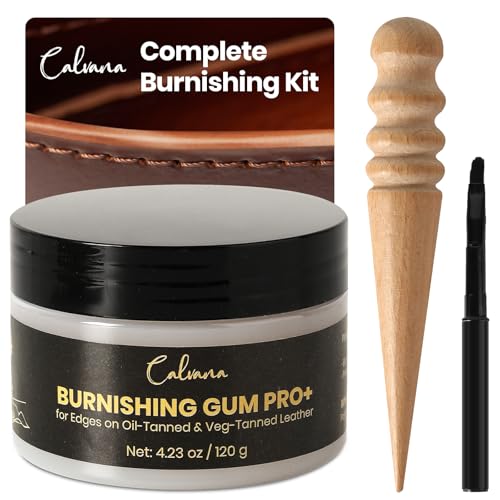
Calvana Pro Burnishing Gum 4.23 oz, Includes Ebony Edge Burnisher and Applicator Brush, for Edges on Oil-Tanned & Veg-Tanned Leather, Burnishing & Polishing, Water-Based
Complete Burnishing Kit: Our leather edge burnish kit includes an ebony edge burnisher tool, an applicator brush, and…
As an affiliate, we earn on qualifying purchases.
As an affiliate, we earn on qualifying purchases.
Common Mistakes to Avoid When Burnishing Wood
Burnishing wood without careful attention can easily lead to mistakes that ruin the finish. One common error is applying too much pressure, which causes an uneven pressure distribution and results in an inconsistent, rough surface. Another mistake is working on a dry finish; burnishing a dry or overly polished surface can create dull spots or scratches instead of a smooth sheen. Rushing the process or not maintaining steady, even pressure can also lead to uneven results. Additionally, neglecting to clean the surface beforehand can trap dirt and debris, ruining the final look. To avoid these pitfalls, focus on applying consistent pressure, keep the surface slightly moist or lubricated during burnishing, and pay close attention to the finish’s uniformity. Understanding the importance of color accuracy can also help ensure the final wood finish appears vibrant and true to its natural hue.
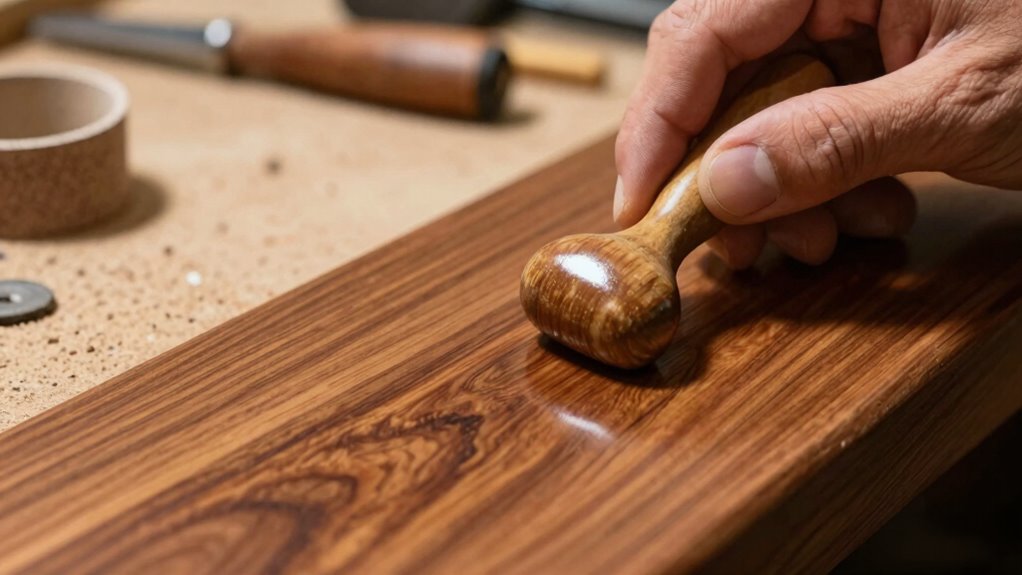
How to Combine Burnishing and Sanding for the Best Finish
Combining sanding and burnishing creates a smoother, more polished wood finish by leveraging the strengths of both techniques. Start by sanding with fine-grit sandpaper, paying close attention to wood grain alignment to guarantee a uniform surface. Once the surface is smooth, use a burnishing tool to compress the fibers, enhancing shine and creating a sleek finish. Burnishing versus polishing often involves less material removal and more surface refinement, so it’s best after sanding. For ideal results, alternate between light sanding and burnishing, gradually increasing pressure during burnishing to achieve a high-gloss look. This method assures you preserve the wood’s natural grain while achieving a professional, refined appearance. Incorporating energy-efficient techniques into your finishing process can also help reduce environmental impact. Combining these steps yields a superior, durable finish that highlights the wood’s natural beauty.
Frequently Asked Questions
Can Burnishing Be Used on All Types of Wood Surfaces?
You can use burnishing on many wood species, but it works best on softer woods like cherry or maple. Harder woods, such as oak or walnut, may resist a smooth finish with burnishing tools. Always test a small area first. The effectiveness depends on the wood’s grain and finish. With proper technique, burnishing tools can create a sleek, polished surface, but some woods may require additional sanding or finishing steps.
How Does Wood Grain Affect Burnishing Results?
Your burnishing results are considerably influenced by wood grain, especially grain alignment and porosity. When the grain runs straight and smooth, burnishing creates a sleek, polished look because the tool smoothly compresses the fibers. Conversely, with uneven grain or high porosity, you might see less uniform shine, as the tool struggles to compress or smooth out the uneven surface. Properly understanding these factors helps you achieve a superior finish.
Is Burnishing Suitable for Outdoor Wood Projects?
Like a shield guarding a treasure, burnishing can enhance outdoor wood projects, but it’s not foolproof. You need to contemplate wood durability and finish maintenance, as burnished surfaces may wear faster outdoors. For lasting results, choose durable woods and apply protective coatings. While burnishing gives a sleek look, outdoor conditions demand extra care to preserve that smooth finish and prevent deterioration over time.
What Safety Precautions Should Be Taken When Burnishing?
When burnishing, you should wear protective gear like goggles and a dust mask to shield your eyes and lungs from debris. Make certain proper workspace ventilation by working outdoors or in a well-ventilated area to avoid inhaling dust or fumes. Keep your tools in good condition, and work slowly to avoid accidents. Taking these precautions helps you stay safe while achieving a smooth, professional finish on your wood.
How Long Does a Burnished Finish Typically Last?
Think of a burnished finish as a polished mirror reflecting your craftsmanship. It typically lasts several years, depending on wood durability and finish longevity. Properly burnished wood resists scratches and moisture, extending its life. Regular cleaning and minimal exposure to harsh elements help maintain that sleek look longer. With good care, your burnished wood can stay stunning for many years, showcasing your skill and the wood’s natural beauty.
Conclusion
Think of burnishing like polishing a gemstone—you bring out its true shine with just the right touch. I once tried sanding a tricky, curved surface, only to find the finish dull and uneven. When I switched to burnishing, the surface transformed into a sleek, mirror-like finish effortlessly. Sometimes, a gentle, deliberate stroke can reveal the beauty that harsh abrasives miss. Trust the process, and your woodwork will truly shine.