
To route without tearout, always identify and follow the natural grain direction of your wood. Look for consistent grain lines, feel the surface for resistance, or do test cuts to confirm the flow. Routing with the grain helps you create cleaner edges and reduces splintering. Using painter’s tape and proper technique can also prevent tearout. Keep practicing these steps, and you’ll discover how to achieve flawless results with ease.
Key Takeaways
- Examine the wood surface for consistent grain lines and streaks to identify the natural grain flow before routing.
- Always route in the direction of the grain to minimize tearout and produce cleaner edges.
- Use painter’s or masking tape along cut lines to support fibers and reduce splintering during routing.
- Secure the workpiece firmly and perform test cuts to confirm correct grain alignment before full routing.
- Adjust router speed and feed rate to follow the grain smoothly, avoiding excessive pressure that causes tearout.

Junreox 4PCS Flush Trim Route Bit 1/4 Shank, Premium Pattern Flush Cut Route Bit with Bearing to Prevent Tear-Out, Straight Cut Carbide Tipped Template Router Bit for Woodworking, Milling, Trimming
【Precise & Durable Performance】Junreox flush trim router bits are crafted with heat-treated tungsten steel blades for sharp, clean…
As an affiliate, we earn on qualifying purchases.
As an affiliate, we earn on qualifying purchases.
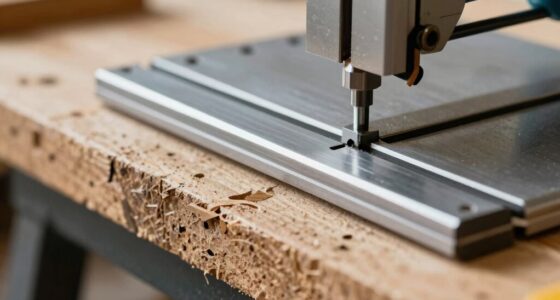
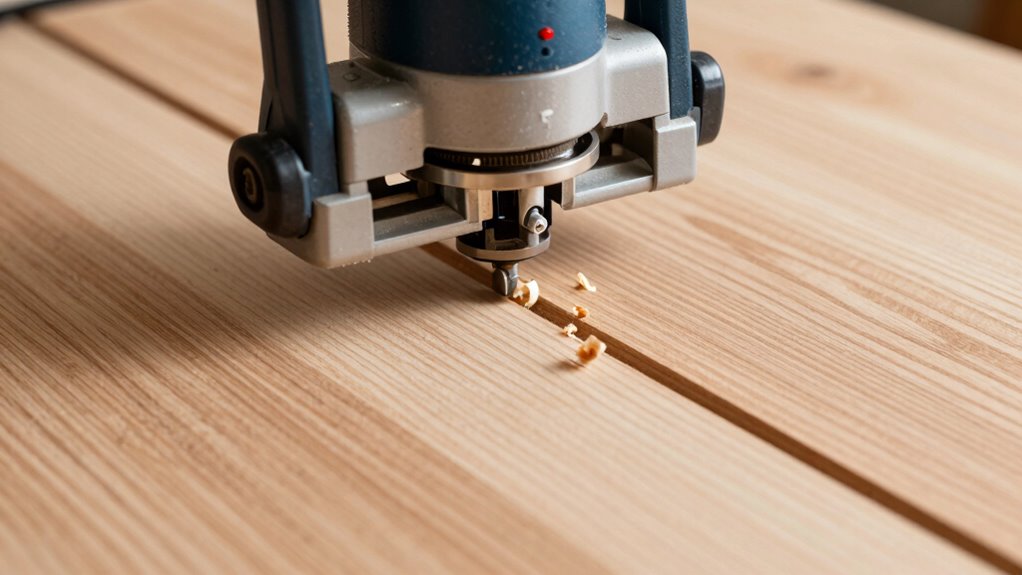
Understanding How Tearout Happens and How to Prevent It
Tearout occurs when the cutting tool or router bit pulls material away from the workpiece rather than cleanly slicing through it. This usually happens because of improper grain orientation, where the wood fibers are unevenly cut, leading to rough edges. To prevent tearout, you need to understand how grain direction affects your cut. Running the router against the grain increases the risk, causing fibers to lift and tear. For tearout prevention, always try to cut with the grain or at least at a slight angle to it. Using sharp bits and adjusting feed rates also help minimize tearout, ensuring a cleaner finish. Recognizing how grain orientation influences tearout is key to achieving smooth, professional results in your routing projects. Additionally, understanding grain direction can guide you in selecting the optimal cutting strategy for different wood types and project requirements. Paying attention to cutting techniques and using proper support can further reduce the chances of tearout and improve your overall project quality. Knowing how grain consistency impacts your cut can also help you anticipate potential tearout issues before they occur. Being mindful of wood movement during routing can further help in maintaining a smooth cut and avoiding damage to your workpiece. Incorporating proper support techniques can also help stabilize the workpiece and reduce tearout risks during aggressive cuts.

4 Rolls Premium Painters Tape, Blue Tape, Masking Tape, Paint Tape for Multi-Purpose, Painting, Painter's, DIY Crafts Arts (88yd =0.94IN*22yd*4) Decoration Labeling No Residue, Easy Removal
Professional Mask Tape – Multi-Surface adhesive tape made of high quality blue crepe paper not easy to lift…
As an affiliate, we earn on qualifying purchases.
As an affiliate, we earn on qualifying purchases.
The Critical Role of Grain Direction in Routing
Your routing results heavily depend on grain direction, so paying attention to it is vital. Routing along the grain lines minimizes tearout and produces cleaner edges. Ignoring grain orientation can increase tearout risks and compromise your project’s quality. Incorporating an understanding of grain orientation can further improve your routing accuracy and finish. Recognizing material properties and how they influence routing can help you choose the best technique for each project. Being aware of Free Floating in materials can also help prevent common issues during routing. Additionally, understanding grain stability can aid in planning cuts that reduce movement and potential tearout during routing. Considering sustainable practices can also enhance the longevity and environmental impact of your work.
Importance of Grain Orientation
Grain orientation plays a crucial role in routing because it directly affects the quality and precision of your cuts. When you understand how grain runs through your material, you can plan your cuts to minimize tearout prevention issues. Routing against the grain often causes splintering or rough edges, compromising your project’s finish. By aligning your bit with the grain, you improve control and reduce tearout, resulting in cleaner, smoother cuts. Proper grain orientation not only enhances the quality of your work but also extends tool life and saves you from rework. Paying attention to grain direction allows you to make better decisions during routing, ensuring your project stays precise and professional-looking. Mastering this concept is key to achieving flawless results every time. Understanding grain flow helps to anticipate how your material will respond during routing. Recognizing the grain pattern allows for more effective planning and prevents potential issues during the process.
Routing Along Grain Lines
Routing along the grain lines guarantees cleaner cuts and fewer splinters, making your project look professional. When you follow the correct grain orientation, your router moves smoothly, reducing tearout and rough edges. Proper routing techniques emphasize aligning your cuts with the natural flow of the wood fibers, preventing the router bit from tearing into the material. This technique not only improves the quality of your work but also minimizes the need for additional finishing. Pay close attention to grain direction when setting up your project, especially on intricate designs or detailed carving techniques. Recognizing the importance of wood grain and how it affects routing is essential for achieving high-quality craftsmanship. Mastering this aspect ensures your work is not only precise but also visually appealing, showcasing the beauty of the wood. Additionally, understanding the grain pattern helps in choosing the right tools and techniques for different types of wood, further enhancing your results. Being aware of grain orientation can help prevent costly mistakes and wasted materials, making your woodworking more efficient.
Avoiding Tearout Risks
Understanding the critical role of grain direction is essential for avoiding tearout during routing. If you route against the grain, the wood fibers can splinter or tear out, ruining your project. To minimize this risk, pay close attention to the grain orientation before you begin. Always route in the correct router direction, typically with the grain, to keep the fibers intact. Changing your router’s direction mid-cut can cause tearout, so plan your cuts carefully. Securing the workpiece firmly also helps prevent movement that could worsen tearout. Using sharp bits and proper feed rates further reduces stress on the wood. Additionally, selecting the appropriate projector technology, such as DLP or LCD, can influence the surface finish when creating a custom screen, ensuring a smooth, high-quality surface. Proper grain orientation not only helps avoid tearout but also contributes to a cleaner, more precise cut. Recognizing the importance of grain consistency can further enhance the quality of your routing results. To further reduce tearout, choosing the right cutting technique based on your project can make a significant difference. By understanding and respecting the grain orientation and maintaining consistent router direction, you considerably lower tearout risks and achieve cleaner, more professional results.

Guide for Deacons
As an affiliate, we earn on qualifying purchases.
As an affiliate, we earn on qualifying purchases.
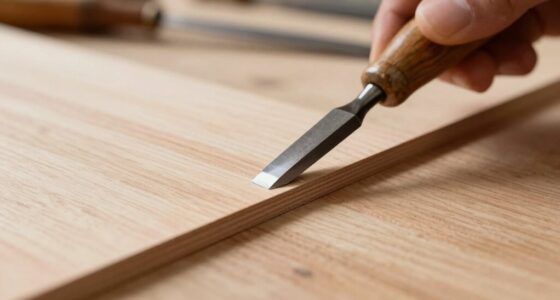
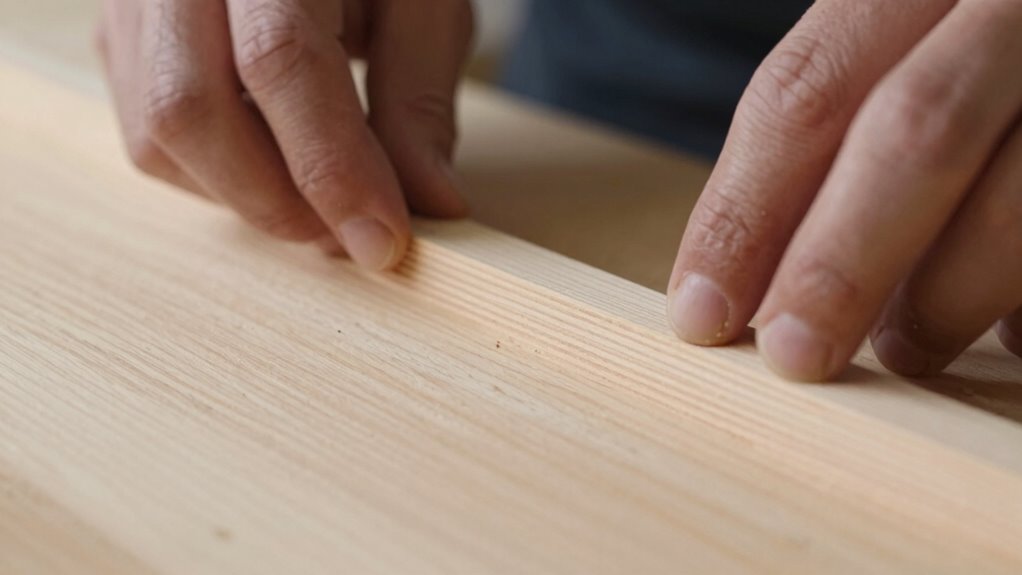
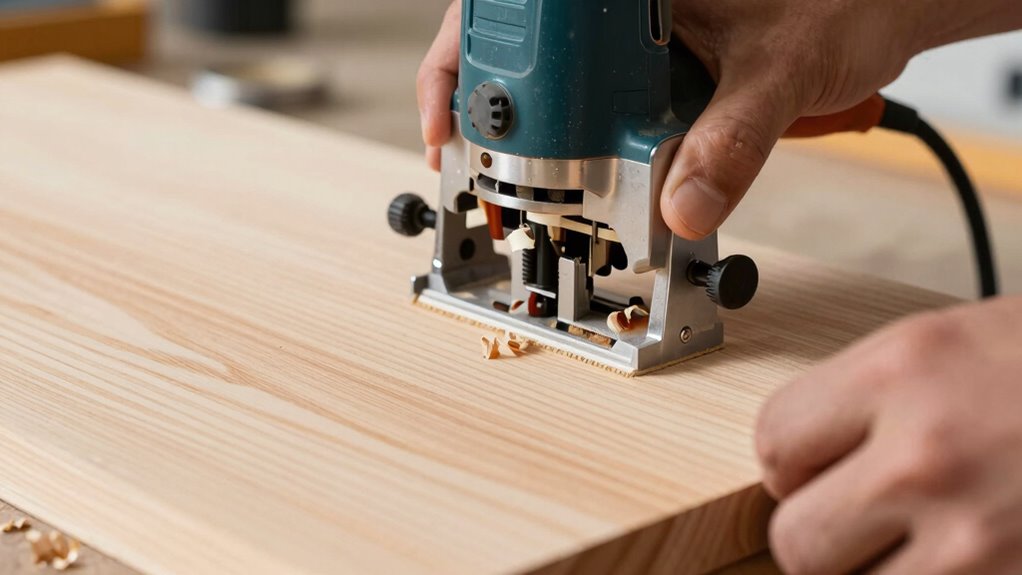
How to Identify the Correct Grain Direction for Flawless Edges
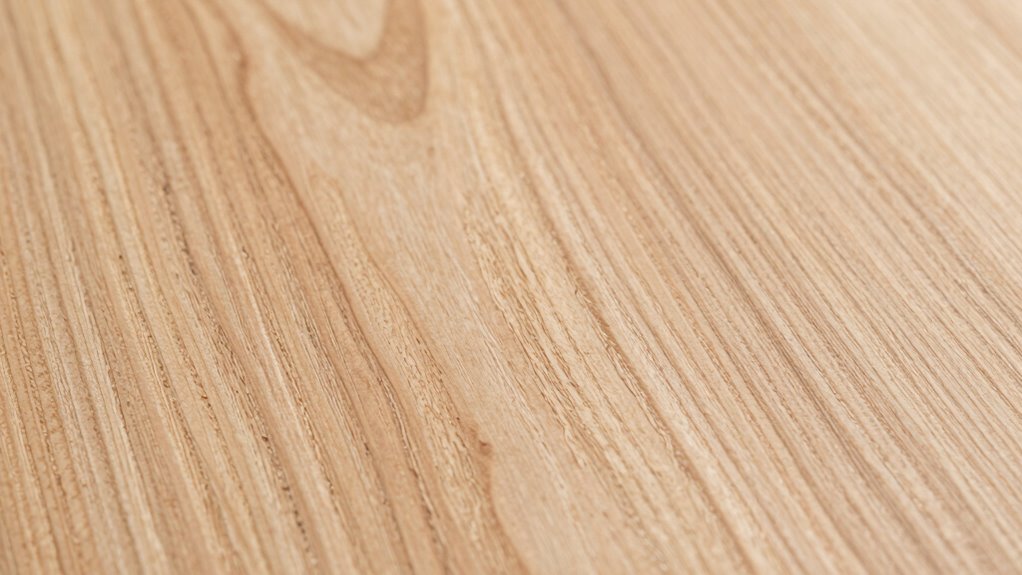
To achieve smooth, clean edges when routing, you need to determine the correct grain direction of your material. Proper identification guarantees minimal tearout and a professional finish. First, examine the surface closely; the grain typically runs in one consistent direction. Second, gently run your hand along the surface to feel for resistance—grain orientation will guide your cut direction. Third, look for visual cues, like the way the wood or material reflects light; the grain often appears as lines or streaks. Fourth, perform a small test cut in different directions, noting which produces the smoothest edge. Following these steps helps you align your cut direction with the grain orientation, reducing tearout and achieving flawless edges every time. Additionally, understanding the grain direction can also inform your choice of tools and cutting speeds, further enhancing the quality of your routed edges.

AC Motor Speed Controller 120V 15A – Variable Speed Regulator for Brushed Motors with Resettable Overload Protection and LED Display, Ideal for Router, Drill, Fan, Polisher and Woodworking Projects
POWER RATINGS & COMPATIBILITY: 110‑120V AC, peak 15A, rated 8A continuous. Resistive loads up to 1800W. Inductive loads…
As an affiliate, we earn on qualifying purchases.
As an affiliate, we earn on qualifying purchases.
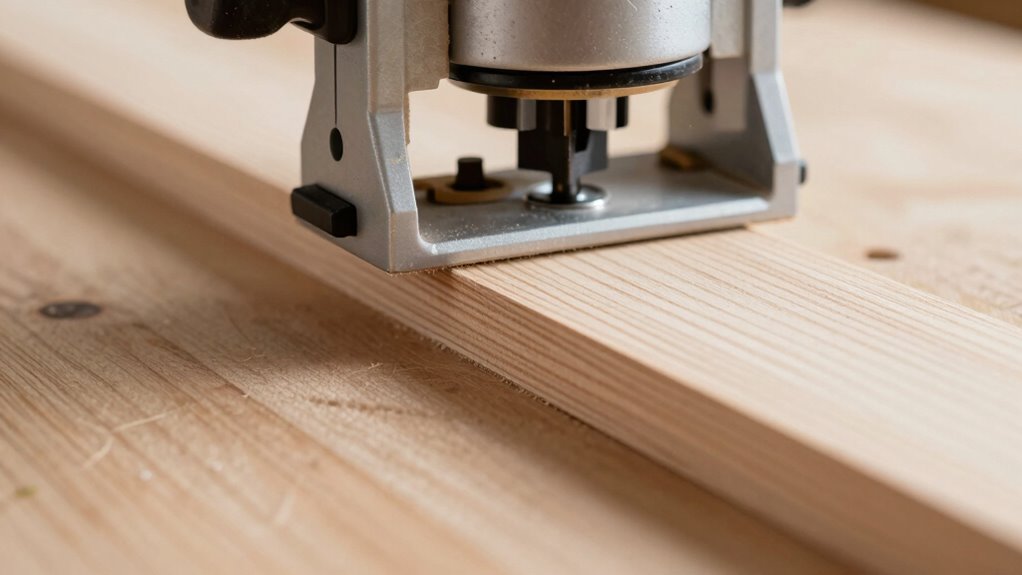
Router Setup Tips for Tearout-Free Grain Routing

To prevent tearout during grain routing, make sure your grain is properly aligned with the cuts. Always use the correct router direction—routing with the grain reduces stress on the wood. These setup tips help guarantee smooth, tearout-free results every time. Paying attention to visual and auditory cues can also assist in achieving precise and clean cuts. Additionally, understanding the grain direction of your wood can significantly improve routing outcomes and minimize damage.
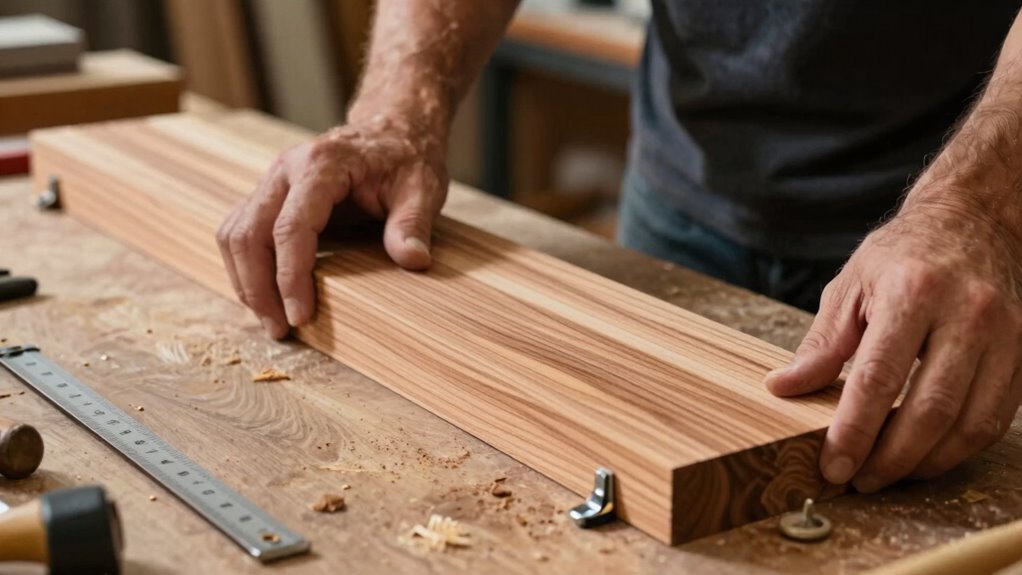
Align Grain for Cuts
Aligning the grain correctly before routing is essential for preventing tearout and achieving smooth, clean cuts. Proper grain alignment ensures your cutting techniques produce ideal results. To do this effectively:
- Check the grain direction on your workpiece before setting up.
- Position the grain to run parallel to the router bit’s cutting edge.
- Use a straightedge or square to confirm grain orientation across the surface.
- Always cut with the grain’s natural direction, moving from softer to harder areas if possible.
Use Proper Router Direction
Choosing the correct router direction is essential for minimizing tearout along the grain. Always route with the grain orientation so the router bit moves in the direction that pulls chips away from the surface. This helps maintain router stability and reduces tearout. When working on end grain or cross-grain cuts, routing against the grain can cause splintering and rough edges. To achieve a tearout-free finish, start by routing with the grain, then go over the cut from the opposite direction if necessary. Keep your router steady and firm throughout the cut, maintaining consistent pressure and speed. Proper router direction leverages grain orientation, ensuring cleaner cuts and more controlled routing, ultimately protecting your workpiece from tearout. Understanding grain direction fundamentals is crucial for achieving optimal results and preventing damage to your material.
How to Apply the Grain Direction Trick Step-by-Step
Applying the grain direction trick is a straightforward process that can substantially improve your template routing. To start, examine your workpiece and determine the grain orientation. Next, plan your cuts so the router moves with the grain, reducing tearout and enhancing router safety. Follow these steps:
- Mark the grain direction clearly on your material.
- Secure your workpiece firmly, ensuring stability.
- Adjust your router to cut in the same direction as the grain.
- Proceed slowly, maintaining consistent feed rate and router control.
Troubleshooting Tearout: What to Do When It Happens?
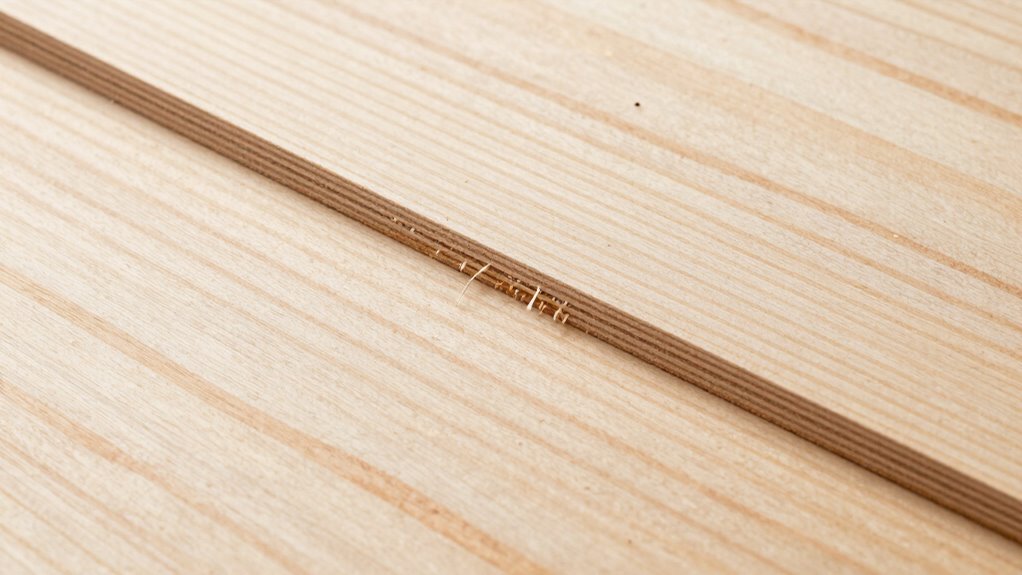
When tearout occurs despite your best efforts, it’s important to act quickly to minimize damage and improve your results. First, assess the grain orientation; tearout often happens when routing against the grain. If possible, stop the router safely and switch to a down-shear approach, routing with the grain to reduce further tearout. Applying painter’s tape or masking tape along the cut line before routing can help hold the fibers in place. Always prioritize router safety—turn off the tool before making adjustments or clearing debris. If tearout is severe, consider sanding or scraping the damaged area carefully to smooth it out. Remember, understanding the grain orientation and maintaining proper router safety practices can prevent future tearout issues and lead to cleaner, safer cuts.
Common Mistakes That Lead to Tearout and How to Avoid Them

One common mistake that leads to tearout is routing against the grain without proper preparation. Ignoring grain orientation increases the risk of tearout, especially if you don’t adjust your router speed accordingly. To avoid this, keep these tips in mind:
Routing against the grain without preparation greatly increases tearout risk.
- Always check the grain direction before routing to ensure you’re following it.
- Use a slower router speed to reduce tearout, especially on softer or end-grain areas.
- Make shallow passes rather than trying to remove too much material at once.
- Consider using a backer board to support the wood and minimize tearout on delicate grain patterns.
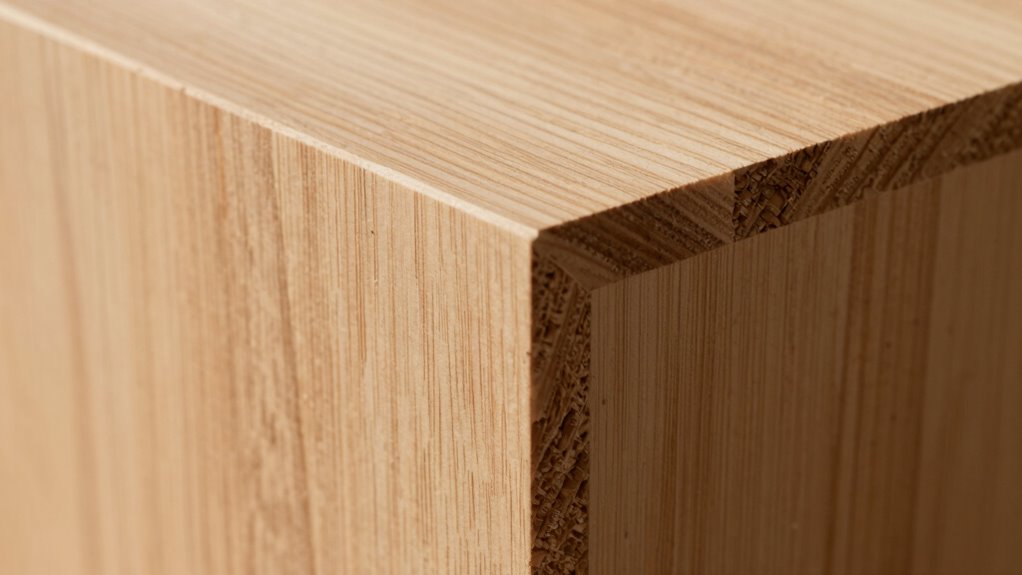
Getting a Better Finish With Proper Grain Routing
Routing along the grain is essential for achieving a smooth, professional finish. Proper grain orientation minimizes tearout and enhances finish quality. When you align your router bit with the grain, the cut flows naturally, reducing splintering. To visualize, consider this:
| Grain Direction | Finish Quality | Routing Technique |
|---|---|---|
| Parallel | Superior | Follow the grain |
| Crosswise | Rougher | Avoid routing crosswise |
| Irregular | Unpredictable | Plan your cuts carefully |
Choosing the right grain direction guarantees a cleaner surface and reduces the need for sanding. Always inspect your workpiece and plan your cuts to follow the natural grain, making your routing smoother and your finish more polished.
Using the Grain Direction Trick for Complex Shapes and Patterns
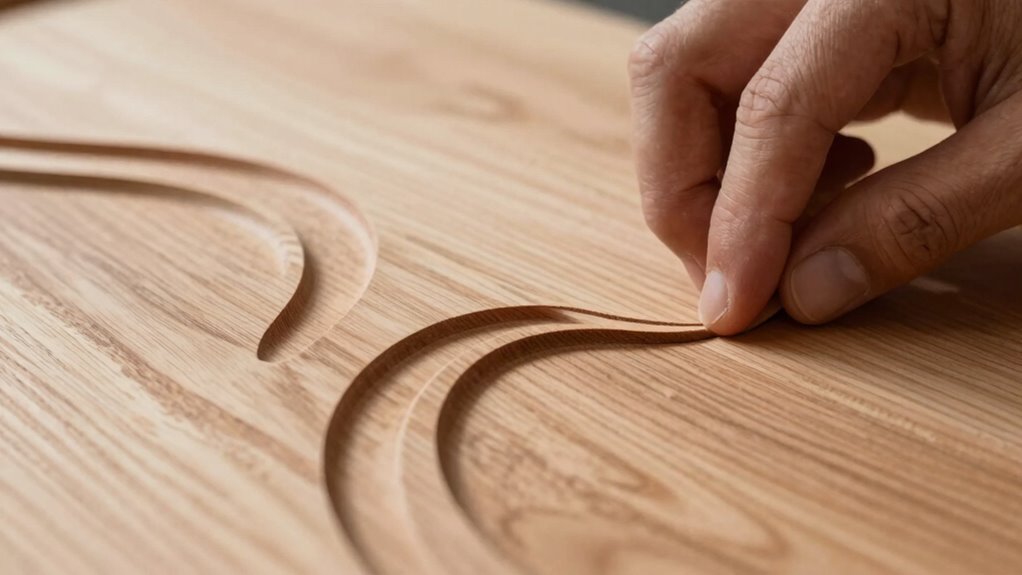
Controlling complex shapes and patterns can be challenging, but applying the grain direction trick makes the process much smoother. By aligning your grain orientation carefully, you guarantee cleaner cuts and better pattern matching. Here are tips to master this:
- Plan your pattern layout to match the grain direction for seamless alignment.
- Adjust your template to follow the natural flow of the grain, reducing tearout.
- Use a test piece to determine the best grain orientation for intricate cuts.
- Always verify pattern matching before routing, ensuring grains line up smoothly across joints.
This approach helps you tackle complex shapes confidently, minimizing tearout and enhancing the overall finish. Understanding how grain orientation influences your cuts makes pattern matching more precise and your routing process more efficient.
Best Practices for Tearout-Free Routing
Start by carefully aligning the grain direction to minimize tearout during routing. Always choose the right router bits designed for clean cuts and smooth finishes. Applying these best practices helps guarantee a tearout-free result every time you work.
Align Grain Direction Carefully
To prevent tearout, it is essential to align your grain direction carefully before you begin routing. Proper grain orientation minimizes tearout and enhances router safety. Follow these steps:
- Examine your wood and identify the grain flow, ensuring it runs parallel to your routing path.
- Always cut with the grain, not against it, to reduce tearout risk.
- Secure your workpiece firmly to prevent shifting that could cause grain misalignment.
- Use a featherboard or clamps to maintain consistent grain direction during routing.
Use Proper Router Bits
Choosing the right router bits is vital for achieving tearout-free results. Select bits designed for smooth cuts, such as up-cut or down-cut spiral bits, depending on your project’s grain orientation. When routing along the grain, up-cut bits can lift fibers and cause tearout, so consider down-cut bits for cleaner edges. Conversely, for routing against the grain, up-cut bits help prevent chipping. Always match your router bits to the specific material and your desired finish. Sharp, high-quality bits reduce tearout and guarantee cleaner cuts. Pay close attention to the grain direction; improper bit choice can exacerbate tearout issues. Using the correct router bits, aligned with your grain orientation, is a simple but vital step toward achieving professional, tearout-free edges.
Frequently Asked Questions
Can the Grain Direction Trick Be Used on All Types of Wood?
Yes, you can use the grain direction trick on most types of wood, but keep in mind that grain orientation and wood variability matter. Some woods have irregular grain patterns or softer areas that may still tear out, despite your efforts. Always check the grain direction carefully before routing, and test on scrap first. This trick is most effective with stable, predictable grain, but it’s not foolproof for every wood type.
How Does Router Bit Type Affect Tearout Prevention?
You should consider how router bit design impacts tearout prevention, especially with different grain orientations. A bit with a shear-cut or spiral design reduces tearout by slicing through the wood fibers smoothly. For ideal results, match the bit type to your wood’s grain direction, as sharper, more specialized bits help minimize tearout regardless of whether the grain runs parallel or perpendicular to your cut.
Is Special Equipment Needed for the Grain Direction Trick?
You don’t need special equipment for the grain direction trick. Just pay attention to the grain orientation when setting up your router. Adjust your router setup so that the grain runs with the rotation, which helps prevent tearout. Use a sharp bit and make shallow passes if needed. This simple adjustment guarantees cleaner cuts without extra tools, making tearout less likely and your project look professional.
How Long Does It Take to Master This Routing Technique?
For example, you might spend a weekend practicing the technique, and after several sessions, you’ll notice steady improvement. Typically, the technique duration varies, but you can expect a moderate learning curve, often taking a few weeks of consistent practice to master it. With dedication, you’ll become confident in using the grain direction trick efficiently, reducing tearout and achieving cleaner results faster.
Can This Method Be Applied to Curved or Irregular Shapes?
Yes, you can apply this method to curved or irregular shapes, but you need to pay attention to grain curvature and irregular edges. Adjust your template carefully to match the shape’s contours, ensuring the grain runs smoothly along curves for cleaner cuts. Use flexible materials or modified jigs to follow irregular edges accurately. With practice, you’ll find this technique versatile enough to handle complex shapes without tearout.
Conclusion
Mastering the grain direction trick is like guiding a gentle river through rocky terrain—you steer carefully, respecting the flow to prevent jagged tears. When you align your cuts with the wood’s natural grain, you’re carving a smooth, flowing path that showcases its beauty. With patience and practice, you’ll turn rough waters into a serene stream, ensuring your projects finish flawless and free of tearout—transforming raw wood into polished art.