
When doing flush trim routing, always follow the grain direction to prevent tear-out and get a smoother finish. Routing along the grain reduces splintering and makes your template last longer. If you go against the grain, you risk chipping and damaging your workpiece. Proper setup, steady control, and understanding the grain flow are key. Keep these tips in mind, and you’ll achieve clean edges every time—there’s more to discover for perfect results.
Key Takeaways
- Always route along the grain to achieve a smooth finish and prevent tear-out that could damage your template.
- Routing with the grain maintains the wood’s natural appearance and reduces the risk of splintering or chipping.
- Identify grain direction beforehand and guide the router steadily for precise, clean edges.
- Use shallow passes and a sharp bit to minimize fiber damage and ensure a professional result.
- Securing the workpiece properly and using guides helps follow the grain accurately, saving your template from damage.

Junreox 4PCS Flush Trim Route Bit 1/4 Shank, Premium Pattern Flush Cut Route Bit with Bearing to Prevent Tear-Out, Straight Cut Carbide Tipped Template Router Bit for Woodworking, Milling, Trimming
【Precise & Durable Performance】Junreox flush trim router bits are crafted with heat-treated tungsten steel blades for sharp, clean…
As an affiliate, we earn on qualifying purchases.
As an affiliate, we earn on qualifying purchases.
Why Grain Direction Matters in Flush Trim Routing
Understanding the grain direction is essential when flush trimming because it directly affects the quality of your cut. When you pay attention to grain orientation, you help guarantee cleaner, more precise edges. Working with the grain typically results in smoother cuts, reducing tear-out and splintering that can compromise your project’s finish. Additionally, proper grain alignment supports wood stability, preventing warping or chipping during trimming. If you route against the grain, you risk creating rough surfaces and weakening the material’s structure. Knowing how the grain runs allows you to plan your cuts accordingly, maximizing control and minimizing mistakes. Respecting the grain direction is a fundamental aspect of woodworking that enhances both the appearance and durability of your work. Ultimately, respecting the wood’s natural grain direction helps you achieve a professional, polished look while maintaining the integrity of your material.

501 Best Woodworking Tips and Hacks: Save Time and Money in Your Wood Shop, and Improve Your Skills (Fox Chapel Publishing) Q&A Guide for Woodworkers – Jigs, Fixtures, and Smart Shop Solutions
As an affiliate, we earn on qualifying purchases.
As an affiliate, we earn on qualifying purchases.
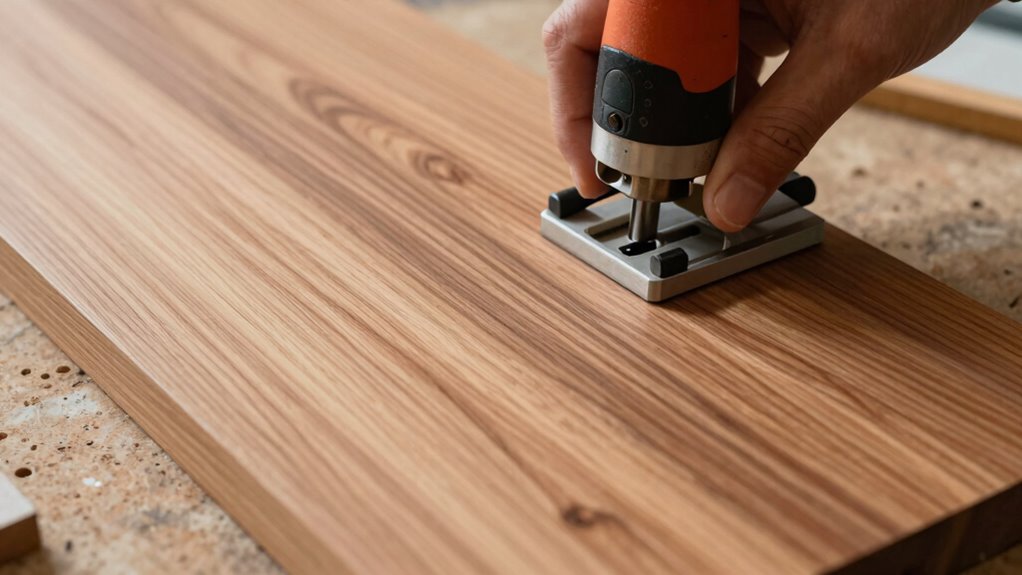
How to Decide Whether to Route Along or Across the Grain
Deciding whether to route along or across the grain depends on your project’s goals and the type of cut you need. Routing along the grain typically enhances finish quality and maintains the natural grain pattern, reducing tear-out. Routing across the grain can be useful for quick material removal or shaping, but it may compromise finish quality. To help decide, consider these points:
- Grain Pattern: Routing along preserves the visual flow, while across might create a more textured look.
- Finish Quality: For a smooth, professional surface, follow the grain; across the grain risks roughness.
- Cut Purpose: If precision and a fine finish matter, routing along the grain is usually best.
Choose wisely to ensure your project looks great and holds up over time.

204358001 Edge Guide Assembly/Trim Router Edge Guide – by Ohoho – Compatible with Ryobi Router Edge Guide – Fits Model P601, PCL424B, PCL424, R2401, P206
Replace part number: 204358001
As an affiliate, we earn on qualifying purchases.
As an affiliate, we earn on qualifying purchases.
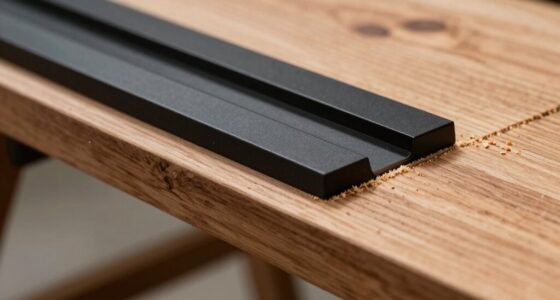
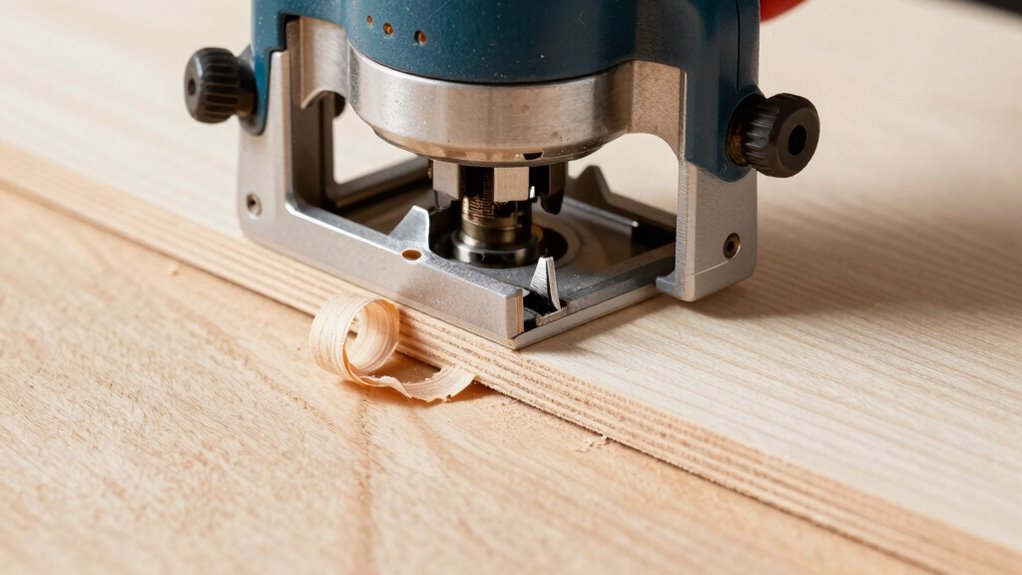
Setting Up Your Router for Accurate Flush Trimming

To achieve clean, precise flush trims, you need to set up your router correctly from the start. First, consider the grain orientation of your workpiece. Routing along the grain provides smoother cuts and reduces splintering, while against the grain can cause tear-out. Ensure your router is stable by securely clamping your workpiece and using a quality guide or router table. Check that your router bit is sharp and properly installed, as dull bits can lead to uneven cuts. Adjust the depth accurately to match your template’s thickness, preventing overruns. Keep your hands steady and guide the router smoothly along the grain, maintaining consistent pressure. Proper setup minimizes vibrations and enhances router stability, resulting in cleaner, more accurate flush trims. Additionally, understanding grain direction helps in choosing the best routing path for a flawless finish.
Junreox 4PCS Flush Trim Route Bit 1/4 Shank, Premium Pattern Flush Cut Route Bit with Bearing to Prevent Tear-Out, Straight Cut Carbide Tipped Template Router Bit for Woodworking, Milling, Trimming
【Precise & Durable Performance】Junreox flush trim router bits are crafted with heat-treated tungsten steel blades for sharp, clean…
As an affiliate, we earn on qualifying purchases.
As an affiliate, we earn on qualifying purchases.
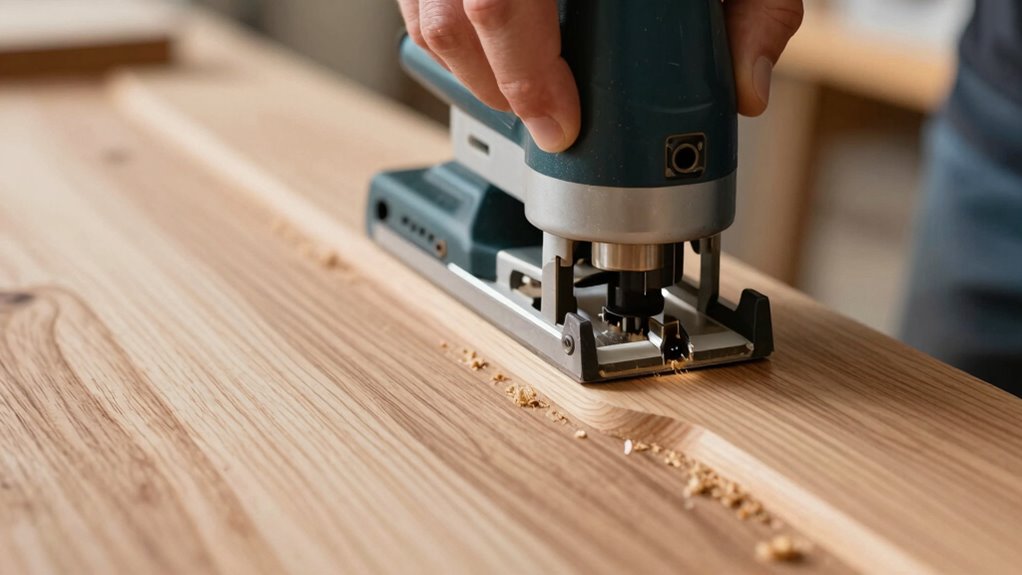
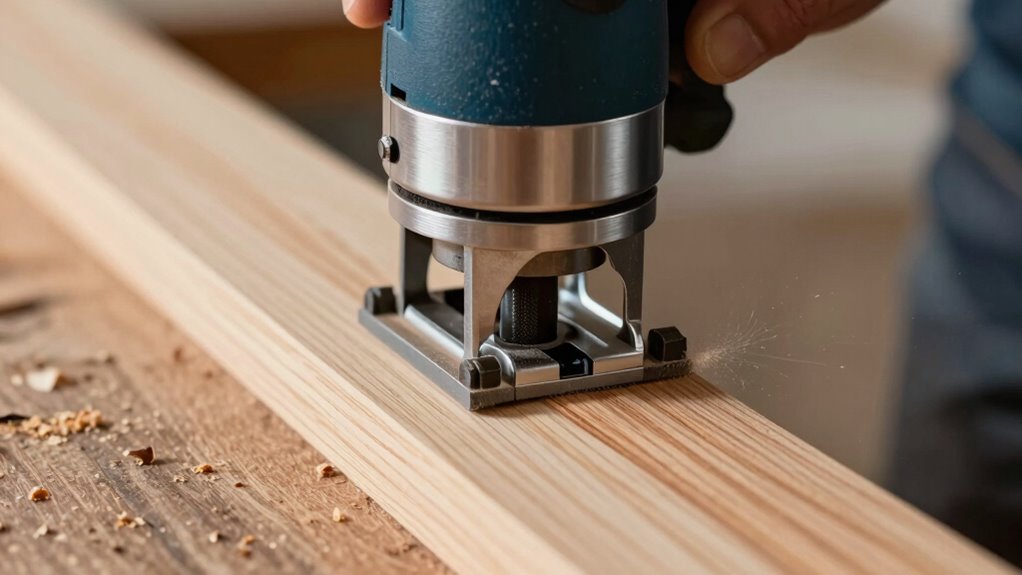
Step-By-Step: Routing With the Grain for the Best Finish
Routing with the grain is essential for achieving a smooth, clean finish on your workpiece. Proper grain orientation guarantees your finishing techniques result in minimal tear-out and a professional look. To get the best results, follow these steps:
- Identify the direction of the grain before starting, and set your router to move with it.
- Always rout along the grain in a steady, controlled motion to prevent tear-out.
- Use multiple shallow passes instead of a deep cut, reducing stress on the wood and enhancing the finish.
- Incorporate energy-efficient routing tools to minimize power consumption while maintaining precise control.
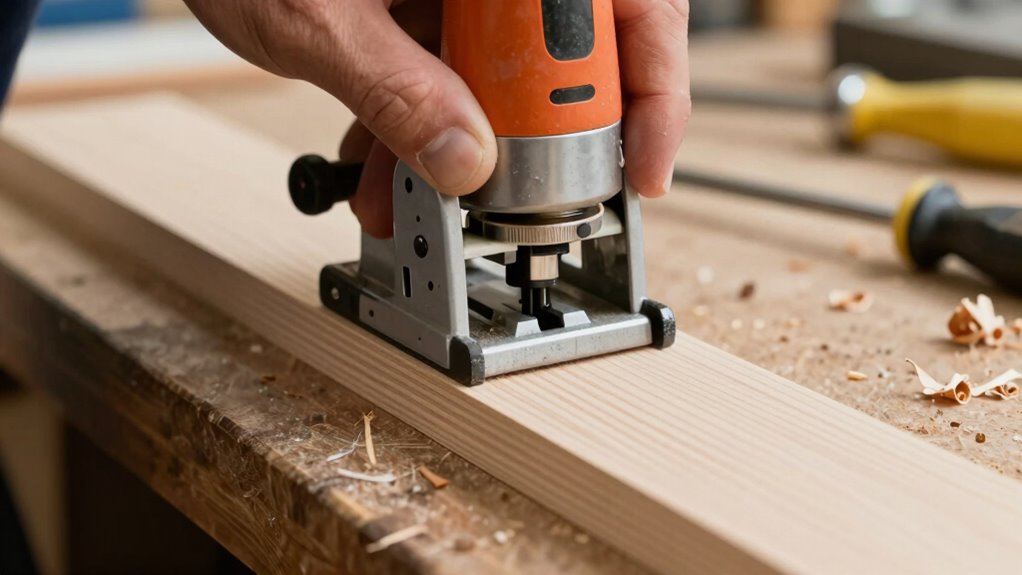
Common Routing Mistakes and How to Avoid Tear-Out

Many common routing mistakes can lead to tear-out and a poor finish if you’re not careful. One key error is ignoring grain orientation; routing against the grain increases the risk of tear-out. To prevent this, always align your router bit with the direction of the grain, especially when working near the surface. Using dull bits or rushing through cuts can also cause splintering. To improve tear-out prevention, make shallow passes rather than deep cuts, and consider using a backer board to support fragile wood fibers. Keep your router steady and maintain proper feed rates to avoid tearing the grain. Proper tool maintenance and paying close attention to grain orientation can markedly reduce tear-out and achieve cleaner, professional results.
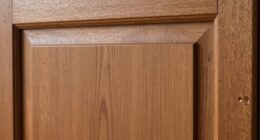
Protecting Your Templates and Extending Their Lifespan
Protecting your templates is essential to guarantee precise cuts and extend their lifespan. Proper surface protection prevents damage and maintains the quality of your templates over time. To do this effectively, consider these tips:
- Always align your grain orientation correctly to reduce wear and tear during routing.
- Use protective films or veneer to shield the surface from scratches and splinters.
- Regularly inspect and clean your templates to remove dust and debris that can cause uneven cuts.
- Incorporate Free Floating techniques to minimize stress on your templates and maintain their integrity over time.
Troubleshooting: How to Achieve Smooth, Tear-Free Edges

Achieving smooth, tear-free edges during flush trim routing often hinges on proper technique and tool setup. First, ensure the grain aligns with the cut direction; this reduces tearing. Always prioritize router safety by wearing protective gear and securing your workpiece firmly. Maintaining consistent feed pressure prevents gouging or jagged edges. Use sharp bits to minimize effort and tear-out. Here’s a quick guide:
| Grain Alignment | Router Safety | Cutting Technique |
|---|---|---|
| Follow the grain | Wear safety gear | Keep steady pressure |
| Cut with the grain | Secure workpiece | Move router smoothly |
| Avoid cross-grain cuts | Check bit tightness | Use appropriate speed |
Focusing on these aspects helps you achieve clean, professional edges every time. Additionally, understanding sound vibrations can inspire calming routines that improve your focus during detailed woodworking tasks.
Frequently Asked Questions
Can Grain Direction Affect the Durability of My Finished Project?
Yes, grain direction can impact your project’s durability. When you cut with the grain, you enhance grain stability, reducing the risk of warping or splitting over time. This also improves finish quality, as the surface remains smoother and more uniform. By paying attention to grain direction during cutting and routing, you guarantee your project stays strong and looks professional, ultimately extending its lifespan and maintaining its appearance.
What Tools Are Best Suited for Flush Trim Routing?
Think of your tools as a skilled artist’s brushes; the right ones make all the difference. For flush trim routing, you’ll want a quality variable-speed router with sharp router bits designed for precise edging. Always wear safety equipment, like goggles and ear protection, to keep safe. These tools help you achieve clean, accurate cuts while protecting you from wood chips and noise, making your project both safe and professional.
How Does Wood Species Influence Grain Direction Choice?
Wood species considerably influence your grain orientation choice because different species have unique wood properties. For example, hardwoods often have a straight grain, making it easier to align for strength and stability, while softwoods may have more variable grain directions. By understanding the grain orientation in relation to each species, you can optimize your flush trim routing, reduce tear-out, and guarantee a cleaner, more durable finish.
Is It Necessary to Reorient My Material Between Cuts?
You should reorient your material between cuts if it helps maintain proper grain alignment and cutting orientation. Reorienting guarantees the grain runs consistently, reducing tear-out and improving the quality of your cut. Always check how the grain flows relative to your router bit, and adjust your piece accordingly. This practice minimizes damage, preserves your template, and results in cleaner, more precise flush trim routing.
How Do Environmental Factors Impact Grain Behavior During Routing?
Environmental factors like moisture content and thermal expansion considerably impact grain behavior during routing. When moisture levels fluctuate, wood swells or shrinks, causing grain to shift and potentially lead to uneven cuts. Thermal expansion from temperature changes can also cause slight movement, affecting precision. To maintain accuracy, make certain of consistent environmental conditions, stabilize moisture content, and work in a controlled space. This helps keep the grain stable and your routing clean.
Conclusion
Mastering flush trim routing isn’t just about technique—it’s about knowing the grain’s secret. When you align your cuts just right, each edge becomes a flawless mirror of your template, whispering promises of perfection. But stray from the path, and you risk tear-out that could ruin your project’s story. So, stay sharp, follow the grain, and watch your work transform into a masterpiece, waiting silently for you to reveal its true potential.