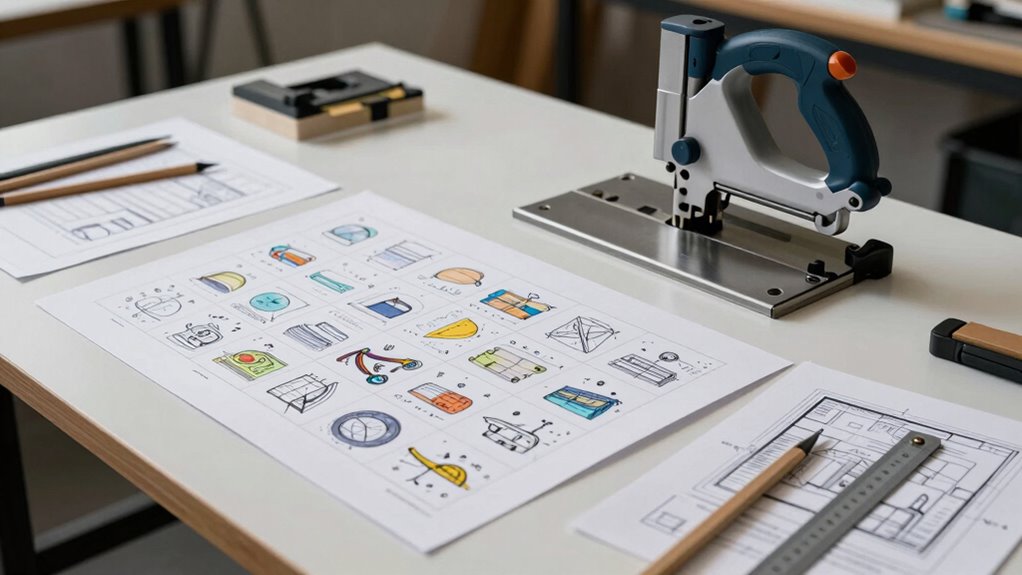
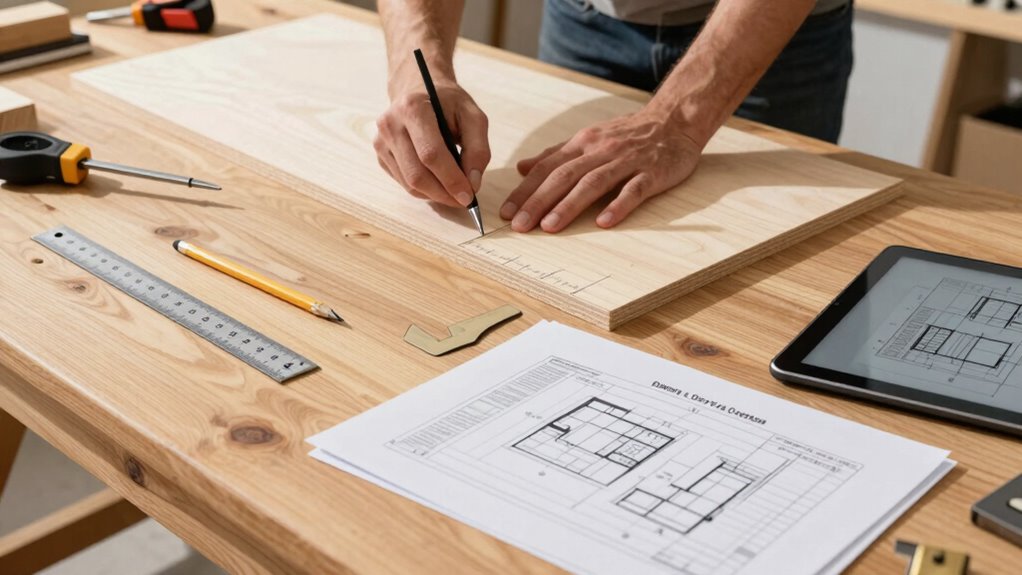
Planning your cuts with a detailed storyboard helps you visualize the entire project before touching a saw. By breaking down your project into manageable steps and creating accurate measurements and cut lists, you prevent costly mistakes and rework. Using sketches or digital mock-ups guarantees your design is functional and aligned with your goals. Skipping this step can lead to errors, but with proper planning, you’ll build confidently and smoothly—discover how to master this process as you continue.
Key Takeaways
- Create detailed storyboards or sketches to visualize each step before cutting.
- Break the project into manageable phases with clear milestones to organize the workflow.
- Double-check all measurements and material lists for accuracy to prevent costly mistakes.
- Identify potential issues early by simulating cuts and assembly visually or mentally.
- Ensure safety and tool readiness by planning all necessary tools and safety measures in advance.

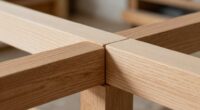
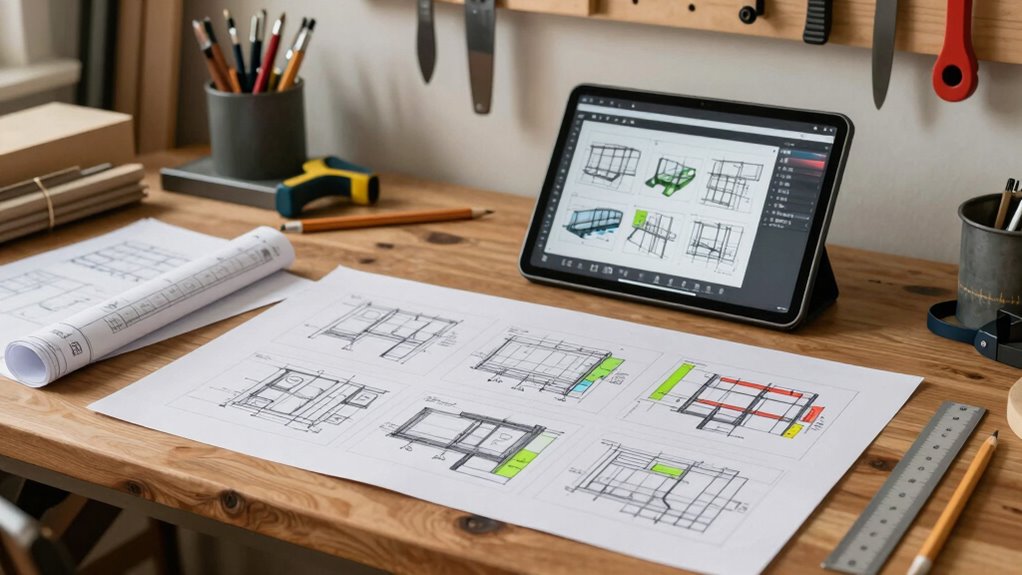
Woodworking Project Paper Plan to Build Trestle Bench
As an affiliate, we earn on qualifying purchases.
As an affiliate, we earn on qualifying purchases.
Why Rushing Into Cuts Without a Plan Causes Costly Mistakes
Rushing into cuts without a clear plan often leads to costly mistakes that can set your project back substantially. When you skip careful material selection and neglect budget management, you risk choosing unsuitable materials or wasting supplies. Improper cuts can damage materials, forcing you to buy more, which inflates costs. Without a plan, you might also overlook the best tools or techniques needed for precise cuts, leading to errors and rework. These mistakes not only delay your project but also increase expenses. Taking the time upfront to plan your cuts guarantees you select the right materials and manage your budget effectively. Additionally, understanding projector technology can help you make informed decisions about the tools and techniques to use. This approach minimizes waste and reduces the chance of costly errors, keeping your project on track and within financial limits.
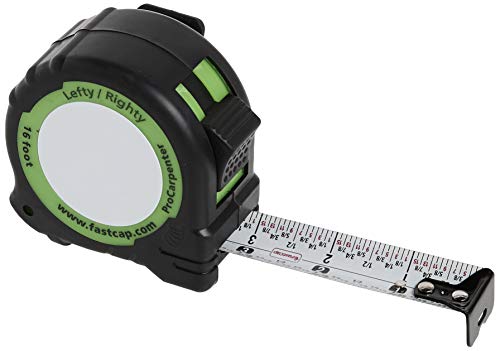
FastCap PSSR-16 16 Foot Pro Carpenter Standard Reverse Measuring Tape
The Standard/Standard Reverse features standard measurements that are readable when the tape is extended from either the right…
As an affiliate, we earn on qualifying purchases.
As an affiliate, we earn on qualifying purchases.
How to Break Down Your Project for Effective Planning

Have you ever found yourself overwhelmed by a large project, unsure where to start? Breaking it down helps you create a clear project timeline, making tasks more manageable. Start by listing each step, from design to final assembly. Identify key milestones and deadlines to stay on track. Consider material sourcing early—know what you need and when to order it, avoiding delays. Divide your project into phases or sections, focusing on one part at a time. This approach keeps you organized and prevents last-minute surprises. By planning each phase carefully, you’ll see the bigger picture clearly and stay motivated. Breaking down your project guarantees you allocate time and resources wisely, making the entire process smoother and more efficient. Paying attention to pet considerations can help ensure your project remains safe and suitable for all involved.
digital mock-up software for woodworking
As an affiliate, we earn on qualifying purchases.
As an affiliate, we earn on qualifying purchases.
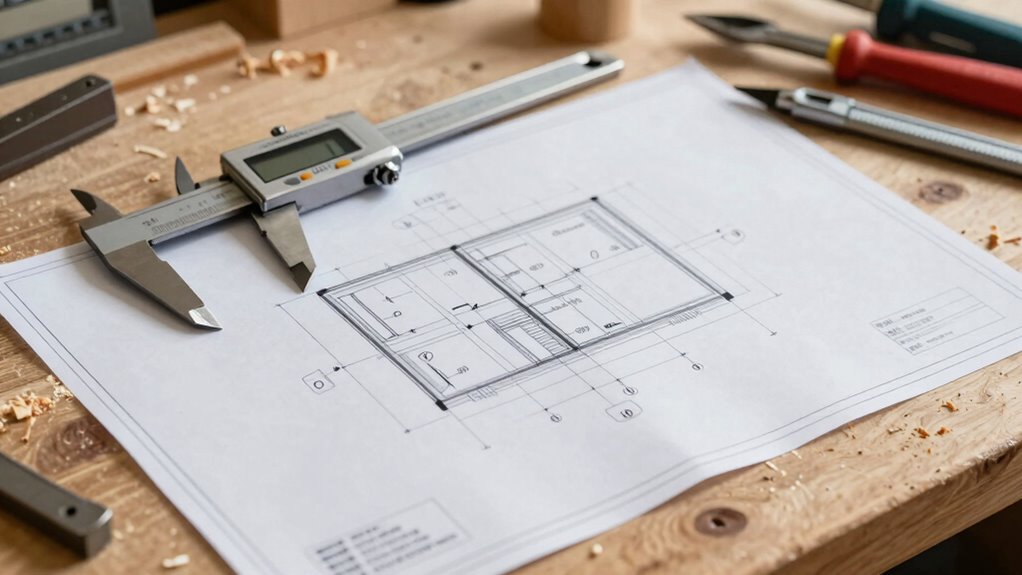
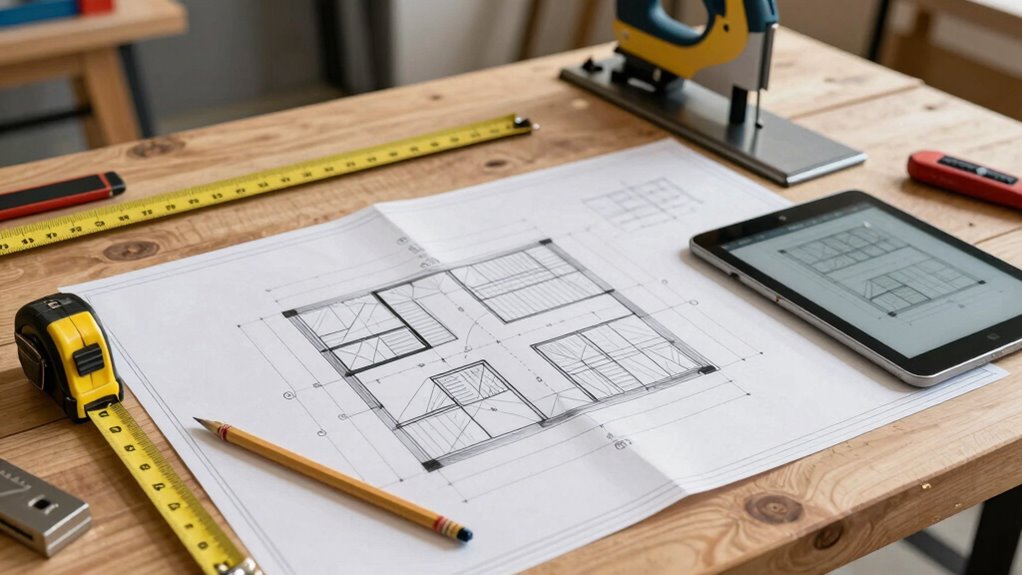
Make Accurate Cut Lists and Measurements From the Start
Getting your measurements right from the start saves time and reduces waste. Use precise techniques and double-check your dimensions to guarantee accuracy. Keeping your material list accurate helps you avoid surprises during the project. Incorporating energy-efficient cloud solutions into your planning can further improve sustainability and reduce overall costs.
Precise Measurement Techniques
To guarantee your storyboard upgrade turns out perfectly, you need to start with accurate measurements and clear cut lists. Focus on measurement accuracy and planning precision to avoid costly errors. First, double-check all measurements with a reliable tape measure, ensuring no slack or misreads. Second, use a sharp pencil or marking tool for precise lines, avoiding smudges or inaccuracies. Third, record measurements immediately and organize them systematically to prevent confusion. Fourth, verify measurements by re-measuring critical points; this extra step ensures consistency. Additionally, understanding personality assessment tools can help you identify strengths and weaknesses in your planning process, leading to more effective project management. By paying close attention to these details, you set a solid foundation for your project, reducing waste and delays. Precise measurement techniques are essential for a smooth workflow and a professional-looking final result.
Material List Accuracy
Creating an accurate material list starts with careful planning and precise measurements. When you accurately estimate materials, you avoid costly mistakes and wasted time. Start by recording every measurement carefully, and double-check dimensions to ensure your cut list matches your project’s needs. Proper inventory management means knowing exactly what materials you have and what you need, preventing unnecessary trips to the store.
| Material Type | Quantity Needed |
|---|---|
| Plywood | 3 sheets |
| Nails | 2 boxes |
| Screws | 1 box |
| Finish | 1 gallon |
Double-Check Dimensions
Have you double-checked your measurements before cutting? Ensuring measurement accuracy from the start helps avoid costly mistakes and planning pitfalls. To get it right:
- Re-measure critical dimensions twice to confirm consistency.
- Cross-reference measurements with your plan to catch discrepancies early.
- Use a reliable tape measure and a square for precise markings.
- Record measurements clearly on your cut list to prevent confusion during the cut.
- Pay attention to measurement accuracy to ensure all pieces fit together seamlessly.
Taking these steps minimizes errors and keeps your project on track. Inaccurate measurements can lead to ill-fitting pieces, wasted material, and delays. Double-checking isn’t just a quick task; it’s an essential safeguard. By verifying measurements thoroughly, you set yourself up for smoother cuts, better fit, and a more professional finish—saving time and resources in the long run.

HURRICANE 4 Piece Wood Chisel Set for Woodworking. CR-V Steel Beveled Edge Blades with Safety Caps. Durable PVC High Impact Handle, for Precision Carving & DIY Projects (1/4", 1/2", 3/4", 1")
Premium Blades: Drop forged CR-V steel with heat-treated edges ensures sharp precision and long-lasting durability, can be used…
As an affiliate, we earn on qualifying purchases.
As an affiliate, we earn on qualifying purchases.
Visualize Your ‘story Board’ With Mock-Ups and Sketches
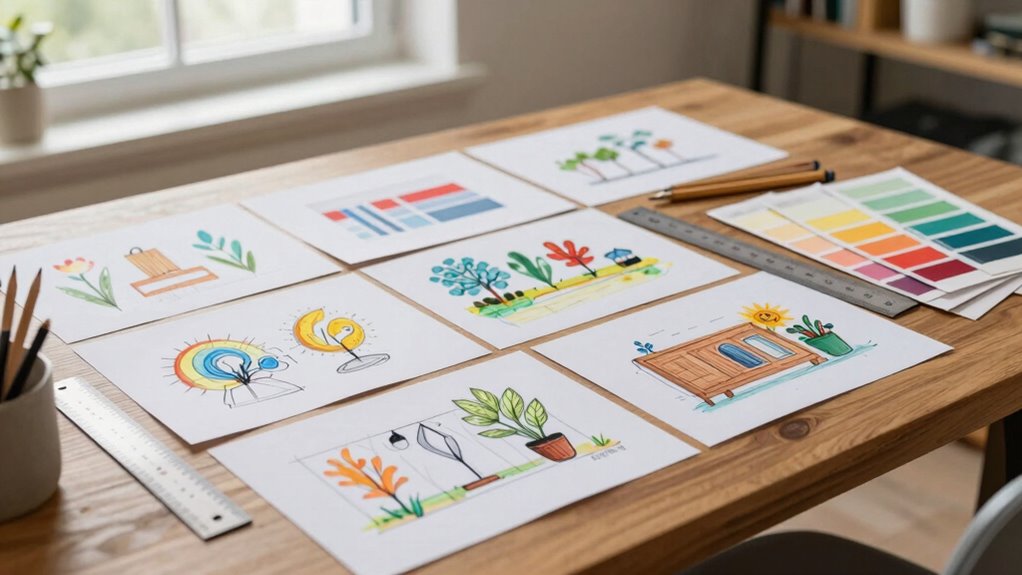
Ever wondered how to bring your storyboard ideas to life visually? Using concept sketches and digital mock-ups helps you see your project clearly before cutting into wood. Start by sketching rough concept sketches to map out layout and flow quickly. Then, create digital mock-ups to refine details and experiment with colors and textures. Visualizing with these tools makes it easier to spot issues early, saving you time and materials. Envision this:
| Concept sketches | Digital mock-ups | Final design |
|---|---|---|
| Rough outlines | Detailed visuals | Polished piece |
| Quick ideas | Precise adjustments | Ready to build |
| Early ideas | Accurate representation | Execution-ready |
This process keeps your vision on track, ensuring your story board is both functional and inspiring.
Common Mistakes When You Skip Planning: and How to Avoid Them
Skipping proper planning often leads to costly mistakes and wasted time, especially when you plunge into a project without a clear roadmap. Common errors include ignoring material compatibility, which results in damaged supplies or unsafe outcomes. Failing to take tool safety into account can cause accidents or damaged equipment. Additionally, rushing the process often leads to measurement errors and misaligned pieces. Finally, neglecting a detailed plan may cause you to overlook necessary resources or steps, forcing costly rework. To avoid these pitfalls, always verify material compatibility before starting, prioritize tool safety protocols, take precise measurements, and develop a detailed plan. By doing so, you minimize mistakes, save time, and ensure a smoother project flow. Proper planning keeps your project on track and prevents avoidable mishaps.
Tools and Strategies to Keep Your Project on Track
Wondering how to keep your project on track? The key is using the right tools and strategies. Start with careful material selection—choose quality, appropriate materials to prevent delays and rework. Having the right tools ready guarantees efficiency and accuracy, reducing the risk of mistakes. Establish clear safety protocols to protect yourself and maintain a steady workflow; safety isn’t just a priority, it’s a strategy. Keep your workspace organized so you can quickly access what you need. Regularly check your progress against your plan, making adjustments as necessary. Using these strategies helps you stay focused, avoid costly errors, and complete your project smoothly. Staying disciplined with safety and material choices keeps your project moving forward without unnecessary setbacks.
Turn Your Planning Into a Flawless, Error-Free Build
Your planning sets the foundation for a smooth build, so focus on detailed details to make certain mistakes are avoided. Visualizing your storyboard before construction helps catch issues early and saves time later. By identifying flaws early, you can make adjustments now and ensure a flawless, error-free result. Incorporating interior design tips into your planning process can further enhance your project’s success.
Detailed Planning Prevents Mistakes
Meticulous planning is essential to prevent mistakes during your storyboard upgrade. When you detail every step, you guarantee your project timeline stays on track and safety precautions are prioritized. To deepen your plan, consider these key points:
- Define clear milestones to monitor progress and avoid delays.
- Allocate specific tasks to team members for accountability.
- Identify potential risks and prepare contingency plans.
- Review safety precautions to prevent accidents during cuts or assembly.
- Incorporate Support Breakfast options to keep your team energized and focused during long planning sessions.
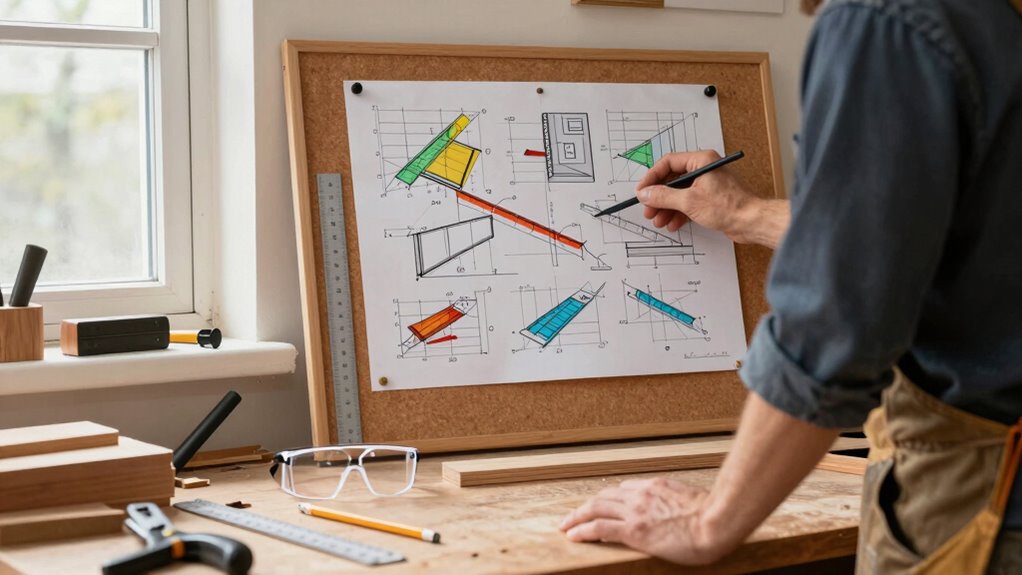
Visualize Before Building
Before starting the build, visualizing each step guarantees you catch potential issues early. Picture how you’ll handle materials selection and check that your choices align with your design. Visualizing helps you identify if your materials are compatible and if any adjustments are needed before cutting or assembling. It also allows you to plan safety precautions, ensuring you have the right tools and protective gear ready. By mentally walking through the process, you minimize surprises and reduce errors. This proactive approach keeps your project on track and prevents costly mistakes. Clear visualization boosts confidence, ensures smoother execution, and helps you stay focused on safety and precision throughout every stage. Ultimately, it transforms your planning into a flawless, error-free build. Additionally, incorporating simple strategies from home organization can further streamline your process and maintain your project’s order.
Identify Flaws Early
Visualizing each step helps you spot potential issues before they become costly mistakes. Early flaw detection keeps your project on track and ensures quality. Start by double-checking your material selection—using the right materials prevents surprises later. Next, verify your tools are properly calibrated; inaccurate measurements lead to errors. Pay close attention to potential weaknesses, like uneven cuts or weak joints, during your review. To deepen your process:
- Review material properties to match project demands.
- Calibrate tools to ensure precision before starting.
- Examine your plan for possible weak points or overlaps.
- Simulate each step mentally or on paper to catch flaws early.
- Remember that understanding Christian Yelich’s ethnicity helps you appreciate diverse backgrounds and influences in craftsmanship or design choices.
Identifying flaws early saves time, money, and frustration, transforming your planning into a flawless, error-free build.
Frequently Asked Questions
How Detailed Should My Project Plan Be Before Starting Cuts?
You should have a detailed project plan before making cuts, clearly defining your project scope to avoid scope creep. Include a risk assessment to identify potential issues and plan how to address them. Break down tasks into specific steps, guaranteeing you understand the materials and tools needed. This preparation helps prevent costly mistakes, keeps your project on track, and ensures you make precise cuts aligned with your overall goals.
What Are the Best Tools for Creating Effective Mock-Ups?
Did you know 60% of designers prefer digital sketching for mock-ups? For creating effective mock-ups, use tools like Figma or Adobe XD for virtual prototyping, which allow real-time collaboration and easy adjustments. Digital sketching apps like Procreate or SketchBook are perfect for quick visual ideas. These tools help you visualize concepts clearly, save time, and communicate your vision effectively before making any physical cuts or commitments.
How Do I Adjust My Plan if Project Specifications Change?
When project specifications change, you should review your original plan and create a change order to document the adjustments. This helps you manage scope, timeline, and budget adjustments effectively. Communicate these changes with your team and stakeholders promptly to stay aligned. Reassess your resources and deadlines, and update your plan accordingly to ensure smooth progress and avoid unexpected costs or delays.
What Common Pitfalls Occur During Final Execution Versus Planning?
Did you know 70% of project delays stem from miscommunication during execution? During final execution, common pitfalls include material waste from rushed decisions and miscommunication about design changes. These issues often occur because plans aren’t thoroughly reviewed or shared with all team members beforehand. To avoid this, double-check your details, maintain clear communication, and stick closely to your plan, minimizing waste and ensuring everyone stays aligned.
How Can I Ensure Measurements Remain Accurate Throughout the Project?
To guarantee your measurements stay accurate throughout the project, prioritize precision accuracy and measurement consistency. Double-check your measurements before making cuts, and use high-quality tools like calibrated tape measures and squares. Regularly verify measurements as you progress, and keep your tools clean and in good condition. By maintaining a disciplined approach to measuring, you reduce errors and ensure your project stays on track with precise, consistent results.
Conclusion
Remember, skipping planning is like jumping into a shark tank without a cage—you’ll drown in mistakes and waste more money than you can imagine. Take the time to sketch, measure, and plan, or risk turning your masterpiece into a chaotic, unrecognizable mess. A little prep now saves you from hours of frustration and a mountain of costly errors later. Don’t let poor planning turn your project into a disaster—plan smart, build right!