To scribe to a wall using the no-gap method for built-ins, start by carefully marking the wall’s irregular contours with a scribing tool or contour gauge. Make sure the wall surface is smooth and clean before transferring the profile onto your material. Then, cut and sand your pieces to match these marks precisely, ensuring a tight fit. Proper preparation and attention to detail prevent gaps, creating a seamless finish—if you follow these steps, you’ll master a flawless, professional look.
Key Takeaways
- Use a contour gauge or flexible scribing tool to accurately capture wall irregularities.
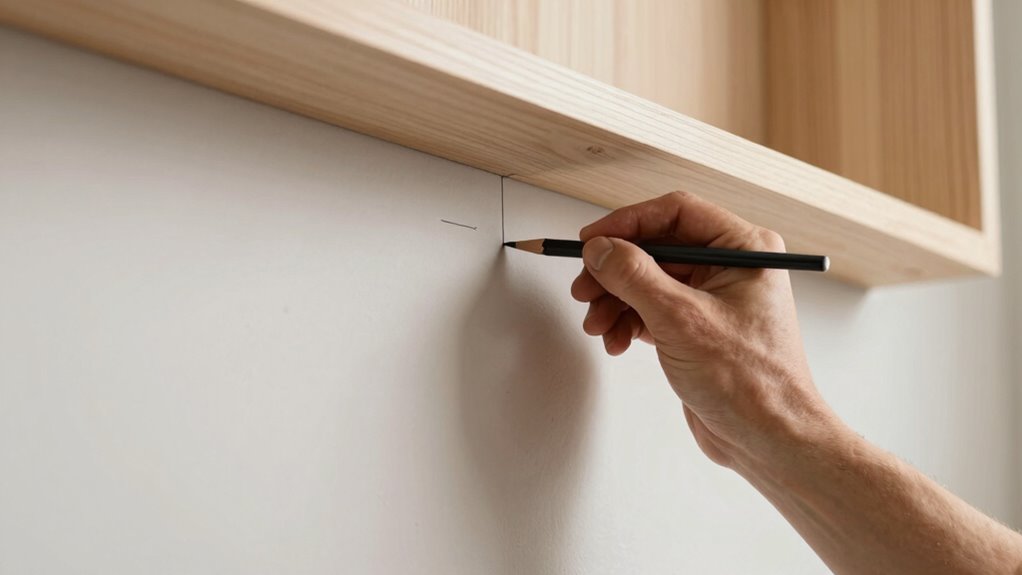
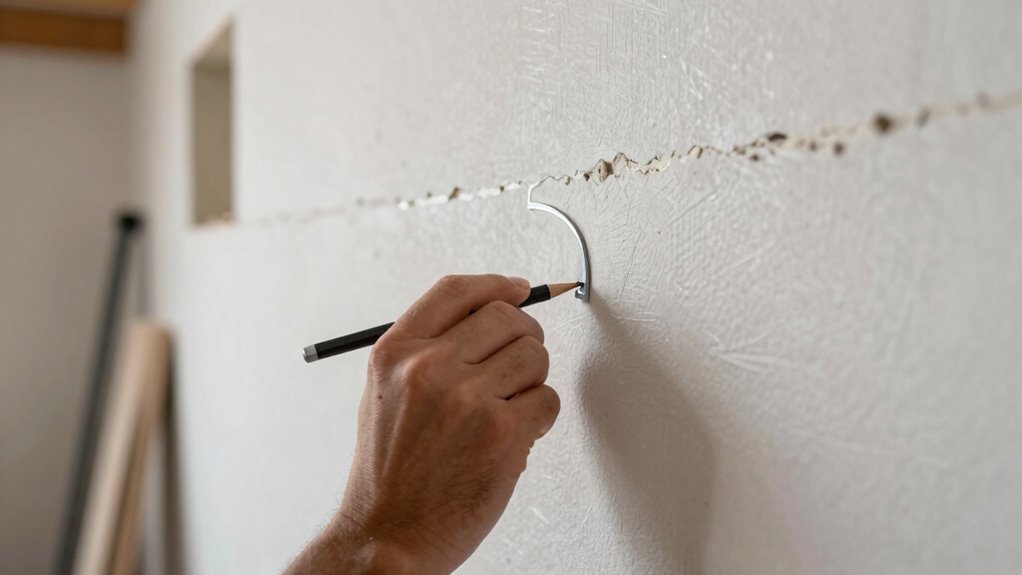
- Mark the wall’s contour carefully with a pencil, ensuring detailed transfer of irregularities.
- Transfer the wall profile onto your built-in component using a scribing compass or contour gauge.
- Cut along the scribed line precisely with a fine-tooth saw or jigsaw for a close fit.
- Test fit frequently, sanding or adjusting edges to achieve a seamless, gap-free connection.
Why Scribing Walls Is Key to Perfect Built-Ins
Scribing walls is essential for achieving built-ins that fit flawlessly. Walls rarely have perfect flat surfaces; they often feature wall curvature or uneven surfaces that can cause gaps or misalignments. Without proper scribing, your built-ins might look awkward or require constant adjustments. Scribing allows you to trace the exact contours of the wall, ensuring your cabinetry or shelving matches the surface precisely. This process helps you adapt to irregularities, making the final fit seamless. By accurately accommodating wall curvature and uneven surfaces, you create a professional, polished look. Proper scribing guarantees your built-ins sit tightly against the wall, enhancing both aesthetics and durability. Additionally, understanding wall irregularities can help you better plan and execute your project for a more precise fit.
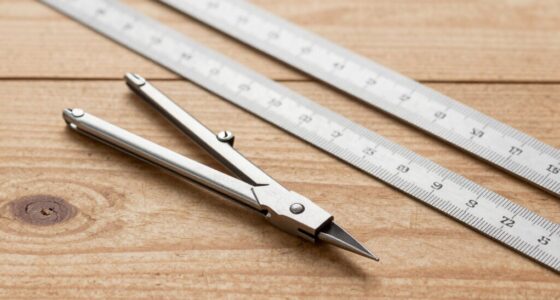
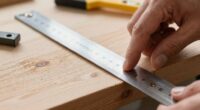
Essential Tools for Accurate Wall Scribing
To scribe accurately, you need the right tools, like a good straightedge, a pencil, and a scribing compass. Ensuring the wall surface is clean and smooth helps your measurements stay precise. When you prepare your surface properly, your scribing results will be much more reliable and neat. Additionally, understanding how to use your smartphone for measurement can help double-check measurements and improve accuracy.
Essential Scribing Tools
Having the right tools is vital for achieving accurate wall scribing results. To create seamless connections, you need precise tools that match your project’s material selection. A high-quality carpenter’s pencil or marking knife helps you make clear, visible lines. A flexible scribing tool or contour gauge is essential for tracing complex shapes and decorative accents. A straightedge or ruler ensures your lines stay true, especially on large surfaces. For detailed work, a sharp utility knife allows clean cuts and adjustments. Using a combination of these tools guarantees your scribing is accurate, whether aligning cabinetry or matching intricate decorative accents. Properly calibrated tools can also help in Free Floating backyard projects, ensuring consistency across different elements. Investing in the right tools minimizes errors and saves time, ultimately delivering a professional finish. Properly equipped, you’ll achieve seamless, gap-free built-ins with confidence.
Proper Surface Preparation
Proper surface preparation is essential for accurate wall scribing, as a clean, smooth surface guarantees your lines stay precise and visible. Begin by removing dust, dirt, and loose debris to ensure a stable base. Address wall texture issues, filling any rough spots or uneven areas to create a consistent surface. If the wall has a heavy texture, consider lightly sanding or applying a flat primer to minimize irregularities. Also, check the paint consistency; peeling or glossy paint can interfere with marking, so lightly scuff or sand glossy finishes for better adhesion. Properly preparing the surface guarantees your scribe lines won’t be distorted or lost, making your measurements more accurate and your final fit cleaner. Additionally, innovative surface treatments can enhance marking precision and durability, contributing to a professional, seamless built-in.
How to Prepare Walls and Components Before Scribing
Before you start scribing, ensuring the walls and components are clean and prepared thoroughly is essential. Begin by removing dust, dirt, and loose debris to achieve a smooth surface. Pay attention to wall texture; a rough or uneven surface can affect the accuracy of your scribing, so consider sanding any high spots or irregularities. If the wall has paint, check for peeling or chipping and repair these areas to create a uniform finish. Proper paint preparation involves cleaning the surface and possibly priming to guarantee the paint adheres well and doesn’t interfere with your scribing lines. Additionally, performing a simple cleaning and inspection of your tools and surfaces can help prevent errors. Taking these steps ensures your measurements and cuts will fit precisely, reducing the need for adjustments later and resulting in a cleaner, more professional finish.
Step-by-Step Guide to Scribing Walls for a No-Gap Fit

To scribe walls for a perfect fit, start by accurately marking the wall surface to outline the irregularities. Next, transfer the profile onto your material, ensuring it matches the wall’s contours. Finally, make adjustments and finalize the shape for a seamless, no-gap connection.
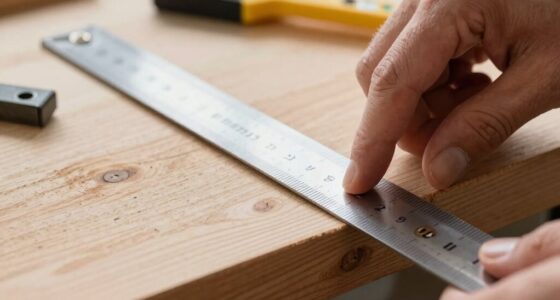
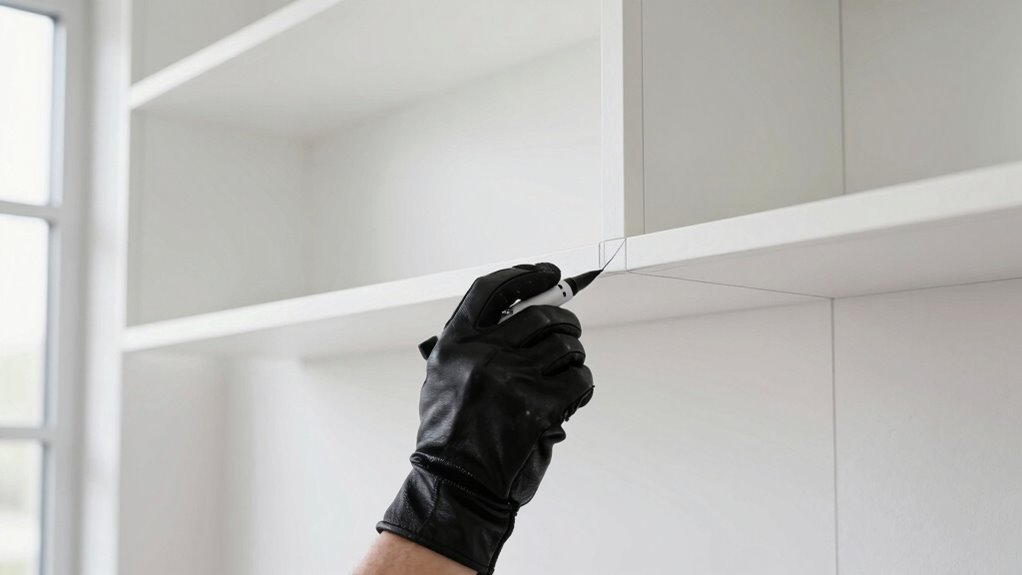
Marking the Wall Surface
Marking the wall surface accurately is essential for achieving a seamless fit when scribing. Your goal is to trace the irregularities without damaging the wall’s surface or compromising wall texture and paint matching. To do this effectively:
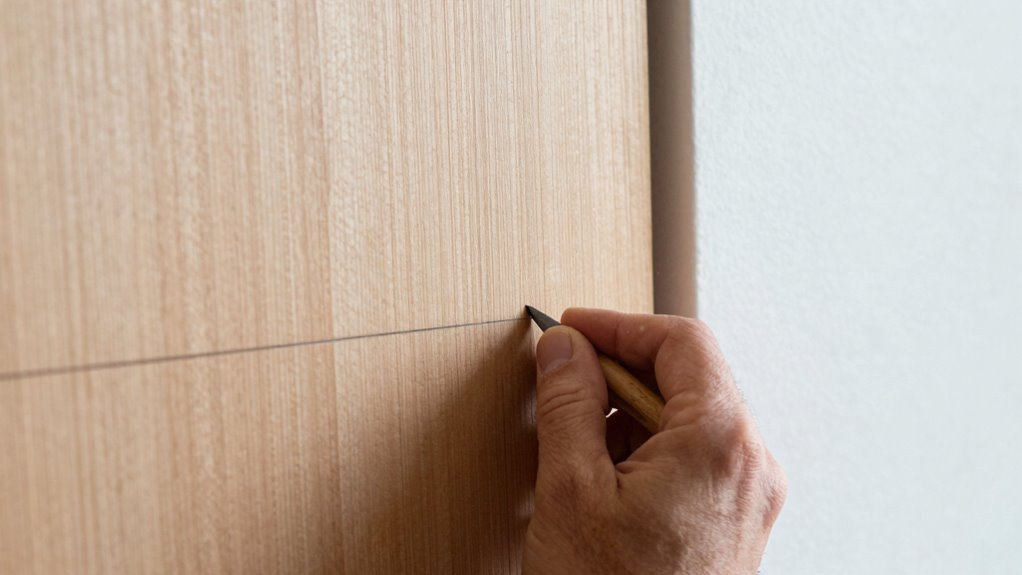
- Use a pencil or chalk to lightly mark high and low points along the wall.
- Check for wall texture differences that might affect your scribing line.
- Confirm your marking tools won’t smudge or distort the wall surface.
- Mark at consistent intervals to capture uneven features.
- Keep the markings clear but gentle to avoid damaging painted or textured surfaces.
This careful approach helps you transfer accurate reference points, ensuring your scribed line aligns perfectly with the wall’s contours and maintains a professional finish.
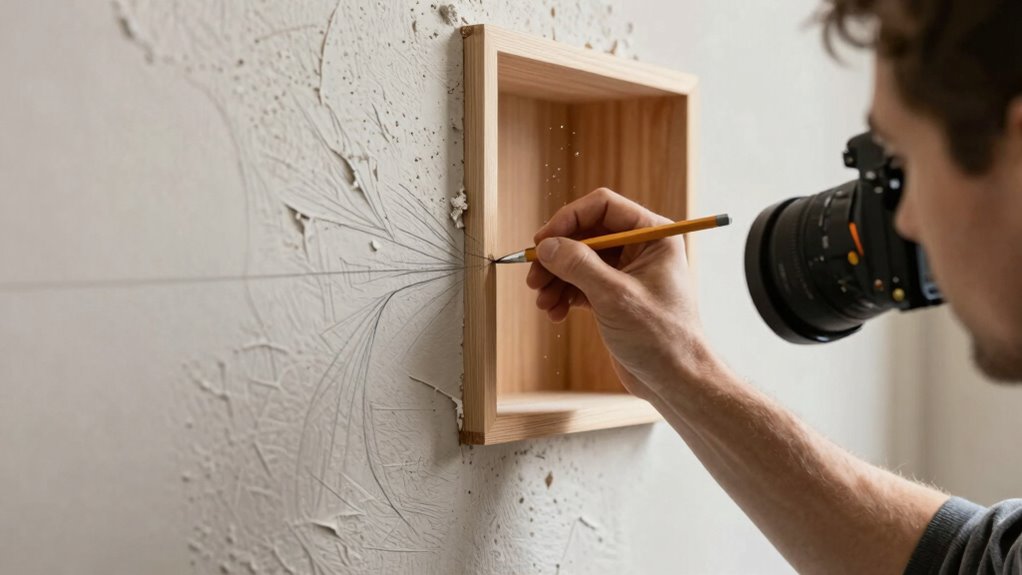
Transferring the Profile
With your markings in place, it’s time to transfer the wall’s profile onto your scribing tool. Carefully press the tool’s edge against the wall, aligning it with your marked points. As you trace along the wall’s surface, pay attention to the wall texture, which can affect your tracing accuracy. Use a pencil or marker suitable for your material compatibility—smooth for drywall, or more durable for textured surfaces. Keep the scribing tool steady, making certain the profile remains true to the wall’s contours. This step captures the irregularities, enabling you to cut your material precisely. Taking your time guarantees an accurate transfer, which is essential for a seamless, no-gap fit without gaps or uneven edges later. Understanding the importance of precise transfer ensures your built-in will fit perfectly against the wall’s complex surface.
Adjusting and Finalizing
Once you’ve transferred the wall’s profile onto your scribing tool, the next step is to carefully adjust and finalize the scribed line. Focus on ensuring proper panel alignment and accounting for material expansion. You might need to make small adjustments to the line to match uneven surfaces precisely. Check that the scribed line follows the wall’s contours closely, especially in tight or irregular spots. Use a pencil or marker to refine the line if necessary. Confirm that the scribed line allows for a no-gap fit when cutting or fitting your material. Remember, slight adjustments can help accommodate panel expansion or contraction over time. Ensuring your measurements account for material flexibility can help prevent gaps or misalignments. Taking your time now ensures a clean, seamless finish and a perfect fit for your built-in.
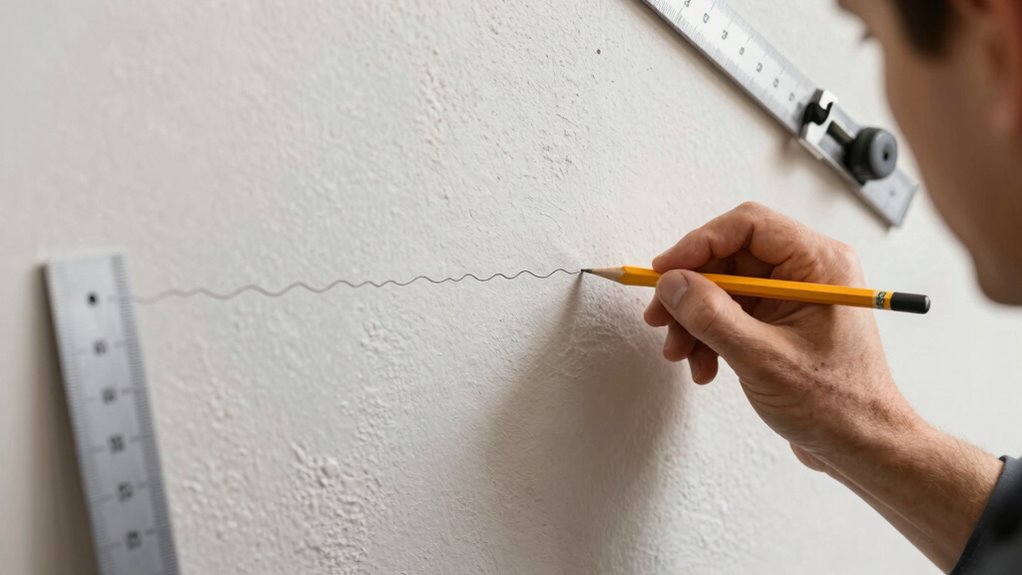
How to Mark and Transfer Wall Profiles Precisely
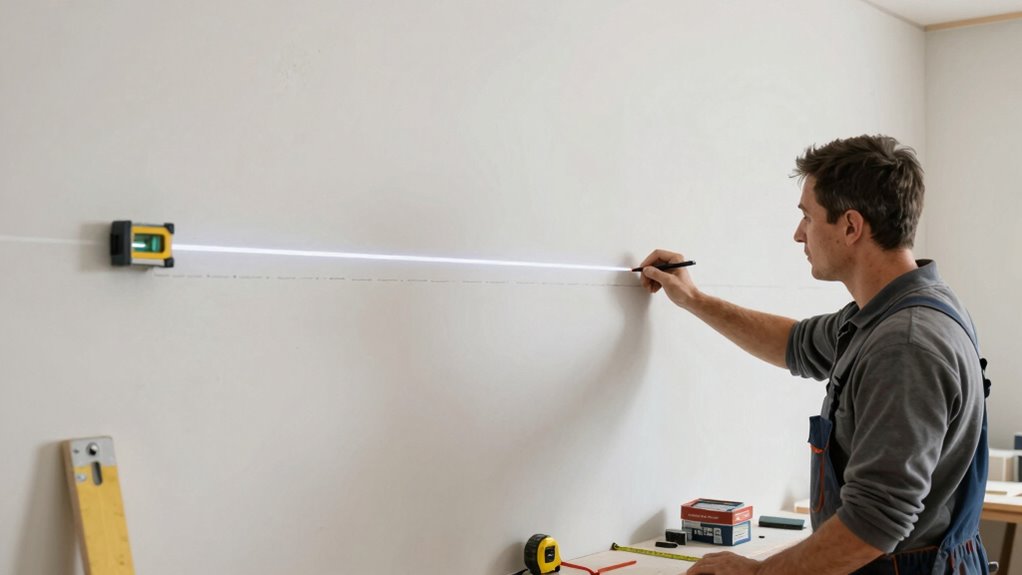
To guarantee your wall profiles are accurate, it’s vital to carefully transfer measurements from your reference points to the wall surface. Use a flexible profile gauge or a scribing tool to match the wall’s curvature, ensuring your markings follow its shape precisely. When transferring measurements, consider material compatibility; some tools work better with specific surfaces, preventing damage or inaccuracies. Incorporating a measurement transfer technique can further enhance precision and consistency in your markings.
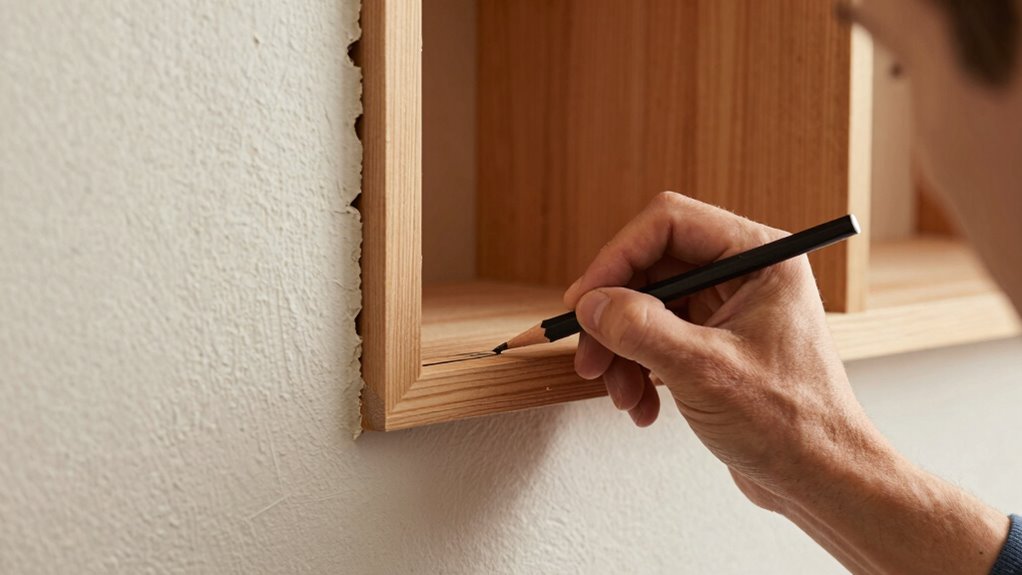
Cutting and Fitting Built-Ins to Match Wall Contours
After marking and transferring your wall profiles accurately, the next step is to cut and fit your built-ins so they conform seamlessly to the wall’s contours. To do this effectively, you’ll need to take into account wall curvature and corner angles carefully. Use a jigsaw or fine-tooth saw to follow the scribed lines precisely. Pay close attention to curved sections, making smooth, gradual cuts to match wall curvature. For corners, adjust your cuts to create tight, accurate fits, especially where angles aren’t standard. Keep these tips in mind:
Ensure built-ins match wall contours with careful scribing, smooth cuts, and adjustments for precise, flush fits.
- Use flexible plywood or trim for curves
- Sand edges for a smooth fit
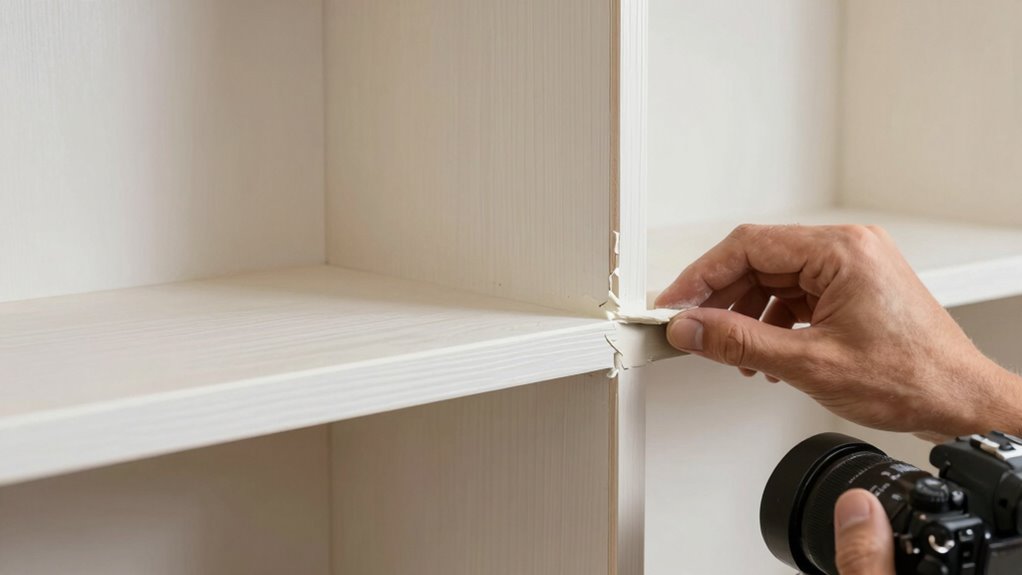
- Test fit sections frequently
- Adjust for slight wall irregularities
- Mark adjustments directly on the material
- Remember that understanding filtration and airflow can help in planning precise cuts and ensuring your built-ins fit perfectly against complex wall contours.
This approach ensures your built-ins sit flush against even complex wall contours.
Troubleshooting Common Scribing Challenges and Fixes
Scribing to irregular wall surfaces often presents unexpected challenges, but identifying common issues can help you troubleshoot quickly. One frequent problem is making common scribing mistakes, like applying too much pressure or misaligning your tool. To avoid these, double-check your measurements and ensure your tools are calibrated correctly. If your scribed line isn’t fitting, it might be due to faulty tools troubleshooting or worn blades. Always keep your tools sharp and clean to improve accuracy. Additionally, verifying your measurement techniques can prevent many common scribing errors.
Tips for Achieving a Flawless No-Gap Finish
Achieving a flawless no-gap finish requires careful attention to detail and precise technique. To guarantee a seamless look, consider these tips inspired by historical examples of craftsmanship and alternative techniques. First, use a sharp, quality scribing tool for accuracy. Second, double-check your measurements often to prevent errors. Third, sand and smooth the edges before fitting to avoid uneven gaps. Fourth, apply caulk or filler carefully to fill any tiny imperfections. Fifth, use a high-quality finish to blend the edges seamlessly. Remember, patience is key—taking your time yields better results. Whether you’re inspired by traditional carpentry methods or exploring modern alternatives, meticulous work makes all the difference in achieving that perfect, gap-free finish.
Final Checks and Adjustments Before Installing Built-Ins
Before installing your built-ins, it’s essential to perform thorough final checks and adjustments to guarantee everything aligns perfectly. First, inspect the wall for any curvature or irregularities that could affect the fit. Use a level and straightedge to verify that edges are properly aligned and identify any discrepancies. Check the wall’s surface for uneven patches or bulges that might interfere with the installation. Ensure your scribed lines accurately follow wall contours, especially if there’s noticeable curvature. Adjust your measurements and markings as needed to account for any wall deviations. Confirm that the built-in’s edges align smoothly with the wall surface. Making these precise final checks guarantees your installation will look seamless and professional, preventing gaps or misalignments down the line.
Frequently Asked Questions
Can Scribing Be Done Without Professional Tools?
Yes, you can do scribing without professional tools using DIY techniques and tool alternatives. For example, you can use a flexible piece of cardboard or a scrap piece of wood to trace the wall’s uneven contours. A pencil, measuring tape, and level help guarantee accuracy. With patience and careful handling, these simple tools can help you achieve a precise fit, making the process accessible even for beginners.
How Long Does the Scribing Process Typically Take?
Like waiting for dial-up internet to connect, scribing can take about 30 minutes to an hour. You’ll need to focus on measurement accuracy and choose the right tools for the job. The process depends on wall irregularities and your skill level. With patience, you’ll achieve a precise fit, making your built-in look seamless. Rushing only risks gaps, so take your time to get it just right.
Is Scribing Suitable for Irregular or Uneven Walls?
Yes, scribing works well for irregular or uneven walls. You can customize your built-ins to fit wall surface irregularities and uneven wall contours by carefully tracing and cutting along the wall’s unique shape. This technique guarantees a seamless fit, even with challenging surfaces. Just take your time, use proper tools, and follow the no-gap method to achieve a precise, professional look that adapts perfectly to uneven wall contours.
What Safety Precautions Should I Follow During Scribing?
When scribing, you should always prioritize safety by wearing proper safety gear like goggles, gloves, and a dust mask. Before starting, verify the wall is clean and free of debris to prevent accidents. Carefully prepare the wall by checking for loose materials or protrusions. Keep your workspace organized, and work slowly to avoid slips or injuries. Always stay alert and follow safety guidelines to protect yourself during the process.
Can Scribing Be Corrected if Mistakes Are Made?
If you make a scribing mistake, don’t worry—correction is possible. Studies show that measurement accuracy drops by 15% when tools aren’t properly calibrated. To fix errors, carefully re-measure, adjust your scribe line, and use a sharp pencil or fine tool to refine the mark. Double-check your work, especially if your initial measurements were off, ensuring your built-ins fit perfectly without gaps or misalignments.
Conclusion
Mastering wall scribing might seem tricky, but with patience, it transforms imperfect walls into perfect fits. While gaps can mar the sleek look of your built-ins, accurate scribing guarantees a seamless finish. Think of it as the difference between a rushed job and a crafted masterpiece. By paying attention to detail, you turn a simple task into a rewarding achievement. Embrace the process, and watch your space become flawlessly tailored—proof that precision makes all the difference.