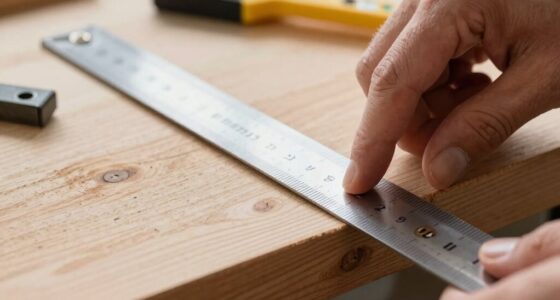

Using dividers makes creating even spacing simple without any math. You set the divider to your desired distance, then swing it to mark each point along your surface. Keep the divider steady and double-check each mark for accuracy. Practicing these steps helps you achieve neat, consistent results quickly. If you want to discover more tips and techniques to perfect your layout, keep exploring—dividers are your best tool to master even spacing effortlessly.
Key Takeaways
- Use dividers set to the desired spacing to mark equal distances directly on your material.
- Reposition the divider consistently for each mark to ensure uniform gaps without calculations.
- Double-check measurements before marking to maintain accuracy and prevent spacing errors.
- Keep the divider steady while swinging to maintain even spacing between points.
- Practice using dividers to develop a steady hand and achieve precise, evenly spaced layouts effortlessly.

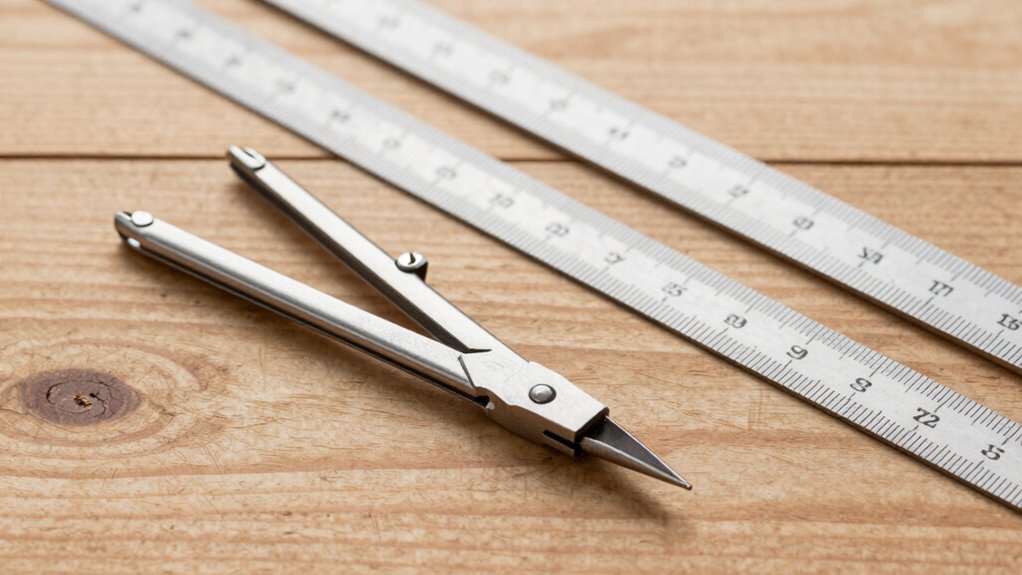
Big Horn 19053C 3 Pieces 8-Inch Spring Caliper / Divider Set
Big Horn outside calipers is a useful measurement transfer tool when working with round stock or oddly shaped…
As an affiliate, we earn on qualifying purchases.
As an affiliate, we earn on qualifying purchases.
Why Dividers Are the Easiest Tool for Even Spacing
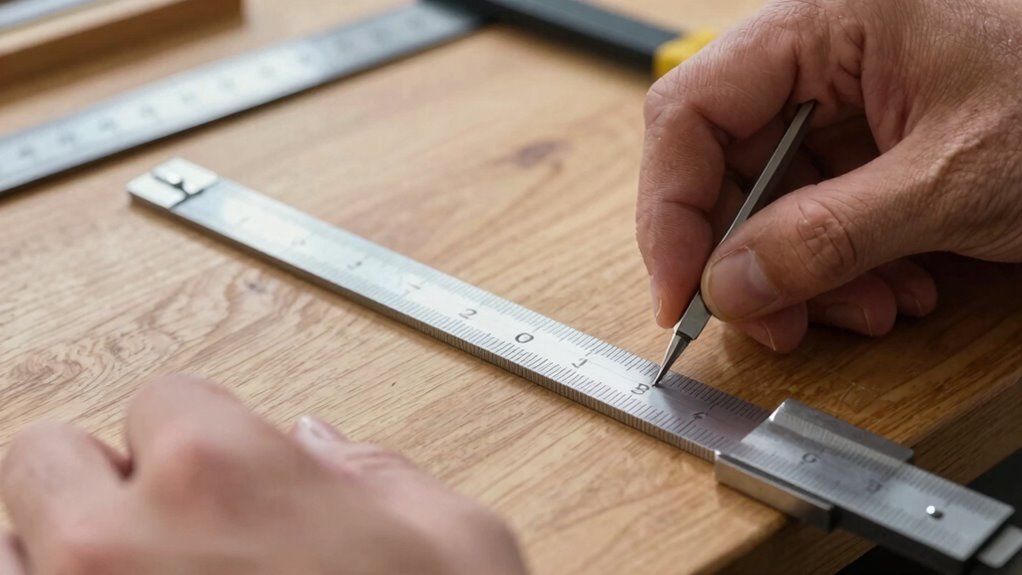
Dividers are the simplest tool for achieving even spacing because they allow you to measure and transfer distances accurately without complex calculations. As a versatile measuring tool, dividers help you set consistent intervals between points, making spacing techniques straightforward. Unlike rulers or tape measures, which require you to mark and then measure multiple times, dividers let you quickly mark equal distances directly on your material. This simplicity reduces errors and saves time, especially when working on layouts that demand precision. With just a few adjustments, you can ensure your spacing stays uniform across your project. Their ease of use makes dividers an invaluable tool for anyone looking to create evenly spaced designs without resorting to complicated math. Additionally, attention to detail is crucial in achieving a polished, designer look.

Malco 24-Inch Radius Divider for Sheet Metal Layout, Creates Circles up to 42-Inches, Nickel-Plated Steel Body with Replaceable Points, Fast-Adjusting Precision Scriber
PRECISION LAYOUT UP TO 42": Effortlessly scribe accurate circles and arcs up to 42 inches (107 cm) in…
As an affiliate, we earn on qualifying purchases.
As an affiliate, we earn on qualifying purchases.
The Basics of Using Dividers for Even Layouts

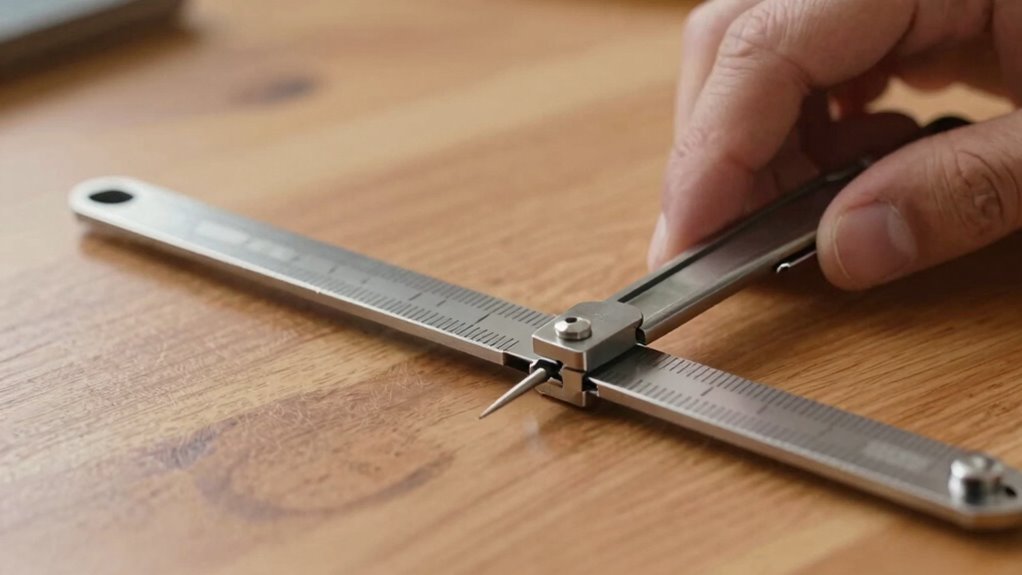
To create even layouts with dividers, start by adjusting the points on the tool so that the distance between the tips matches your desired spacing. This guarantees you maintain consistent spacing throughout your design, promoting spacing consistency. When setting your divider, focus on achieving proper grid alignment, which helps your layout look neat and organized. Hold the divider firmly and avoid shifting it while measuring, as this can disrupt the spacing accuracy. Always double-check your measurement before marking or transferring lines. Proper use of dividers can also help in maintaining visual balance across your layout. By mastering these basic steps, you’ll ensure your layout stays evenly spaced and aligned, making your work look professional and precise. Using dividers in this way simplifies the process without complex calculations, giving you reliable results every time.
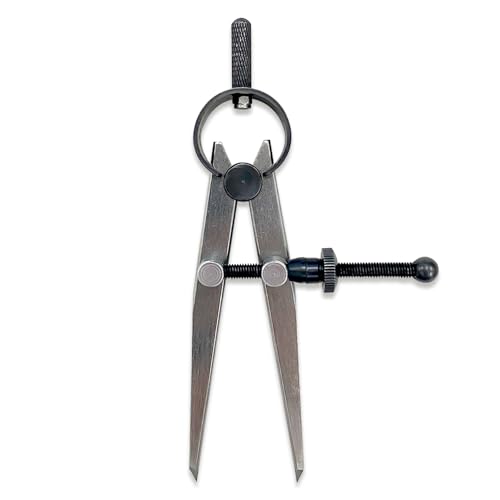
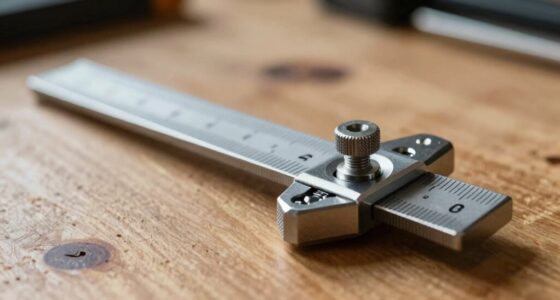
6-Inch Adjustable Lockable Steel Divider – Precision Leather, Wood & Metal Working Compass for Circles, Arcs, and Measurements
Versatile Measuring Tool – 6-inch adjustable wing divider ideal for leather crafting, woodworking, metalworking, and technical drawing applications.
As an affiliate, we earn on qualifying purchases.
As an affiliate, we earn on qualifying purchases.
How to Use Dividers for Precise Spacing: A Step-by-Step Guide

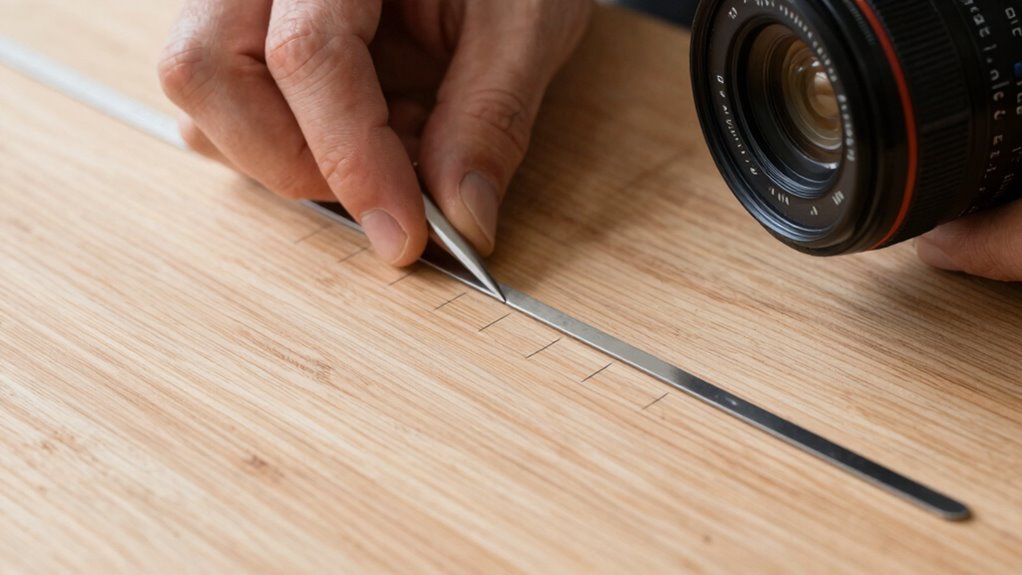
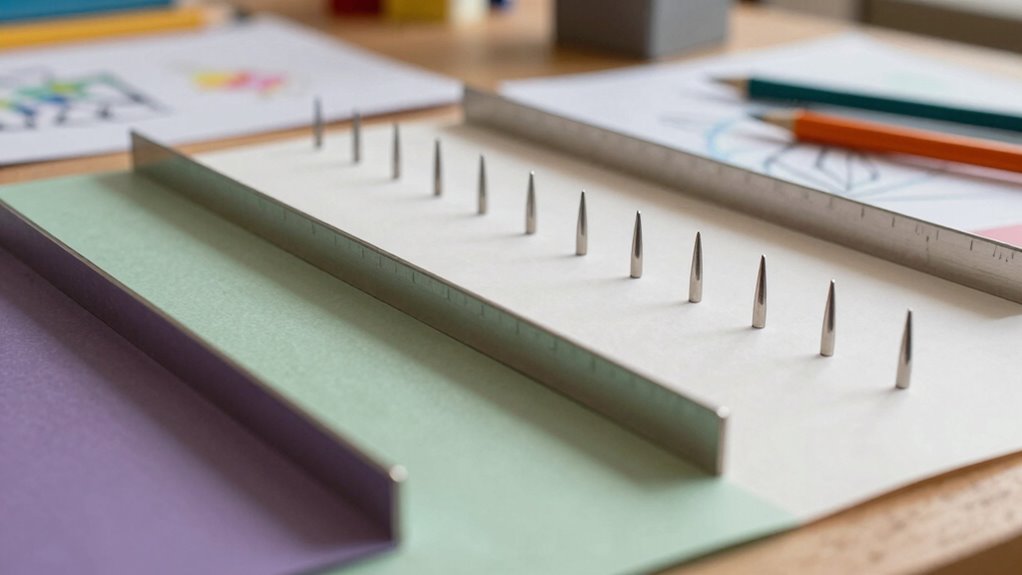
Start by setting your divider to the exact measurement of the spacing you want between points. This guarantees you achieve consistent spacing, which is essential for a clean grid layout. Place one point on your work surface and carefully swing the divider to mark the next point at your set measurement. Keep the divider steady to maintain spacing consistency across all marks. When marking multiple points, reposition the divider each time, always returning to your original measurement. This method guarantees uniform gaps and a professional appearance. Use a straightedge or ruler to verify each mark’s accuracy. With practice, you’ll become efficient at creating evenly spaced points, making your layout more precise without complex calculations. Dividers are your reliable tool for achieving perfect spacing in any project. Understanding contrast ratio can help you choose the right projector settings for optimal image quality.

Accurasee Artist 11 Inch Proportional Divider – Upgraded Drawing Supplies & Drafting Tools – Adjustable Caliper & Subject Dividers for Art Drawing Tools (Divider)
NEWLY UPGRADED – Premium design with 30% more proportion choices and durable pointers. Must have artist measurement caliper:…
As an affiliate, we earn on qualifying purchases.
As an affiliate, we earn on qualifying purchases.
Tips for Achieving Consistent Spacing With Dividers
To get consistent spacing with dividers, focus on placing each one precisely where you want it. Using uniform spacing techniques helps keep your layout neat and predictable. With practice, you’ll find it easier to maintain even gaps without complex calculations. Additionally, understanding joinery techniques can improve your overall accuracy and control when setting out projects.
Consistent Divider Placement
Achieving consistent divider placement can be simple when you use a few reliable techniques. Start by focusing on grid alignment; imagine your workspace as a grid to help position dividers accurately. Use the grid lines to ensure each divider is placed at the same distance from the edges or previous dividers. Keep your measurements consistent and double-check your placement before making a final mark. This method helps maintain spacing consistency across the entire layout. If your dividers have adjustable features, utilize them to fine-tune positioning. By aligning dividers carefully along grid lines and verifying distances regularly, you’ll achieve uniform spacing without complex calculations. Additionally, employing measurement tools can enhance precision and streamline your workflow. With practice, this approach becomes quick and intuitive, making your layout clean and professional-looking every time.
Uniform Spacing Techniques
Using dividers effectively requires consistent spacing, and a few simple tips can help you achieve this without complex math. Start by visualizing grid patterns to keep your layout organized. Use dividers consistently, aligning them along a straight edge or marked points to maintain even intervals. For more visual harmony, incorporate color coordination—using different shades or styles of dividers can help differentiate sections while preserving uniformity. When spacing multiple elements, measure carefully and set your dividers at equal distances, adjusting as needed. This approach ensures your design looks balanced and professional. By focusing on grid patterns and thoughtful color choices, you streamline the process of achieving uniform spacing, making your layout clean and cohesive without the need for advanced calculations.
Common Mistakes When Using Dividers and How to Avoid Them
One common mistake when working with dividers is placing them unevenly, which can throw off the entire layout. This misuse of dividers leads to uneven spacing pitfalls that distort your design. To avoid this, ensure your dividers are set with consistent pressure and carefully transferred each time. Be cautious of these pitfalls:
- Rushing and not double-checking measurements, causing uneven gaps
- Using worn or damaged dividers that slip or stretch
- Failing to maintain the same span on each transfer, creating inconsistent spacing
- Ignoring proper technique can compromise your entire project’s precision and professionalism.
These mistakes can result in a layout that looks unprofessional and uneven. Staying attentive to your technique and maintaining your tools helps you achieve precise, evenly spaced results without complex calculations. Proper use makes all the difference in your project’s success.
How to Choose the Right Divider for Your Projects
When selecting a divider, consider how its material matches your project’s surface to guarantee durability and ease of use. Think about the size and length options that fit your spacing needs without complicating your layout. Also, choose a style and aesthetic that complements your design for a seamless finished look. Additionally, understanding different at-home beauty technology options can inspire innovative approaches to your projects.
Material Compatibility Tips
Choosing the right divider depends on matching its material with the items you plan to separate. Material compatibility guarantees your divider won’t damage delicate surfaces or corrode over time. For example, metal dividers work well on sturdy surfaces but might scratch softer materials. Plastic dividers are lightweight and gentle but may not be as durable. Proper divider maintenance is essential to keep them functioning smoothly and extend their lifespan. Additionally, considering cultural influences can help determine the best type of divider for specific projects or settings.
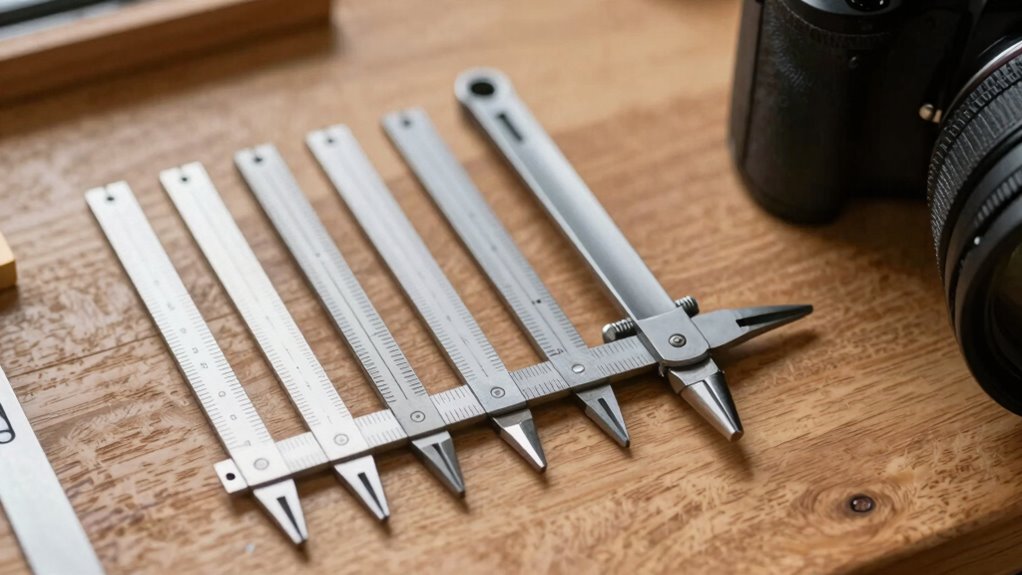
Size and Length Options
How do you determine the right size and length of a divider for your project? Start by considering the measurement accuracy you need. Longer dividers are ideal for marking large distances, offering stability and precision across bigger spans. Shorter dividers excel for detailed work or small measurements. Tool versatility is key—select a divider with adjustable arms or multiple sizes to handle various tasks without switching tools. Keep in mind that some dividers come with interchangeable tips or extendable arms, giving you flexibility. Ensuring the right size and length helps you maintain measurement accuracy and makes your work more efficient. Choosing the right tool reduces errors and streamlines your process, whether you’re working on woodworking, drafting, or art projects. Being aware of measurement accuracy ensures you select the most suitable divider for your specific needs.
Aesthetic and Style Match
Selecting a divider that matches your project’s aesthetic and style can substantially enhance your work’s overall appearance. When choosing, consider how the divider’s design complements your theme, emphasizing color harmony and style consistency. A well-matched divider creates a seamless flow, making your layout more visually appealing. Think about:
- The color palette, ensuring it blends smoothly with your project’s hues
- The style of the divider—whether sleek, ornate, or rustic—to match your overall design
- The material and texture to reinforce the mood you want to convey
These choices evoke emotion and cohesion, elevating your work from ordinary to extraordinary. By aligning your divider with your project’s aesthetic, you ensure every element works harmoniously, enthralling your audience and reinforcing your artistic vision.
Troubleshooting Spacing Issues With Dividers
When dividers aren’t spacing your layout as expected, it’s often due to conflicting styles or improper placement. These issues can disrupt grid alignment and cause uneven spacing. To troubleshoot, check for overriding CSS rules or misplaced dividers that may affect spacing consistency. Adjust the divider’s position or style to better fit your layout. Use the table below to identify common issues:
| Issue | Solution |
|---|---|
| Overlapping styles | Inspect CSS and resolve conflicts |
| Misaligned dividers | Ensure correct placement in the grid |
| Inconsistent spacing | Standardize divider size and margins |
| Layout disruption | Verify grid alignment and adjust as needed |
Proper understanding of wall surfaces and finishes can help you make more informed adjustments to your layout and prevent spacing issues from recurring. Address these points to restore proper spacing and maintain a clean, even layout.
Creative Ways to Use Dividers Beyond Drawing
Dividers aren’t just for organizing sketches—they can also add creative flair to your projects in unexpected ways. You can use them for decorative applications, transforming simple layouts into eye-catching designs, or enhancing educational activities with engaging visual aids. Imagine creating themed borders for posters or colorful dividers to highlight key points in a presentation. They can also serve as tactile tools, helping kids learn about measurement or pattern recognition through hands-on activities.
Dividers add creative flair to projects, turning layouts into eye-catching designs and engaging educational activities.
- Add visual interest to classroom displays, sparking curiosity and pride
- Create personalized borders for cards or scrapbooks, making each project unique
- Design interactive learning stations that motivate students to participate actively
Dividers go beyond their usual role—they’re versatile tools for both artistry and education.
Final Tips for Perfect Spacing Every Time
Achieving perfectly even spacing every time can seem tricky, but with a few simple tips, you can master it effortlessly. Use your dividers to ensure precision alignment by setting consistent measurements for each gap. For decorative accents, position them after confirming equal spacing to enhance visual appeal. Always double-check your measurements before marking; small adjustments make a big difference. Practice makes perfect—try spacing different elements to develop a steady hand. Here’s a quick reference:
| Step | Action | Tip |
|---|---|---|
| Measure | Set divider width | Keep it consistent |
| Mark points | Use light, clear lines | Avoid smudging |
| Align elements | Use dividers for placement | Ensure even gaps |
| Add accents | Place decorative accents carefully | Follow your spacing pattern |
| Final check | Review spacing and alignment | Adjust as needed |
Frequently Asked Questions
Can Dividers Be Used on Digital Design Software?
Yes, you can use dividers in digital design software. Many digital tools have features similar to traditional dividers that help you achieve even spacing effortlessly. You just need to explore the software’s tools or plugins designed for layout and alignment. These features allow you to maintain consistent spacing between elements, saving you time and reducing errors, making your design process much smoother and more precise.
What Materials Are Best for Durable Dividers?
Think of your dividers like sturdy bridges across a river; you want them to last through storms. For durability, opt for metal or high-quality plastic, which stand strong against wear and tear. If you prefer eco-friendly options, bamboo or recycled plastics are excellent choices, combining strength with sustainability. These materials guarantee your dividers stay reliable over time, helping you create evenly spaced layouts without worry.
How Do I Maintain Accuracy With Large Layouts?
To maintain accuracy with large layouts, you should focus on precision measurement and layout consistency. Use your dividers carefully, making sure they are properly calibrated before starting. Regularly double-check your measurements and keep your dividers steady to prevent slips. Mark your points clearly and work systematically across the entire layout. This approach guarantees your spacing remains even, precise, and consistent, making your final project look professional and well-structured.
Are There Eco-Friendly Options for Dividers?
Yes, you can find eco-friendly dividers made from recycled options and biodegradable materials. These alternatives help reduce environmental impact while maintaining your workspace’s organization. Look for dividers crafted from recycled paper, cardboard, or plant-based plastics, which break down naturally over time. By choosing these sustainable options, you support eco-conscious practices and keep your layouts neat without sacrificing your commitment to the environment.
Can Dividers Help With Irregular or Curved Spacing?
Did you know that 65% of designers struggle with irregular layouts? Yes, dividers can help with curved spacing by providing flexible guides that adapt to your layout needs. They’re perfect for irregular or curved spacing because you can customize their shape and placement easily. With dividers, you gain precision without complex math, making your design process smoother and more efficient, even with non-linear arrangements.
Conclusion
Think of dividers as your trusty compass in a vast sea of design, guiding you to even, harmonious spacing. I once watched a craftsman lay out a delicate pattern with just dividers—his steady hands and keen eye turned chaos into perfection. Just like that, with a little practice and patience, you’ll master flawless spacing. Trust in your tools, and let your creativity flow smoothly—your projects will stand out with professional precision every time.