To stop wandering lines, focus on adjusting the guide point to keep it centered and aligned with your marking blade. Secure the guide firmly and make small, precise tweaks until the marking lines stay consistent and straight. Always verify your setup with test marks on scrap wood before working on your project. Keep your gauge well-maintained and properly calibrated, and you’ll achieve accurate lines every time—there’s more to perfecting your setup that can help you get even better results.
Key Takeaways
- Ensure the gauge blade is properly aligned parallel to the fence for accurate marking.
- Tighten adjustment screws securely without over-tightening to prevent blade misalignment.
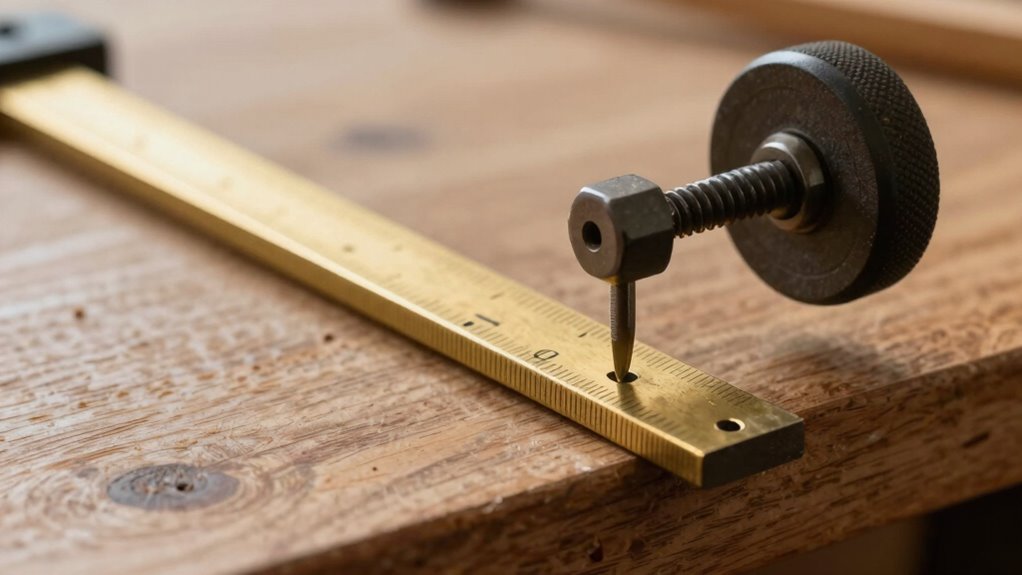
- Regularly check and calibrate the gauge using a precise ruler before each use.
- Keep the blade sharp and in good condition to maintain consistent, clean lines.
- Test the setup on scrap wood to confirm the gauge stops wandering and marks accurately.

Kodrily Aluminum Expanding Sewing Gauge, Adjustable Button Guide Measure, Quilting Marking Equal Space Divider Tool, Multifunctional Button Guide Spacing Device for Craft, Pleat, Button
Equidistant Design: The aluminum expanding sewing features adjustable, equidistant lengths that extend up to 80cm, making it compact…
As an affiliate, we earn on qualifying purchases.
As an affiliate, we earn on qualifying purchases.
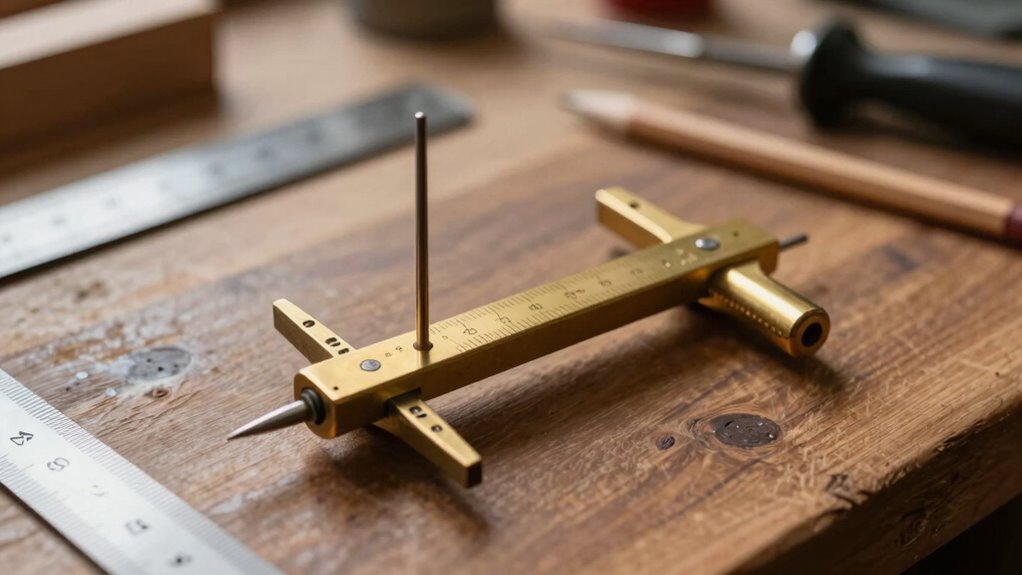
Why Proper Marking Gauge Setup Prevents Wandering Lines
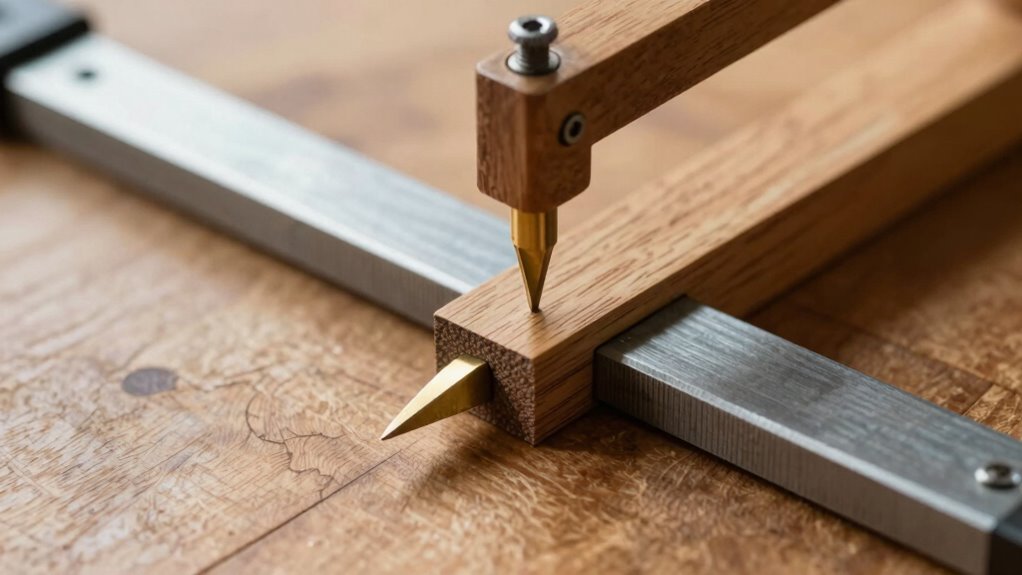
Have you ever struggled with lines that drift off your intended mark? That’s often due to poor marking gauge setup. Ensuring measurement consistency is key; if your measurement isn’t precise, your lines will wander. Proper blade alignment guarantees that your marking tool cuts or marks accurately along the intended path. When the blade isn’t aligned correctly, even a slight tilt can cause the line to veer off course. Regularly checking and maintaining blade alignment helps you maintain consistent measurements throughout your project. This reduces errors and produces cleaner, more accurate lines. Correct setup eliminates unnecessary adjustments later, saving time and frustration. Ultimately, a well-adjusted marking gauge with proper blade alignment and measurement consistency ensures your lines stay true to your intended marks, making your woodworking projects more precise. Measurement accuracy is essential for achieving professional results.

Clarke Brothers Wheel Marking Gauge – Woodworking Marking Scriber Kit With 2 Replacement Cutters – Wood Marking Tools With Graduated Inch & MM Scale – Solid Metal Bar Wood Scribe Tool For Carpenter
✅ PATENT PENDING – ROLL STOP FENCE WITH FLAT SPOT – woodworking tasks with a high-end wheel marking…
As an affiliate, we earn on qualifying purchases.
As an affiliate, we earn on qualifying purchases.
How to Find the Adjustment Point That Stops Your Lines From Wandering

To stop your lines from wandering, you need to identify and adjust the specific point where the marking gauge’s guide or blade causes deviation. Start by inspecting the gauge’s gauge calibration to verify it’s set correctly. Make a test mark on scrap wood, then compare it to your intended line. If the line wanders or shifts, check whether the guide or blade is loose or misaligned. Tighten or reposition the adjustment mechanism as needed. Fine-tuning this point helps you find the exact spot where the guide maintains marking consistency. Regularly testing and adjusting prevent drift, ensuring your lines stay straight and true. By isolating and fixing the adjustment point, you eliminate wandering and improve your overall accuracy. Proper gauge calibration is essential for maintaining consistent, straight lines in your projects.
Clarke Brothers Wheel Marking Gauge – Woodworking Marking Scriber Kit With 2 Replacement Cutters – Wood Marking Tools With Graduated Inch & MM Scale – Solid Metal Bar Wood Scribe Tool For Carpenter
✅ PATENT PENDING – ROLL STOP FENCE WITH FLAT SPOT – woodworking tasks with a high-end wheel marking…
As an affiliate, we earn on qualifying purchases.
As an affiliate, we earn on qualifying purchases.
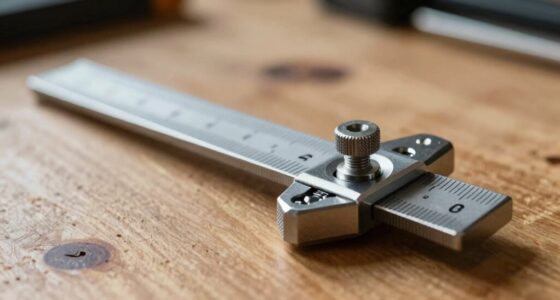
How to Set Your Marking Gauge for Accurate, Consistent Lines
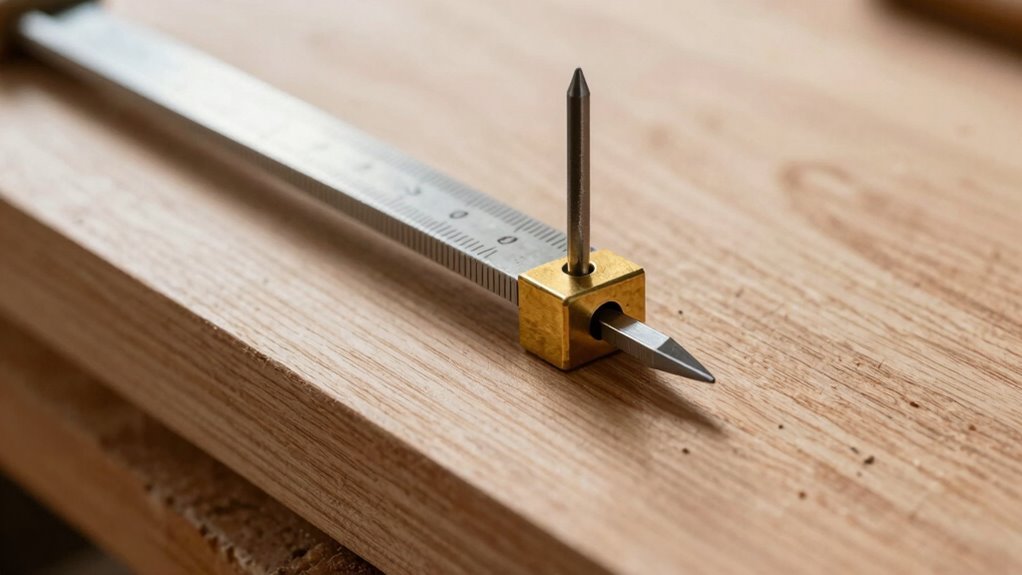
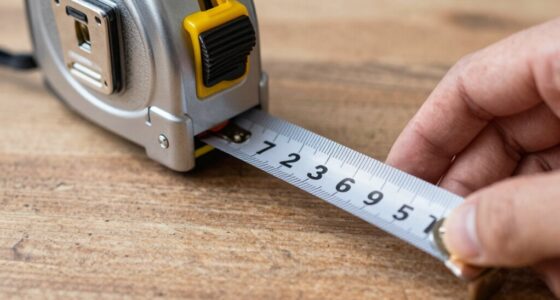
Setting your marking gauge accurately is essential for producing precise and consistent lines. Before adjusting the tool, ensure your marking gauge is in good condition—check for smooth operation and clean, sharp blades. Proper tool maintenance prevents slipping or uneven marks. Always work with woodworking safety in mind by wearing eye protection and keeping your hands clear of the blade. To set the gauge, loosen the thumb screw, slide the fence to your desired measurement, and tighten it securely. Confirm the measurement with a reliable ruler. Regularly inspecting and maintaining the gauge keeps it performing accurately, helping you achieve professional results while prioritizing safety at all times. Proper setup ensures your lines stay true, reducing errors in your project.

Clarke Brothers, ONLY Replacement Blade for Wheel Marking Gauge, Carbon Steel Marking Gauge Replacement Cutter for Wood Scribe Tool, Marking Scriber Cutting Gauge Accessories
✅ Complete Replacement Set – Each pack contains 3 black replacement wheel cutters and 3 blade fixation bolts,…
As an affiliate, we earn on qualifying purchases.
As an affiliate, we earn on qualifying purchases.
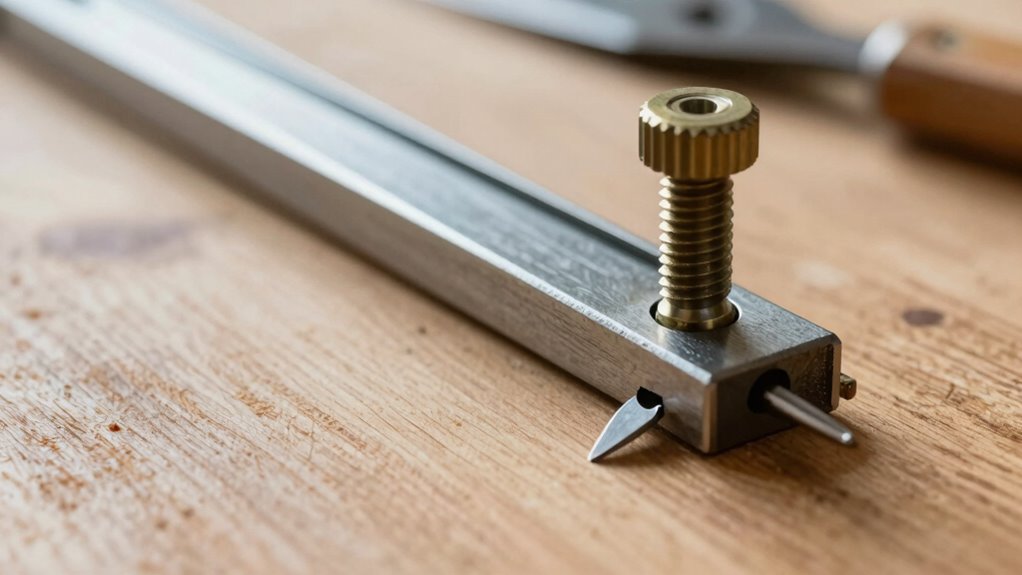
Common Mistakes That Cause Wandering and How to Avoid Them
One common mistake that causes wandering lines is failing to secure the marking gauge firmly in place. If it moves during marking, your line will be uneven and inconsistent. To avoid this, guarantee proper marking gauge calibration. Second, neglecting to check for proper blade alignment can lead to wandering, as an improperly aligned blade presses unevenly against the wood. Third, avoid tightening the securing screw excessively, which can distort the gauge’s frame or affect calibration. These issues cause instability and inconsistency in your markings. Make sure to regularly calibrate your gauge and verify blade alignment before each use. Additionally, understanding wood movement and how it can impact your markings helps ensure your lines stay true, preventing wandering and ensuring precise, reliable markings every time.
Fine-Tuning Your Gauge for Perfect, Reliable Markings
Fine-tuning your marking gauge is essential for achieving precise, reliable lines every time you use it. Start by checking the blade alignment; it should sit parallel to the edge for accurate marking. Slight adjustments may be necessary to eliminate any skew. Next, focus on handle tension—the handle should hold the blade firmly without excess slack, ensuring consistent pressure. Too tight, and it’s hard to make fine adjustments; too loose, and the blade shifts. Use the table below to guide your fine-tuning process: Free Floating
Frequently Asked Questions
What Types of Marking Gauges Are Best for Different Woodworking Projects?
For woodworking projects, choosing the right marking gauge types depends on your task. For detailed work, a fine-adjustment wheel gauge offers precision. For large projects, a beam gauge with a sturdy brass or steel head provides stability. Dovetail or mortise gauges excel for joinery. You’ll want a versatile marking gauge for general tasks and specialized ones when accuracy is critical, ensuring clean, precise lines every time.
How Often Should I Calibrate or Check My Marking Gauge?
Think of your marking gauge as a trusted compass guiding your craftsmanship. You should calibrate it regularly—ideally before each project or when you notice inaccurate marks—to guarantee precision. Incorporate simple maintenance tips, like cleaning and tightening parts, to keep it reliable. Frequent calibration not only preserves accuracy but also extends your tool’s lifespan, allowing your work to stay true and consistent through every cut and line.
Can Adjustments Be Made With One Hand or Require Tools?
You can usually make single hand adjustments on a marking gauge, especially if it features a tool-free setup. Many modern gauges are designed for easy, one-handed tweaks, allowing you to tighten or loosen the thumbscrew or locking mechanism without tools. Just guarantee the gauge is stable in your hand, and use your fingers to adjust the beam or scribing tool smoothly. This makes quick, accurate adjustments convenient and efficient.
What Materials Are Most Suitable for Durable Marking Gauge Components?
You’ll want to choose metal alloys like brass or stainless steel for durable marking gauge components—they withstand wear and won’t easily bend. Hardwood components, such as maple or oak, also work well for their strength and stability. When it comes to longevity, it’s a match made in heaven; combining these materials ensures your gauge stays accurate and reliable, even when you’re working on tough projects.
How Does Humidity Affect Marking Gauge Accuracy and Setup?
Humidity effects can cause your marking gauge to become less accurate because moisture impact leads to wood swelling or warping. When humidity rises, the wood parts may expand, making your gauge less precise and difficult to set correctly. Conversely, low humidity can cause shrinking, resulting in looseness and inaccuracies. To maintain accuracy, keep your workspace stable in humidity, and regularly check and adjust your gauge for consistent, reliable markings.
Conclusion
Getting your marking gauge set up correctly is the key to clean, accurate lines that won’t wander. Take the time to fine-tune the adjustment point—it’s worth its weight in gold. Remember, a little patience goes a long way, and if you rush, you’ll only end up chasing your tail. Keep practicing, stay attentive, and you’ll find that precision becomes second nature. When your gauge’s dial is right, your projects will turn out just right.