
To countersink like a pro, choose the right countersink bit matching your screw head style and size, and verify it’s sharp. Mark your drill depth carefully and use steady pressure to create a smooth, conical hole without damaging the wood. Keep your workpiece secure, test on scrap first, and avoid over-drilling to prevent splitting. With these tips, you’ll achieve flush screws and a professional finish—learn more to master your technique.
Key Takeaways
- Select the correct countersink bit matching your screw head style and size for a flush, professional finish.
- Drill with steady, controlled pressure at the appropriate speed to create a clean, conical hole without damaging the material.
- Set the proper depth using a gauge or tape to prevent over-drilling and avoid splitting the workpiece.
- Secure the workpiece firmly with clamps to ensure precise, even countersinking and prevent slips.
- Practice on scrap material to perfect your technique, ensuring consistent flush screw installation without splitting.

EZARC Countersink Drill Bit Set, 12 PCS Counter Sink Drill Bit Adjustable, #4, #6, #8, #10, #12, Magnetic Extension bit Holder for Woodworking with Storage Box
【Unique Two-Flute Design】Featuring a dual-edge cutting design, these countersink drill bits eliminate chatter and ensure smooth, precise finishes….
As an affiliate, we earn on qualifying purchases.
As an affiliate, we earn on qualifying purchases.
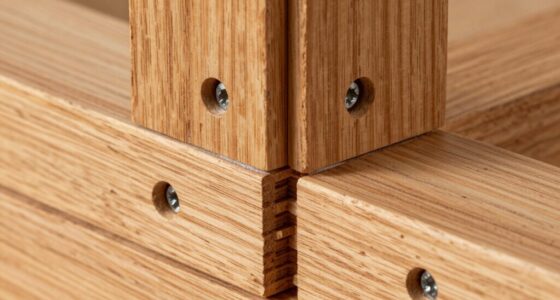
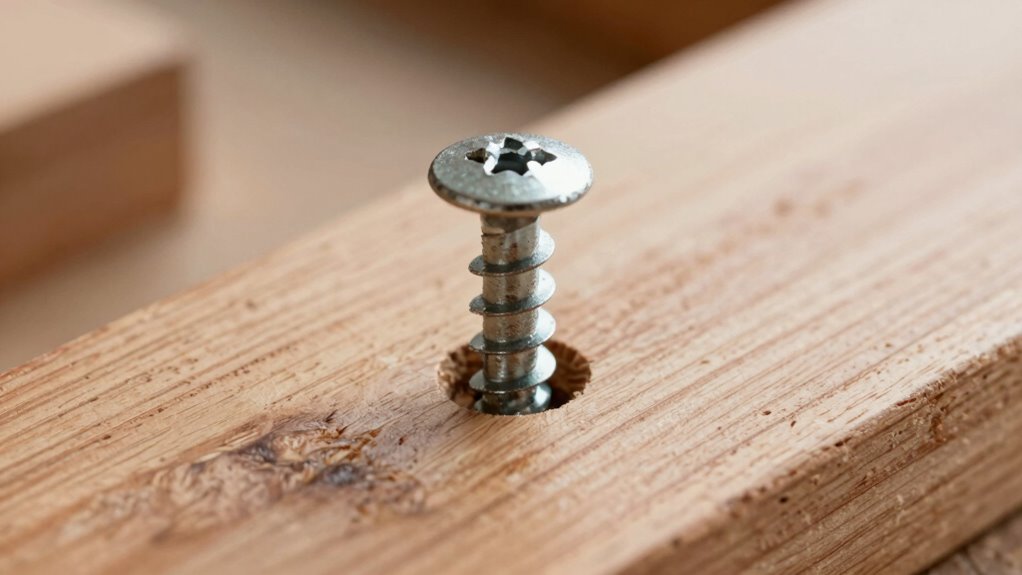
How to Countersink Screws Correctly
Are you wondering how to achieve a perfectly flush finish when installing screws? The key lies in choosing the right drill bit materials and understanding screw head styles. Use high-quality drill bits made from materials like cobalt or carbide for durability and precision, especially when working with hardwoods or dense materials. Selecting the appropriate European cloud innovation countersink bit compatible with your screw head style—whether flat, oval, or round—will help ensure a clean, smooth recess. Properly set your drill speed and apply steady pressure to prevent tearing or splitting. Adequate drill bit maintenance can extend the lifespan of your tools and maintain their effectiveness. Regular tool calibration ensures consistent results and reduces the risk of errors. Paying attention to material properties and matching them with your screw head styles will help you create neat, professional-looking countersinks every time. Ensuring proper technique and practice through testing on scrap material first will help gauge depth and fit, leading to more precise results.
EZARC Countersink Drill Bit Set, 12 PCS Counter Sink Drill Bit Adjustable, #4, #6, #8, #10, #12, Magnetic Extension bit Holder for Woodworking with Storage Box
【Unique Two-Flute Design】Featuring a dual-edge cutting design, these countersink drill bits eliminate chatter and ensure smooth, precise finishes….
As an affiliate, we earn on qualifying purchases.
As an affiliate, we earn on qualifying purchases.
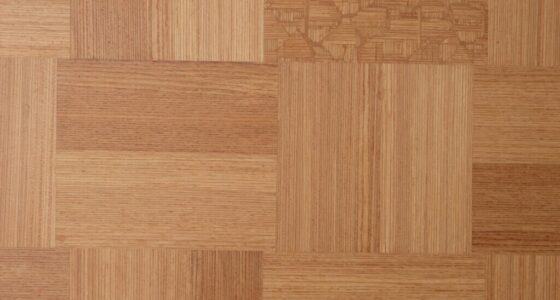
Choosing the Best Countersink Bit for Woodwork
Selecting the right countersink bit for woodwork is essential to achieving clean, professional results. First, consider drill bit materials like high-speed steel or cobalt, which offer durability and sharpness. Second, look for an ergonomic design that provides comfortable handling and precise control during use. Third, choose a bit compatible with your drill, ensuring it fits securely and spins smoothly. Fourth, evaluate the size options to match your screw heads perfectly. A well-chosen bit with durable materials and ergonomic features reduces splintering and ensures a flush finish. Additionally, paying attention to bit geometry can improve cutting performance and reduce tear-out. For optimal results, selecting a countersink bit with precise manufacturing tolerances can ensure consistent quality across multiple projects. By focusing on these factors, you’ll improve your accuracy and efficiency, making your woodworking projects look polished and professional each time.

DEWALT Countersink Drill Bit Set for Wood, Metal, Plastic, 5 Pc,1/4, 3/8, 1/2, 5/8, 3/4 Inch Industrial Grade High Speed Steel Twist Countersink Set, Black and Gold (DWAMDB5SETCS)
Precision milled and ground to an 82° tip, suitable for most machinable materials (iron, steel, soft metals, plastic,…
As an affiliate, we earn on qualifying purchases.
As an affiliate, we earn on qualifying purchases.
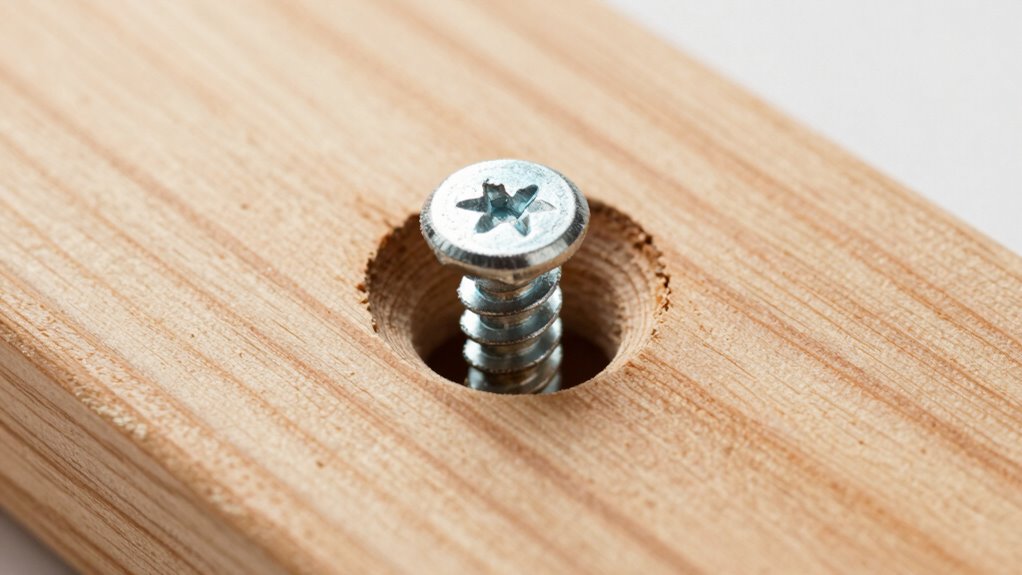
Setting the Right Depth to Prevent Damage

Once you’ve chosen the right countersink bit, setting the correct depth is key to avoiding damage and achieving a clean finish. Proper depth adjustment ensures the screw head sits flush without splitting the material. To do this effectively, consider material considerations such as hardness and density, which influence how deep you should set the bit. Use a depth gauge or mark the bit with tape to set consistent depth. Here’s a quick guide:
| Material Type | Depth Adjustment Tips |
|---|---|
| Softwood | Slightly shallower to prevent tearing |
| Hardwood | Deeper, but avoid splitting |
| Plywood | Moderate depth, even across layers |
| MDF | Shallow, to prevent chipping |
| Metal | Precise control, minimal depth |
Adjusting depth properly prevents damage and ensures professional results. Understanding material properties can further enhance your countersinking technique, especially when working with different wood types. Being aware of grain direction can help prevent splitting and improve the overall finish. Using proper technique helps avoid common mistakes like overdriving screws or damaging the material. Additionally, practicing on scrap pieces can help develop a consistent sinking depth before working on your main project.
EZARC Countersink Drill Bit Set, 12 PCS Counter Sink Drill Bit Adjustable, #4, #6, #8, #10, #12, Magnetic Extension bit Holder for Woodworking with Storage Box
【Unique Two-Flute Design】Featuring a dual-edge cutting design, these countersink drill bits eliminate chatter and ensure smooth, precise finishes….
As an affiliate, we earn on qualifying purchases.
As an affiliate, we earn on qualifying purchases.
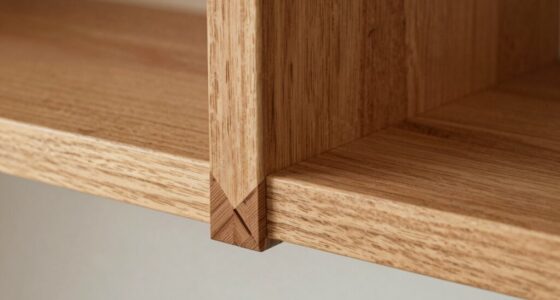
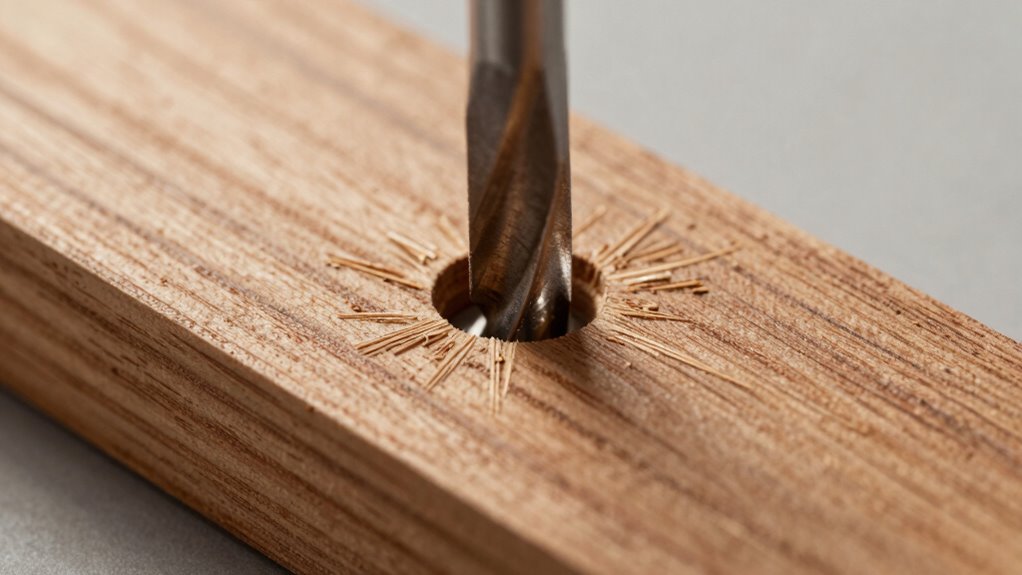
Step-by-Step: Countersinking Without Cracks

To avoid cracks while countersinking, it’s vital to work steadily and apply consistent pressure. Proper material selection guarantees you’re using the right type of wood, metal, or plastic that can handle countersinking without splitting. Keep your tools well-maintained; sharp bits reduce stress on the material and produce cleaner cuts. Follow these steps:
- Choose a countersink bit suited for your material to prevent cracks.
- Secure your workpiece firmly to avoid slipping and uneven pressure.
- Start slowly, applying steady, even pressure to prevent cracking.
- Regularly check and maintain your tools, sharpening bits as needed for smooth operation.
Sticking to these practices will help you achieve flush screws without damaging your workpiece. Proper material selection and tool maintenance are key to flawless countersinking every time.
Troubleshooting Common Countersinking Problems
Even experienced DIYers encounter issues with countersinking, but identifying and solving these problems quickly keeps your project on track. One common problem is drill bit dullness, which can cause uneven or rough holes. Regular drill bit maintenance, such as cleaning and sharpening, ensures smooth cuts and prevents splintering. Material compatibility also plays a vital role; using the wrong bit for softwood versus hardwood can lead to cracking or incomplete countersinks. Double-check that your drill bit is suitable for the material you’re working with. If you notice the screw isn’t sitting flush, it might be because the bit isn’t properly aligned or the material is too dense. Adjust your technique accordingly, and always use the right bit for the job to avoid common countersinking pitfalls. Additionally, choosing a vetted electric bike conversion kit can enhance your mobility options when tackling outdoor projects. Being aware of ambient‑light playbooks can also help you optimize your workspace for better visibility and precision during your work. Incorporating sound healing techniques into your workspace can further improve focus and reduce stress during detailed tasks. Proper lighting and tool calibration are essential to ensuring your countersinking remains accurate and efficient.
Finishing Tips: Concealing and Protecting Your Screws
Proper finishing not only enhances the appearance of your project but also protects the screws from corrosion and damage. To achieve a sleek look, focus on effective screw concealment and surface protection. Here are four tips to help you finish like a pro:
Proper finishing boosts appearance and shields screws from damage—finish like a pro with these helpful tips.
- Use wood filler or matching putty to hide screw heads for seamless screw concealment.
- Sand the area smoothly before applying a finish to ensure even surface protection.
- Apply a stain, paint, or sealant that matches your project to further conceal screws and guard against moisture. Choosing the right finishing materials is crucial for durability and aesthetic appeal.
- Consider using decorative caps or covers for added aesthetic appeal and extra surface protection. Proper surface preparation, including sanding techniques, can significantly improve the final outcome.
Additionally, selecting the right materials and fuel primers can help ensure long-lasting results and durability for your outdoor projects. Implementing these steps will give your project a polished look and prolong its durability.
Frequently Asked Questions
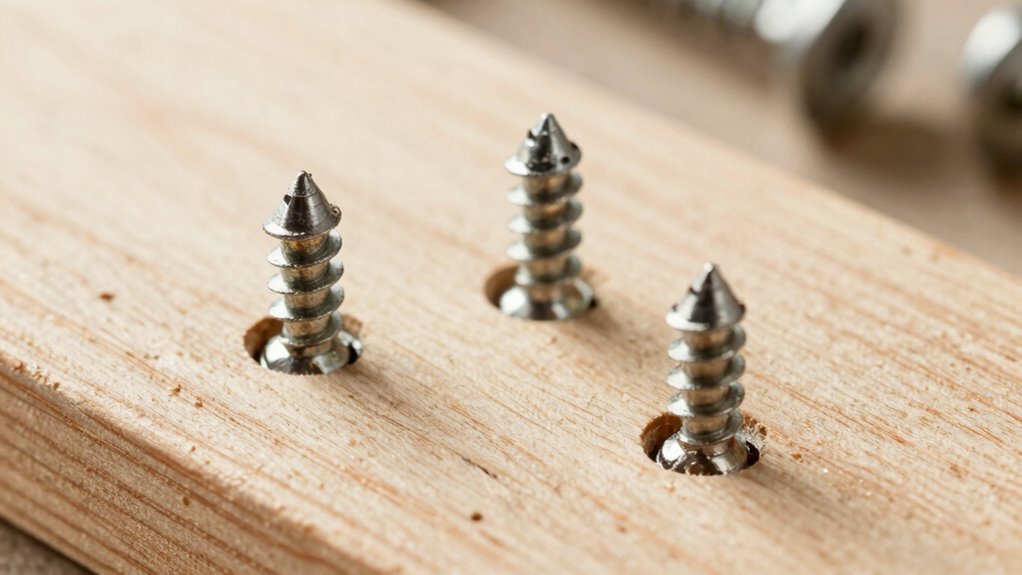
What Types of Screws Are Best Suited for Flush Mounting?
For flush mounting, you should use screws with a flat or low-profile head design that sit flush with the surface. Opt for screws made of durable materials like stainless steel or brass to prevent rust and guarantee longevity. These material choices provide strength, while the head design allows easy countersinking without splitting the wood. This combination ensures a professional, smooth finish and secure attachment every time.
How Do Environmental Factors Affect Countersinking and Screw Longevity?
Environmental factors profoundly impact countersinking and screw longevity. Did you know moisture impact causes up to 70% of fastener failures? High humidity accelerates rusting, weakening screws, while temperature effects cause materials to expand or contract, risking splits or loosening. To prevent this, choose corrosion-resistant fasteners and consider environmental conditions during installation. Proper sealing and using weather-resistant coatings help guarantee your screws stay flush and durable over time.
Can Countersinking Be Done With Power Drills or Only Specialized Tools?
You can definitely do countersinking with a power drill, thanks to its versatility. Using a drill with the right bit, you can create flush screw heads efficiently. However, specialized countersink tools offer advantages like more precise control, consistent depth, and cleaner results. If you’re tackling detailed or delicate work, investing in a dedicated countersink bit or tool can give you better accuracy and a professional finish, but a power drill is perfectly suitable for general tasks.
What Safety Precautions Should Be Taken During Countersinking?
Think of yourself as a craftsman shaping wood with precision. To stay safe during countersinking, wear your personal protective equipment like safety glasses and gloves, shielding your eyes and hands from debris. Keep your workspace tidy, ensuring tools don’t slip or cause accidents. Always double-check your drill settings and hold the material firmly, so your work remains smooth and safe, preventing splinters or injuries. Safety first for perfect results!
How Do I Choose the Right Screw Length for Different Materials?
To choose the right screw length for different materials, consider material compatibility and screw diameter. You want the screw to penetrate enough for a secure fit without going through the other side. For softer materials, opt for shorter screws to prevent splitting, while harder materials may need longer screws for better anchoring. Measure the thickness of your material and select a screw that extends about 1 to 1.5 times its diameter for ideal strength.
Conclusion
Mastering countersinking guarantees your screws sit flush and your project looks professional. With the right tools, depth control, and technique, you can prevent splitting and damage. Remember, practice makes perfect—so don’t be afraid to experiment on scrap wood first. By following these tips, you’ll enjoy flawless results and greater confidence in your woodworking. Trust the process, and soon you’ll be countersinking like a pro, creating beautiful, durable finishes every time.