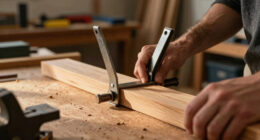
Many woodworkers get the peg placement in breadboard ends wrong by ignoring the key rule: pegs should be evenly spaced and aligned with the wood grain, not just randomly drilled. Proper placement guarantees a strong, stable joint that resists warping and looks professional. Mistakes like placing pegs too close to edges or unevenly spacing them weaken the joint and cause aesthetic flaws. Keep in mind these principles to improve your project’s durability—more tips await if you continue.
Key Takeaways
- Proper peg spacing aligns with wood grain and avoids placing pegs too close to edges, preventing weaknesses.
- Accurate measurement and consistent intervals are crucial for joint stability and aesthetic appeal.
- Using templates or jigs ensures uniform peg placement and professional results.
- Ignoring the grain orientation can lead to splitting, warping, or joint failure over time.
- Testing fit before final assembly helps identify and correct misaligned or improperly spaced pegs.

Beaiguna Self Centering Dowel Jig Kit, Drill Guide Jig Block for Straight Holes with 6PCS Drill Bushings, Premium Self Centering Doweling Jig Kit for Woodworking, Adjustable Width Biscuit Joiner Tool
FLEXIBLE ADJUSTMENT: Our wood dowel jig can clamp a wide range of wood blocks from 0.4 to 2…
As an affiliate, we earn on qualifying purchases.
As an affiliate, we earn on qualifying purchases.
What Is the Peg Placement Rule in Breadboard Ends?

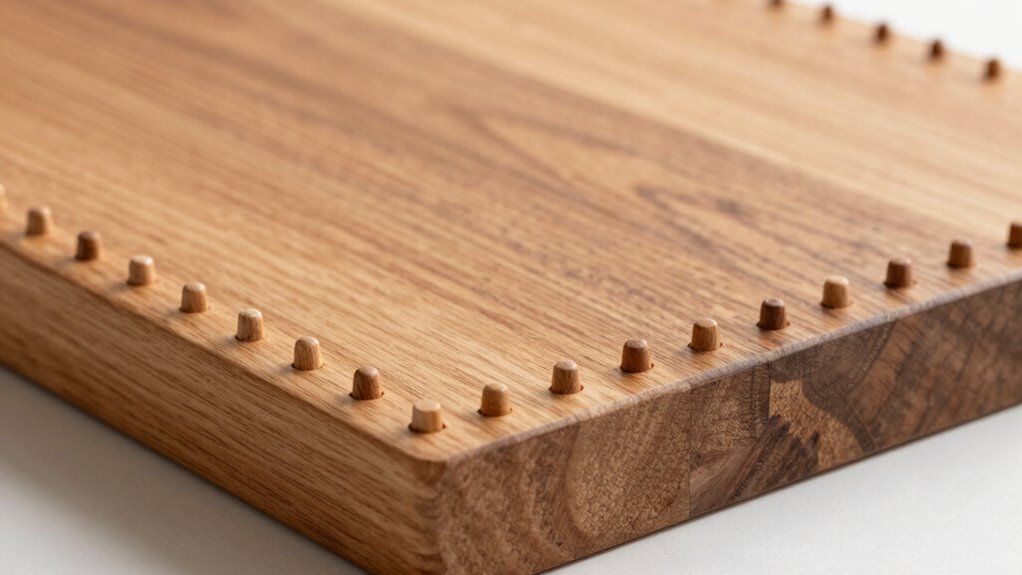
The peg placement rule in breadboard ends guarantees that the pegs are positioned correctly to support the tabletop securely. Proper joint spacing is essential to ensure stability and even weight distribution across the table. When installing pegs, you need to focus on peg alignment, making sure each peg is evenly spaced and aligned with adjacent ones. This consistency prevents uneven stress that can warp or weaken the joints over time. Typically, the rule involves spacing the pegs at regular intervals, often matching the thickness of the tabletop material. By adhering to this rule, you guarantee a snug fit, which helps keep the breadboard end firmly attached without gaps or wobbling. Correct peg placement is crucial for both the table’s durability and its aesthetic appeal. Additionally, understanding the role of proper spacing can help prevent common issues like warping or joint failure.

Seed Spacer Tool – Innovative Steel Gardening Template for Organized Planting & Bigger Yields – DIY Layout with Interchangeable Pegs, Ergonomic Wooden Handle
Fully Adaptable Planting Patterns: Unlike fixed-template tools, our seed spacer tool features 11 threaded sockets. Screw in the…
As an affiliate, we earn on qualifying purchases.
As an affiliate, we earn on qualifying purchases.
Why Proper Peg Placement Is Key for Strength and Looks
Proper peg placement directly impacts the strength and appearance of your breadboard ends. Historically, woodworkers recognized that correct placement prevents warping and loosening over time. The context of traditional woodworking emphasizes using material selection that matches the main table, ensuring consistent expansion and contraction. Proper placement distributes stress evenly, reducing the risk of splitting or cracking. When pegs are positioned correctly, the breadboard end maintains a clean, professional look, with tight joints that resist movement. Conversely, poor placement can lead to weak spots that compromise structural integrity and mar the visual appeal. Understanding this connection helps you choose the right materials and follow best practices, resulting in a durable, attractive finished piece that stands the test of time. Additionally, considering wood movement during peg placement ensures long-term stability and prevents future issues.

DIYLOG Corner Clamp for Woodworking, 90 Degree Corner Clamp, 4 Pack 5.5"x 5.5" Aluminum Alloy Right Angle Woodworking Tools, Positioning Squares for Picture Frame, Box, Cabinets, Drawers
【90 Degree Wood Working Tools and Equipment Precision Angle Clamp】Made of high quality aluminum alloy to ensure 90…
As an affiliate, we earn on qualifying purchases.
As an affiliate, we earn on qualifying purchases.
Common Mistakes When Placing Pegs in Breadboard Ends

One common mistake is ignoring standard peg spacing, which can weaken the joint or cause uneven appearance. You might also overlook structural alignment, leading to instability or gaps. Additionally, misunderstanding load distribution can cause stress points that damage the breadboard ends over time. To ensure optimal performance, it’s essential to follow European cloud innovation standards that emphasize precision and security in construction.
Ignoring Standard Peg Spacing
Ignoring standard peg spacing can lead to misaligned boards and weakened joints, which jeopardizes the overall stability of your project. When you don’t follow recommended spacing, the wood grain may not align properly, affecting both strength and appearance. Improper peg placement can cause uneven pressure when tightening, risking splits or cracks over time. Additionally, inconsistent spacing can mar the finish quality, leaving visible gaps or uneven surfaces that detract from your craftsmanship. To ensure durability and a professional look, measure carefully and adhere to standard peg spacing guidelines. This not only preserves the natural flow of the wood grain but also makes assembly smoother. Proper peg placement is especially important when working with Vetted components to achieve optimal performance and longevity. Ultimately, respecting proper peg spacing helps you build a stronger, more visually appealing breadboard end.
Overlooking Structural Alignment
When placing pegs in breadboard ends, overlooking their structural alignment can cause serious problems down the line. If you ignore grain orientation, the breadboard may not expand and contract uniformly, leading to cracks or warping over time. Proper alignment ensures the pegs follow the natural grain, maintaining the integrity of the joint and supporting consistent movement. Misaligned pegs can also affect finish quality, causing uneven surfaces or visible gaps that detract from the appearance. Paying attention to grain direction helps create a seamless, professional look and reduces the risk of damage. Always check that the pegs are aligned with the wood’s grain before fastening; this simple step preserves both structural stability and the high-quality finish you want in your project. Additionally, understanding wood movement is essential for anticipating how your project will age and adapting your peg placement accordingly.
Misunderstanding Load Distribution
Understanding how load distributes across your breadboard ends is essential because improper peg placement can cause uneven stress, risking structural failure. Many overlook that load transfer depends on grain orientation; placing pegs without considering the direction of the wood’s fibers weakens the connection. If you position pegs across the grain, you may compromise finish quality and create stress points that lead to cracks. Proper load distribution requires aligning pegs with the grain, ensuring even force transfer and maintaining the integrity of your piece. Additionally, Free Floating designs can influence how load is distributed, emphasizing the importance of correct peg placement to achieve stability. Ignoring this can result in visible splits or a compromised surface finish, diminishing both beauty and durability. To avoid these mistakes, always consider grain orientation when placing pegs, promoting better load transfer and preserving the finish quality of your breadboard ends.

Kreg Shelf Pin Jig 1/4 Inch – Cabinet Hole Drilling Guide – Edge Aligned Precision – Adjustable Tool – KMA3225
1/4 Inch Shelf Pin Jig: Designed for drilling accurate 1/4 in shelf pin holes for adjustable shelving in…
As an affiliate, we earn on qualifying purchases.
As an affiliate, we earn on qualifying purchases.
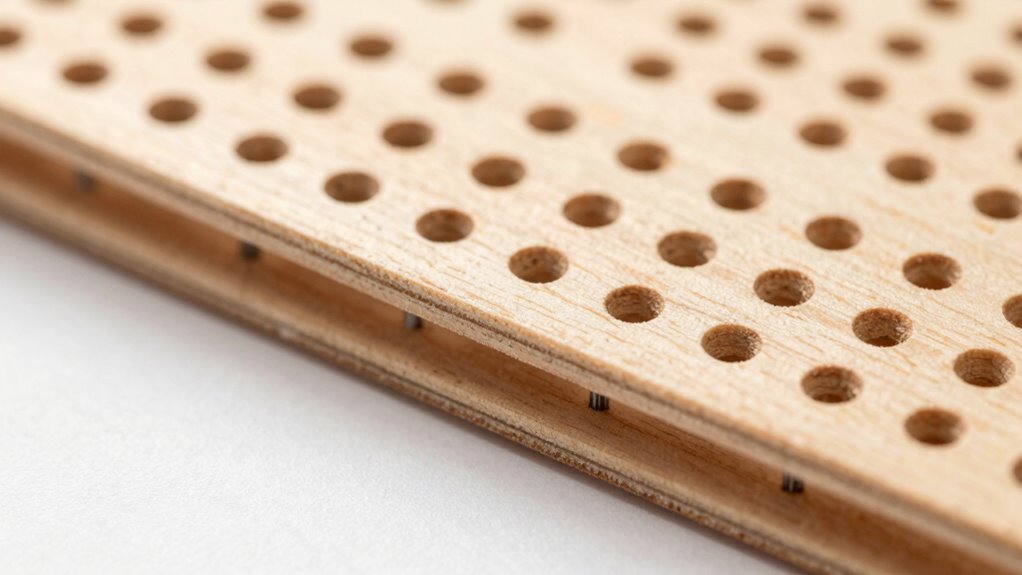
How to Determine Correct Peg Spacing for Your Project
To guarantee your breadboard ends are sturdy, you need to measure peg spacing accurately. Proper spacing helps maintain structural integrity and prevents wobbling or failure. By understanding these key points, you can create a reliable and balanced project. Additionally, using correct peg placement ensures your build adheres to best practices for stability and longevity.
Measuring Peg Spacing Precisely
Ever wonder how to guarantee your peg spacing is spot-on for a sturdy and functional breadboard end? Precision is key. To measure accurately, consider these points:
- Align your ruler with the wood grain to ensure consistent measurements.
- Mark the first peg position carefully, maintaining a uniform distance from the edge.
- Use a square to keep your measurements perpendicular to the surface.
- Double-check your spacing to avoid misaligned pegs that could compromise joint fit.
- Remember that precise measurement not only ensures proper fit but also preserves the wood’s natural grain flow and structural integrity.
Careful measurement ensures your pegs fit snugly and evenly, preventing gaps or looseness. Consistency in spacing helps maintain the wood’s natural grain flow and structural integrity. When you measure precisely, you achieve a professional look and a durable joint that supports your project’s longevity.
Balancing Structural Integrity
Achieving the right peg spacing is crucial for maintaining the structural integrity of your breadboard end. Proper spacing ensures the breadboard stays secure and resists warping over time. To do this, consider the grain orientation of your wood; aligning pegs along the grain helps distribute stress evenly. Avoid placing pegs too close to the edges, which weakens the structure, or too far apart, risking instability. When planning peg placement, think about your finish application—certain finishes can affect wood expansion and contraction. Proper spacing allows the breadboard to accommodate these changes without cracking or loosening. Balancing these factors guarantees your project remains sturdy and visually appealing, while also protecting your finish. Accurate peg spacing ultimately preserves the longevity and beauty of your furniture.
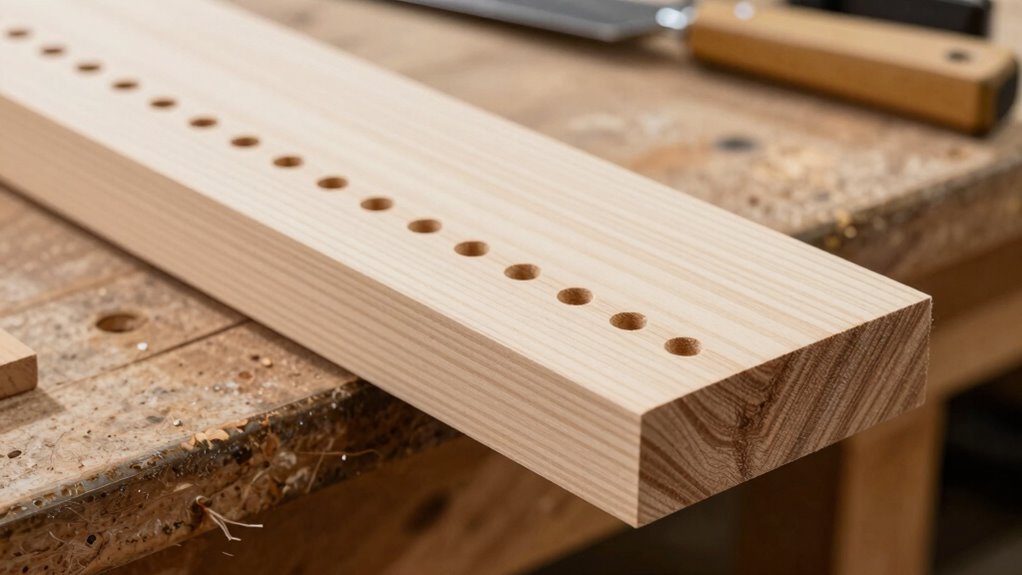
Step-by-Step: How to Place Pegs Accurately in Breadboard Ends

Placing the pegs accurately in breadboard ends is essential for guaranteeing a sturdy and precise fit. Begin by double-checking your tool calibration to ensure drill bits and marking gauges are accurate. Use a pencil to mark the peg locations, aligning them with your wood joint design. To keep things clear, consider these steps:
- Measure and mark precise points for each peg, respecting the spacing rules.
- Drill holes straight and perpendicular to the surface for clean fits.
- Use a square to verify that your markings are aligned correctly.
- Test-fit the pegs before final assembly to avoid misalignment.
- Ensuring wood movement is accounted for can prevent future issues with joint stability.
Troubleshooting: Fixing Peg Placement Issues and Weak Spots
When peg placement isn’t accurate or weak spots appear, addressing the issues promptly is essential for maintaining the integrity of your breadboard ends. Misaligned pegs can disrupt the wood grain flow, leading to weak spots that compromise stability. Check the wood grain direction and adjust the peg placement if it runs opposite to the intended flow, which can weaken the joint and affect finish quality. If a weak spot forms, reinforce it with additional glue or small dowels, ensuring the wood grain remains consistent. Sand the area smoothly and apply your finish carefully to avoid highlighting imperfections. Proper troubleshooting keeps your breadboard ends strong and visually appealing, preventing future issues caused by improper peg placement or uneven stress distribution. Additionally, understanding wiring basics can help ensure that any adjustments or repairs are safely and correctly implemented.
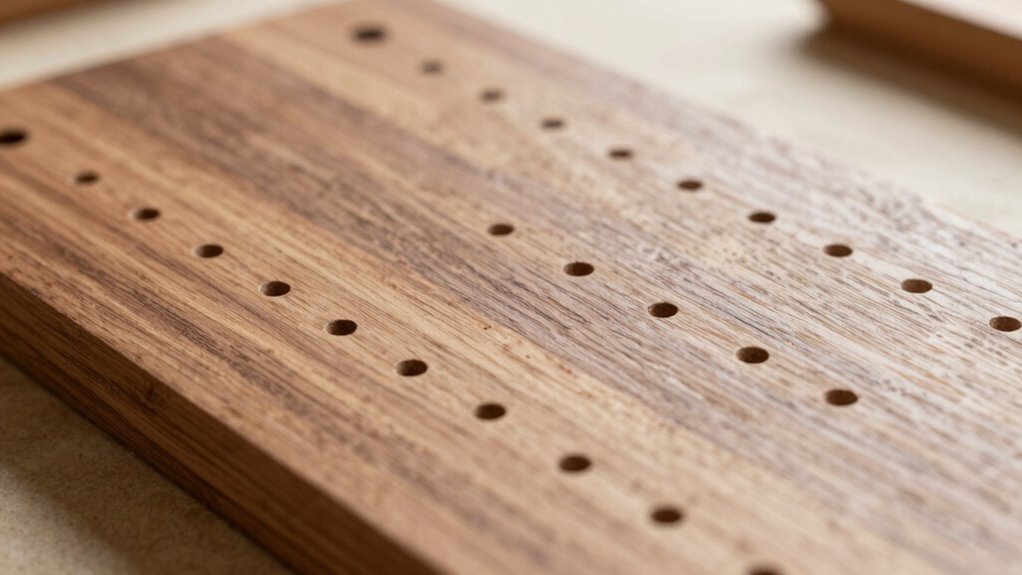
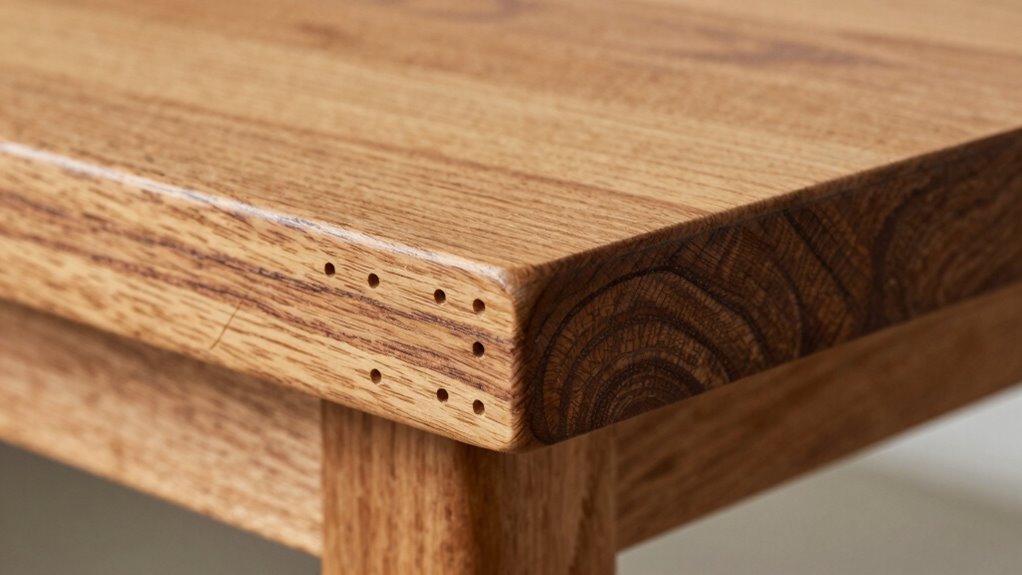
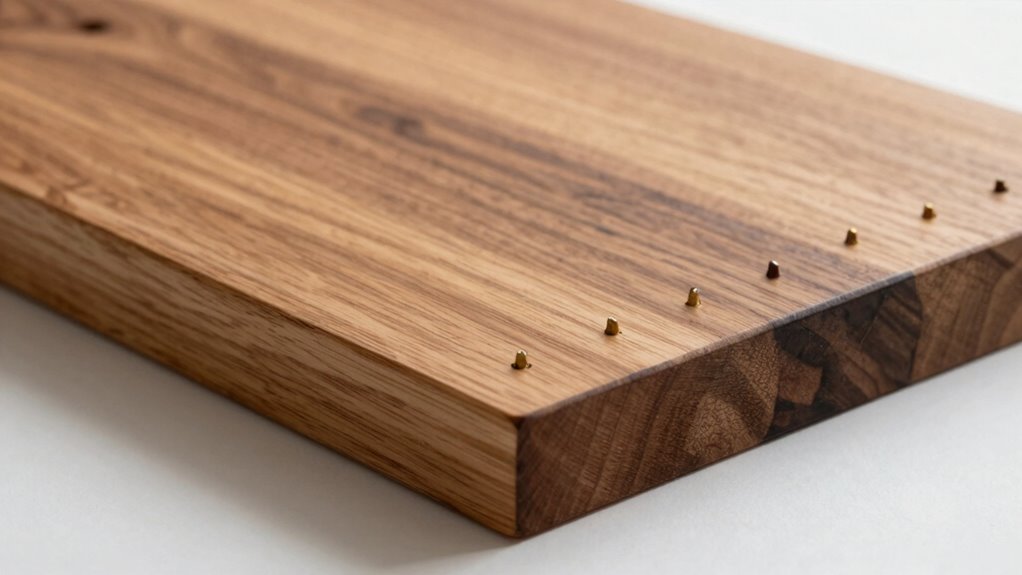
Examples of Proper vs. Incorrect Peg Placement in Breadboard Ends
Proper peg placement is crucial for ensuring strong and stable breadboard ends. When you position pegs correctly, you respect the grain orientation, which enhances durability and finish quality. Proper placement involves aligning pegs so they follow the wood’s natural grain, avoiding cross-grain screws that weaken the joint. Incorrect placements often include:
- Placing pegs perpendicular to the grain, causing splitting
- Spacing pegs unevenly, leading to uneven pressure
- Ignoring grain direction, which compromises finish quality
- Positioning pegs too close to the edge, risking damage or cracks
In contrast, proper placement respects grain flow, ensures even load distribution, and maintains a smooth, professional finish. This approach results in a more durable, visually appealing breadboard end that stands the test of time.
Tips for Consistent and Precise Peg Spacing Every Time
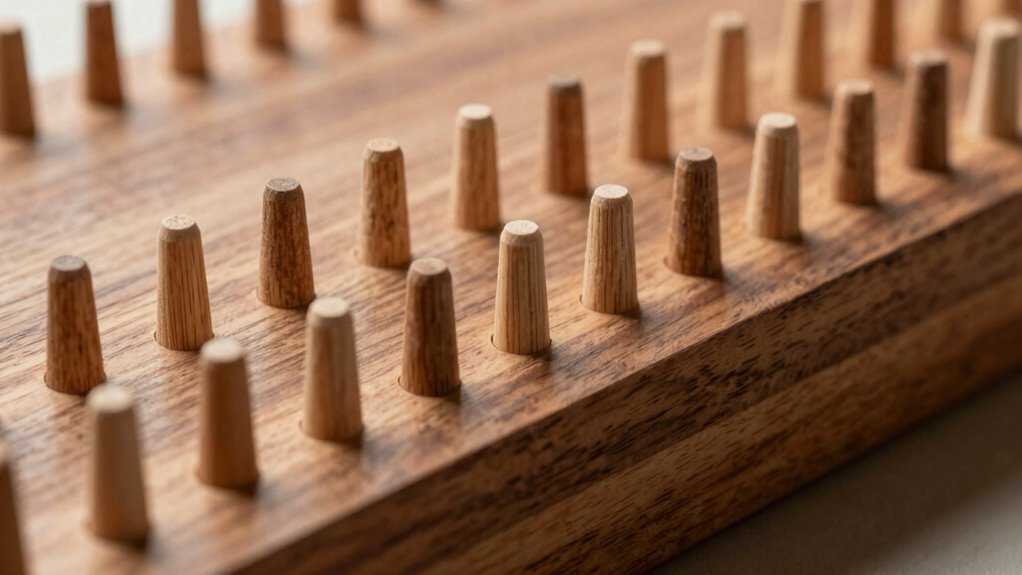
Maintaining consistent and precise peg spacing is key to achieving a professional-looking breadboard end. To do this, pay close attention to grain orientation and wood species, as they affect how your wood responds to changes in humidity and temperature. Always measure from a fixed point, like the edge or centerline, for uniform spacing. Use a jig or template to ensure accuracy, and double-check your measurements before drilling. The table below highlights some tips:
| Tip | Why It Matters | Best Practice |
|---|---|---|
| Consider grain orientation | Prevents wood movement issues | Align pegs perpendicular to grain |
| Use the right wood species | Ensures stability and appearance | Choose stable, hardwood species |
| Measure from a fixed point | Maintains consistency | Mark and verify multiple times |
These steps help ensure your peg spacing remains consistent and precise every time.
How Following the Peg Placement Rule Improves Your Project’s Durability and Style
Following the peg placement rule substantially boosts both the durability and style of your project. Proper placement assures the breadboard ends align seamlessly, enhancing the wood grain’s natural flow and creating a polished look. It also minimizes stress points, reducing the risk of splitting or warping over time. When you follow the rule, your finish quality improves because the wood’s surface remains smooth and consistent, free of gaps or uneven edges. Imagine your project with:
- Straight, aligned peg holes that highlight the wood grain
- Even spacing that enhances visual symmetry
- Reduced chance of cracking due to proper support
- A professional, refined appearance that elevates style
Adhering to the peg placement rule guarantees your project is both sturdy and visually appealing, standing the test of time.
Frequently Asked Questions
Can the Peg Placement Rule Vary With Different Types of Wood?
Yes, the peg placement rule can vary with different types of wood because of wood density and peg friction. Denser woods tend to have higher peg friction, so you might need to adjust peg placement slightly to prevent splitting or looseness. Softer woods allow for tighter pegs with less risk, meaning you can follow the standard rule more closely. Always consider the specific wood’s characteristics for best results.
Is Special Equipment Needed to Ensure Precise Peg Placement?
Think of peg placement accuracy like hitting a bullseye—precision is key. You don’t need special equipment, but a good drill with a fine bit helps improve accuracy. Using a jig or template can also keep your pegs aligned perfectly. These tools act like a coach, guiding your hand for consistent, precise results. With the right approach, you’ll nail that perfect peg placement every time, no fancy gear required.
How Does Peg Placement Affect the Overall Lifespan of the Breadboard End?
Peg placement greatly impacts the lifespan of your breadboard end. If you align pegs with the wood grain and maintain proper moisture content, the end stays stable and less prone to cracking or splitting over time. Conversely, ignoring these factors can cause uneven stress, leading to warping or deterioration. Proper peg positioning ensures even distribution of forces, extending your breadboard end’s durability and keeping your project looking great for years.
Are There Alternative Methods to the Peg Placement Rule for Stronger Joints?
If you want stronger joints, consider using dowel or mortise and tenon techniques as alternative methods for joint reinforcement. For example, a woodworker in a case study improved their breadboard end’s durability by replacing traditional pegs with hidden dowels, which provided better alignment and resistance to stress. These methods distribute loads more evenly, enhancing joint strength and longevity without relying solely on peg placement rules.
Can Improper Peg Spacing Cause Issues in Disassembly or Future Modifications?
Yes, improper peg spacing can cause disassembly challenges and complicate future modifications. When pegs are unevenly spaced or too close together, it can make removing joints difficult without damaging the wood. Additionally, inconsistent spacing can hinder adjustments or reconfigurations later on. To avoid these issues, guarantee even peg placement that allows easy disassembly and flexibility for future modifications, making your woodworking projects more durable and adaptable.
Conclusion
By understanding the peg placement rule, practicing precise spacing, and avoiding common mistakes, you guarantee your breadboard ends are strong, stylish, and built to last. When you focus on accuracy, you prevent weak spots, improve durability, and elevate your craftsmanship. Consistent placement creates clean lines, reliable joints, and a professional finish. Embrace the rule, refine your technique, and watch your projects become both more functional and visually appealing—because good woodworking starts with getting it right.