To pare end grain cleanly, you should master the skew technique, which involves angling the blade at around 15-30 degrees for smooth, glassy cuts. Keep your tool sharp, align it precisely, and work with the grain to prevent tear-out. Supporting your workpiece and making controlled, gentle passes help guarantee a flawless finish. Continue exploring these tricks to reveal the secrets of achieving perfectly glazed end grain surfaces.
Key Takeaways
- Maintain a sharp, fine-beveled blade and keep it properly aligned at a 15-30° skew angle for smooth, clean cuts.
- Analyze grain direction beforehand to adjust your skew angle, minimizing tear-out and chipping on end grain.
- Use controlled, gentle strokes with consistent pressure to avoid gouging or uneven surfaces.
- Secure the workpiece firmly and work in thin passes to reduce fiber stress and enhance finish quality.
- Keep tools sharp and blades well-maintained to prevent rough cuts and ensure a glassy, even surface.
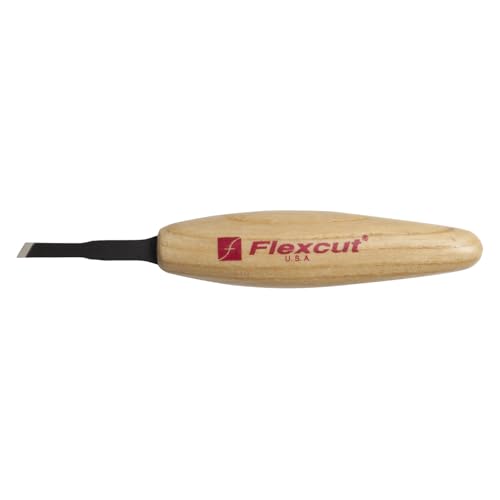
FLEXCUT Wood Carving Tools | Micro Skew, 3/16 Inch (5 mm) | Razor Sharp 1095 High Carbon Steel Cutting Blade | Ergonomic Ash Hardwood Handle | MT17 | Made in the U.S.A.
Ideal for miniature and fine detail work
As an affiliate, we earn on qualifying purchases.
As an affiliate, we earn on qualifying purchases.
What Makes Achieving a Glassy End Grain Finish So Difficult?
Achieving a glassy end grain finish is difficult because end grain absorbs finish much more readily than face or side grain, making it prone to blotchiness and uneven coating. To get a smooth, consistent look, you need to focus on grain refinement, ensuring the surface is as smooth and even as possible before applying finish. Without proper preparation, the open pores can cause finish inconsistency, resulting in a dull or uneven appearance. Sanding carefully and using techniques like the skew trick help minimize surface irregularities. By refining the grain and controlling how the finish interacts with the wood, you can achieve that desirable glassy sheen. Proper surface preparation is crucial for overcoming the inherent challenges of end grain finishing. Patience and attention to detail are essential for overcoming the inherent challenges of end grain finishing.

imarku Paring Knife – Paring Knives, 3.5 Inch Small Kitchen Knifes – Japanese High Carbon Stainless Steel Fruit Knife, Ergonomic Pakkawood Handle, Ultra Sharp Blade, Unique Gifts for Men and Women
Premium High-carbon Stainless Steel Blade – imarku paring knife is made from imported expertly forged Japanese high carbon…
As an affiliate, we earn on qualifying purchases.
As an affiliate, we earn on qualifying purchases.
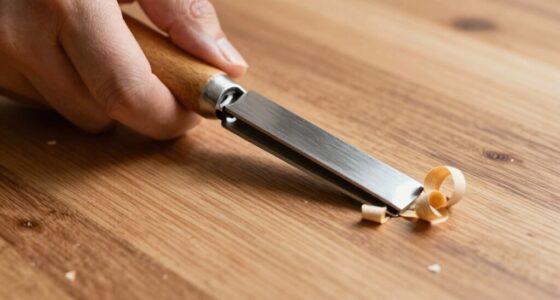
How Does the Skew Technique Work for End Grain Paring?
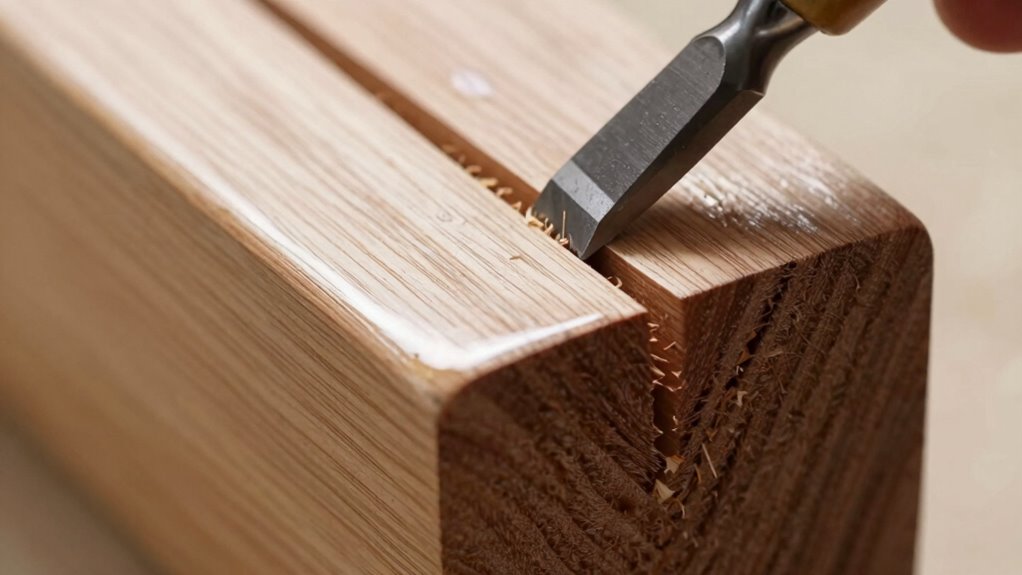
The skew technique relies on precise angle and blade alignment to make clean, controlled cuts across the end grain. Proper positioning helps reduce tear-outs and chipping, resulting in a smoother finish. Understanding how these factors work together is key to mastering end grain paring with the skew. Additionally, controlling blade angle and applying gradual pressure can further enhance the quality of your cuts.
Angle and Blade Alignment
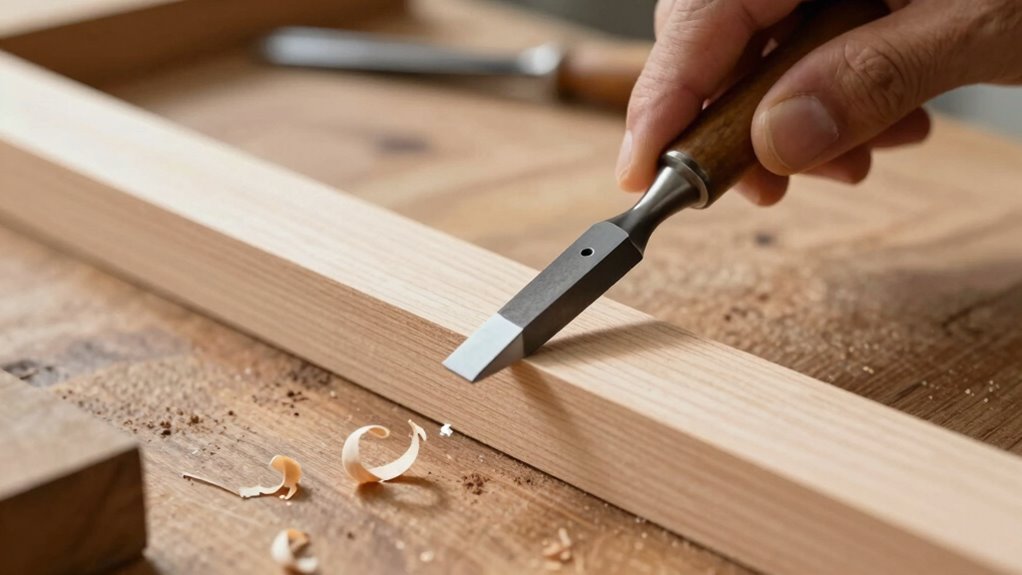
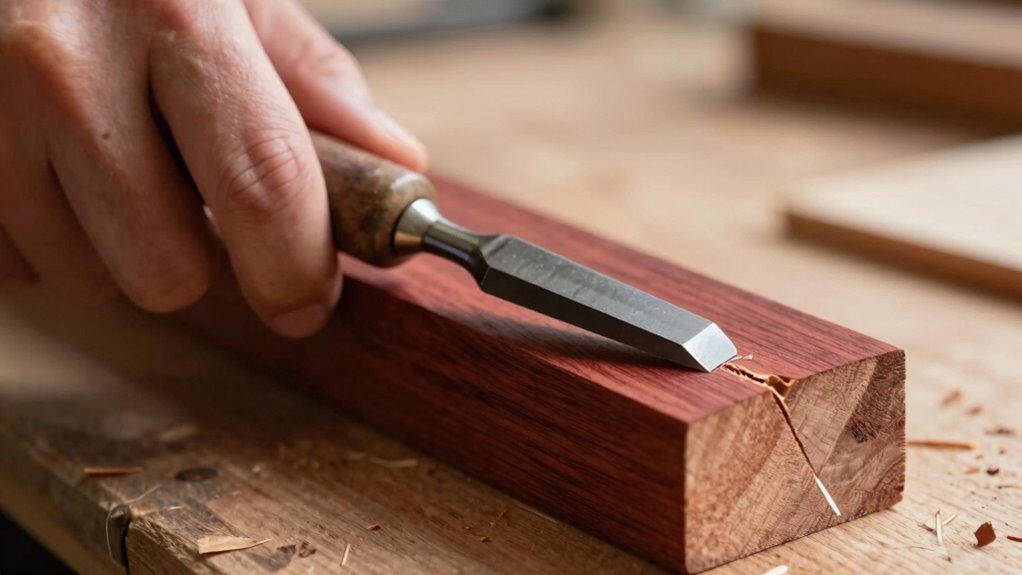
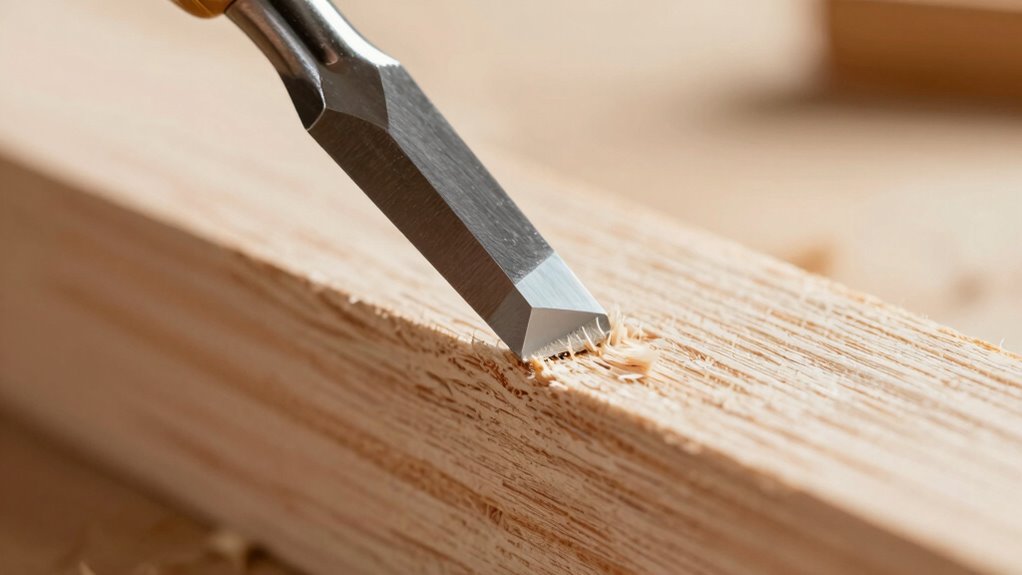
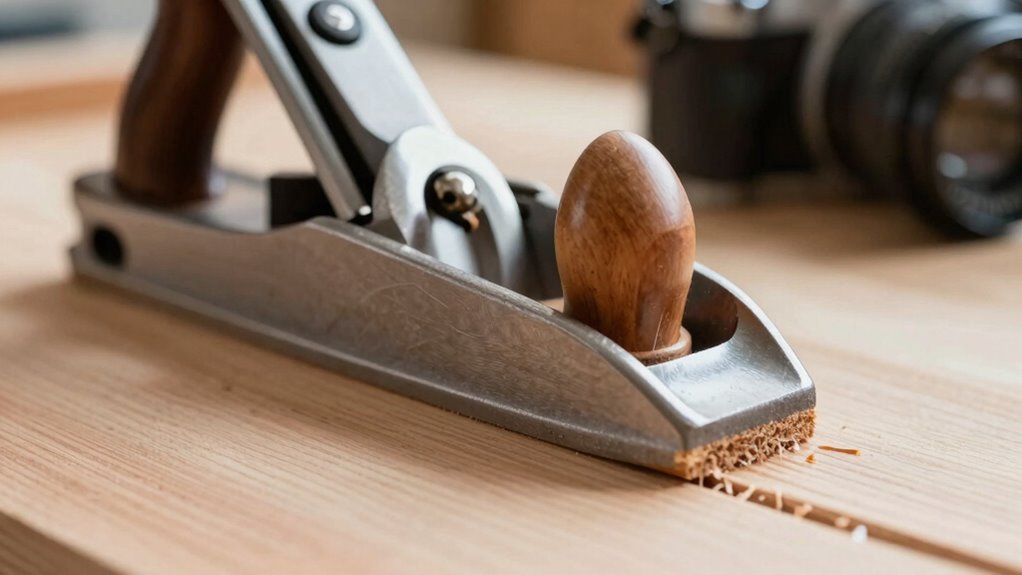
To effectively pare end grain with the skew trick, you need to pay close attention to your blade’s angle and alignment. The skew angle determines how smoothly the blade slices through the grain orientation, minimizing tear-out and chipping. Keep the blade’s bevel slightly inclined, usually around 15 to 30 degrees, to create a clean, glassy cut. Proper blade alignment ensures consistent contact with the wood, reducing the risk of slips or uneven surfaces. Always observe safety precautions by securing your workpiece and maintaining a firm grip on the skew. Adjust your stance to keep control and prevent accidents. Fine-tuning your blade angle and alignment is key to mastering the technique and achieving beautifully smooth, polished end grain paring. Additionally, understanding the grain orientation can help you anticipate how the wood will respond to your cuts, leading to more precise results.
Reducing Tear-Outs and Chipping
When you use the skew technique for end grain paring, you can considerably reduce tear-outs and chipping by controlling the blade’s angle and approach. Proper alignment with the grain orientation minimizes resistance and prevents splintering. Maintaining consistent blade tension ensures a smooth cut and reduces the risk of chipping. By skewing the blade, you distribute forces more evenly across the surface, decreasing tear-out. Adjusting your technique to match the grain’s direction helps you avoid abrupt catches. Also, a sharper blade with ideal tension cuts cleaner, further reducing damage. Understanding the cutting mechanics behind the technique allows for more precise control and better results.
- Align the blade with the grain orientation for a smoother cut
- Keep blade tension consistent to prevent chipping
- Use a very sharp blade to minimize tear-out
- Apply gentle, controlled pressure during paring
- Adjust your skew angle based on grain direction for best results

JORGENSEN No.101 Mini Wood Planer – Mini Hand Planer for Woodworking, Block Plane, Small Hand Plane for Trimming, Wood Planing, Craft, Professional Ductile Iron Body, Adjustable Cutting Depth
Professional Level Blade: The blade is made of professional level O1 tool steel, improving cutting efficiency while minimizing…
As an affiliate, we earn on qualifying purchases.
As an affiliate, we earn on qualifying purchases.
What Tools Do You Need to Par End Grain With a Skew?
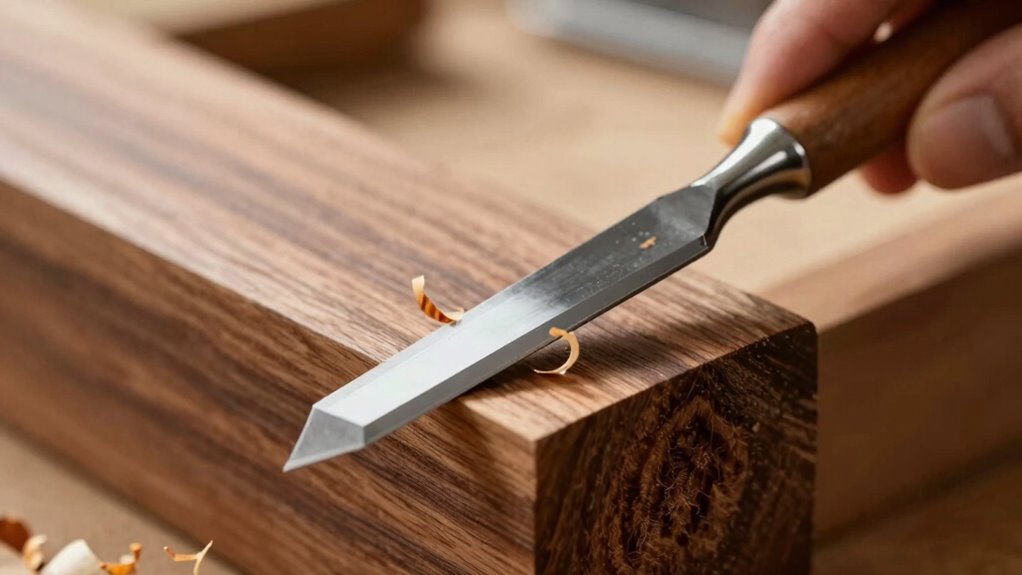
To par end grain effectively with a skew, you need a sharp blade that can make clean, controlled cuts. Proper saw setup is essential to guarantee precision and safety during the process. Focusing on these tools will help you achieve smooth, accurate results with less effort. Additionally, understanding the importance of high contrast ratios can aid in evaluating the quality of your cuts, as better contrast in projectors enhances image clarity and depth.
Sharp Blade Selection
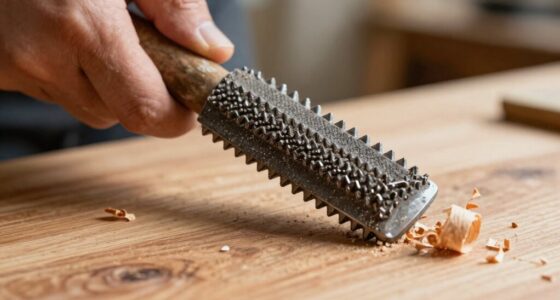
Choosing the right blade is essential for effectively paring end grain with a skew. A sharp, high-quality blade guarantees clean cuts and reduces tear-out. Look for blades with excellent blade durability, which maintain sharpness longer under frequent use. A blade with a fine, beveled edge enhances cutting speed, allowing smoother, more precise paring. The material of the blade also matters—consider high-carbon steel or carbide for longevity and sharpness retention. To optimize your results, select blades designed specifically for fine woodworking or paring tasks.
- High-grade steel for blade durability
- Fine bevel for cleaner cuts
- Low tooth count for smoother slicing
- Razor-sharp edge to minimize tearing
- Compatible with your skew and saw setup
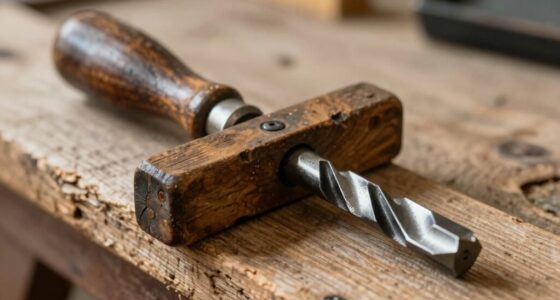
Proper Saw Setup
Paring end grain with a skew requires the right tools and a proper setup to achieve clean, precise cuts. First, ensure your saw’s blade tension is properly calibrated—loose blades cause wobble, while too tight blades risk breakage. Consider your grain orientation; cutting with the grain reduces tear-out and makes paring easier. Use a fine-toothed saw or a Japanese pull saw for smooth, controlled cuts. Keep the workpiece stable and aligned to prevent slipping.
| Tool | Purpose |
|---|---|
| Fine-toothed saw | Reduces tear-out and provides control |
| Clamps | Keeps the workpiece steady |
| Blade tension | Prevents wobble and ensures accuracy |
| Proper setup | Ensures grain runs parallel to cut |

Comfylichi Table Setup Blocks for Woodworking, 14pcs Aluminum Alloy Precision Set up Bars, Precision Height, Depth, Angle & Fence Alignment Gauge Set – Router and Saw Accessories with Storage Case
Simplify Your Work: Each setup blocks (with varying thicknesses) can be set for router bit height, milling thickness,…
As an affiliate, we earn on qualifying purchases.
As an affiliate, we earn on qualifying purchases.
How to Set Up Your Workspace for Skew Paring
Before you start skew paring, establishing a safe and organized workspace is vital. Ensuring proper setup helps maintain control and precision. Focus on the grain orientation of your workpiece to guide your skew cut effectively. Verify your workbench stability so the wood doesn’t shift during paring, which could lead to uneven or rough cuts. Keep your tools sharp and within reach for quick adjustments. Clear the workspace of clutter to prevent accidents and distractions. Use a non-slip mat or hold-downs if necessary to secure the wood firmly. Adequate lighting is essential for precision, highlighting grain patterns and cut lines. A tidy, stable environment allows you to focus on technique and achieve glassy, clean cuts. Additionally, understanding the proper tool setup can help you optimize your technique and ensure safety during skew paring.
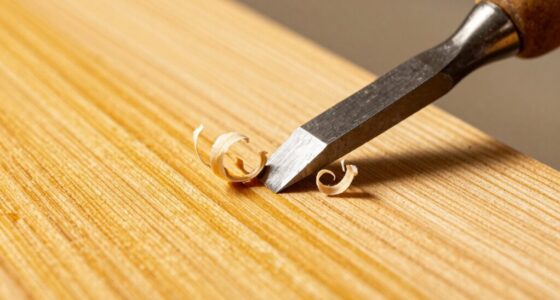
Step-by-Step: Using the Skew Technique for a Smooth Cut
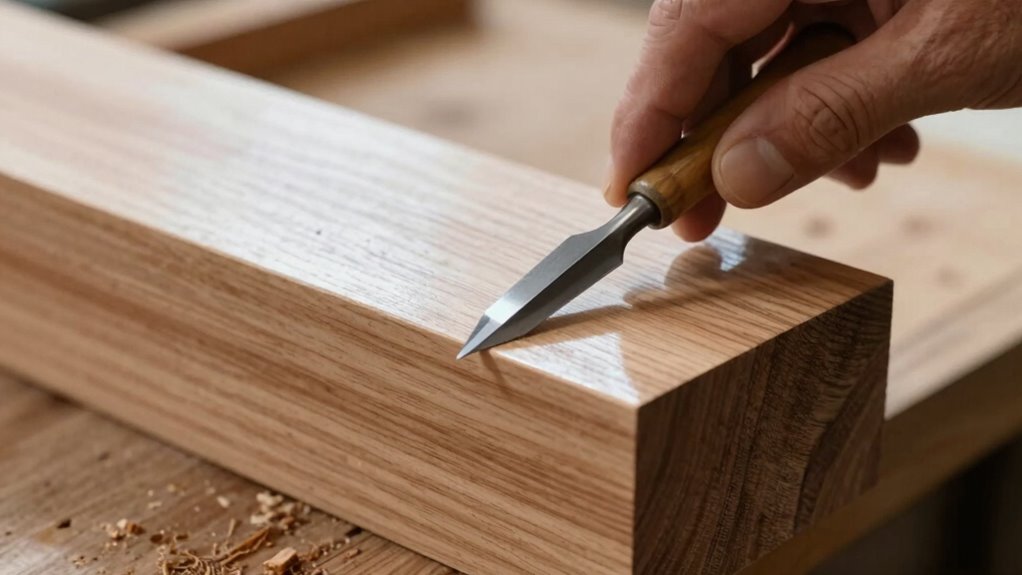
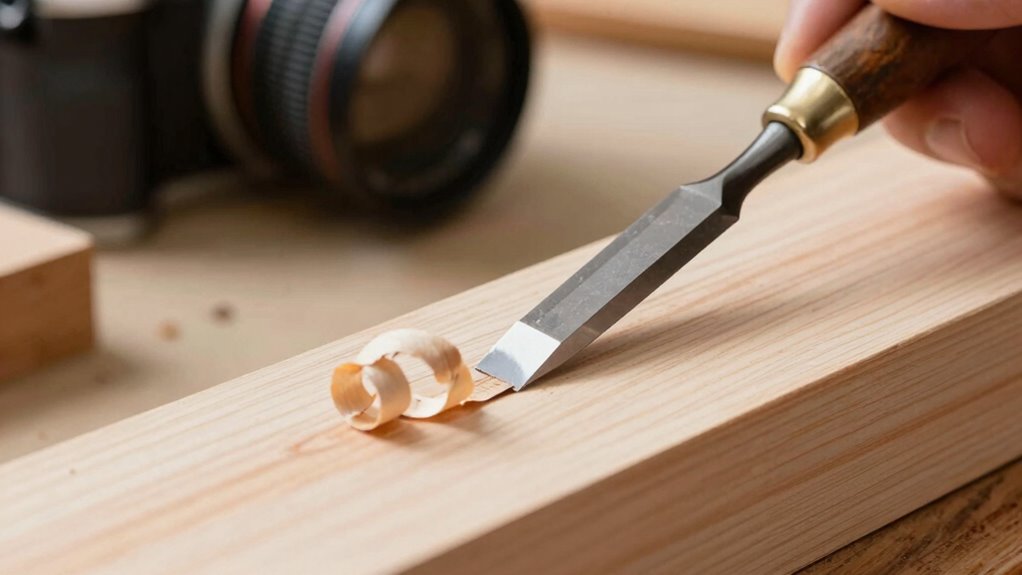
To achieve a smooth cut with the skew technique, start by positioning the workpiece securely on your stable workspace, ensuring the grain runs in the direction of your intended cut. Pay close attention to the grain direction, as cutting against it can cause tear-out and rough edges. Hold your tool at a shallow angle, maintaining good tool ergonomics to reduce fatigue and improve control. Begin with a gentle, controlled push, guiding the skew along the end grain, keeping consistent pressure and angle. Use smooth, deliberate strokes, letting the tool do the work. Adjust your grip and stance as needed to follow the cut precisely. This method minimizes tear-out and results in a clean, glassy finish, making your paring end grain more efficient and satisfying. Proper technique also involves understanding the importance of grain direction, which is crucial for achieving a flawless cut.
Common Mistakes to Avoid When Paring End Grain
One common mistake is failing to prevent tear-outs and chipping, which can ruin your work. You also need to keep your skew tool sharp and maintain proper angles to guarantee clean cuts. Ignoring these points can lead to rough, uneven finishes that are hard to fix. Incorporating essential oil techniques can help maintain a smooth surface and prevent damage during the paring process.
Avoiding Tear-Outs and Chipping
Paring end grain can be tricky, and tear-outs or chips often happen if you’re not careful. To prevent this, pay close attention to grain orientation, ensuring you pare with the grain rather than against it. Maintaining blade stability is essential; a steady hand reduces slips that cause chipping. Use a sharp, well-maintained blade to cleanly cut without tearing the wood fibers. Keep your paring angle consistent, avoiding sudden moves that can damage the surface. Additionally, consider these tips:
- Always pare with the grain direction for smoother cuts
- Use a controlled, light touch to minimize stress on the wood
- Support your workpiece securely to prevent vibrations
- Adjust your skew angle gradually for better control
- Work in thin passes to avoid over-stressing the fibers
- Proper tool maintenance ensures your blade remains sharp and effective
These practices help you achieve clean, tear-out-free results.
Maintaining Sharp, Proper Angles
Maintaining sharp, proper angles is essential for clean, controlled paring of end grain, yet many woodworkers make common mistakes that compromise their results. One key error is ignoring the grain orientation; working against the grain increases tear-out and chipping. Always observe how the grain runs and adjust your approach accordingly. Additionally, pay attention to your blade bevel—an improper bevel angle can cause the blade to catch or gouge the wood, resulting in uneven cuts. Keep your blade sharp and maintain a consistent bevel to ensure smooth, precise paring. Avoid tilting the blade excessively, which can distort angles and lead to uneven surfaces. Staying aware of grain orientation and maintaining a proper blade bevel are critical for achieving clean, glassy cuts in end grain.
How to Adjust Your Angle for Different Types of End Grain

Adjusting your angle is essential because different types of end grain require different approaches for clean, effective paring. The grain orientation determines how you set your blade angle to achieve smooth cuts without tear-out. When the grain runs parallel to the surface, a shallow blade angle helps prevent tearing. Conversely, if the grain is perpendicular, a steeper angle may be necessary for cleaner cuts. Keep in mind that the skew’s edge orientation influences how the blade interacts with the grain. To optimize your technique, consider these adjustments:
- Analyze the grain’s direction before starting
- Slightly tilt the blade for parallel grain
- Steepen the blade angle for perpendicular grain
- Use a consistent skew angle for different grain orientations
- Test small cuts to refine your angle for best results
- Recognize that grain direction plays a critical role in achieving a smooth finish.
Tips for Reducing Tear-Out and Getting a Perfect Finish

To minimize tear-out and achieve a smooth, professional finish, focus on controlling your cutting technique and blade setup. Pay close attention to the grain orientation, and always cut with the grain rather than against it. Cutting along the grain reduces stress on the fibers, preventing tear-out. Additionally, verify your blade tension is properly calibrated—too loose can cause wobbling, and too tight may lead to chipping. A sharp, well-maintained blade also plays a vital role; dull blades increase the risk of tearing. Take shallow cuts, especially when paring end grain, and make multiple passes rather than forcing a single aggressive cut. These adjustments will help you get cleaner, more precise results every time.
Troubleshooting: Fixing Wobbly or Tear-Out Cuts
Wobbly or tear-out cuts often result from blade misalignment, dull blades, or improper technique. To fix these issues, start by checking the grain direction; cutting against it increases tear-out risk. Make certain your blade tension is correct—too loose causes wobbling, while too tight affects cut quality. Keep your blades sharp to reduce tearing and wobbling. Adjust your skew angle for a smoother cut, following the grain closely. Also, confirm your workpiece is securely clamped, preventing movement during the cut.
- Verify blade alignment and tension regularly
- Cut with the grain whenever possible
- Use sharp blades for cleaner cuts
- Adjust your skew angle for better control
- Secure the workpiece firmly to avoid wobble
Practice Drills to Master the Skew Technique and Achieve Glassy Ends
Mastering the skew technique requires deliberate practice through targeted drills that build your control and precision. Begin by practicing on scrap wood, focusing on maintaining consistent blade tension to prevent wobbling. Pay close attention to the grain orientation, adjusting your angle to ensure smooth, controlled cuts. Practice sliding the skew along the end grain, gradually increasing your speed while keeping the cut clean and glassy. Use slow, deliberate strokes to develop muscle memory, and frequently check your blade tension to avoid tear-out. Incorporate drills that emphasize adjusting your skew angle in response to grain shifts. Over time, these focused exercises will enhance your ability to produce flawless, glass-like end grain cuts with confidence and consistency.
Frequently Asked Questions
Can the Skew Technique Be Used on Soft Woods?
Yes, you can use the skew technique on soft woods, but you need to be gentle. Soft woods are more delicate, so applying a light, controlled skew cut helps you achieve clean, glassy edges without tearing or gouging the surface. Practice makes perfect—start with small, careful movements to master the technique on delicate cuts, ensuring smooth results without damaging the wood.
What Are the Signs of an Improperly Set Skew Angle?
If your skew angle is improperly set, you’ll notice uneven cuts, chattering, or tear-out on the wood surface. Misaligned blade angles can cause the skew to catch or jerk, leading to rough edges. Check your blade alignment regularly; if it’s off, the skew won’t glide smoothly, resulting in inconsistent results. Properly adjusting your skew angle guarantees clean, glassy cuts and prevents damage to your workpiece.
How Does Humidity Affect End Grain Paring Results?
Humidity’s like a sneaky artist, subtly altering your wood’s canvas. When moisture content rises, wood swells, making end grain paring trickier. You might notice uneven cuts or a rough finish as swollen fibers resist clean slicing. To keep your work pristine, work with stable humidity levels or let your wood acclimate before cutting. This way, your skew trick delivers glassy, smooth results every time.
Is Special Sharpening Required for Skew Blades?
You don’t need special sharpening for skew blades, but maintaining their sharpness is vital. Regular sharpening ensures your skew blades stay precise, reducing tear-out and giving you cleaner cuts. Proper blade maintenance involves honing the edge frequently and sharpening when it dulls, keeping the skew in top condition. Use quality sharpening tools tailored for fine edges, and always follow manufacturer’s guidelines to prolong your blade’s lifespan and achieve the best paring results.
How Long Does It Take to Master the Skew Paring Method?
Like mastering a delicate dance, it takes time to develop the finesse needed for skew paring. Expect a few weeks of consistent practice to feel confident, but true mastery can take several months. Focus on technique finesse and proper tool maintenance, which are essential for smooth, clean cuts. Patience and regular honing will help you refine your skills, turning precision into second nature over time.
Conclusion
Mastering the skew technique transforms tough, tear-prone end grain into a tantalizingly smooth, glassy finish. With patience, practice, and proper setup, you’ll perfect your paring prowess and produce pristine, professional results. Don’t forget to focus on finesse, fine-tuning angles, and fixing flaws along the way. Keep practicing, stay persistent, and soon you’ll be creating flawless, frosty-feeling ends that impress every time. Your woodworking wonders are just a skew step away!