
Shellac is an excellent natural solution for blocking odors, sealing in stains, and disguising blotches on wood surfaces. Its sealing properties trap smells and prevent stains from penetrating further, creating a clean, uniform appearance. By applying thin, even coats, you can improve surface quality and achieve a smooth, durable finish. To master these tricks and guarantee professional results, keep exploring the detailed techniques that make shellac such a versatile fixer.
Key Takeaways
- Shellac’s sealing properties trap odors and prevent them from escaping or penetrating the wood surface.
- Applying thin, even coats creates a strong barrier that effectively blocks stains and odors before they set in.
- Proper surface preparation and tinting help achieve a seamless, stain-free appearance while enhancing odor sealing.
- Multiple thin coats and thorough drying improve the durability of odor and stain blocking.
- Shellac’s quick-drying nature allows for efficient application of protective layers to seal in stains and odors promptly.
shellac wood finish
As an affiliate, we earn on qualifying purchases.
As an affiliate, we earn on qualifying purchases.
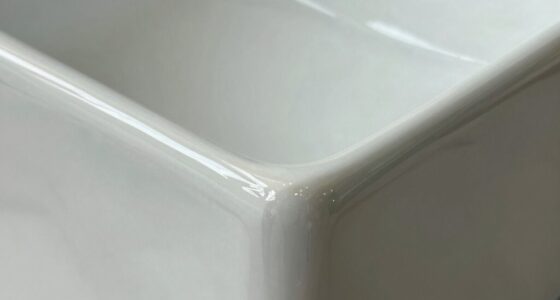
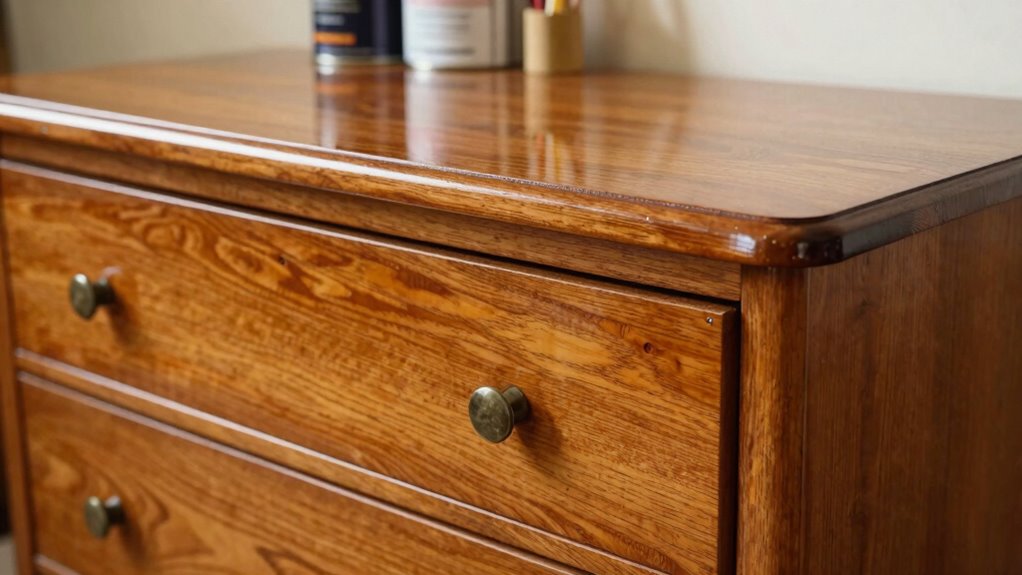
What Is Shellac and Why Is It Great for Fixing Finishing Problems?
Have you ever needed a quick and reliable fix for a damaged or uneven finish? That’s where shellac shines. It’s a natural resin that provides a smooth, glossy coat, perfect for fixing finishing problems. Shellac’s abilities extend to enhancing the wood grain, bringing out natural patterns with a warm, rich look. When it comes to color matching, shellac is versatile because it can be tinted easily, helping you blend repairs seamlessly into existing finishes. Its fast-drying nature means you won’t wait long for results, making it ideal for quick touch-ups. Whether you’re repairing scratches or uneven surfaces, shellac’s unique properties make it a go-to solution for restoring beauty and consistency to your wood projects.
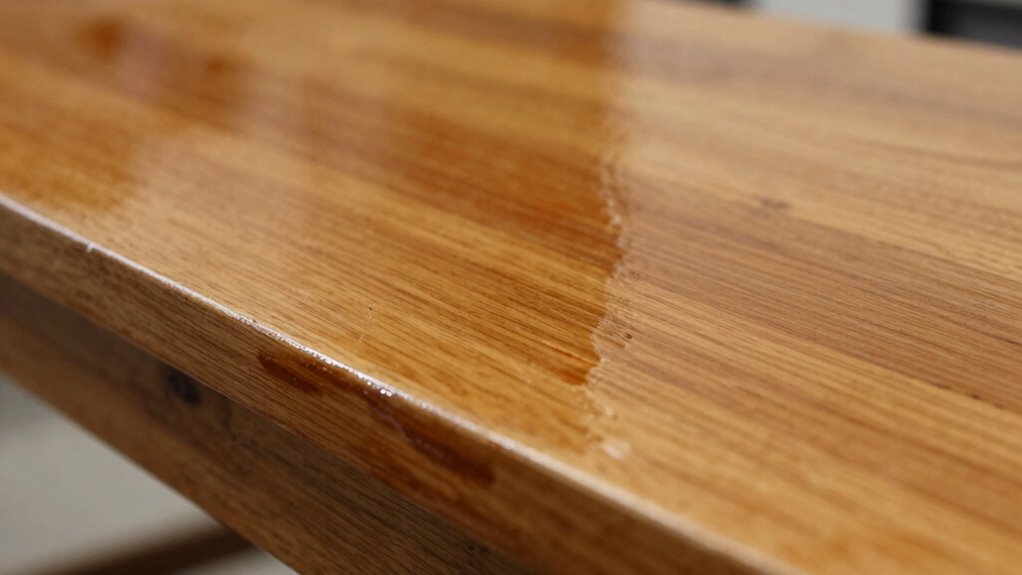
odor blocking shellac
As an affiliate, we earn on qualifying purchases.
As an affiliate, we earn on qualifying purchases.
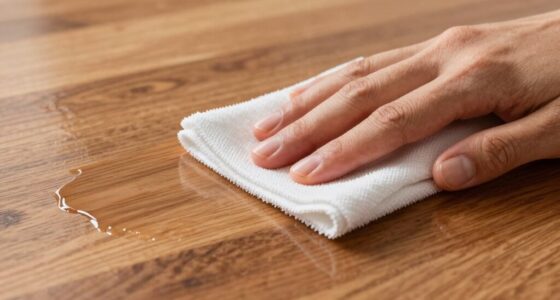
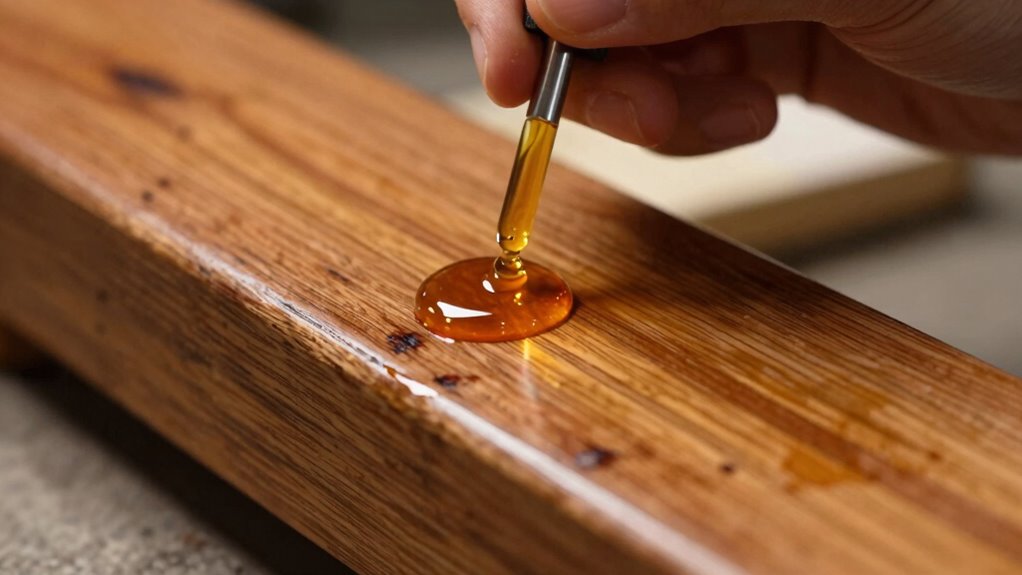
How Does Shellac Block Odors and How to Use It Effectively?
Shellac is not only effective for fixing finishes but also serves as a natural odor barrier. Its sealing properties help trap odors, preventing them from escaping and affecting your space. To maximize odor blocking, use these application techniques:
- Apply thin, even coats to ensure proper sealing without drips or bubbles.
- Allow each coat to dry thoroughly before adding the next for a strong, uniform barrier.
- Use a high-quality brush or sprayer to achieve smooth coverage and better adhesion.
- Selecting the right application method can enhance shellac’s sealing effectiveness and overall performance. Proper surface preparation, such as cleaning and sanding, can also improve shellac’s adhesion and odor-blocking capabilities. Additionally, choosing the appropriate shellac formulation can influence its odor-blocking effectiveness, making the right choice essential for optimal results. Considering application techniques can further improve the uniformity and durability of the finish. Being aware of environmental conditions, such as humidity and temperature, can also impact how well shellac adheres and performs its sealing role.
These steps ensure shellac’s odor blocking capabilities are optimized, creating an effective barrier against unwanted smells. Remember, proper application techniques are key to ensuring shellac performs its best as an odor blocker. With patience and precision, you’ll enjoy a fresher, odor-free environment.
shellac stain sealer
As an affiliate, we earn on qualifying purchases.
As an affiliate, we earn on qualifying purchases.
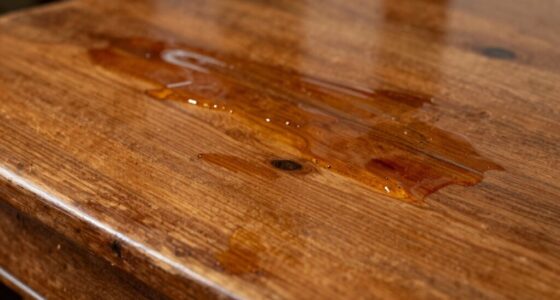
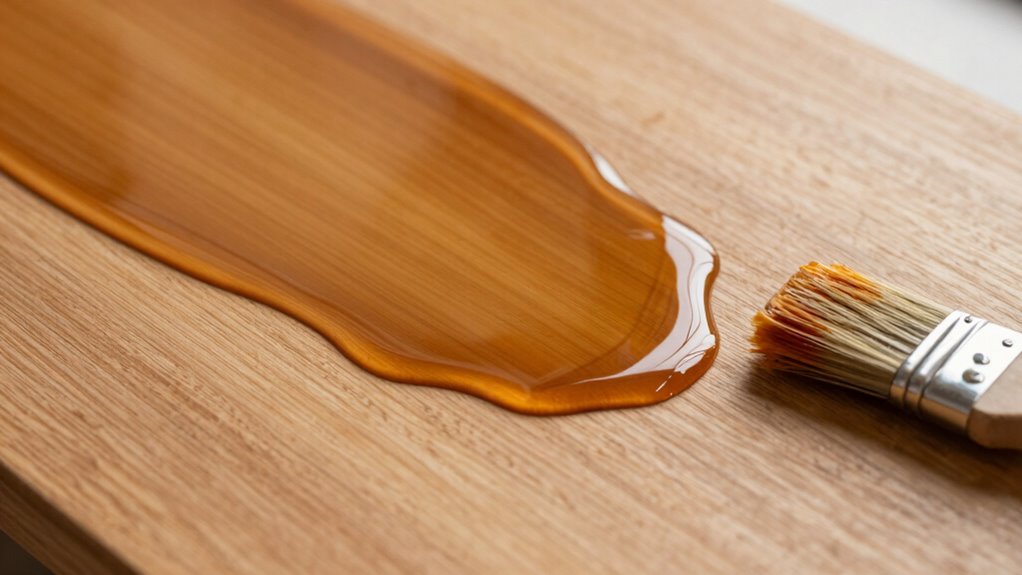
Covering and Preventing Stains With Shellac
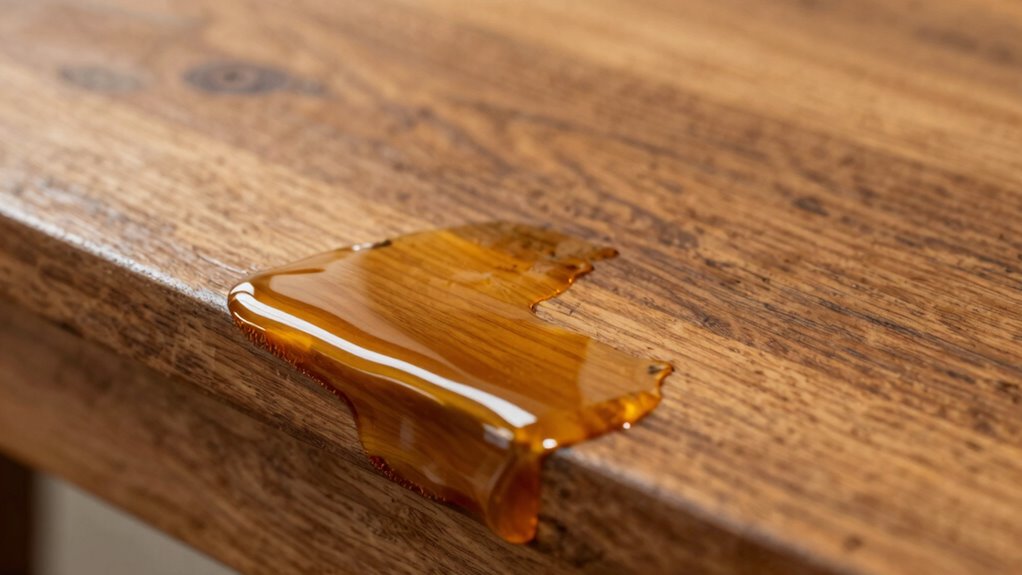
Wondering how to effectively hide or prevent stains on wood surfaces? Shellac is a great solution because it provides a smooth, clear seal that blocks stains before they set in. To match the natural wood color, you can tint shellac or select a shade that closely resembles your wood. This helps guarantee the finish looks seamless and professional. When applying shellac, focus on stain sealing—cover all areas vulnerable to spills or marks. It creates a barrier that prevents stains from penetrating the wood, saving you time and effort on future touch-ups. Plus, shellac dries quickly, allowing you to build multiple coats for added protection if needed. Proper color matching and stain sealing ensure a uniform appearance and lasting protection. Recognizing the mechanisms of angel numbers can also help in choosing the right moment for application. Additionally, understanding coating techniques can optimize the durability of your finish. With proper color matching and thorough stain sealing, shellac keeps your wood surfaces clean and stain-free.
quick drying shellac
As an affiliate, we earn on qualifying purchases.
As an affiliate, we earn on qualifying purchases.
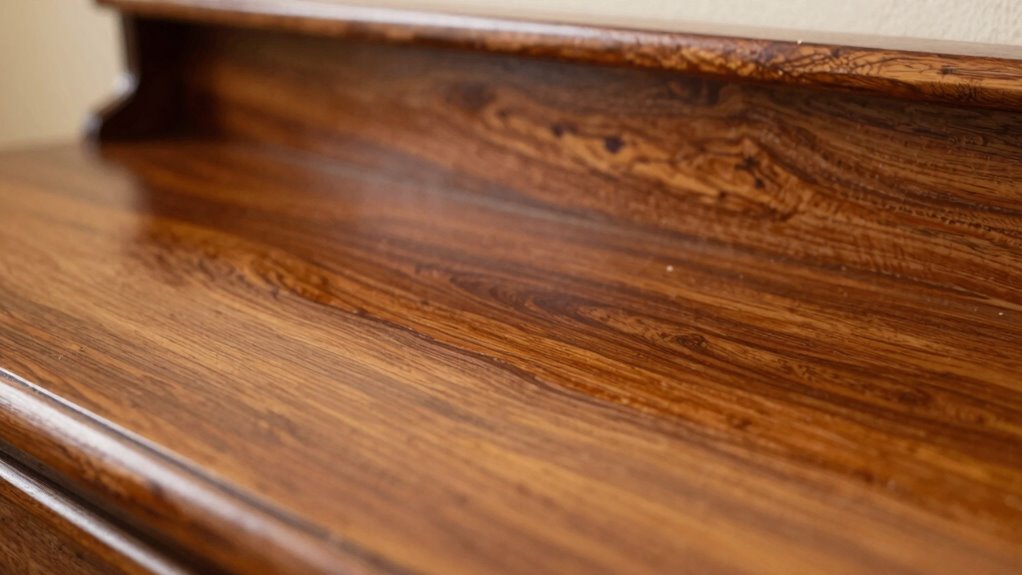
Fixing Blotches and Uneven Tones Using Shellac
When you need to correct blotches or uneven tones, shellac can be a quick fix. You’ll want to carefully apply shellac over problem areas and work toward achieving a smooth, consistent finish. Troubleshooting common issues along the way guarantees your project looks polished and professional.
Applying Shellac Over Blotches
To effectively fix blotches and uneven tones, start by preparing a thin, even coat of shellac over the affected area. This initial layer helps blend the patch and improves color matching. When applying, use a quality brush or applicator to prevent streaks. Keep your strokes smooth and consistent to ensure finish durability. Here are some tips to succeed: 1. Lightly sand the area before applying shellac for better adhesion. 2. Apply multiple thin coats rather than one thick one for seamless blending. 3. Allow each coat to dry thoroughly before adding the next to avoid uneven textures. Additionally, employing connected equipment can help monitor drying times and ensure optimal application conditions.
Achieving Even Tones
Once you’ve prepared the surface with a thin coat of shellac to blend blotches, the next step is to focus on achieving even tones across the entire piece. To do this, examine the wood grain and identify areas that appear darker or lighter. Lightly apply additional shellac in uneven spots, working quickly to blend the finish seamlessly. For consistent color matching, use a slightly tinted shellac or mix in a small amount of dye to match the surrounding wood. Building up thin layers gradually helps prevent new blotches from forming. Keep your strokes smooth and even, and avoid over-saturating any area. Understanding wood grain and the way it interacts with finishes can help you better anticipate how the color will develop over time. Additionally, controlling the application thickness can prevent uneven coloration, ensuring a more uniform appearance. Properly managing the drying process can also minimize blotching, which is crucial for achieving a professional-looking finish. Being aware of moisture content in the wood can further assist in preventing blotches and uneven tones. Incorporating proper wood preparation techniques can significantly improve the outcome of your shellac finish, leading to a more consistent and attractive result. This approach ensures a uniform, balanced tone that enhances the natural beauty of the wood grain while effectively fixing uneven coloration.
Troubleshooting Common Issues
Troubleshooting blotches and uneven tones with shellac requires a strategic approach to correct problem areas effectively. First, assess whether uneven areas are caused by inconsistent brush techniques or uneven drying times. To fix these issues, consider the following steps:
- Lightly sand the affected area to smooth out blotches.
- Apply a thin, even coat of shellac using smooth, consistent brush techniques to avoid streaks.
- Allow adequate drying times between coats, ensuring each layer is fully dry before applying the next.
- Using a BTU and CADR quick-calculator can help determine proper drying conditions and ventilation needs, which are crucial for even drying and finish quality. Proper ventilation and temperature control are key factors in achieving a uniform shellac finish.
- Monitoring airflow during drying can significantly influence the final appearance by reducing the risk of blotches caused by uneven drying. Patience with drying times helps prevent blotches from reappearing. If necessary, repeat these steps, focusing on uniform application and proper drying, to achieve a smooth, even finish.
How to Apply Shellac for a Flawless Finish : Step-by-Step
To achieve a flawless shellac finish, start by properly preparing the surface, guaranteeing it’s clean and smooth. Next, apply the shellac carefully, using even strokes to avoid streaks or blotches. Finally, let it cure fully to ensure durability and a professional look.
Surface Preparation Techniques
Before applying shellac, you need to make certain the surface is properly prepared. Proper surface prep ensures a smooth, durable finish. Start with cleaning the surface thoroughly to remove dust, grease, and debris. Next, focus on sanding techniques: use fine-grit sandpaper to smooth out imperfections and create a good bond for the shellac. Be sure to sand in the direction of the grain for an even surface. Finally, wipe down the surface with a tack cloth to remove all dust particles. This step is essential for achieving a flawless finish. Remember, attention to surface prep and proper sanding techniques will make applying shellac easier and results more professional-looking. Skipping this step can lead to uneven coverage or peeling later on. Ensuring your tools and workspace are weather-ready routines can also help maintain optimal conditions during application. Additionally, using high-quality tools can significantly improve the application process and final appearance.
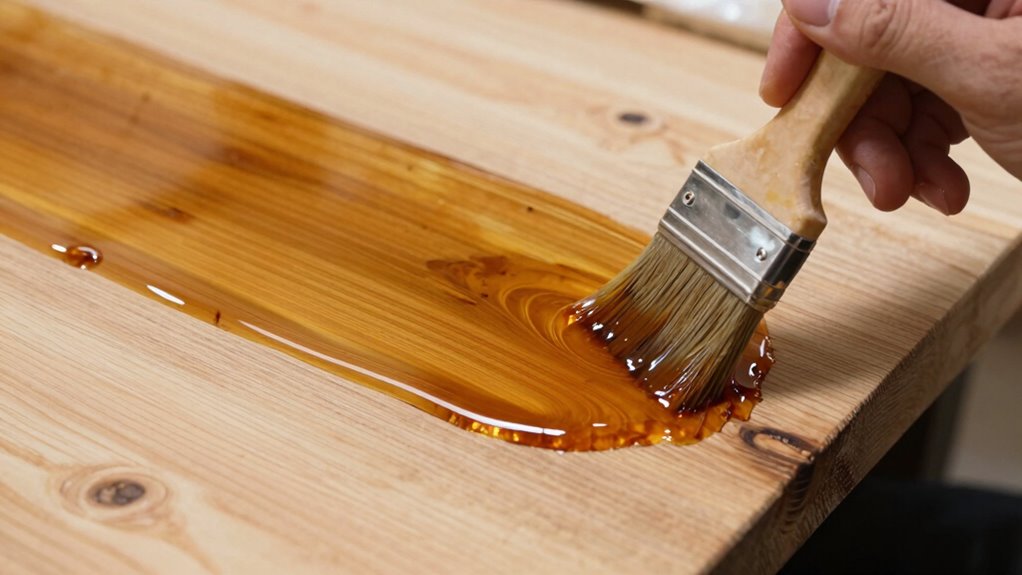
Applying Shellac Properly
Applying shellac properly is essential to achieving a smooth, professional finish. To start, use even brush techniques, lightly loading your brush to prevent drips or streaks. Work in thin coats, allowing proper drying times—usually 30 to 60 minutes—before applying the next layer. Keep a steady hand and maintain a wet edge to avoid lap marks. Here’s a visual to help you picture the process:
| Step | Key Point |
|---|---|
| Brush Technique | Use smooth, even strokes, avoiding over-brushing |
| Drying Times | Wait at least 30 minutes between coats |
| Application Tips | Work in thin coats for best results |
This approach ensures a flawless, durable shellac finish without blotches or streaks. Additionally, proper surface preparation and correct environmental conditions can significantly impact the final outcome, helping you achieve reliable results every time. Proper surface preparation often involves cleaning and lightly sanding the surface to ensure adhesion of the shellac coating.
Finishing and Curing
Once you’ve applied your shellac in thin, even coats and allowed adequate drying time, the finishing and curing process begins. Proper curing guarantees your shellac bonds well and achieves the desired look. To enhance color matching and control sheen, follow these steps:
- Allow at least 24 hours for shellac to cure fully, avoiding handling or exposure to moisture.
- If you want a matte finish, lightly buff with fine steel wool or a polishing pad; for a glossy look, apply a thin coat of shellac or a compatible topcoat.
- Use a clean, lint-free cloth to remove any dust or imperfections, ensuring your finish is smooth and flawless. Additionally, environmental factors like temperature and humidity can influence the curing process and final appearance.
- Consider environmental conditions such as temperature and humidity, which can affect shellac curing time and final appearance. Proper application techniques also play a crucial role in achieving a professional finish.
Patience during curing guarantees your shellac’s durability and beauty, whether you’re aiming for a subtle sheen or a high-gloss shine.
Troubleshooting Common Shellac Issues and When to Reapply
When you notice that your Shellac finish is peeling, chipping, or developing bubbles, it’s a clear sign that something’s not quite right. Often, this indicates inadequate surface prep or the need for color correction before reapplication. To troubleshoot, start by gently sanding the area to remove loose or damaged finish. Proper surface prep ensures the new coat adheres well. If discoloration or uneven tone is an issue, consider color correction techniques to achieve a uniform look. If problems persist despite cleaning and prepping, it’s usually best to reapply Shellac after thorough sanding and cleaning. Remember, reapplying too soon without addressing underlying issues can lead to further problems. Knowing when to reapply helps maintain a smooth, durable finish that lasts.
Frequently Asked Questions
Can Shellac Be Used Over Existing Paint or Finishes?
Yes, you can use shellac over existing paint or finishes, but you need to verify paint compatibility first. Make sure the surface is clean, dry, and properly prepared by sanding lightly to ensure good adhesion. Shellac works well as a primer or topcoat over various finishes, but avoid applying over latex paint without proper surface preparation. This ensures a smooth, durable finish and prevents peeling or adhesion issues.
How Long Does Shellac’s Odor-Blocking Effect Last?
Think of shellac’s odor-blocking effect as a dependable umbrella—lasting through the storm but not forever. Typically, its sealing effectiveness endures for several months, around 3 to 6, depending on ventilation and environment. You might notice the odor diminishes over time, but if you need long-term odor control, reapplying shellac guarantees continued protection. So, plan for periodic refreshes to keep odors blocked effectively.
Is Shellac Suitable for Outdoor Projects?
Shellac isn’t ideal for outdoor projects because it lacks outdoor durability and weather resistance. Exposure to moisture, sun, and temperature changes can cause it to peel, crack, or degrade quickly. If you want a protective finish outdoors, consider options like polyurethane or spar varnish, which are designed to withstand the elements. Shellac works best indoors where it can provide a smooth, odor-blocking surface without outdoor wear and tear.
What Are the Environmental Impacts of Using Shellac?
You should consider that shellac has some environmental impacts, especially regarding biodegradability concerns. While it’s a natural product, it’s not fully eco-friendly compared to alternatives like water-based finishes or plant-based options. If you’re looking to reduce your environmental footprint, explore eco-friendly alternatives that break down more easily and have less chemical runoff. Shellac’s production and disposal can contribute to environmental issues, so weigh these factors before choosing it for your project.
Can Shellac Be Sanded or Polished After Drying?
A stitch in time saves nine, and that applies here. Once shellac has dried completely—usually within an hour—you can sand or polish it. Just wait for the drying time to pass, then use fine-grit sandpaper for smoothing or a soft cloth for polishing. The sanding process helps achieve a sleek finish, making your project look professional. Don’t rush; patience makes perfect, especially with shellac.
Conclusion
Think of shellac as your trusty toolkit, ready to tackle any finishing hiccup. With its versatile charm, you can block odors, hide stains, and fix blotches effortlessly. Just follow the steps, and you’ll turn your project into a masterpiece. Remember, mastering shellac is like learning to ride a bike—you might wobble at first, but soon you’ll glide smoothly, leaving behind a flawless finish that’s as polished as a jewel.