To avoid measuring twice per part, pros plan their cuts using the “Cut Order” technique by evaluating the material, selecting key reference points, and mapping out the sequence before starting. They verify measurements carefully and prioritize critical cuts, adjusting for material properties like softness or grain direction. This organized approach reduces errors and streamlines workflow. Keep exploring, and you’ll discover how to effectively adapt this method to your projects for smoother results.
Key Takeaways
- Plan the entire cut sequence carefully to minimize measurement adjustments during the process.
- Double-check measurements against material features before making any cuts.
- Calibrate tools properly to ensure measurement accuracy from the start.
- Use a structured table to organize steps and prevent unnecessary re-measurements.
- Test the cut order on scrap material to identify potential issues early and avoid re-measuring.

SheerDelight Body Measuring Tape, 2 Pack Retractable Measuring Tape for Body Measurements with Locking Mechanism and Push Button, Automatic Body Tape Measure for Fitness & Tailoring – White
SMALL, ACCURATE, DURABLE – Compact size, precise readings, built to last. SheerDelight body measuring tape fits easily in…
As an affiliate, we earn on qualifying purchases.
As an affiliate, we earn on qualifying purchases.
What Is the “Cut Order” Technique and Why Does It Matter?

The “Cut Order” technique is a strategic editing method used to determine the sequence in which scenes or shots are cut during post-production. It’s essential for maintaining measuring accuracy, ensuring each clip flows smoothly and fits the story. By planning your cuts carefully, you avoid unnecessary rework and reduce errors that could delay the project. This technique helps you visualize the entire editing process, allowing you to identify potential issues early. When you establish a clear cut order, you streamline your workflow and improve overall project planning, saving time and effort. It’s a proactive approach that keeps your editing focused and organized, helping you deliver a polished final product without costly mistakes. Efficient workflow is crucial for meeting deadlines and maintaining high-quality standards in any editing project.
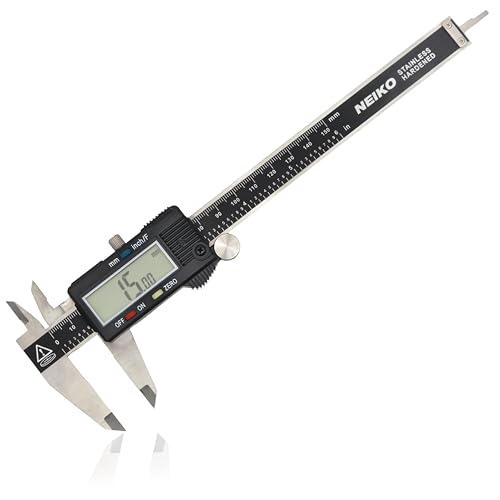
NEIKO 01407A Electronic Digital Caliper Measuring Tool, 0 – 6 Inches Stainless Steel Construction with Large LCD Screen Quick Change Button for Inch Fraction Millimeter Conversions, Digital Caliper Measuring Tool
MULTI-FUNCTION: This measuring tool has a quick-change button that changes between three measuring modes such as inch, fraction,…
As an affiliate, we earn on qualifying purchases.
As an affiliate, we earn on qualifying purchases.
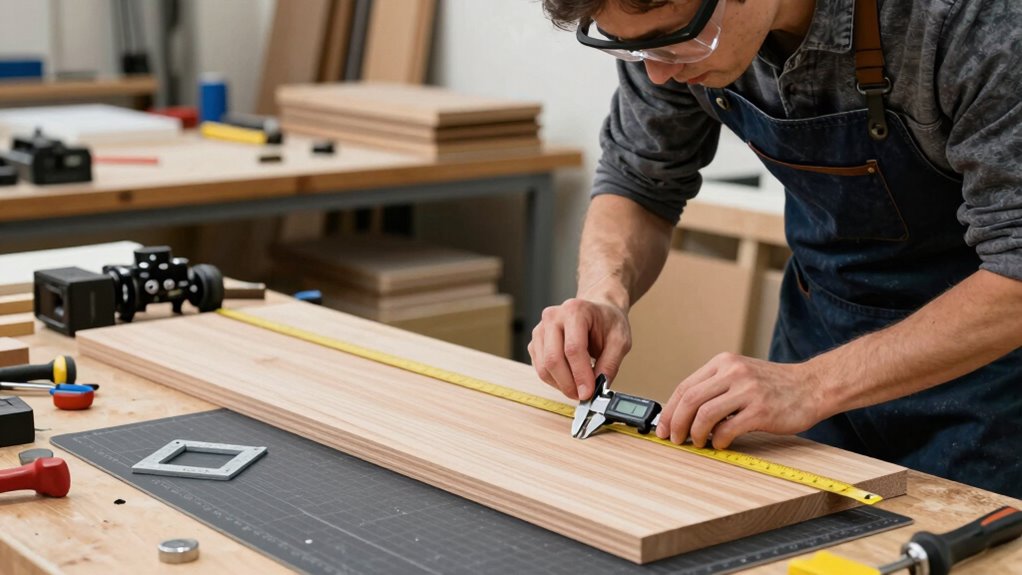
How to Plan Your Cuts for Maximum Efficiency and Accuracy

To plan your cuts for maximum efficiency and accuracy, start by thoroughly reviewing your footage and outlining your story’s structure. This helps you identify the best order to minimize measuring errors and material waste. Focus on measuring accuracy early, making certain your measurements align with your planned cuts. Selecting the right material is vital—choose quality pieces that fit your project’s needs to reduce unnecessary adjustments. Use this table to organize your plan:
| Step | Action |
|---|---|
| Review footage | Outline story structure and key scenes |
| Identify key cuts | Determine critical transitions and moments |
| Measure precisely | Make certain measurements match your plan |
| Material selection | Pick suitable, high-quality materials |
| Schedule cuts | Arrange cuts to minimize waste and re-measuring |
Proper planning saves time and boosts precision in your project. Additionally, paying attention to measurement accuracy from the start can significantly reduce errors during the process.

Kreg KMA2400 Rip-Cut Circular Saw Guide – Cutting Tool – Guide is Best for Regular (Side-Blade) Circular Saw – Ensure Compatibility Before Use – Woodworking Tools for Home Improvement
Saw Guide Compatibility: This saw guide turns your circular saw into a precision edge-guided tool; works best with…
As an affiliate, we earn on qualifying purchases.
As an affiliate, we earn on qualifying purchases.
Step-by-Step Guide to Implementing the “Cut Order” in Your Projects
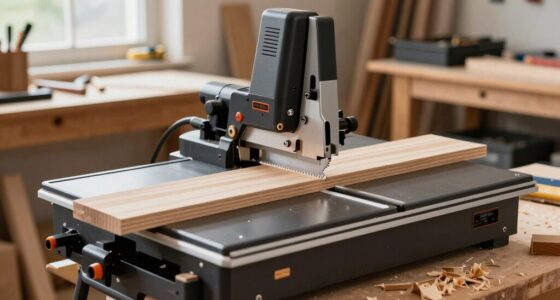
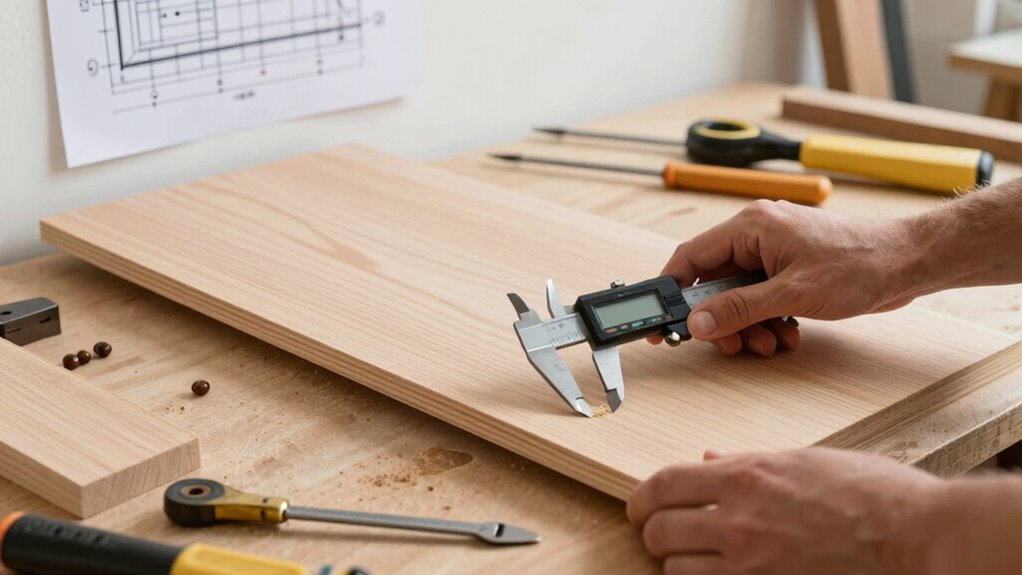
Implementing the “Cut Order” effectively requires a clear, step-by-step approach. First, choose the right material; understanding its properties helps plan your cuts efficiently. Next, guarantee your tools are properly calibrated to avoid inaccuracies and wasted material. Start by mapping out your cut sequence on a diagram, prioritizing larger or critical pieces first. Always double-check your measurements against the material’s grain or specific features. Proceed with cutting according to your plan, maintaining consistent tool calibration throughout. Keep your work area organized to prevent mistakes. Regularly verify your cuts against the plan, adjusting for material quirks. By following these steps—material selection and tool calibration—you set a solid foundation for a smooth, efficient workflow that minimizes errors. Additionally, understanding material properties can significantly improve your planning and reduce errors during cutting.

Sewing Gauge Measuring Tool Set, 5-in-1 Sliding Marker & Seam Gauge Ruler, T-Shaped Measuring Tool for Sewing, Quilting, Knitting, Crafting, Button Hole Marking, Hem Guide (5 Pieces)
Versatile 5-IN-1 set: Complete sewing gauge set includes sliding marker, seam gauge ruler, and T-shaped measuring tool for…
As an affiliate, we earn on qualifying purchases.
As an affiliate, we earn on qualifying purchases.
Common Mistakes When Using the “Cut Order” and How to Avoid Them
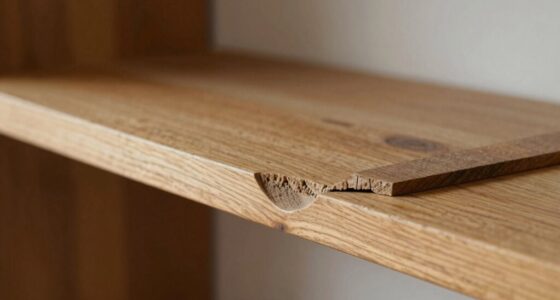
One common mistake when using the “Cut Order” is neglecting to double-check measurements before starting the cuts. This can lead to measurement pitfalls that cause errors down the line. To avoid this, make sure you:
- Verify all measurements twice before marking your material.
- Confirm that your measurements match the material type and thickness.
- Check for potential material mismatches that could affect cut accuracy.
- Reassess measurements after any adjustments or if you switch materials.
- Keep in mind that contrast ratio influences how well your project displays detailed images and deep blacks, so accurate measurements can help ensure your components fit properly for optimal performance.
Failing to do these steps can result in mismatched pieces, wasted material, or the need to redo cuts. Always correct measurement errors early to prevent costly mistakes and ensure your project stays on track. Properly managing measurement pitfalls keeps your cuts precise and your workflow smooth.
Tips for Adjusting the “Cut Order” for Different Materials and Projects

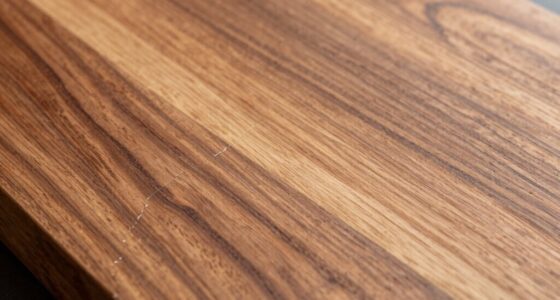
Adjusting your “Cut Order” according to different materials and project requirements is essential for achieving precise results and efficient workflow. Material adaptation is key; softer woods may allow for a different sequence than dense hardwoods or plastics. Consider project considerations like cut complexity, grain direction, and finishing needs when planning your order. For delicate materials, prioritize cuts that minimize stress or potential damage, while thicker or more resilient materials might permit a different sequence to optimize efficiency. Always test your modified “Cut Order” on scrap pieces first to ensure accuracy. By tailoring your approach based on material and project specifics, you reduce errors, save time, and produce higher-quality results. Proper adjustment makes your cutting process smoother and more reliable. Additionally, understanding material properties helps you decide the most suitable order to prevent warping or splintering during cutting.
Frequently Asked Questions
Can the “Cut Order” Technique Be Used With Automated Cutting Machines?
Yes, you can use the “cut order” technique with automated cutting machines. It’s all about automation integration and ensuring your software compatibility is seamless. By aligning your cutting sequence with your software’s capabilities, you minimize errors and reduce setup time. Just make sure your machine’s software supports custom cut orders, so you can program the sequence efficiently and avoid measuring twice per part, boosting your productivity and accuracy.
How Does the “Cut Order” Impact Overall Project Turnaround Time?
You’ll notice that using the “cut order” speeds up your project turnaround time by reducing material waste and boosting labor efficiency. When you plan cuts strategically, you minimize rework and delays, getting parts done faster. It’s like knowing exactly where to cut before you even start, which streamlines the process and keeps your workflow flowing smoothly. This proactive approach helps you meet deadlines without sacrificing quality.
Is the “Cut Order” Suitable for Both Small-Scale and Large-Scale Productions?
The “cut order” is suitable for both small-scale and large-scale productions, especially when you implement effective scaling strategies. It streamlines manual cutting processes, reducing errors and saving time. For larger projects, it helps maintain consistency and efficiency across multiple parts, while for smaller ones, it simplifies workflow. Adapting the cut order method guarantees you minimize rework, making your production faster and more accurate regardless of the project size.
What Tools or Software Can Assist in Planning the “Cut Order”?
You can use software like CAD programs or specialized nesting tools that integrate with your equipment to plan the cut order efficiently. These tools often combine software integration with manual planning options, giving you flexibility and precision. By inputting your material dimensions and constraints, you streamline the process, reduce waste, and guarantee accurate cuts. This approach is ideal whether you’re working on small projects or large-scale production runs.
How Do Material Thickness and Grain Direction Influence the “Cut Order” Strategy?
Imagine your project unfolding smoothly, with each cut flowing perfectly. Material thickness and grain direction are your silent guides. Thicker materials resist bending, so you plan cuts carefully to prevent waste. Grain orientation influences strength and appearance; cutting along the grain preserves flexibility, while against it risks splitting. By considering these factors, you optimize your cut order, ensuring efficiency and quality, all while avoiding unnecessary measurements or mistakes.
Conclusion
Mastering the “cut order” technique transforms your workflow into a finely tuned machine, saving you time and eliminating costly mistakes. By planning your cuts carefully, you’ll avoid measuring twice and reduce material waste—the efficiency boost is nothing short of revolutionary. Think of it as turning your workshop into a well-oiled orchestra, where every move hits the perfect note. Embrace this secret, and watch your projects become smoother, faster, and more precise than you ever imagined.