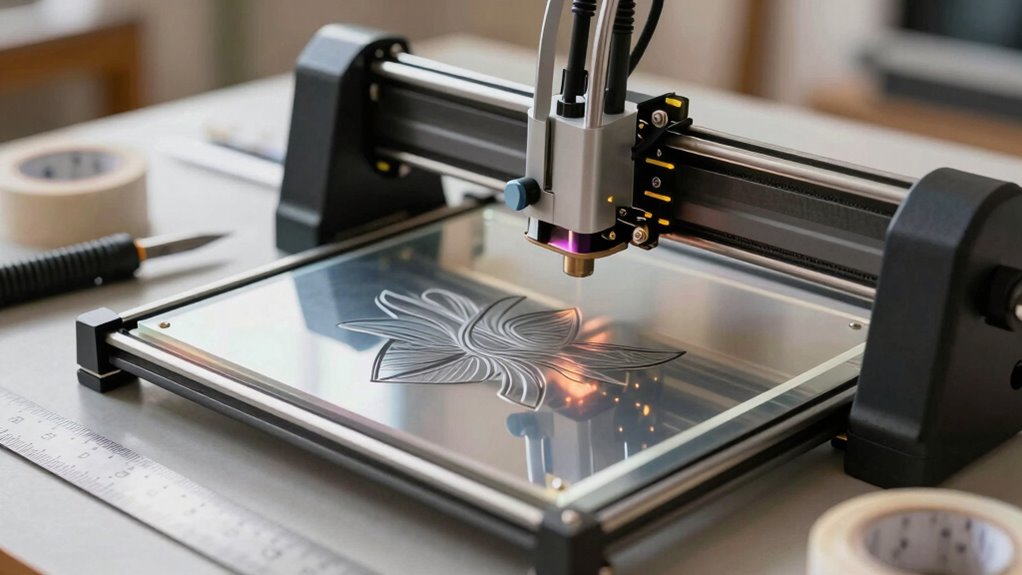

Masking is your secret weapon for cleaner laser engravings. By applying proper masking materials, like painter’s tape or specialty films, you’ll protect surfaces and prevent unwanted burn marks. It’s all about achieving precision and enhancing your project’s quality. When you adjust your laser settings based on the masking type, you can further avoid inconsistencies. With the right techniques, you’ll see significant improvements in your results. Stick around to explore more tips for perfecting your laser work!
Key Takeaways
- Proper masking ensures clean, precise results by protecting surfaces and preventing unwanted burn marks during laser engraving.
- Use painter’s tape or low-tack vinyl for cost-effective, easy-to-apply masking that won’t damage materials.
- Apply masking smoothly to avoid bubbles, ensuring maximum adhesion and a flawless finish on intricate designs.
- Adjust laser settings according to the masking material to prevent burning and optimize details in your engraving.
- Carefully remove masking post-process to avoid surface damage and use suitable solvents for any adhesive residue.
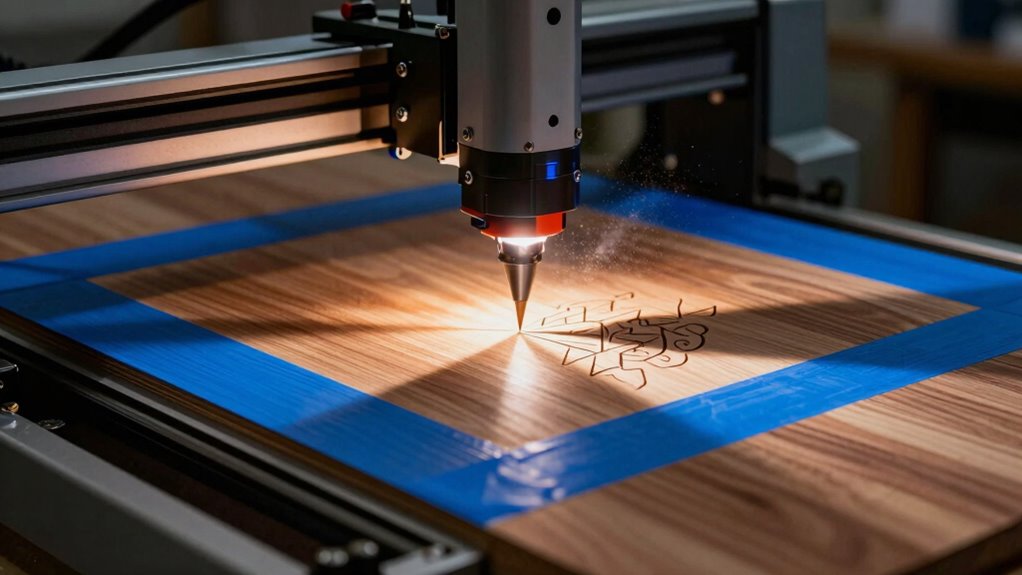
When you’re diving into laser work, proper masking is vital for achieving clean and precise results. Choosing the right masking materials can make all the difference in protecting your surfaces during engraving or cutting. You’ll want to explore options like painter’s tape, specialty masking films, or even low-tack vinyl. Each material has unique benefits, so reflect on what works best for your project and the surface you’re using.
Proper masking is essential in laser work, ensuring clean results by choosing the right materials like painter’s tape or specialty films.
Application techniques also play a significant role in how effective your masking will be. Make sure you apply the masking material smoothly and without bubbles. Any imperfections can lead to unwanted burn marks or inconsistencies in your final product. Depending on the complexity of your design, you might want to use a combination of masking materials to get the best surface protection. For intricate designs, using a thinner masking film might give you the precision you need without sacrificing adhesion.
When it comes to laser settings, always adjust them based on the type of masking material you’re using. Different materials can absorb heat differently, which affects how the laser interacts with the surface. You might need to lower your power settings or increase the speed to avoid burning through the masking. This is where your design considerations come into play. Reflect on how much detail you want in your finished piece and adjust your laser settings accordingly to complement the masking technique. Proper masking application can also extend the life of your equipment by reducing residue buildup and preventing surface damage. Additionally, understanding how the laser-material interaction occurs can help you fine-tune your process for better results. Being aware of surface preparation techniques can further improve the quality of your finished work. Incorporating testing on scrap material beforehand can help you optimize your settings without risking your main project.
Don’t overlook the cleanup process, either. After your engraving or cutting is complete, you’ll want to carefully remove the masking without damaging the finished surface. A gentle peel is often the best approach, but if you notice any residue left behind, use a suitable solvent that won’t harm your work. This step is vital for ensuring that your final product looks clean and professional. Proper surface preparation and post-process cleaning are essential components of a successful laser project.

BOMEI PACK Wide Blue Painters Tape 4 Inches x 40 Yards, 4'' Blue Masking Tape for Painting, Laser Cutting/Engraving & 3D Printing, 21-Day Clean Removal Indoor and Outdoor Use
- Wide Blue Masking Tape: 4 inches x 40 yards for easy use
- Residue-Free Removal: No damage or sticky residue left behind
- UV and Moisture Resistant: Resists UV light, moisture, and paint bleed-through
As an affiliate, we earn on qualifying purchases.
As an affiliate, we earn on qualifying purchases.
Frequently Asked Questions
What Materials Are Best for Laser Engraving With Masking?
For the best results in laser engraving with masking, you’ll want to use materials like wood, acrylic, and glass. These materials offer great compatibility with various masking techniques, allowing for cleaner, sharper engravings. When you apply a good quality masking tape, it protects the surface and prevents residue buildup. Always test a small area first to guarantee the material reacts well to both the laser and the masking you choose.
How Do I Remove Masking Residue After Engraving?
To remove masking residue after engraving, start by choosing effective residue removal techniques. You can try adhesive solvent options like isopropyl alcohol or goo-gone to break down the sticky remnants. Apply the solvent on a soft cloth, gently rub the area, and watch the residue lift away. For tougher spots, let the solvent sit for a minute before wiping. Always test on a small area first to guarantee you won’t damage the surface.
Can I Use Regular Tape for Masking?
You can use regular tape for masking, but it’s not always the best choice. Regular tape might leave residue or not adhere well during engraving. Instead, consider specific masking techniques or tape alternatives designed for laser work, like painter’s tape or vinyl. These options provide cleaner results and reduce the risk of damage to your material. Experiment with different types to find what works best for your projects!
What Settings Should I Adjust for Masked Engraving?
To achieve better engraving precision with masking techniques, adjust your laser settings for power and speed. Lower the power slightly to prevent burning through the mask, while increasing the speed guarantees the laser doesn’t over-engrave. Test on scrap material to find the sweet spot. Also, consider adjusting the focus to enhance details, making sure the mask holds well during the process. You’ll see cleaner results and sharper designs with these tweaks!
Is Masking Necessary for All Laser Engraving Projects?
Masking isn’t necessary for every laser engraving project, but it offers notable benefits. In fact, studies show that using masking can reduce residue buildup by up to 80%. If you want cleaner edges and less post-processing, masking’s your best friend. However, alternatives like using specific coatings or materials can also yield good results. Ultimately, it depends on your project and desired finish, so weigh your options before diving in.

Custom Shop 6" x 30' Roll of Semi-Transparent Masking Film/Frisket for Artists, Airbrush Graphics, Automotive, Motorcycle – Tracing, Cutting Templates, Stencil Making, Lettering, Design Transfer
- Size and Length: 6 inches x 30 feet roll
- Adhesive Type: Self-adhesive, medium-tack
- Material: Semi-transparent masking film
As an affiliate, we earn on qualifying purchases.
As an affiliate, we earn on qualifying purchases.
Conclusion
Incorporating masking into your laser work is like discovering a hidden gem in a treasure chest. By shielding areas you don’t want to engrave, you not only save time but also enhance the final product’s quality. So, grab that roll of masking tape and elevate your craft, much like a skilled artisan of yore. With this simple trick, you’ll guarantee cleaner, sharper engravings every time, turning your projects into masterpieces worthy of admiration in any age.

Vinyl Ease 6 inch x 100 feet roll of Paper Transfer Tape with a Medium to High Tack Layflat Adhesive. Works with a Variety of Vinyl. Great for Decals, Signs, Wall Words and More. American Made V0820
- Size and Length: 6 inch x 100 feet roll
- Tack Level: Medium to High Tack adhesive
- Compatibility: Works with various vinyl types
As an affiliate, we earn on qualifying purchases.
As an affiliate, we earn on qualifying purchases.
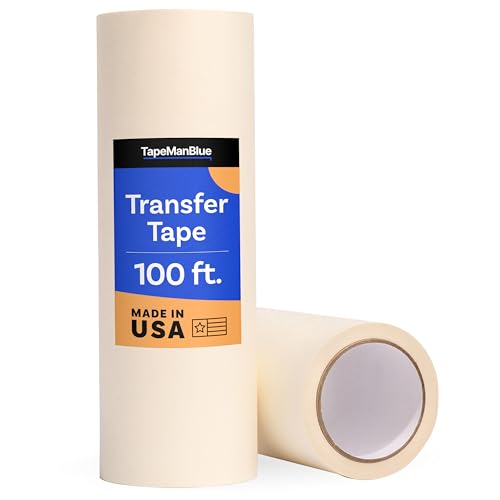
TapeManBlue 12" x 100' Roll of Paper Transfer Tape for Vinyl, Made in America, Premium-Grade Transfer Paper for Vinyl with Layflat Adhesive for Crafts, Decals, and Letters
- Product Size: 12 inch x 100 foot roll
- Premium Transfer Paper: 4-mil natural colored paper
- Layflat Adhesive: Ensures flat application and handling
As an affiliate, we earn on qualifying purchases.
As an affiliate, we earn on qualifying purchases.