
V-carving enhances your woodworking with stunning 3D designs, and mastering the depth trick is key to sharpening letters fast. Start by selecting the right V-shaped bit for precise cuts, which adds depth and definition. Pay close attention to letter spacing, as it affects clarity and aesthetics. Experiment with software to preview your design and adjust cutting depths. By understanding your material, you can achieve ideal results. Stick around to uncover more tips for perfecting your projects.

Get business pricing on tools and workshop supplies
- Business-only prices and quantity discounts
- Tax-exempt purchasing
- Multiple users, one account, clear invoices
Key Takeaways
- V-carving creates three-dimensional designs that enhance the beauty of woodworking projects through depth manipulation.
- Using a V-shaped bit allows for precise cuts, accentuating the depth and definition of letters.
- Proper letter spacing is crucial; too close loses clarity, while excessive spacing disrupts flow.
- Experiment with software settings to preview and adjust cutting depths for optimal letter appearance.
- Selecting the right material impacts carving results, ensuring the best outcome for your designs.
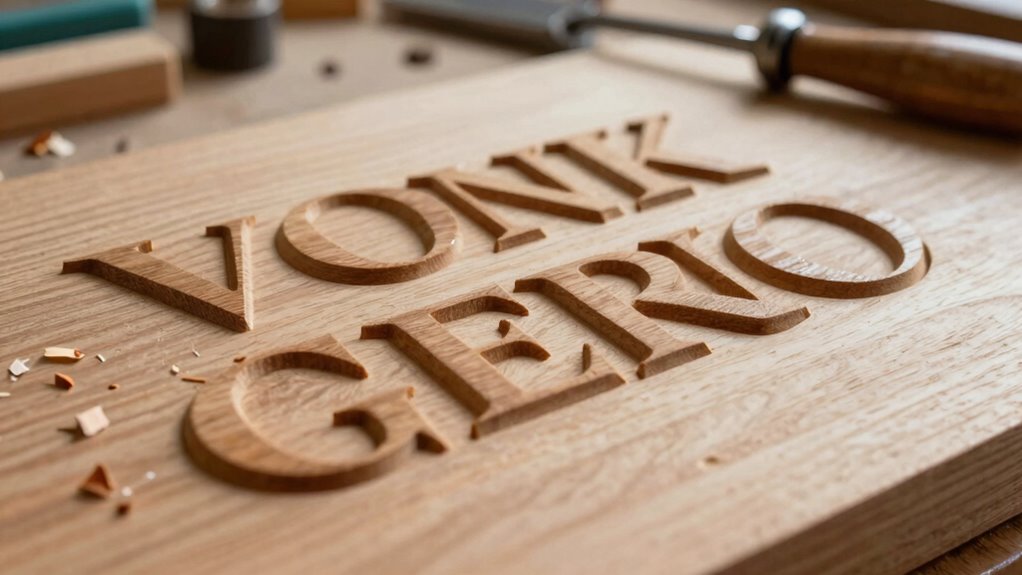
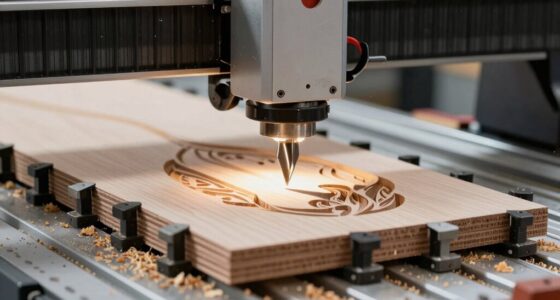
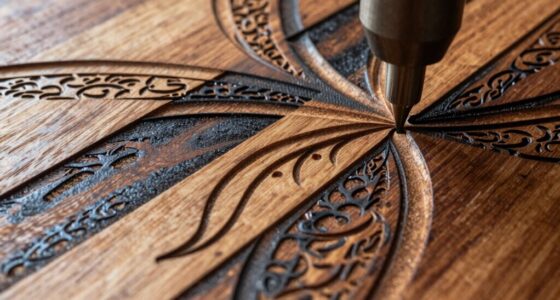
V-carving, a technique that creates stunning three-dimensional designs, offers a unique way to enhance your woodworking projects. If you’re looking to elevate your craftsmanship, understanding the basics of v-carving can be a game changer. The depth trick is one of the most effective methods to sharpen your letters quickly while guaranteeing they stand out beautifully.
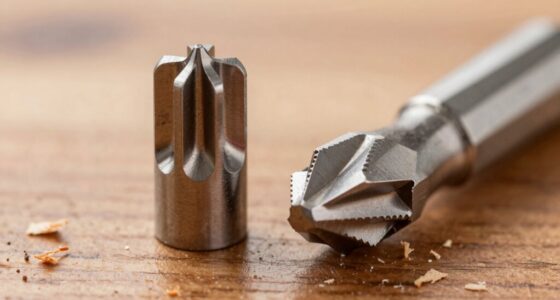
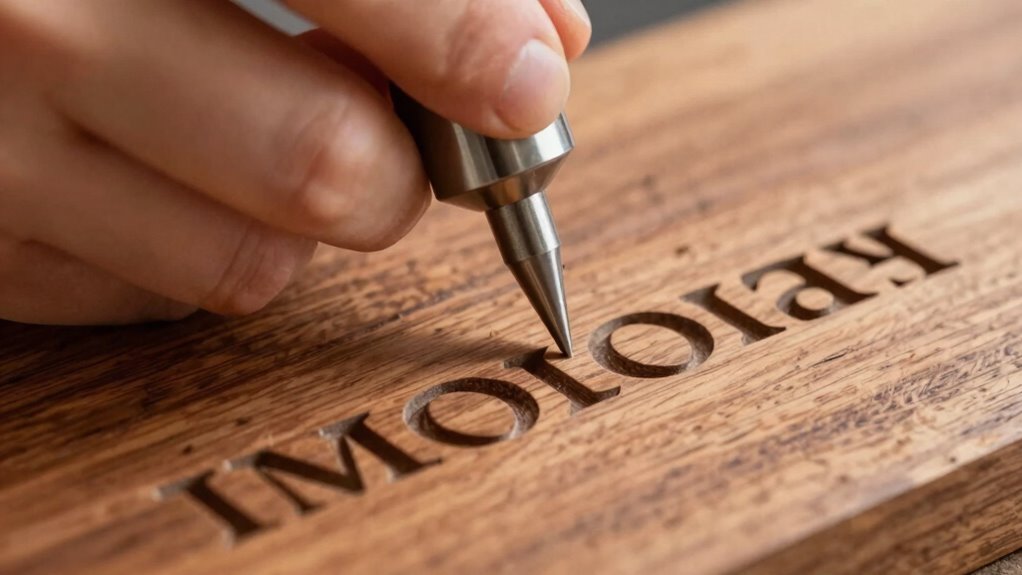
When diving into v-carving techniques, start with your tool selection. Choosing the right bit is essential. A V-shaped bit is your best friend here, as it allows for precise cuts that accentuate the depth and definition of your letters. Depending on the size and intricacy of your design, you may want to experiment with different angles of the V-bit. This will help you achieve the ideal effect for your specific project.
Selecting the right V-shaped bit is crucial for achieving precise cuts and enhancing the depth and definition of your designs.
Letter spacing plays an important role in the overall aesthetics of your design. If your letters are too close together, they can lose clarity, while too much spacing can make the text look disjointed. To get it right, consider the width of your bit and the overall size of your letters. A good rule of thumb is to use a spacing that’s proportional to the height of the letters; this guarantees readability and beauty. Additionally, adjusting your cutting depth can help refine the appearance of your carved letters and add more dimension to your design.
Software tips are equally important when you’re planning your design. Many design programs allow you to preview your v-carving before you start cutting. Take advantage of these features; they can help you visualize how different depths will affect your letters. Play around with the settings to see how varying the depth can enhance or detract from your design. Don’t hesitate to utilize layers in your software for more complex projects, as they can simplify the carving process considerably. Additionally, understanding material considerations can help you select the best wood or medium for your project, ensuring optimal results. Being aware of the material properties can also influence your choice of tools and settings, further improving your outcome.
As an affiliate, we earn on qualifying purchases.
Frequently Asked Questions
What Materials Are Best for V-Carving Projects?
For your V-carving projects, hardwoods like maple, cherry, or oak work best due to their durability and fine grain. These woods hold detail well, giving your designs a clean look. When it comes to finish options, consider oil-based finishes for a rich appearance or water-based finishes for easy cleanup. Experimenting with different combinations can enhance your project’s overall aesthetic, so don’t hesitate to try out various wood types and finishes!
How Do I Choose the Right V-Bit Size?
To choose the right v-bit size, consider your project’s detail and material. For intricate designs, opt for a smaller v-bit shape; it’ll give you finer lines and sharper edges. If you’re working with thicker materials, a larger v-bit is better for deeper engraving techniques. Always test on scrap material first to see how the size impacts your design. This way, you can guarantee the final result meets your expectations.
Can I Use a Router for V-Carving?
Absolutely, you can use a router for v-carving! Think of it as a painter choosing the right brush; the router type you pick affects your masterpiece. For v-carving techniques, select a router with a precision bit designed for fine details. Just like a sculptor chiseling away at stone, your router will shape letters beautifully, but make sure you’re familiar with its settings to achieve those sharp edges you desire. Enjoy the creative journey!
What Software Is Recommended for V-Carving Designs?
For v-carving designs, consider user-friendly options like VCarve, Easel, or Carbide Create. These design software programs let you quickly create and adjust your projects with intuitive interfaces. They offer features specifically tailored for v-carving, making it easier to achieve precise results. You’ll find them helpful whether you’re a beginner or more experienced. Explore their trial versions to see which one fits your workflow best before committing.
How Do I Maintain My V-Bits?
To maintain your V-bits, start with regular bit cleaning. Use a soft brush to remove debris and a suitable cleaner for tougher buildup. After cleaning, dry them thoroughly to prevent rust. For bit storage, keep your V-bits in a protective case or rack to avoid damage. Confirm they’re organized and labeled, so you can easily find the right one for your projects. This’ll keep your bits sharp and ready for use!
As an affiliate, we earn on qualifying purchases.
Conclusion
In the world of v-carving, precision isn’t just an option; it’s a necessity. By mastering the depth trick, you’ll transform your lettering from dull to dazzling in no time. While others struggle with uneven depths and jagged edges, you’ll create smooth, sharp designs that stand out. Embrace this technique, and watch your skills soar. With just a little practice, you’ll turn simple letters into stunning works of art, showcasing your creativity like never before.
As an affiliate, we earn on qualifying purchases.
As an affiliate, we earn on qualifying purchases.
Fall Picks
fall essentials
As an affiliate, we earn on qualifying purchases.