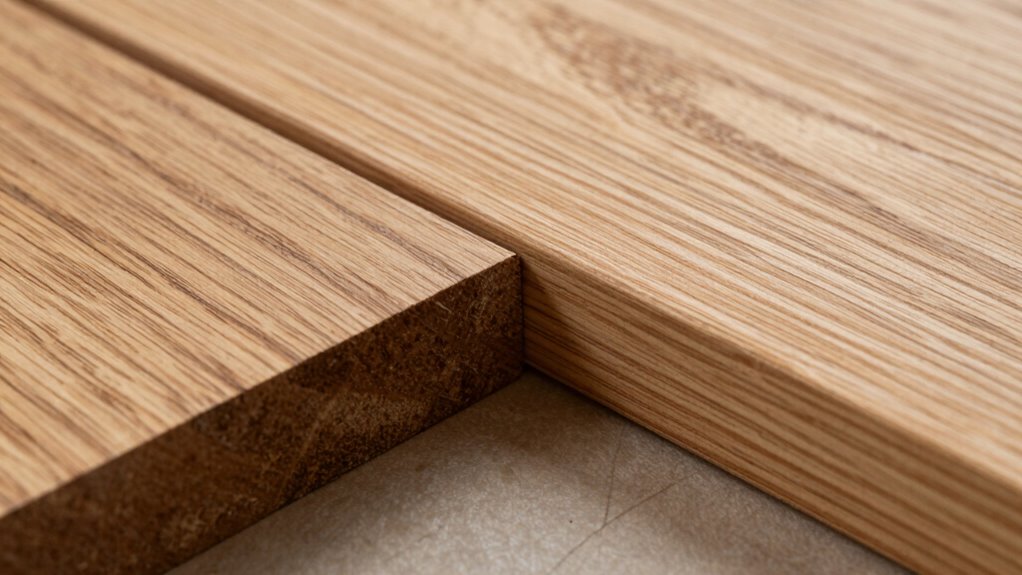
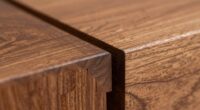
A scarf joint connects two wood pieces at a beveled angle to create a seamless, strong extension, making it ideal for building longboards from shorter sections. To guarantee durability, you’ll need precise cuts that match grain and angles, a good adhesive, and proper clamping during curing. Planning the joint’s angle carefully helps balance strength and aesthetics. Keep these key points in mind, and you’ll discover how to make longboards that are both strong and stylish.
Key Takeaways
- Scarf joints connect shorter wood sections at beveled angles for seamless, long boards.
- Properly matching grain patterns and angles ensures a strong, visually appealing joint.
- Precise cutting and careful alignment are essential for a durable, high-quality scarf joint.
- Use high-quality adhesive and clamp firmly during curing to maximize joint strength.
- Proper planning of the joint’s angle and materials maintains board flexibility and aesthetics.

WETOLS Corner Clamp for Woodworking, 90 Degree Right Angle Clamp, Wood Clamps, 4Pcs Adjustable Spring Loaded Woodworking Clamp, Gifts for Dad, Birthday Gifts for Men, Photo Framing, Orange
Cool Gadgets Gifts for Men: WETOLS corner clamp comes with a nice gift box, which can be great…
As an affiliate, we earn on qualifying purchases.
As an affiliate, we earn on qualifying purchases.
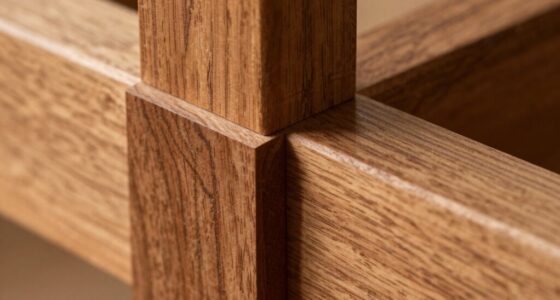
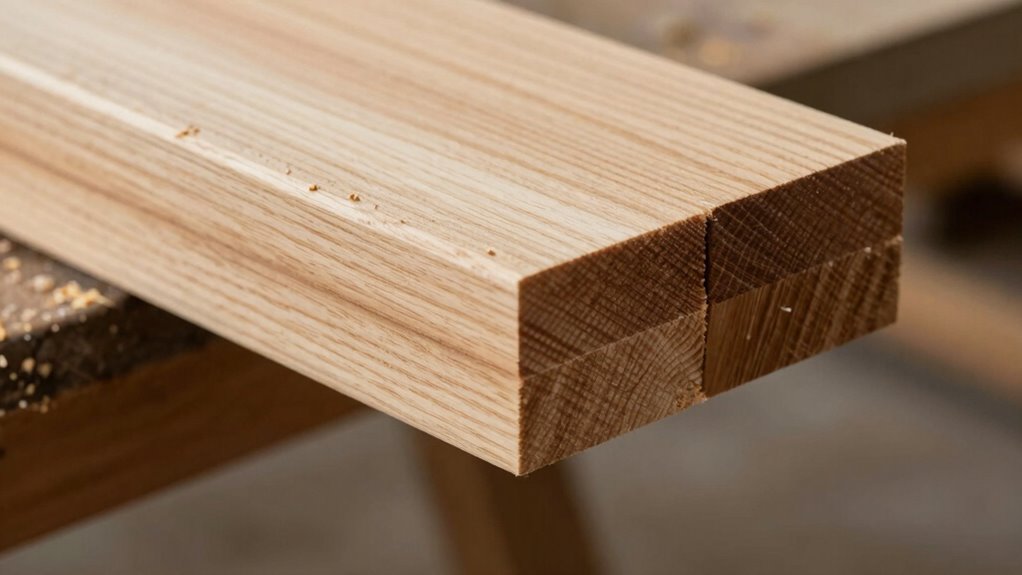
What Is a Scarf Joint and Why Is It Great for Longboards?
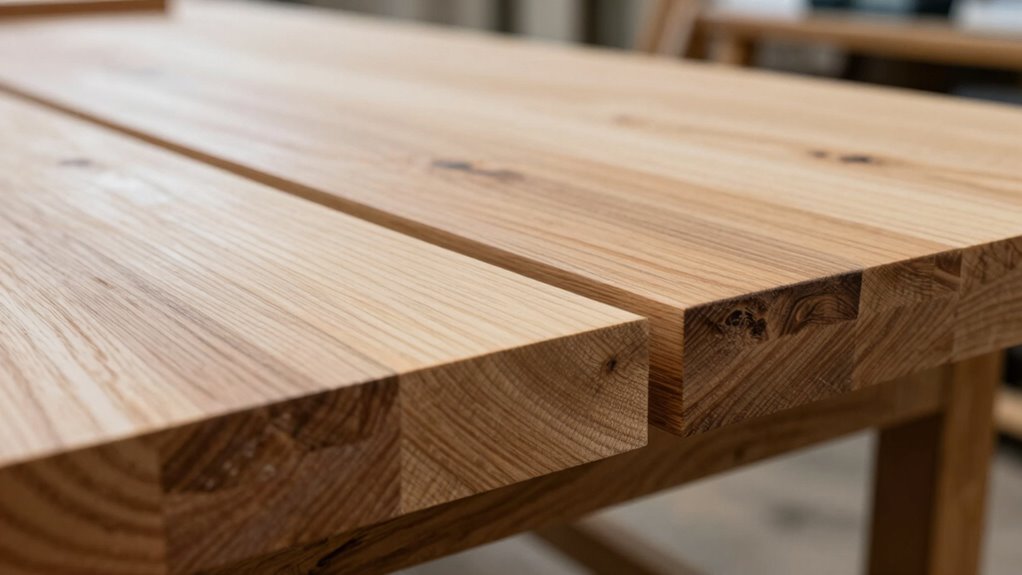
Have you ever wondered how longboards stay strong and stable even when made from multiple pieces of wood? The secret lies in the scarf joint, which connects boards at a beveled angle for seamless strength. When creating a scarf joint, paying attention to grain orientation is vital; aligning the grain properly ensures maximum durability and flexibility. Aesthetically, a well-made scarf joint can be subtle or intentionally highlighted, depending on your style. It allows you to blend different wood types or colors for a unique look without sacrificing strength. This technique distributes stress evenly across the joint, maintaining stability during rides. Overall, the scarf joint’s design and grain considerations make it an excellent choice for building longboards that are both strong and visually appealing.
GHOST BOARDS Y3 Skateboard Tool Kit – All-in-One T Tool for Skateboard, Longboard, Roller & Skate – Multi-Function Portable Skate Tool with T-Type Allen Key & L-Type Phillips Head Wrench (Camouflage)
All-in-One Tool: This skate tool all in one combines a T tool design with a T-type Allen key…
As an affiliate, we earn on qualifying purchases.
As an affiliate, we earn on qualifying purchases.
What You Need to Know Before Making a Scarf Joint
Before you start cutting and shaping your wood for a scarf joint, it’s important to understand the key factors that influence the joint’s strength and appearance. First, consider board aesthetics—matching grain patterns, colors, and textures guarantees a seamless look after assembly. Proper alignment helps maintain visual continuity and enhances the overall design. Environmental considerations also matter; choose wood that’s appropriate for your climate and avoid materials prone to warping or splitting. Properly conditioning your wood, such as drying and acclimating it, reduces future issues. Being mindful of these factors assures your scarf joint not only looks good but also performs reliably over time. Additionally, understanding European cloud innovation can inspire sustainable approaches in your woodworking projects. Preparing your materials with these considerations in mind will lead to a successful, long-lasting connection.
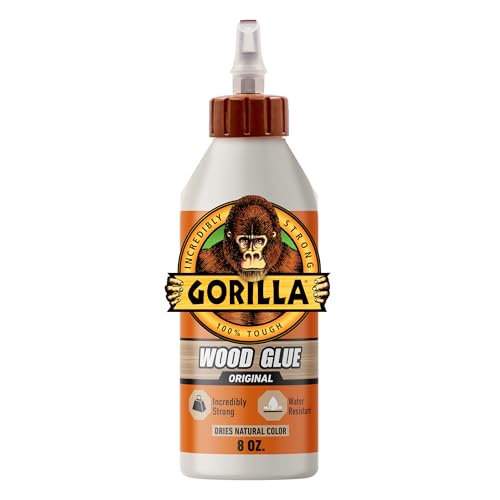
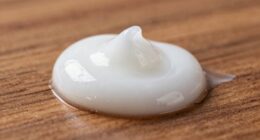
Gorilla Wood Glue; 8 Ounce Bottle; Natural Wood Color; (Pack of 1)
Complete Projects Fast: Requires only 20-30 minutes of clamp time; fully cured in 24 hours. Quickly creates an…
As an affiliate, we earn on qualifying purchases.
As an affiliate, we earn on qualifying purchases.
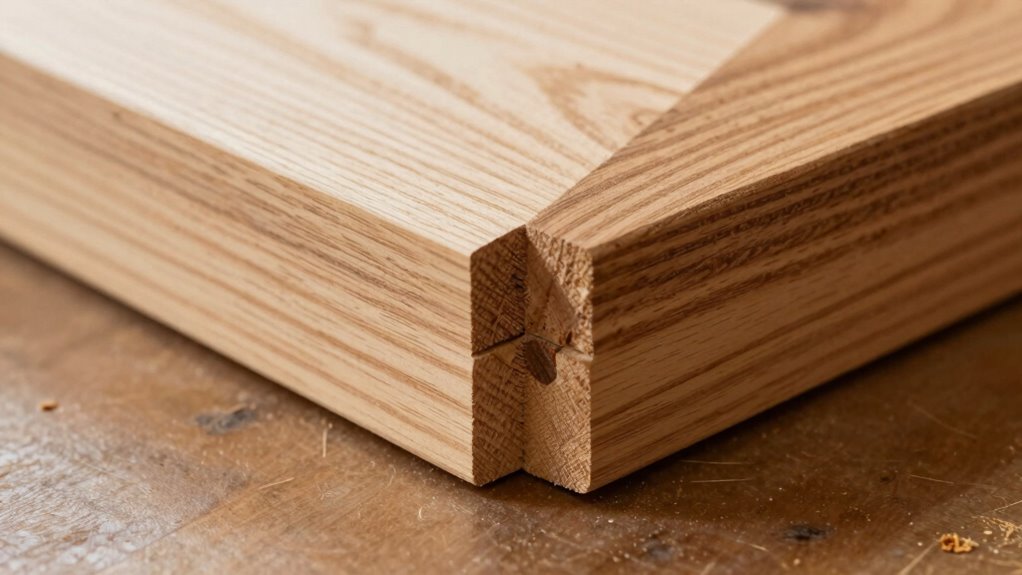
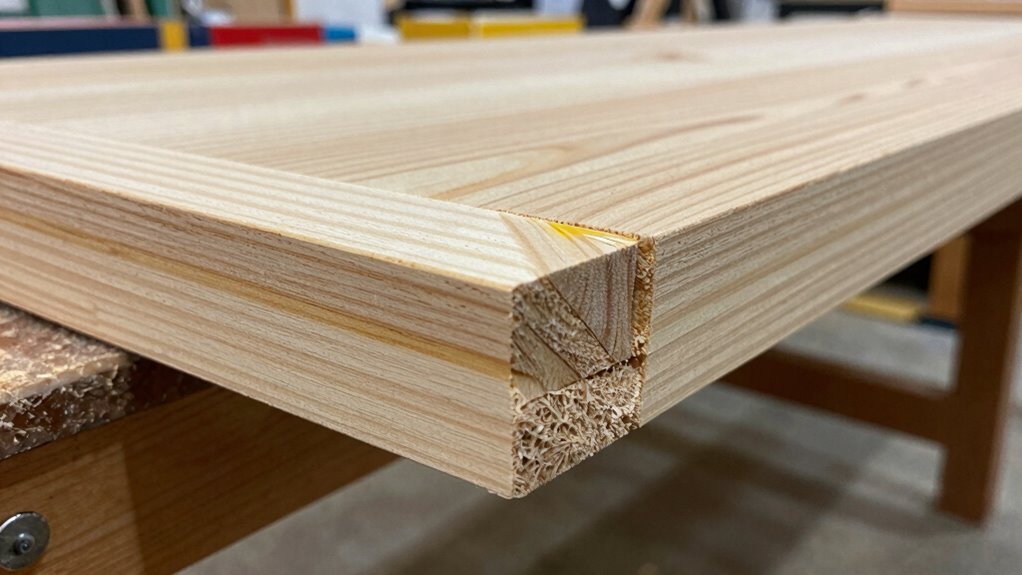
How to Make a Strong, Seamless Scarf Joint
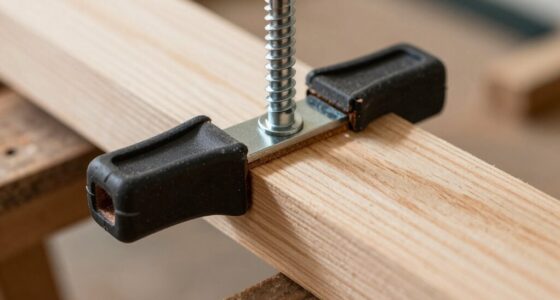
To make a strong, seamless scarf joint, you need to focus on precise cutting techniques to guarantee the surfaces align perfectly. Applying adhesive properly is essential for a secure bond and a smooth finish. When you combine accurate cuts with careful glue application, you’ll achieve a durable, professional-looking joint. Additionally, selecting the right type of adhesive can significantly enhance the strength and longevity of the joint.
Precise Cutting Techniques
Achieving a strong, seamless scarf joint starts with precise cutting techniques that guarantee a perfect fit. Focus on aligning the grain orientation so the joint remains stable and durable. Use sharp, quality cutting tools like a fine saw or a router with a straight bit to ensure clean, accurate cuts. Consistent angles are essential; measure carefully and mark your cuts precisely. Proper technique minimizes gaps and weak points. Here’s a quick reference:
| Step | Tool Needed | Tip |
|---|---|---|
| Marking the joint | Pencil, square | Draw accurate, matching lines |
| Cutting the slope | Handsaw or router | Maintain steady, even pressure |
| Checking fit | None | Test fit before final assembly |
| Sanding edges | Sandpaper or block | Smooth out any rough spots |
| Final inspection | Eye and ruler | Ensure perfect alignment |
Precision guarantees a durable, seamless joint. Additionally, maintaining consistent angle accuracy during cuts is crucial for optimal alignment and strength.
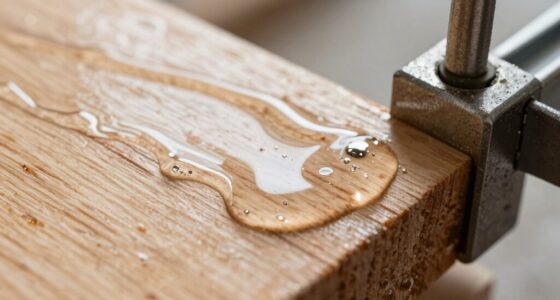
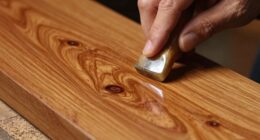
Proper Adhesive Application
Once you’ve cut and fitted your scarf joint precisely, applying adhesive correctly is key to creating a strong, seamless bond. Use a high-quality adhesive suitable for your wood type, and guarantee even coverage across both surfaces. Apply the adhesive with a brush or spreader, avoiding excess that could squeeze out and mar the joint’s aesthetics. Clamp the joint firmly but not too tightly, allowing the adhesive to cure properly without gaps. Proper adhesive curing is essential for maximum strength and durability. Pay attention to the joint aesthetics by wiping away excess adhesive immediately for a clean finish. Consistent pressure during curing helps prevent gaps or misalignment, ensuring a smooth, professional appearance. Well-applied adhesive guarantees a strong, long-lasting scarf joint that maintains its seamless look over time. Heritage craftsmanship emphasizes the importance of careful technique to ensure the longevity and beauty of your woodworking projects.

RUITOOL Japanese Hand Saw 6 Inch Double Edge Sided Pull Saw Ryoba SK5 Flexible Blade 14/17 TPI Flush Cut Beech Handle Wood Saw for Woodworking Tools
An Idea Gift for Woodworker, Carpenter and Craft Man
As an affiliate, we earn on qualifying purchases.
As an affiliate, we earn on qualifying purchases.
Tips for a Durable and Perfect Longboard Extension
Creating a durable and perfect longboard extension requires attention to detail and proper technique. Start with design considerations that ensure the joint aligns well with the board’s flex and riding style. Carefully plan the scarf angle to maximize bonding strength without compromising aesthetics. Material selection is essential; choose high-quality, compatible woods or composites that match the original board’s properties. Using the right type of adhesive compatible with your materials will result in a stronger bond. Make sure the surfaces are precisely cut and thoroughly cleaned before applying adhesive, as any debris can weaken the joint. Clamping firmly during curing guarantees tight contact and prevents gaps. Proper surface preparation enhances adhesion and overall joint strength. By focusing on these aspects, you’ll create a longboard extension that’s both durable and seamless, ready for confident riding.
Common Mistakes When Making Scarf Joints (and How to Avoid Them)

One of the most common mistakes when making scarf joints is not paying enough attention to the angle and fit of the cut. Poor wood grain alignment can weaken the joint, leading to failure under stress. An improper cut results in gaps or overlaps that compromise strength. Additionally, failing to clamp the pieces properly can cause shifting during adhesive drying, creating weak spots. To avoid these issues:
- Ensure the cut angle matches the wood grain direction
- Double-check the fit before gluing
- Use proper clamping pressure for a tight bond
- Avoid rushing the clamping process
- Always align the grain for maximum strength
- Remember that precise cut angles are essential for strong, lasting joints.
Finishing and Reinforcing Your Longboard Extension for Lasting Performance
To guarantee your longboard extension lasts through extensive use, finishing and reinforcing it properly is essential. Start with effective finishing techniques, such as sanding smooth edges and applying a durable sealant or varnish to protect the surface. These steps improve aesthetics and prevent moisture damage. Reinforcement methods are equally important; consider adding fiberglass or epoxy resin over the scarf joint to strengthen the connection. Clamping the joint tightly during curing ensures a solid bond. You can also embed reinforcement strips for extra durability, especially if you plan to ride aggressively. Additionally, selecting the appropriate oil for maintenance can help protect the wood from environmental stress. Combining proper finishing techniques with strategic reinforcement methods creates a long-lasting extension that can withstand daily use and environmental stress, ensuring your longboard remains stable and reliable over time.
Frequently Asked Questions
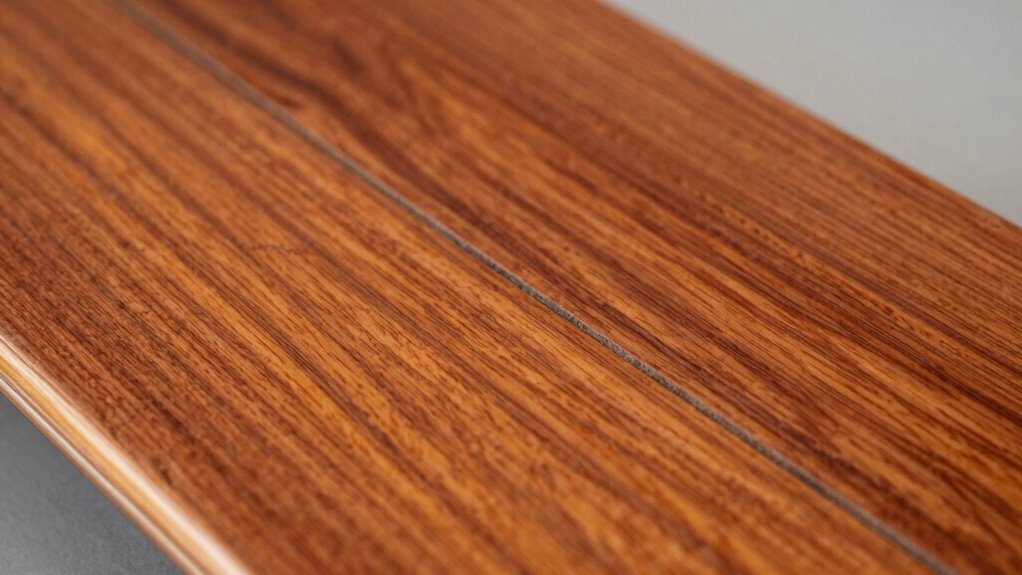
What Types of Wood Are Best Suited for Scarf Joints?
You should choose hardwoods like oak, walnut, or maple for scarf joints, as their tight wood grain enhances joint durability. These woods resist splitting and provide stability over time. Softwoods like pine can work but are less ideal because their looser grain may weaken the joint. Always select wood with straight, consistent grain to ensure maximum strength and longevity in your scarf joint project.
How Long Should a Scarf Joint Be for Optimal Strength?
For ideal strength, your scarf joint should be about 6 to 12 times the thickness of the wood, typically 12 to 24 inches for most projects. Use a 30 to 45-degree joint angle for a good balance of strength and ease of fitting. Choose high-quality glue like epoxy or polyurethane, which bond well with the angled surfaces. Proper clamping and clean surfaces will guarantee a strong, durable joint.
Can Scarf Joints Be Used for Curved or Bent Longboards?
While it’s possible to use scarf joints for flexible materials and curved joints, they’re not the best choice for curved or bent longboards. You might find that flexible joints can handle the bend, but scarf joints tend to be rigid, risking weakness or cracking under stress. For curved designs, consider alternative methods like segmented lamination or bent lamination techniques, which better accommodate the natural flex of your longboard, ensuring safety and durability.
What Tools Are Essential for Precision in Making Scarf Joints?
To guarantee precision in making scarf joints, you need essential tools like a sharp hand saw or a table saw for accurate joint alignment, and clamps to hold everything securely. A fine-tooth saw helps with clean cuts, while a square or jig ensures perfect alignment. Don’t forget to choose the right adhesive, like epoxy or waterproof wood glue, for strong bonding. These tools and careful attention to joint alignment and adhesive selection make your scarf joints durable and seamless.
How Does Climate Affect the Longevity of a Scarf Joint?
Climate acts like a puppeteer pulling at your scarf joint’s strings. When humidity rises, wood expands, and when it drops, wood contracts, stressing the joint. Fluctuations in moisture content can weaken the bond over time, causing cracks or separation. To guarantee longevity, you should stabilize moisture levels before gluing and consider sealing your joint. Proper climate control keeps your scarf joint strong, like a sturdy bridge across changing weather conditions.
Conclusion
Now that you know how to craft a strong scarf joint, you’re armed with the tools to turn short boards into a seamless, long-lasting extension. Think of it as stitching together a flowing river—the joint must be smooth and sturdy to carry the ride ahead. With patience and precision, you’ll create a longboard that’s not just extended but built to last. Ride confidently, knowing your craftsmanship flows as smoothly as your ride.