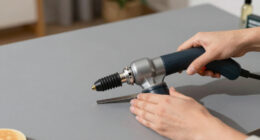

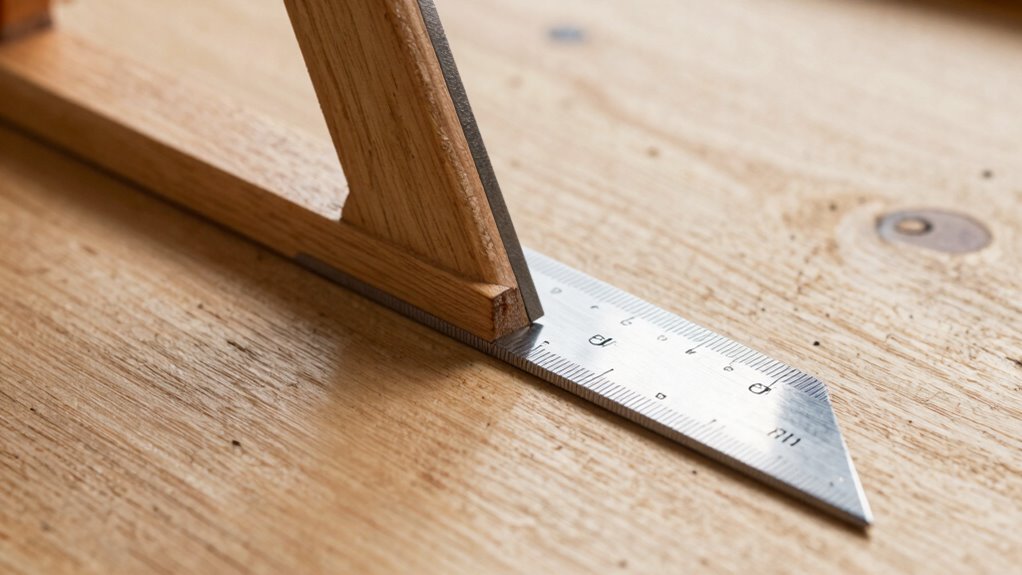
To check if your try square is accurate, mark a line along the blade against a straight edge, then flip the square 180° and mark again. If the lines don’t align perfectly, it’s misaligned. Inspect for loose handles, bent blades, or gaps that can cause inaccuracies. Tighten, realign, or replace parts as needed. Regular checks guarantee your tool stays precise—continue exploring how to keep your try square in top condition.
Key Takeaways
- Test the try square by drawing two lines at 180° rotation; misalignment indicates calibration issues.
- Check for physical damage like bent blades or loose handles that can cause inaccuracies.
- Use a straightedge or feeler gauge to verify the squareness of the blade and stock during inspection.
- Adjust or realign the blade and handle gently, cleaning components to restore accuracy.
- Replace the try square if it remains inaccurate after adjustments or shows severe damage.
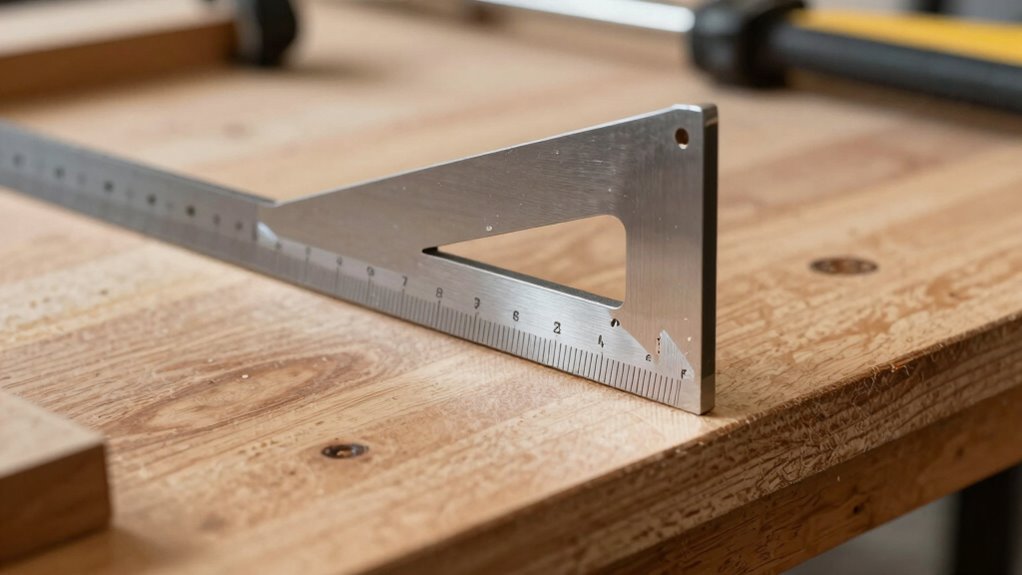
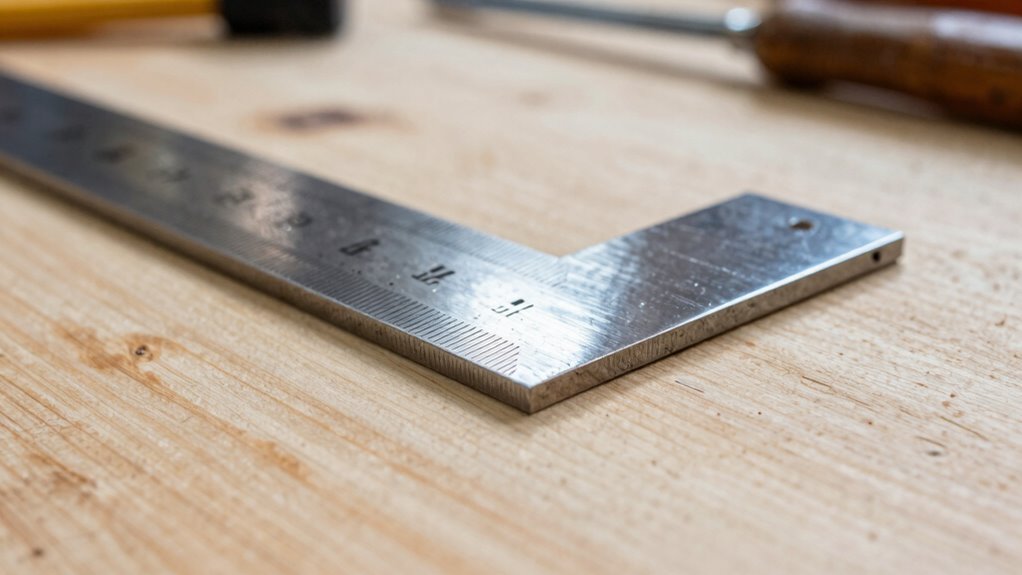
PEC Tools Machinist Square Precision Engineer Wide Seat Square 90 Right Angle Ground Hardened Steel Angle Ruler 3 x 2-1/2 Inch, Suitable for Woodworking and Precision Layout Work
Design: These are "fixed" squares (also known as try squares) with no moving parts, consisting of a rugged…
As an affiliate, we earn on qualifying purchases.
As an affiliate, we earn on qualifying purchases.
How to Check If Your Try Square Is Accurate
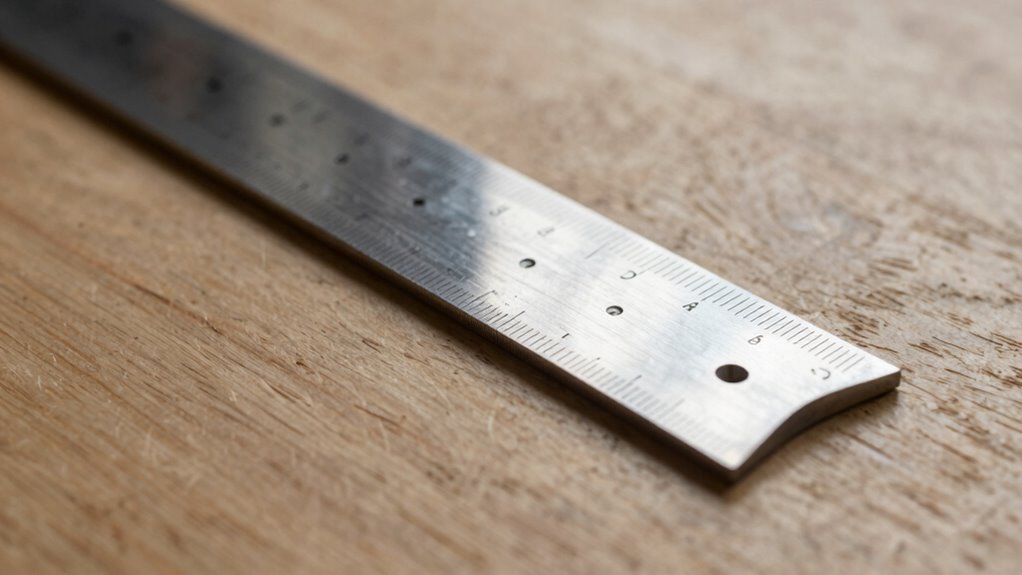
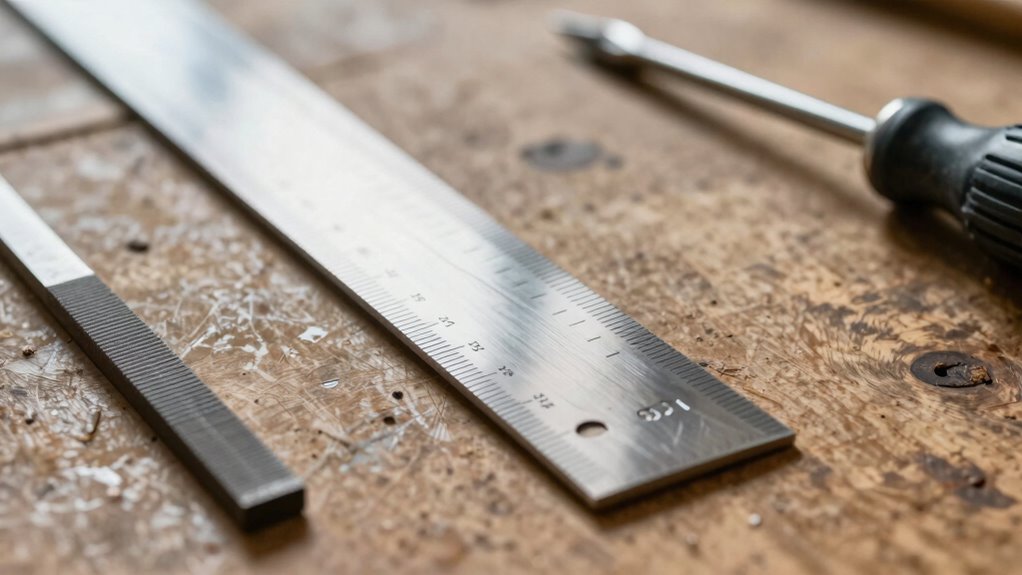
Wondering if your try square is truly accurate? The first step is to check its measurement accuracy. Place the stock firmly against a flat, straight edge and mark a line along the blade at one end. Rotate the try square 180 degrees and draw another line at the same point. If the lines don’t align perfectly, your tool may be out of calibration. Regular tool maintenance helps guarantee ongoing accuracy—clean the blade and stock, and check for any damage or warping. Keep the measuring surfaces free of dust and debris. Using a reliable, precise reference, like a known straight edge, will make your accuracy check more effective. Additionally, understanding how to properly calibrate your tools ensures long-term precision. Calibration methods and consistently verifying your try square guarantees precise measurements and improves your woodworking results. Incorporating techniques from home theater projectors can help you achieve optimal setup accuracy in your viewing space. In fact, understanding the solar system can also inspire a more precise approach to aligning your tools. Also, consider the importance of regular filter checks for maintaining optimal performance in your workshop environment.

Johnson Level & Tool 1940-0800 Professional Carbonized Bamboo Try Square, 8", Bamboo Finish, 1 Square
MEASUREMENTS RULER: This miter square is a vital marking and checking tool for any skilled carpenter; making gauging…
As an affiliate, we earn on qualifying purchases.
As an affiliate, we earn on qualifying purchases.
Signs Your Try Square Might Be Out of Alignment
If your try square isn’t aligning properly, there are clear signs it may be out of calibration. Check the wooden handle; if it feels loose or wobbly, the tool might be misaligned. Also, examine the metal blade—if it’s bent, warped, or doesn’t sit flush against your workpiece, that’s a strong indicator. When you use the try square, inconsistencies like gaps between the blade and the stock, or if the blade appears uneven along the edge, suggest misalignment. Sometimes, the handle’s attachment to the blade may be loose or damaged, affecting accuracy. These signs point to a need for inspection or correction, especially if the tool no longer provides consistent, precise measurements. Recognizing these issues early helps ensure your woodworking remains accurate and safe. Additionally, understanding how wood movement can influence tool calibration is essential for maintaining accuracy over time.
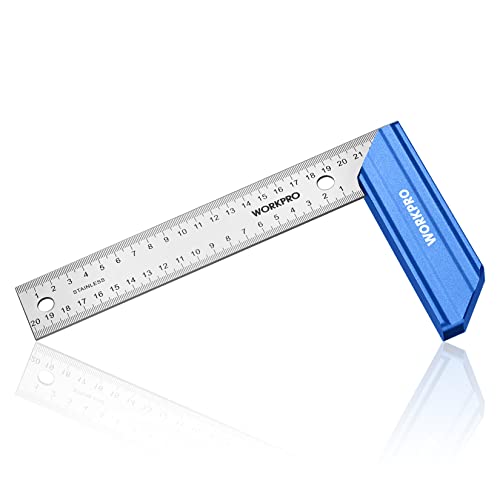
WORKPRO 8 Inch Try Square with Aluminum Handle – Woodworking Square Precision for Professional Carpentry Use & Premium Stainless Steel Ruler
FUNCTION: 8 Inch Try Square*1, for marking and measuring right angles in woodworking
As an affiliate, we earn on qualifying purchases.
As an affiliate, we earn on qualifying purchases.
How to Fix and Calibrate Your Try Square
To guarantee your try square provides accurate measurements, start by inspecting its main components and making necessary adjustments. Begin the calibration process by checking the blade’s squareness against the stock using a reliable straightedge or feeler gauge. If you notice misalignment, gently tap the blade or stock to realign it, ensuring it remains firmly attached. Regular maintenance tips include cleaning the metal edges with a soft cloth to remove dirt and rust, which can affect accuracy. If the blade is warped or severely out of alignment, consider replacing it or seeking professional recalibration. Proper calibration and routine maintenance ensure your try square stays precise over time, helping you produce accurate, reliable measurements in your woodworking projects. Additionally, verifying the correct oil levels and ensuring the tool isn’t exposed to extreme conditions can help maintain its accuracy and longevity. Keeping the measurement tools in good condition is essential for precise woodworking. To further enhance precision, periodically checking for wear and tear on the tool’s edges can prevent cumulative errors. Regularly inspecting the alignment of the components helps maintain consistent accuracy over the lifetime of your try square.
PEC Tools Machinist Square Precision Engineer Wide Seat Square 90 Right Angle Ground Hardened Steel Angle Ruler 3 x 2-1/2 Inch, Suitable for Woodworking and Precision Layout Work
Design: These are "fixed" squares (also known as try squares) with no moving parts, consisting of a rugged…
As an affiliate, we earn on qualifying purchases.
As an affiliate, we earn on qualifying purchases.
When Should You Replace Your Try Square?
A try square should be substituted when it no longer provides accurate measurements, especially after repeated misalignments or damage. If the wooden handle becomes loose or cracked, it can affect the tool’s stability. Likewise, a bent or nicked metal blade may produce inaccurate markings or measurements. Over time, corrosion or wear can also compromise the blade’s straightness, making calibration impossible. If you notice gaps between the blade and handle when checking for squareness, or if your measurements consistently fail calibration tests, it’s time for a new try square. Relying on a damaged or inaccurate tool can lead to flawed work. Proper calibration ensures you maintain precision and confidence in your woodworking projects. Additionally, understanding free floating mechanisms can help in maintaining the overall accuracy of your tools. Regularly inspecting your tools for wear and tear can prevent inaccurate measurements and ensure your projects stay on track. Incorporating measurement accuracy checks into your routine can also extend the lifespan of your tools and improve your craftsmanship. Being familiar with calibration techniques can further help you identify when your try square needs replacement or adjustment.
Tips to Keep Your Try Square Accurate for the Long Term
Maintaining the accuracy of your try square over time requires regular care and proper handling. A brief history overview shows these tools have been essential for centuries, evolving from simple wooden squares to precision metal tools. To keep your try square reliable, follow these tips:
- Store it in a dry, clean place to prevent rust and warping.
- Regularly check for dents or bends, especially if used with common tools like chisels or saws.
- Clean it with a soft cloth after use to remove debris.
- Periodically verify its accuracy with a known straight edge or machinist’s square.
- Understanding tool calibration helps ensure your measurements remain precise over the long term.
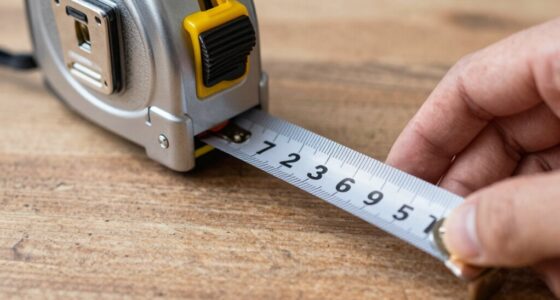
- Incorporating modern measurement techniques, such as digital levels or laser guides, can further enhance accuracy and consistency.
- Performing regular maintenance and calibration checks can extend the life and reliability of your try square significantly.
- Additionally, familiarizing yourself with proper handling and storage practices ensures you avoid accidental damage that could compromise its accuracy.
Frequently Asked Questions
Can a Try Square Be Repaired if It’s Severely Damaged?
Yes, you can often repair a severely damaged try square if you do a proper damage assessment. Start by inspecting for bent or broken blades, loose joints, or rust. For minor issues, you might realign or tighten parts. However, if the damage is extensive, try square restoration could involve replacing parts or the entire tool. Sometimes, professional repair or replacement is the best option to guarantee accuracy and safety.
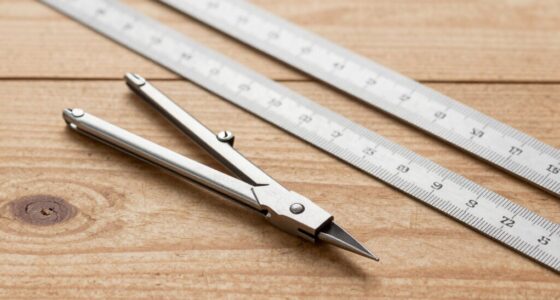
What Materials Are Best for DIY Try Square Calibration?
Think of your DIY try square as a trusty compass guiding your craftsmanship. For material selection, opt for hardwood like maple or oak, which stays stable and resists warping. Use calibration techniques such as checking against a known flat surface or a precision square. These materials and methods guarantee you get accurate readings, making your square dependable. Keep your tools true, and your projects will always hit the mark.
How Often Should I Check My Try Square’s Accuracy?
You should check your try square’s accuracy regularly, ideally every few months, to maintain calibration frequency and verify precision. If you notice any signs of wear or if your measurements seem off, check it more often. Consistent accuracy maintenance prevents errors in your projects. Make checking a routine part of your toolkit upkeep, especially before important tasks, to keep your tools reliable and your work precise.
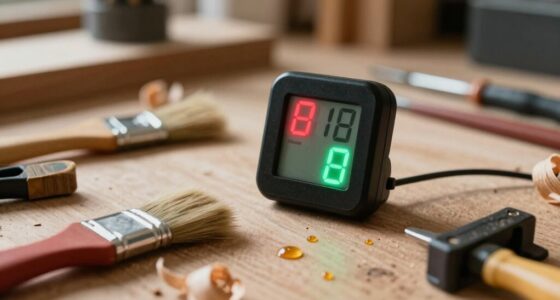
Are Digital Try Squares More Reliable Than Traditional Ones?
Digital try squares are generally more reliable than traditional ones because of electronic precision and digital calibration. Think of them as having a built-in GPS for accuracy, guiding your measurements with less room for error. They quickly adapt to changes and maintain calibration longer, giving you confidence that your work is spot-on. While traditional tools are dependable, digital options provide a higher level of consistency, especially for detailed or intricate projects.
How Do Environmental Factors Affect Try Square Accuracy?
Environmental factors like humidity effects and temperature fluctuations can impact your try square’s accuracy. High humidity can cause wooden parts to swell or warp, leading to false readings. Temperature changes can cause metal components to expand or contract, affecting precision. To maintain accuracy, store your try square in a stable environment, avoid extreme conditions, and regularly check its calibration, especially if you notice inconsistent measurements.
Conclusion
By regularly checking and calibrating your try square, you prevent it from turning into a crooked, useless relic that ruins your projects. With proper care, it’ll stay sharper than a surgeon’s scalpel and more reliable than a trusted friend. Ignore these tips, and your tools might become as useless as a chocolate teapot—leading to crooked cuts and frustrated days. Keep your try square true, and your craftsmanship will never be compromised by a crooked line again.