To resaw straight, thin boards, you need proper setup and technique. Start by choosing a bandsaw with enough capacity and a sharp, thin blade suited for resawing. Make certain your machine is correctly aligned, the blade tensioned, and guides are properly adjusted. Mark your lumber accurately and support your material well to prevent binding. Maintain a steady feed rate, avoid forcing the cut, and monitor blade condition. Following these steps will help you achieve clean, precise cuts—so stay tuned for more detailed tips.
Key Takeaways
- Ensure bandsaw blade is properly tensioned, aligned, and equipped with a sharp, thin blade suited for resawing.
- Calibrate the bandsaw’s guides, fence, and table for accurate, straight cuts and consistent board thickness.
- Support the wood with fixtures like roller stands or jigs to prevent vibration and maintain alignment during cutting.
- Mark measurements carefully, score surfaces lightly, and double-check grain orientation for precision and quality.
- Maintain steady feed rate, gentle pressure, and monitor blade temperature to achieve smooth, straight, thin boards.
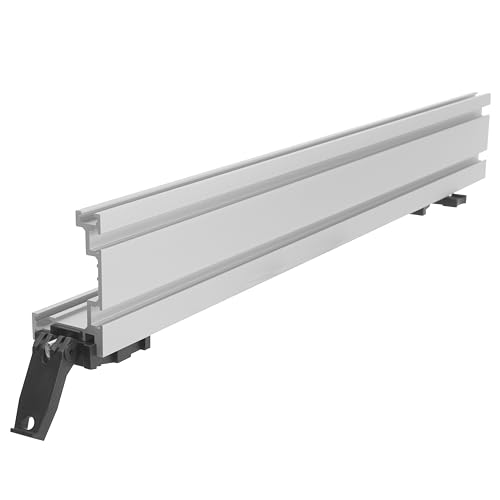
ProGrip Universal Bandsaw Fence – Adjustable, Precision Re-Sawing, Dual-Function 2-in-1 Band Saw/Drill Press Fence Combo, Triple Cam Locking, Straight Edge Clamp, Stop Block for Repetitive Drilling
UNIVERSAL COMPATIBILITY – Fits any band saw table up to 18" front to back. This bandsaw rip fence…
As an affiliate, we earn on qualifying purchases.
As an affiliate, we earn on qualifying purchases.
What Is Resawing and Why Is It Important?

Have you ever needed to reduce a thick piece of lumber into thinner, more manageable sheets? Resawing is the process of slicing through a board to create thinner, flat pieces from a single piece of wood. It’s vital because it allows you to maximize your lumber’s value, reduce waste, and prepare the wood for specific projects. Proper resawing depends on understanding grain orientation; cutting along the grain results in cleaner cuts and less tear-out. Additionally, considering wood moisture is essential—drier wood is easier to cut smoothly, reducing the risk of warping or splitting. Mastering techniques like grain orientation can significantly improve your results. By mastering resawing, you gain control over your woodworking process, creating precise, uniform boards that improve your project’s quality and save money. Knowing how to prepare wood properly before resawing can make your cuts even cleaner and more efficient. For optimal results, understanding cutting techniques can help you avoid common mistakes and achieve professional-quality surfaces. Proper setup and alignment of your saw and workpiece is also crucial for consistent, safe cuts.

FOXBC 35-3/8 Inch Bandsaw Blade 18 TPI for Milwaukee 48-39-0526 Portable Band Saw Blade, 35-3/8" x 1/2" x .020" 18 TPI, 3-Pack
FOXBC 35-3/8 Inch long, 1/2 Inch wide, 0.020 Inch thick, 18 TPI Portable bandsaw blades
As an affiliate, we earn on qualifying purchases.
As an affiliate, we earn on qualifying purchases.
How to Choose the Right Bandsaw and Blade for Resawing

Choosing the right bandsaw and blade is essential for successful resawing, as these tools directly affect cut quality, safety, and efficiency. Your bandsaw’s capacity determines the maximum board thickness you can handle, so choose one that matches your projects. Blade selection is equally important; a thin, sharp blade with the correct tooth configuration produces cleaner, straighter cuts. Additionally, understanding the thermal behavior of blades can help prevent overheating and prolong blade life, ensuring consistent performance. Proper blade tension and cooling methods also play a crucial role in maintaining blade integrity during resawing. Being aware of the thermal expansion properties of different blades can further help in adjusting tension and preventing warping during prolonged cuts. Monitoring blade temperature during operation can also help detect early signs of overheating and avoid potential damage. Incorporating proper cooling techniques can significantly extend blade life and maintain cutting precision over time.

Lenox, 62126, Band Saw Blade Tension Meter
As an affiliate, we earn on qualifying purchases.
As an affiliate, we earn on qualifying purchases.
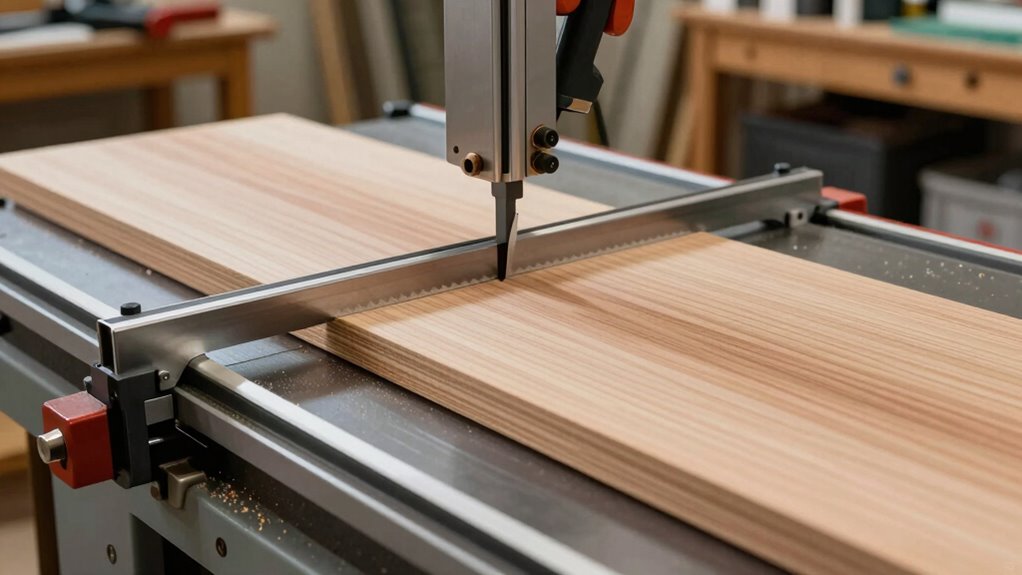
Setting Up Your Bandsaw for Accurate and Straight Cuts
To achieve accurate and straight cuts on your bandsaw, proper setup is essential before you start cutting. Begin by checking blade alignment, ensuring the blade runs true with the wheels and the table. Misaligned blades cause drift and uneven cuts, so make adjustments until the blade tracks centrally on the wheels. Additionally, optimize your dust collection system; a clean work area prevents debris from interfering with the blade’s movement and visibility. Adequate dust extraction also improves safety and reduces blade heat, which can affect cutting accuracy. Confirm that the fence is square to the table and securely locked in place. With everything properly aligned and your dust collection working efficiently, you’ll be set for smooth, straight, and consistent resawing. Regularly inspecting machine calibration ensures your setup remains precise over time. Ensuring your blade tension and tracking are correctly adjusted is also crucial for maintaining cut quality and safety. Additionally, periodically checking the blade guides and bearings helps maintain optimal performance during resawing. Proper setup procedures can significantly improve your resawing results and extend the lifespan of your bandsaw. Paying attention to blade tension not only improves cutting accuracy but also prolongs the life of your blade and machine components.

WORKPRO Folding Roller Stand Height Adjustable, Heavy Duty 250 LB Load Capacity, Outfeed Woodworking (Upgraded head)
Adjustable Height From 27-In To 43-In
As an affiliate, we earn on qualifying purchases.
As an affiliate, we earn on qualifying purchases.
How to Adjust Blade Tension and Guides to Prevent Drift

Proper blade tension and guide adjustments are key to preventing drift during resawing. Start by setting the blade tension so it’s firm but not overly tight; too tight can cause blade fatigue, too loose leads to wandering. Check the tension regularly as you work. Next, adjust the guides so they lightly contact the blade, just enough to stabilize it without restricting movement. Ensure the guides are positioned close to the blade but not touching it, and set the upper and lower guides at the correct height. Proper guide adjustment helps keep the blade aligned and prevents it from drifting side to side. Regularly monitor and fine-tune both blade tension and guide settings throughout your cut to maintain straight, accurate boards. Additionally, understanding the importance of blade tracking can further enhance your resawing precision. Being familiar with resawing techniques can also help optimize your setup and results. Paying attention to blade alignment ensures the blade stays true during cuts, reducing drift and improving overall accuracy. Recognizing the effects of guide contact pressure can also be crucial for achieving smooth, straight cuts. Being aware of blade tension maintenance helps prolong blade life and maintain cut quality.
Marking and Measuring Your Material for Thin, Precise Boards
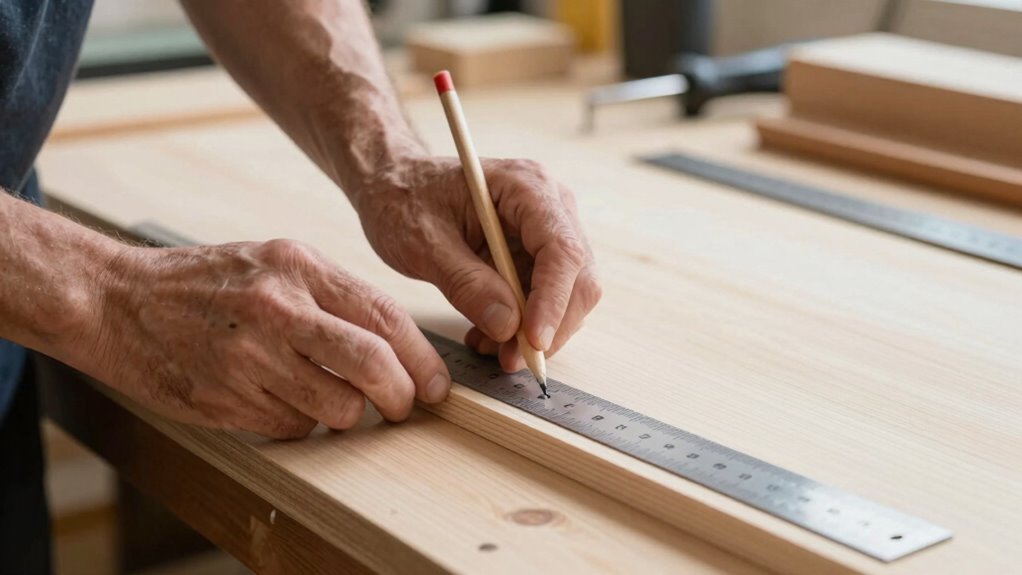
Accurately marking and measuring your material is essential for producing thin, precise boards. Use reliable measurement tools like a combination square, ruler, and marking gauge to guarantee accuracy. Proper marking techniques involve scoring the surface lightly with a utility knife before making cuts, preventing splintering. Double-check your measurements before cutting to avoid waste. Additionally, understanding the importance of material preparation can significantly improve your final results by ensuring consistent thickness and quality throughout your project. Employing good measurement techniques further enhances precision and reduces errors during cutting. Being familiar with tool calibration helps maintain accuracy over time and ensures your measurements stay reliable. Regularly calibrating your tools is a crucial step in maintaining measurement accuracy and achieving consistent results. To further improve your precision, consider the impact of material grain orientation during marking and cutting. Here’s a quick reference:
| Tool | Purpose | Tip |
|---|---|---|
| Combination Square | Checking perpendicularity | Ensure blade is secure |
| Ruler | Measuring length and width | Use a straight edge |
| Marking Gauge | Marking parallel lines | Set to exact thickness |
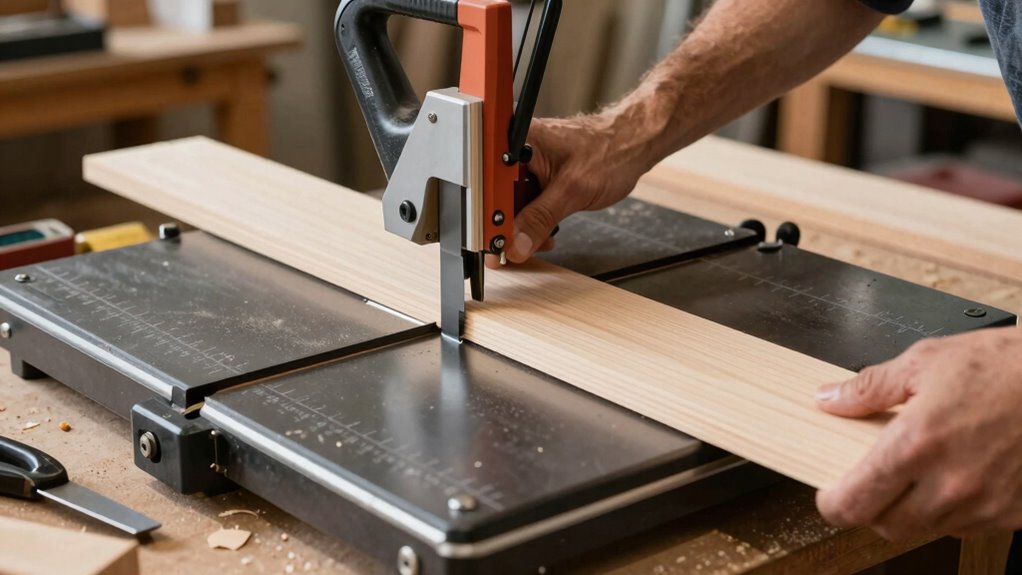
Techniques for Feeding Material and Maintaining Control

To get clean, accurate cuts, you need to control how you feed the material into the saw. Maintaining a steady feed rate prevents binding and rough edges, so stay consistent throughout the cut. Using support fixtures helps keep the material stable and reduces the risk of kickback or wobbling.
Proper Feed Rate
Maintaining the right feed rate is essential for safe and efficient resawing. Move the wood steadily, neither rushing nor forcing it through the blade. Proper pressure control helps prevent blade binding or burning, ensuring a clean cut. A consistent feed rate improves accuracy and minimizes blade wear. Use your body weight and hand pressure to guide the material smoothly. Adjust your speed based on the wood’s density; denser wood needs a slower feed. Keep an eye on the cut and listen for unusual sounds, which may indicate too fast or slow feeding. The table below summarizes key points:
| Feed Rate | Pressure Control | Result |
|---|---|---|
| Steady | Gentle | Smooth, accurate cuts |
| Fast | Excessive | Blade binding or burning |
| Slow | Too light | Burning or inefficient cut |
Use Support Fixtures
Using support fixtures can considerably improve your control during resawing. They help steady the wood and prevent unwanted movement, resulting in cleaner cuts. Support fixtures come in various forms, such as roller stands, adjustable jigs, or custom-made supports, which you can set up to match your material’s size and shape. Proper jig setups ensure your boards stay aligned and stable throughout the cut, reducing the risk of binding or kickback. When feeding material, position support fixtures close to the blade to minimize flex and vibration. Consistent support minimizes uneven pressure, helping you achieve straight, thin boards. Investing time in setting up effective jig setups and using appropriate support fixtures makes resawing safer, faster, and more accurate.
Common Resawing Problems and How to Fix Them
Resawing can sometimes present challenges that affect the quality of your cut, but understanding common problems can help you troubleshoot effectively. If your boards are uneven or rough, check your blade alignment; misaligned blades cause uneven cuts and tear-out. Poor dust collection can also hinder visibility and lead to inaccurate cuts, so verify your dust system is working properly. Additionally, watch for these issues:
- Blade drift, which occurs if the blade isn’t tracking straight, leading to crooked cuts.
- Excessive vibration, often caused by dull blades or improper tension, resulting in rough surfaces.
- Overheating blades, which can dull the blade quickly and produce burn marks.
Addressing these problems involves proper setup, regular maintenance, and confirming your dust collection system is efficient.
Frequently Asked Questions
What Safety Precautions Should I Take During Resawing?
During resawing, you should always wear safety gear like goggles and hearing protection to guard against debris and noise. Make sure blade guards are in place and properly adjusted to prevent accidental contact with the blade. Keep your hands clear of the cutting path, and use push sticks when needed. Stay focused, and never bypass safety features—these precautions help guarantee your safety while achieving precise cuts.
How Do Temperature and Humidity Affect Resawing Accuracy?
Imagine your wood is a moody teenager—moisture content and temperature fluctuations influence its attitude. High humidity can cause wood to swell, making resawing tricky, while dry air shrinks it, leading to splits. Temperature swings can warp your board, throwing off your cuts. To keep things straight and true, monitor humidity levels and avoid drastic temperature changes, ensuring your wood stays calm and predictable during resawing.
Can Resawing Be Done on Other Types of Saws?
Yes, you can resaw on other saws, but blade types and saw compatibility matter. For example, band saws and some jigsaws work well if they have the right blade, like a fine-tooth or narrow-blade setup. Make sure your saw can handle the blade’s width and tension, and always follow safety guidelines. With the proper blade types, you can achieve straight, thin cuts on various saws.
What Are the Signs of a Dull Bandsaw Blade?
You might think a dull bandsaw blade isn’t a big deal, but it actually affects your cut quality. Signs include increased cutting resistance, where the blade struggles or stalls, and uneven or rough edges. You’ll also notice the blade tension feeling inconsistent, making it harder to control. If your cuts become more difficult or jagged, it’s time to replace or sharpen your blade for smoother, safer resawing.
How Do I Store My Bandsaw Blades Properly?
You should store your bandsaw blades in a dry, cool place to prevent rust and damage. Use blade storage racks or hangers designed specifically for blades, keeping them separated to avoid dulling or warping. Wrap blades in a protective coating or oil if storing for long periods. Proper blade storage and rust prevention prolong blade life, ensuring safe, effective cuts every time you use your bandsaw.
Conclusion
Mastering resawing is about choosing the right blade, setting up your bandsaw correctly, and practicing steady feeding. It’s about understanding your equipment, marking your material precisely, and maintaining control throughout each cut. It’s about troubleshooting problems confidently and refining your technique continually. When you focus on these basics, you’ll craft straight, thin boards with ease, confidence, and consistency. Resawing becomes not just a task, but a skill you master with patience, precision, and passion.