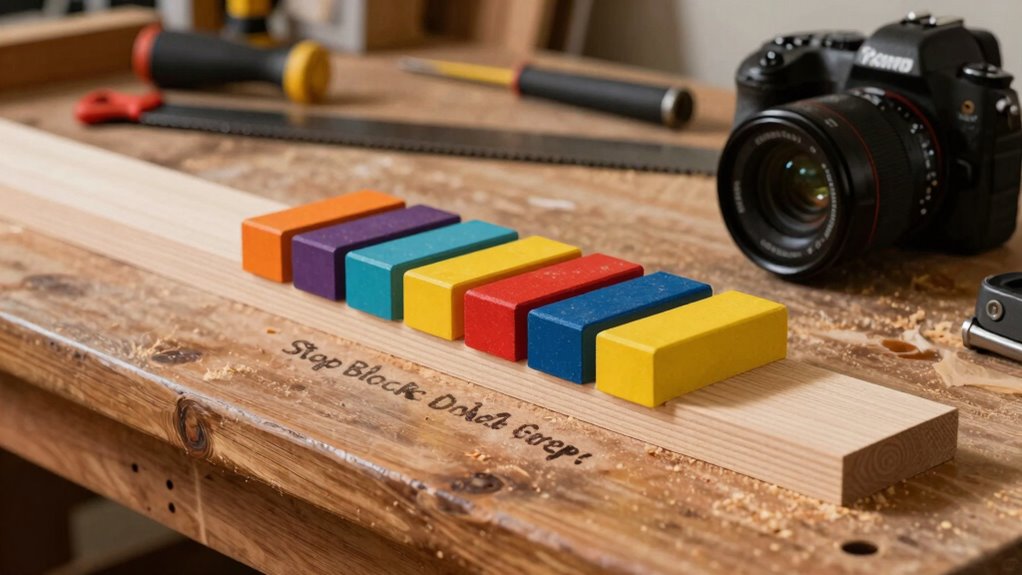
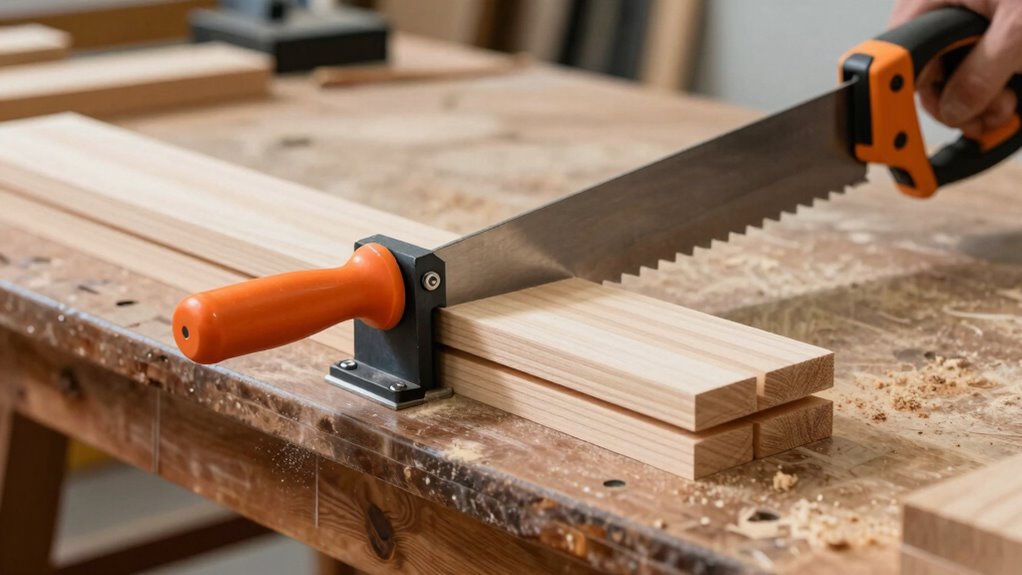
To guarantee repeat cuts without creep, securely clamp your stop block using sturdy, non-slip materials like hardwood or thick plastic, and double-check alignment before every cut. Use precise measurement tools and verify distances multiple times to avoid errors. Keep contact surfaces clean and tighten all fasteners firmly. Regular calibration helps maintain accuracy over time. If you continue tuning your setup, you’ll gain even more tips to make your cuts consistently perfect.
Key Takeaways
- Securely clamp or screw the stop block to prevent shifting during repeated cuts.
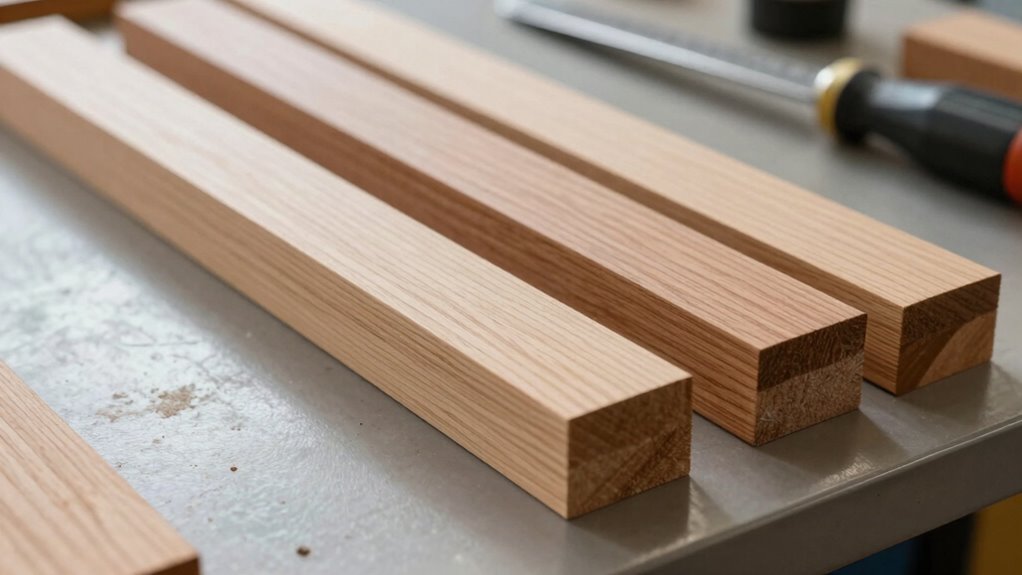
- Use high-quality, durable materials like hardwood or specialized plastics for stability and longevity.
- Double-check and calibrate measurements with precise tools before each cut to ensure accuracy.
- Verify the stop block is flush against the workpiece and fence to eliminate gaps and movement.
- Regularly inspect and maintain the stop block and contact surfaces for damage or debris to ensure consistent performance.

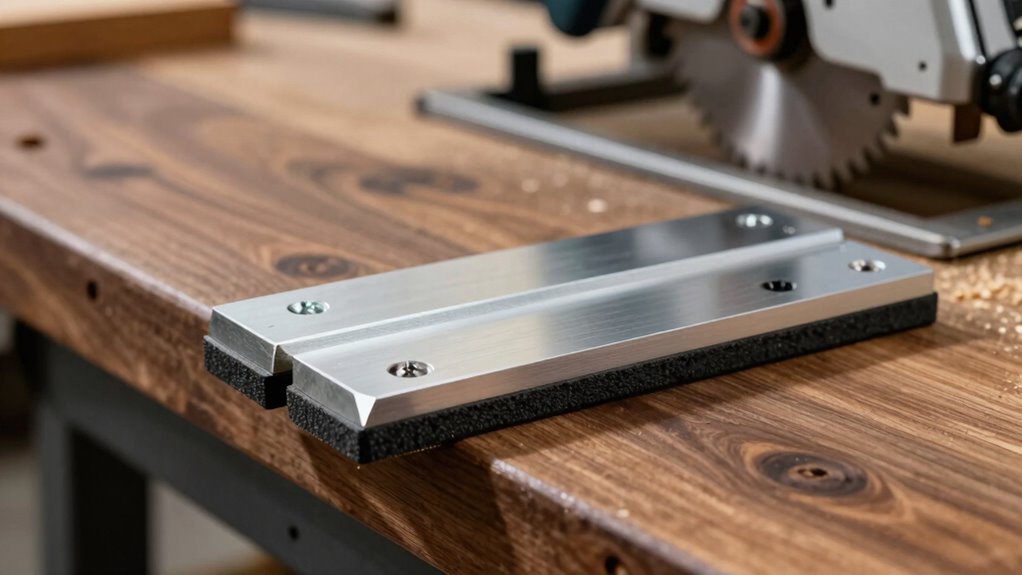
2-Pack T-Track Flip Stop for 3-Inch Woodworking Fence, Precision Blue Aluminum Miter Saw Stop Block for Universal & Double-Cut T-Tracks (23/64"), Adjustable Arm for Precise Repeatable Cutting
[Precise Repeatable Cutting] Transform your woodworking fence into a high-efficiency station. This T-track flip stop allows you to…
As an affiliate, we earn on qualifying purchases.
As an affiliate, we earn on qualifying purchases.
Why Stop Blocks Are Essential for Accurate, Repetitive Cuts
Stop blocks are essential because they guarantee your cuts are consistent and precise every time. Using the right stop block materials, like hardwood or specialized plastics, ensures durability and stability during repeated cuts. These materials resist wear and deformation, maintaining accuracy over time. Proper stop block adjustments are critical; you need to set them accurately for each cut to avoid errors. When you make precise stop block adjustments, you create a reliable reference point that keeps your workpieces aligned. Without a sturdy stop block, you risk uneven or sloppy cuts, which can ruin your project. Investing in quality materials and regularly checking your stop block adjustments helps you achieve clean, accurate, and repeatable results every time you use your saw or router. Material selection is crucial to ensure longevity and consistent performance of your stop blocks.

O'SKOOL 3-Inch T-Track Adjustable Fence Flip Stop with Cursor, TTK015
3-Inch Flip Fence Stop with Indexing Hairline Cursor: A versatile and accurate T-track accessory designed for enhancing the…
As an affiliate, we earn on qualifying purchases.
As an affiliate, we earn on qualifying purchases.
Choosing the Right Stop Block for Your Project
Selecting the right stop block for your project is essential to guarantee accuracy and efficiency. You need a stop block that aligns well with the wood grain, ensuring consistent cuts without splintering or tearing. Consider the type of material you’re working with—hardwoods may require a sturdier, more secure stop, while softer woods benefit from a lighter, adjustable block. Always wear appropriate safety gear, like goggles and gloves, when attaching or adjusting your stop block to prevent injuries. The quality of the stop block impacts how reliably it holds your workpiece in place, affecting both safety and precision. Choose a stop block that’s easy to adjust, durable, and compatible with your saw and project scope. Proper selection makes your cuts more accurate and your workspace safer. Incorporating AI-powered tools can also help plan and optimize your cutting sequences for even better results.

POWERTEC 71821 Bi-Directional Short Stop Kit, T Track Stop Block for T-Track Woodworking, Sanding, and Routing, 4PK
KIT INCLUDES: (4) Bi-directional Short Stops, (4) Wing Knobs, & (4) T-Bolts
As an affiliate, we earn on qualifying purchases.
As an affiliate, we earn on qualifying purchases.
How to Set Up Your Stop Block for Precision
To set up your stop block for precision, start by choosing the proper material and aligning it carefully with your workpiece. Measure and mark your cut lines precisely to guarantee accuracy. Finally, secure the stop firmly in place so it doesn’t shift during your cut. Incorporating modern technology can further enhance your setup, ensuring consistent results every time.
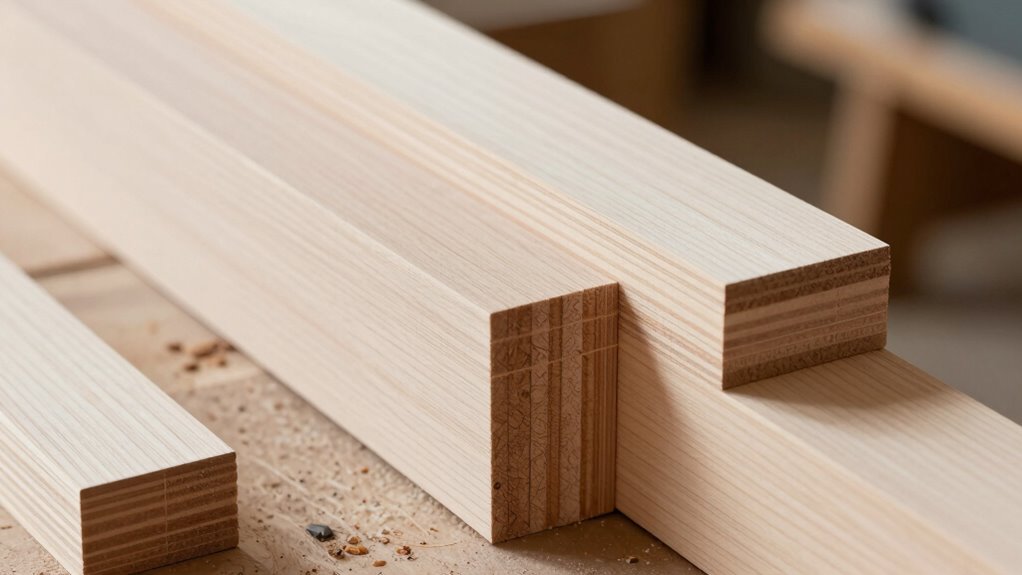
Choose Proper Material Alignment
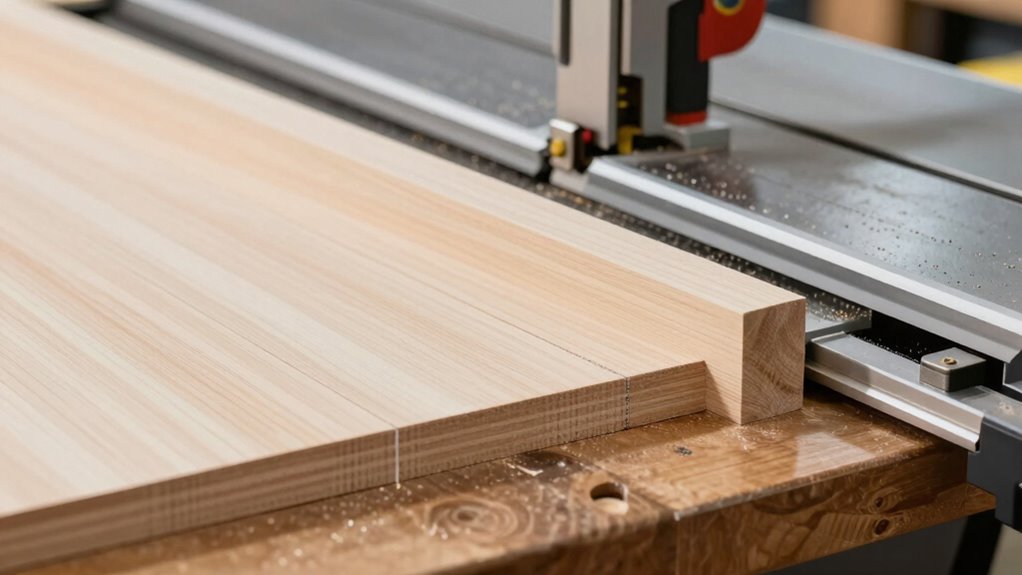
Ensuring your material is properly aligned before setting up the stop block is essential for accurate cuts. Proper material alignment guarantees consistent results and maintains cutting accuracy. To achieve this, focus on these steps:
- Place the material flat against the fence or miter gauge, ensuring no warping or bending.
- Align the edge of the material precisely with your chosen measurement mark or the stop block’s face.
- Double-check that the material is pressed firmly and evenly against the fence, preventing any shifting during cutting.
- Consider verifying the contrast ratio of your setup to ensure that the visual clarity and sharpness of your cuts are optimal.
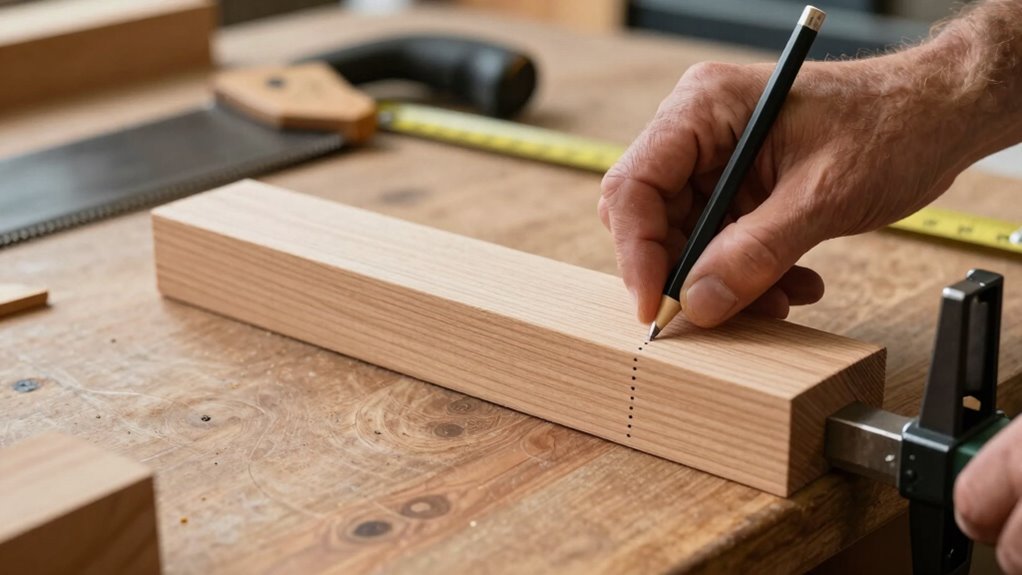
Measure and Mark Precisely
Before you position the stop block, take the time to measure and mark your material accurately. Measurement accuracy is essential for consistent cuts, so double-check your measurements before marking. Use precise marking techniques, such as a sharp pencil or a marking knife, to create clear, visible lines. Measure twice to confirm your dimensions, ensuring there’s no room for error. When marking, align your ruler or square carefully to avoid skewed lines. Clear, accurate markings set the foundation for a perfect cut. Remember, the more precise your measurements and markings, the better your stop block will function, leading to cleaner, uniform pieces. Taking this extra moment upfront prevents mistakes later, streamlining your process and guaranteeing repeatability. Paying attention to measurement precision ensures your cuts are reliable and professional every time.
Secure Stop Firmly in Place
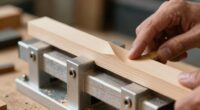
A stop block only delivers accurate results if it’s secured firmly in place. To achieve this, focus on material selection and clamping techniques. Choose a sturdy, non-slip material like hardwood or thick plastic for the stop block to prevent shifting. When setting it up, consider these steps:
- Position the stop block snug against your workpiece, ensuring alignment with your mark.
- Use the right clamps—c-clamps or quick-release—that apply even pressure without damaging the material.
- Tighten the clamps securely, verifying the stop remains immovable during the cut.

Barrington Hardwoods Domestic Variety Pack 5 Walnut, 5 Maple and 5 Cherry Boards – 3/4" x 2" (15Pcs) (3/4" x 2" x 18")
💯 Included are 5 Black Walnut 5 Cherry and 5 Select White Hard Maple 3/4" x 2" x…
As an affiliate, we earn on qualifying purchases.
As an affiliate, we earn on qualifying purchases.
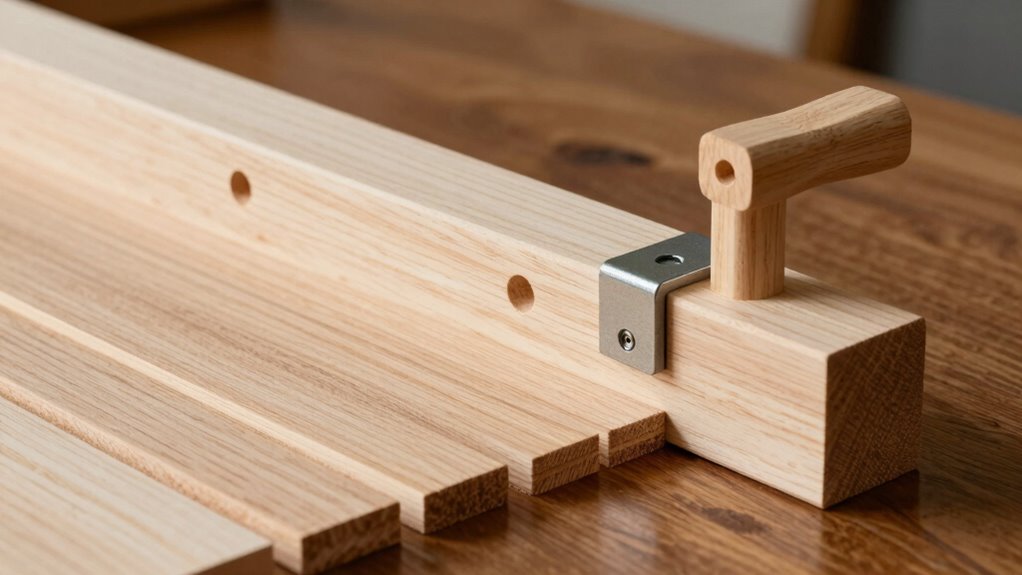
How to Secure Your Stop Block to Prevent Creep
To prevent your stop block from creeping during cutting, you need to secure it firmly in place. Start by choosing the right material—hardwood or metal work best because they resist compression and movement. Ensure your stop block is thick enough to withstand pressure without shifting. When attaching the stop, use high-quality clamps or screws designed for your material, and tighten them securely. Always follow safety precautions—wear eye protection and double-check that your tools are in good condition. Position the stop block so it’s flush against your workpiece and the fence, then lock it down tightly. Incorporating proper setup and placement techniques, as emphasized in the UST projector and ALR screen guides, guarantees your stop block stays in place, providing consistent, accurate cuts every time.
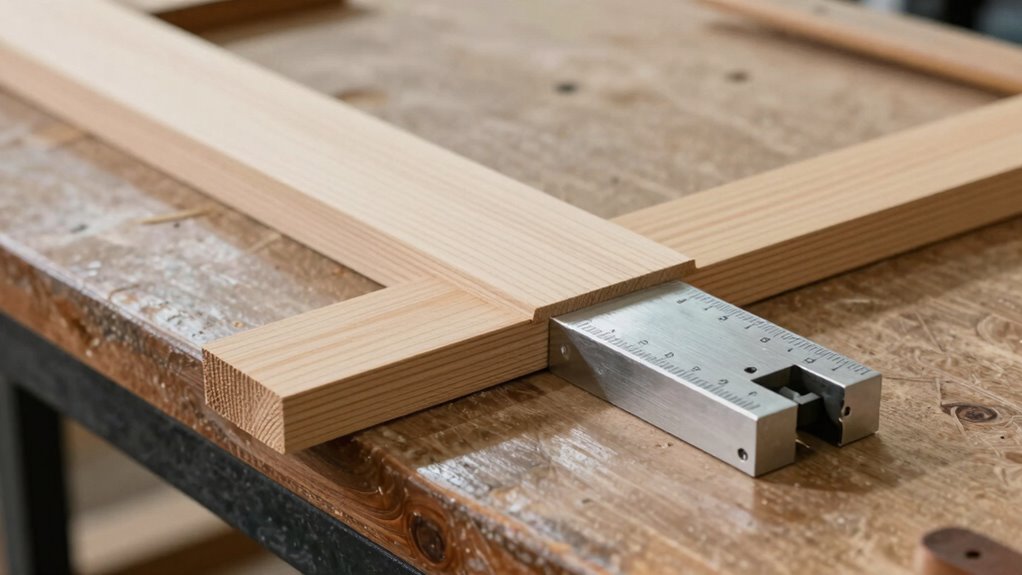
Calibrating Your Stop Blocks for Consistent Results
Once your stop block is securely attached, calibrating it guarantees consistent and accurate cuts. Proper calibration depends on selecting the right material and applying effective calibration techniques. First, choose a material similar to your typical workpiece to ensure accuracy. Second, use a precise measuring tool, like a caliper, to verify the distance between your stop and the blade or fence. Third, adjust the stop block until your measurements match your desired cut length, locking it firmly in place. Recheck multiple points to confirm consistency. Material selection influences the calibration’s reliability, while calibration techniques help you achieve perfect repeatability. Additionally, incorporating precision measurement methods can further enhance the accuracy of your setup. Taking these steps ensures your stop block delivers precise, uniform cuts every time, eliminating guesswork and improving your workflow.
Common Mistakes That Lead to Creep When Using Stop Blocks
One common mistake that causes creep when using stop blocks is neglecting proper tightening. If you don’t secure the stop block tightly, it can shift during the cut, leading to inaccuracies. Material selection matters too; softer woods or uneven stock can increase the chances of movement. Always choose stable, uniform materials to reduce variability. Failing to follow safety precautions, such as wearing safety glasses and ensuring the workpiece is secure, can also cause slips that contribute to creep. Remember, even small shifts can throw off your measurements and ruin your cut. Tighten your stop blocks firmly and double-check their stability before making each cut. Proper material choice and safety awareness help prevent creep, ensuring consistent, precise results every time. Additionally, understanding piercing care and hygiene can be crucial for maintaining safety and cleanliness in your workspace.
Tips for Maintaining Your Stop Blocks for Long-Term Accuracy

Regularly inspecting and cleaning your stop blocks is essential to maintain their accuracy over time. Proper stop block maintenance ensures consistent, precise cuts and prevents creeping mistakes. To keep your stop blocks in top condition, follow these tips: 1. Check for Wear and Damage: Look for cracks or dents that could affect positioning. Replace damaged blocks promptly. 2. Keep Surfaces Clean: Wipe down contact surfaces to remove dust and debris, ensuring smooth movement and reliable stops. 3. Calibrate Regularly: Use calibration techniques to verify and adjust the stop block’s position, maintaining long-term accuracy. This might involve setting a known measurement and confirming the stop aligns precisely. 4. Monitor for Creep: Be aware of any free floating tendencies that could cause the stop to shift during use, and address them immediately. Consistent maintenance and calibration techniques preserve your stop blocks’ precision, making every cut repeatable and reliable.
Troubleshooting Creep and Inaccurate Cuts Despite Using Stop Blocks
If your cuts are off despite using stop blocks, the issue often comes down to proper placement and preventing creep. Double-check that your stop block is securely positioned and aligned correctly before each cut. By maintaining consistent measurements and guarding against movement, you can achieve more accurate, repeatable results.
Proper Stop Block Placement
Have you ever experienced your cuts being off despite using a stop block? Proper placement is key. First, ensure the stop block is aligned exactly where you want your cut, not just roughly positioned. Second, use clamping methods that secure the stop block firmly without shifting it during the cut. Third, consider material compatibility; some materials may cause the stop block to slip if it’s not suited for the type you’re working with. Visualize sliding the block along the fence, tightening clamps, and double-checking your measurements. Correct placement requires precision and stability, so avoid loose fittings. Accurate positioning depends on consistent clamping, careful measurement, and understanding how your material interacts with your clamping methods. Additionally, familiarizing yourself with safety procedures ensures your setup remains secure and your cuts stay accurate. This approach keeps your cuts precise and repeatable.
Preventing Creep During Cuts
Even with a properly placed stop block, your cuts can still shift if the setup isn’t secure enough. First, check blade alignment; a misaligned blade causes the material to drift during cutting, leading to inaccuracies. Make certain the blade is perfectly parallel to the fence and the stop block. Additionally, dust collection plays a role in preventing creep—excess dust can cause small movements or create a slippery surface, making the material less stable. Keep your workspace clean and your dust collection system functioning well to maintain stability. Tighten all clamps, screws, and stops before each cut. When your setup is secure, your cuts will stay true, and your stop blocks will deliver consistent, accurate results every time.
Ensuring Consistent Measurements
Sometimes, despite a secure setup and a properly placed stop block, measurements can still shift, causing inaccuracies in your cuts. To guarantee consistent measurements, you need to double-check your setup carefully.
- Verify your measurement tools—use precise, calibrated tools like a reliable tape measure or digital calipers.
- Consider your material selection—some woods or composites may expand or contract, affecting accuracy.
- Secure your workpiece firmly against the stop block to prevent slipping or movement during the cut.
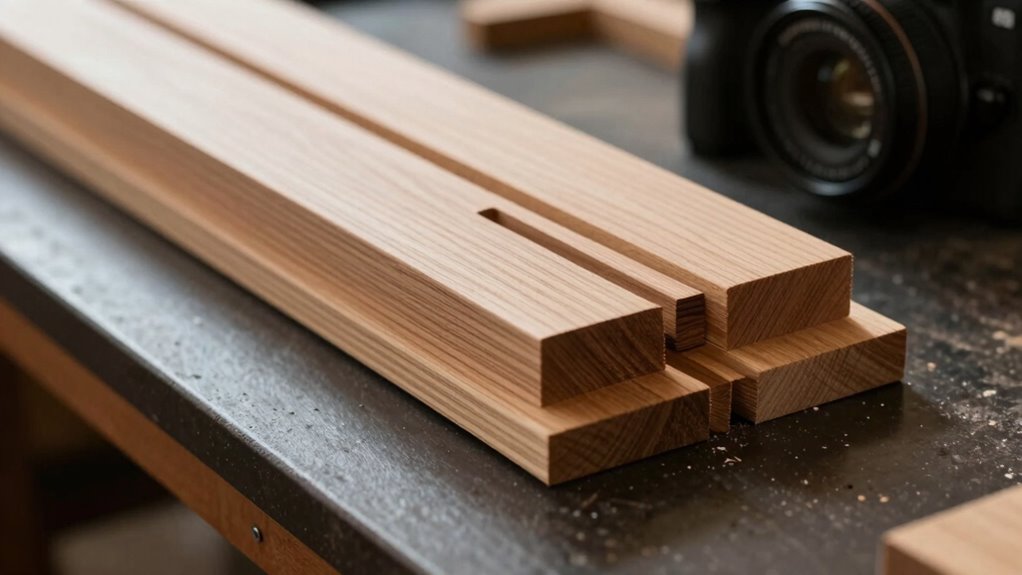
Using Multiple Stop Blocks for Complex or Repetitive Cuts
When making complex or repetitive cuts, using multiple stop blocks can considerably improve accuracy and efficiency. This setup allows you to set precise positions for different cut points without re-measuring each time. To do this effectively, apply proper clamping techniques to secure each stop block firmly, preventing movement during cuts. Carefully consider material selection, ensuring your stock is stable and free of defects that could cause slipping or inaccuracies. By stacking or aligning multiple stop blocks, you create a customized guide system tailored to complex patterns or repeated lengths. This method simplifies intricate projects, reduces setup time, and minimizes errors. Remember, the key is consistent clamping and choosing the right materials to ensure each cut is as accurate as the last.
Workflow Tips to Make the Most of Your Stop Blocks
To get the best results with your stop blocks, focus on precise setup techniques that guarantee accuracy every time. Maintain consistent measurement practices to avoid errors and improve efficiency. When you streamline these steps, your cuts become cleaner and more reliable.
Precise Setup Techniques
Achieving perfect cuts with your stop blocks starts with precise setup techniques. First, always check the grain direction of your wood to ensure your cuts run smoothly and reduce tear-out. Second, verify tool compatibility; make sure your saw blade or router bit aligns with the stop block’s design to prevent misalignment. Third, measure and mark your workpiece carefully, then set the stop block exactly at the desired length, locking it securely in place. Use a square or ruler to double-check your setup, ensuring your stop block is parallel to the cut line. By focusing on these details, you’ll improve accuracy and consistency, making your cuts cleaner and more reliable every time. Proper setup is the foundation for flawless repeat cuts.
Consistent Measurement Practices
Consistent measurement practices are essential for getting the most accurate and repeatable cuts with your stop blocks. To guarantee measurement accuracy, always double-check your measurements before making cuts. Use a reliable ruler or caliper, and verify your tools’ calibration regularly, especially if your measurements seem off. Keep your measuring tools clean and free of debris, as dirt or burrs can throw off accuracy. When setting your stop block, mark your measurements clearly and record any adjustments for future reference. Avoid rushing through measurements; precision today saves time correcting errors later. By maintaining proper tool calibration and practicing careful measurement, you reduce variability and improve cut consistency. These habits help you achieve reliable results, ensuring your projects are precise and professional.
Frequently Asked Questions
Can Stop Blocks Be Used With All Types of Saws?
Yes, stop blocks can be used with most saw types, but saw compatibility varies. For example, they work well with table saws, miter saws, and circular saws, but you should check the specific accessory options available for your saw model. Always verify the stop block is compatible and securely attaches to prevent slipping or inaccuracies. Proper compatibility and setup make repeat cuts precise and safe, no matter your saw type.
How Often Should I Calibrate My Stop Blocks?
You should calibrate your stop blocks regularly—think of it as your secret weapon for perfect cuts every time. To maintain accuracy, check calibration before each project or after any heavy use. This frequent calibration guarantees your cuts stay precise and your work remains flawless. Don’t wait for inaccuracies to ruin your day; make calibration a routine to keep your stop blocks performing at their best.
What Materials Are Best Suited for Stop Blocks?
You should use sturdy materials like wooden clamps or metal jigs for your stop blocks. Wooden clamps are gentle on delicate surfaces and easy to adjust, while metal jigs provide durability and precision for repeated cuts. Both materials help guarantee accuracy and safety. Choose based on your project’s needs, but always prioritize strength and stability to prevent creep and achieve consistent results every time.
Are There Safety Precautions When Using Stop Blocks?
Like a knight preparing for battle, you must prioritize safety when using stop blocks. Always wear appropriate safety gear, such as goggles and gloves, to protect yourself. Confirm you have proper training to understand how to set up and operate the stop blocks correctly. Never bypass safety procedures or rush; instead, follow best practices to prevent accidents. Staying vigilant and prepared keeps your work safe and precise.
How Do I Choose the Right Size of Stop Block for My Project?
To choose the right size of stop block, consider your project’s cut dimensions and the materials you’re using. Opt for sturdy stop block materials like hardwood or aluminum to guarantee durability. Make sure your stop block adjustment is precise, so it stays consistent through multiple cuts. Measure carefully, and select a size that allows for easy adjustment without compromising stability, helping you achieve accurate, repeatable cuts every time.
Conclusion
When you master stop blocks, precision becomes second nature, turning tedious cuts into seamless work. Yet, even with the best tools, neglecting proper setup can lead to frustrating creep. It’s a reminder that accuracy isn’t just about equipment — it’s about your attention to detail. Embrace the discipline, and you’ll craft with confidence. In the end, the satisfaction of flawless cuts outweighs the effort it takes to get there.