To keep your cabinet boxes square during glue-up, start with precise alignment strategies. Check panel cuts for accuracy and guarantee a snug fit. Conduct a thorough dry fit, adjusting panels as needed, and use a square tool for angles. When clamping, opt for bar clamps to apply uniform pressure while avoiding joint interference. Apply glue evenly and monitor for squeeze-out. After curing, inspect for alignment and strength to set the stage for your next steps. You’ll discover more tips to enhance your process.
Key Takeaways
- Conduct a thorough dry fit to ensure all pieces align correctly before applying glue.
- Use a square tool to verify angles and maintain cabinet box integrity.
- Employ bar clamps for even pressure and corner clamps to secure right angles during assembly.
- Apply a thin, even layer of glue, and monitor for excess squeeze-out at joints.
- Inspect for alignment and squareness after glue has cured to confirm structural integrity.
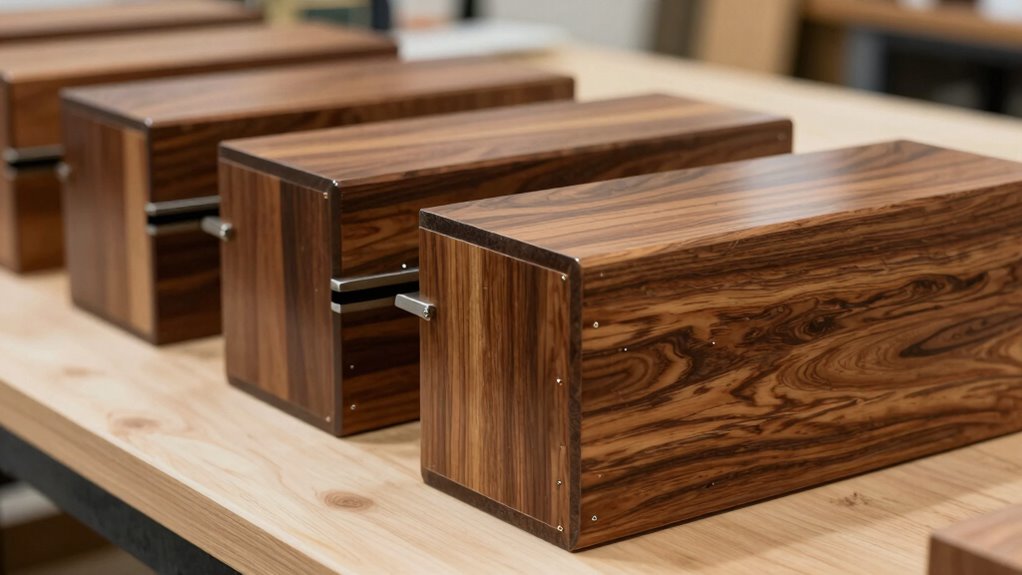
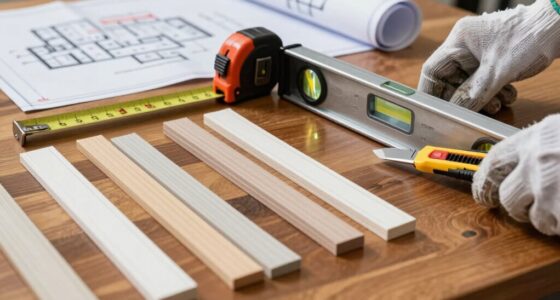
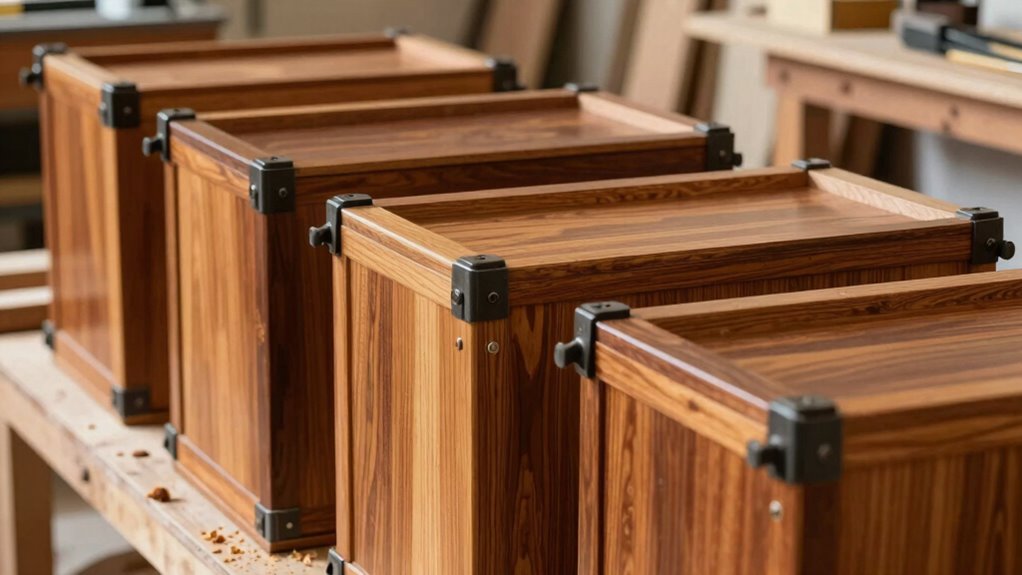
When you’re assembling cabinet boxes, the glue-up phase can make or break your project. It’s vital to guarantee everything stays square, as this affects not only the aesthetics but also the functionality of your cabinets. One of the first things to evaluate is your alignment strategies. Before applying any glue, take a moment to double-check that your panels are cut accurately and fit together snugly. A well-prepared dry fit can save you headaches later on.
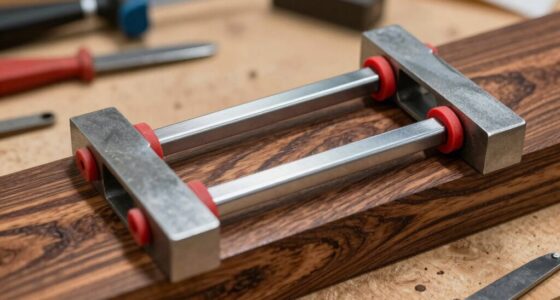
Once you’re satisfied with the fit, it’s time to contemplate your clamp techniques. Using the right clamps can dramatically improve the outcome of your glue-up. A good strategy is to utilize a combination of bar clamps and corner clamps. Bar clamps apply uniform pressure across long panels, while corner clamps help keep those right angles intact. Make sure to position your clamps so that they don’t interfere with the joints. You want to distribute the pressure evenly to avoid any bowing or warping.
When you start applying glue, don’t skimp on it but also don’t overdo it. A thin, even layer on the joints will do the trick. Once you’ve applied the glue, quickly assemble the pieces and position them within your clamps. This is where your alignment strategies come into play. As you tighten the clamps, keep an eye on the edges and corners. Adjust as necessary to guarantee everything remains square. It’s often helpful to use a square tool to verify your angles as you go.
Another trick is to use spacers or blocks to maintain consistent pressure while the glue sets. These clamp techniques can help prevent any shifting that might occur during the tightening process. Remember to check for any squeeze-out—excess glue that oozes out of the joints. Wipe it away immediately to avoid having to sand it down later. Additionally, ensuring your household items are properly prepared can help maintain a clean workspace and prevent mishaps during assembly. Paying attention to clamp pressure and how it’s distributed is crucial to avoiding misalignment. Using a level or square during the process can also help ensure your cabinet remains perfectly aligned. Properly managing clamp placement can further enhance the accuracy of your assembly.
Finally, give the glue ample time to cure before you remove the clamps. Rushing this step can lead to misalignment and decreased joint strength. Patience is key. After the glue has cured, you can remove the clamps and inspect your work. If you’ve followed your alignment strategies and clamp techniques, you should have a perfectly square cabinet box ready for the next phase of your project. With careful attention to these details, you’ll set the foundation for a successful cabinet build.

Woodpeckers M2 Box Clamps, 2 Pack, Versatile Woodworking Clamps for Quick and Easy 90 Degree Joints
PERFECT SQUARE ALIGNMENT – Unlike an extra pair of hands, Woodpeckers M2 Box Clamps ensure your box and…
As an affiliate, we earn on qualifying purchases.
As an affiliate, we earn on qualifying purchases.
Frequently Asked Questions
What Materials Are Best for Building Cabinet Boxes?
For building cabinet boxes, plywood and MDF are your best bets. They’re sturdy and resist warping. Make sure to contemplate your cabinet dimensions carefully for a perfect fit. Using solid wood can add durability but may require more maintenance. When it comes to joinery techniques, dado joints and pocket holes provide strong connections, ensuring your boxes stay square. Don’t forget to sand the edges for a smooth finish!
How Do I Prevent Wood Warping Over Time?
To prevent wood warping over time, focus on moisture control and proper storage. Keep your wood in a climate-controlled environment, away from direct sunlight and humidity fluctuations. Use a dehumidifier if necessary, and store the wood flat on a level surface to avoid stress. Applying a protective finish can also help seal the wood, reducing moisture absorption. By taking these steps, you’ll maintain your wood’s integrity and prevent warping.
What Tools Are Essential for Cabinet Construction?
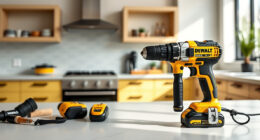
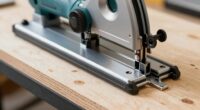
To build the cabinet of your dreams, you’ll need tools that could rival a wizard’s arsenal! Essential items include a table saw for precision cuts, a router for flawless joinery techniques, and a drill for installing cabinet hardware. Don’t forget clamps to keep everything steady, and a square to guarantee perfection in every corner. With these tools at your side, you’ll be crafting masterpieces that’ll leave everyone in awe!
Can I Use Plywood Instead of Solid Wood?
Yes, you can use plywood instead of solid wood. Plywood has several advantages, like being more stable and resistant to warping, which makes it easier to work with. Plus, it’s often more cost-effective. Solid wood, on the other hand, has drawbacks, such as being prone to expansion and contraction with moisture changes. If you’re looking for durability and ease of use, plywood is a smart choice for your cabinet construction.
How Do I Choose the Right Glue for Cabinets?
Choosing the right glue for cabinets isn’t just about sticking things together; it’s about durability versus convenience. For strong bonds, consider PVA adhesive—it’s ideal for wood and dries quickly. If you need something waterproof, go for polyurethane glue, but it has longer drying times. Evaluate your project’s needs and how fast you want to work. Ultimately, the right adhesive type can make all the difference in your cabinet’s longevity and performance.

HORUSDY 8-Pack Bar Clamps for Woodworking, 12" and 6" Bar Clamps, Wood Working Clamp Sets, Quick Clamps F Clamp with 150 LBS Load Limit (8-Pack Wood Clamps)
1. The complete set includes 4pcs 6" bar clamps,2pcs 12" bar clamps and 2pcs 6" spring clamps, which…
As an affiliate, we earn on qualifying purchases.
As an affiliate, we earn on qualifying purchases.
Conclusion
By using proper techniques during glue-up, you’ll guarantee your cabinet boxes stay square, your projects look professional, and your efforts pay off in quality. Embrace precise measurements, utilize sturdy clamps, and check for squareness as you go. With these steps, you won’t just create cabinets; you’ll build confidence in your skills, enhance the durability of your work, and elevate your craftsmanship. Keep practicing, stay patient, and watch your woodworking abilities flourish!

Maziloxe Corner Clamps for Woodworking, 8PCS 90 Degree Right Angle Clamps with Storage Box, 4PCS 5.5" & 4PCS 3.14" Aluminum Alloy Positioning Squares Woodworking Tools for Cabinets, Frames, Drawers
✅【Complete Woodworking Clamps Set contains totally 40pcs parts】You will get 8pcs positioning squares (4pcs 5.5" + 4pcs 3.14"),…
As an affiliate, we earn on qualifying purchases.
As an affiliate, we earn on qualifying purchases.

SWANSON Tool Co S0101 7 Inch Speed Square, Blue
MULTIPLE GRADATIONS: Make the exact mark you need! Gradations Included For Marking Common, Hip, Valley, And Jack Rafters;…
As an affiliate, we earn on qualifying purchases.
As an affiliate, we earn on qualifying purchases.