
Jointer snipe typically appears at the edges of a board, often at the start or end, creating deeper dips due to incorrect bed alignment or blade setup. Planer snipe usually shows up in the middle, with shallow dips caused by uneven feeding or roller misalignment. By noticing whether the dips happen at the edges or center, and understanding your machine’s setup, you can identify the difference. Keep exploring to learn how to prevent both types effectively.
Key Takeaways
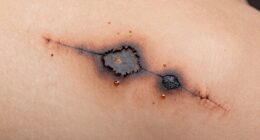
- Jointer snipe occurs at the board’s ends, creating deeper dips, while planer snipe appears in the middle with shallower dips.
- Snipe at a jointer is usually more pronounced and affects the edges, whereas planer snipe is subtler and located centrally.
- Proper calibration and blade sharpness help differentiate the two, as misaligned or dull blades cause distinct snipe patterns.
- Visually, jointer snipe results in uneven edges, while planer snipe causes slight surface dips along the board’s length.
- The location and depth of dips, along with machine setup, are key indicators to distinguish between jointer and planer snipe.

Big Horn 19614 Jointer Knife Setting Jig
One of the nicest knife setting jigs available
As an affiliate, we earn on qualifying purchases.
As an affiliate, we earn on qualifying purchases.
What Causes Snipe in Jointer and Planer Machines?
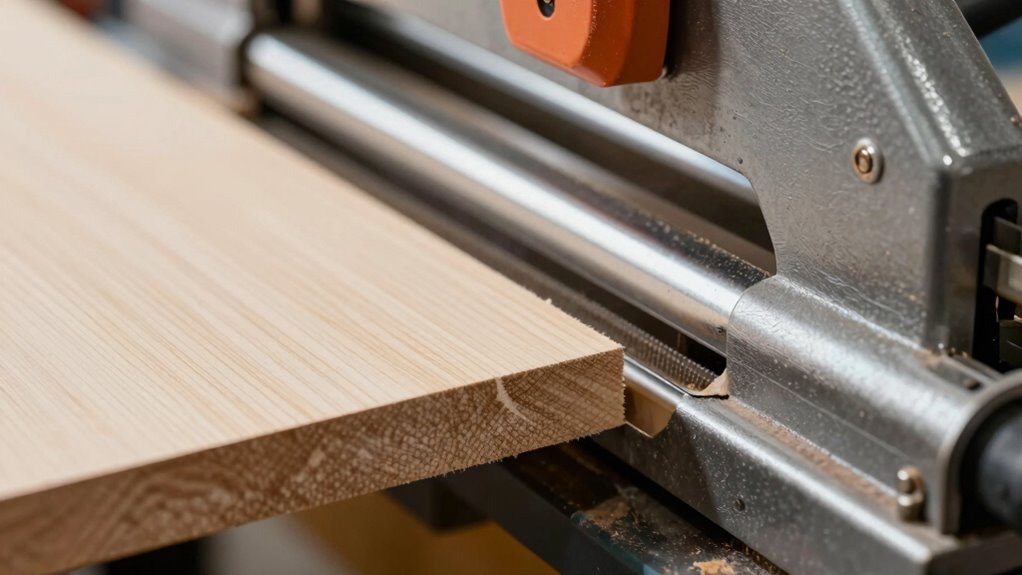
Snipe in jointer and planer machines occurs because of how the cutting and feed mechanisms interact with the wood during operation. Poor jointer maintenance can lead to uneven cuts, increasing the likelihood of snipe. Ensuring your jointer blades are sharp and properly aligned helps reduce snipe occurrence. Similarly, planer calibration is essential; if the machine isn’t set correctly, it can cause the cutter head to dig in or lift at the ends, creating snipe. Consistent maintenance routines, including checking for proper bed alignment and ensuring the feed rollers grip the wood evenly, help prevent snipe. Regularly inspecting and adjusting these components maintains a smooth operation, minimizing snipe and ensuring the best quality of your finished work. Additionally, understanding the contrast ratio of your projector can significantly improve the visibility of fine details in your images, especially in dark scenes.

QZATTCAEN Portable Planer Knife Setting Gauge Jig, Fits Delta 12" Portable Planers 22-540 Type 1&2 & TP300, Woodworking Tool
【Precise Alignment】Portable planer knife setting gauge, this gauge ensures perfect blade alignment for Delta 12" portable planers (22-540…
As an affiliate, we earn on qualifying purchases.
As an affiliate, we earn on qualifying purchases.
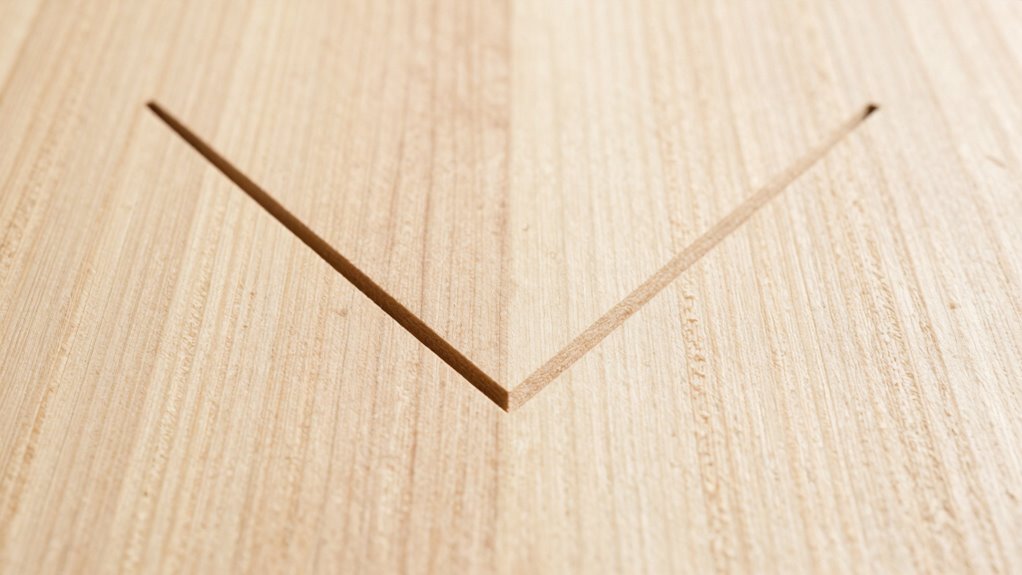
How Do I Recognize Jointer Snipe Versus Planer Snipe?

How can you tell the difference between jointer snipe and planer snipe? Look closely at the affected areas. Jointer snipe usually appears at the end of the board and may have a deeper, more pronounced dip due to improper jointer blade alignment. In contrast, planer snipe often occurs in the middle of the board, with a more subtle, shallow dip caused by uneven planer bed leveling. To accurately identify snipe type, check your machine’s setup. Confirm the jointer blades are properly aligned and sharpened, and verify that the planer bed is level. If the snipe aligns with the edges, it’s likely jointer snipe; if it’s more centered, it’s probably planer snipe. Proper adjustments can reduce or eliminate both types of snipe. Additionally, understanding how machine calibration impacts snipe formation can help you prevent it effectively.

POWERTEC 6-1/8 Inch Jointer Blades for Ridgid JP06000, JP06101, JP0610 Jointer, Replacement for AC8600, JE08008 Jointer Knives, Set of 3 (148020)
INCLUDES: (3) Jointer Knives 6-1/8" – Premium cutting tools for woodworking applications
As an affiliate, we earn on qualifying purchases.
As an affiliate, we earn on qualifying purchases.
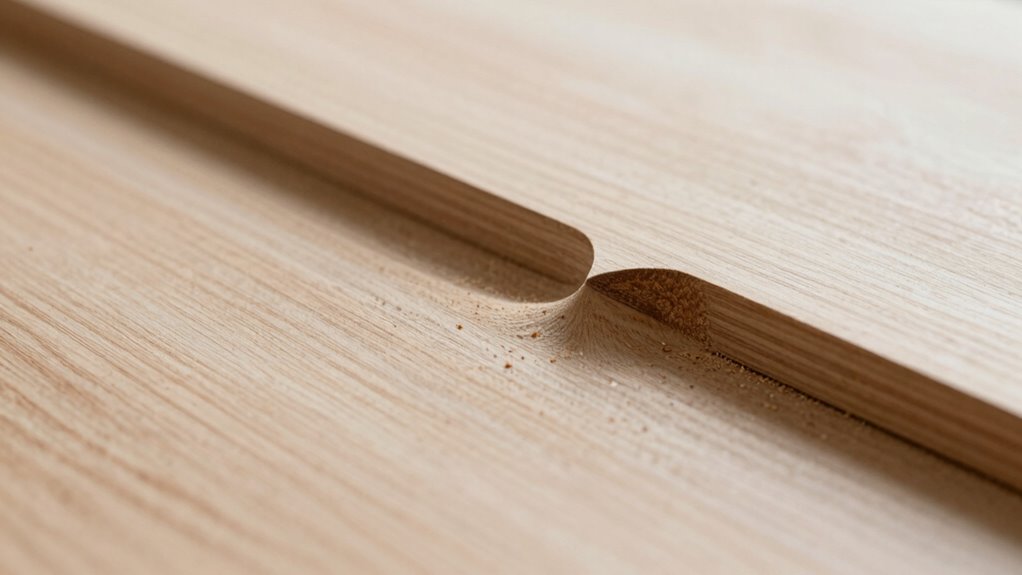
Where Does Snipe Usually Occur: Edges or Middle of the Board?
You’ll notice snipe mainly happens at the edges or the middle of your board, depending on the machine and setup. Understanding where snipe typically occurs helps you identify visual signs and adjust your techniques. Recognizing these common locations makes it easier to prevent or fix snipe effectively.
Common Snipe Locations
Typically, snipe occurs at the edges of a board rather than in the middle. This is because snipe is influenced by factors like grain orientation and machine calibration, which impact how the board feeds through tools. Here are common snipe locations:
- Near the start or end of the cut, where the board enters or exits the planer or jointer.
- At points where grain direction changes abruptly, causing uneven cutting.
- Just before the machine’s feed rollers fully engage, often linked to improper calibration.
- At the very edges, especially if the machine isn’t properly aligned or if grain orientation causes resistance.
Understanding these locations helps you identify snipe and adjust your setup for cleaner cuts.
Edge vs. Middle Impact
Snipe usually occurs at the edges of a board rather than in the middle because the feed mechanism and grain orientation tend to cause uneven cuts at the start or end of a pass. When the cutting depth isn’t properly adjusted, the machine may dig in more at the edges, creating snipe there. Middle snipe is less common because the board is fully supported and the cut is more stable. To minimize edge snipe, verify your machine is well-calibrated, especially the cutting depth adjustment. Proper calibration helps maintain consistent pressure and cut quality across the board. If your snipe primarily appears at the edges, check your machine’s setup, and fine-tune the cutting depth for smoother, more even passes. This approach reduces edge impact and improves overall finish quality.
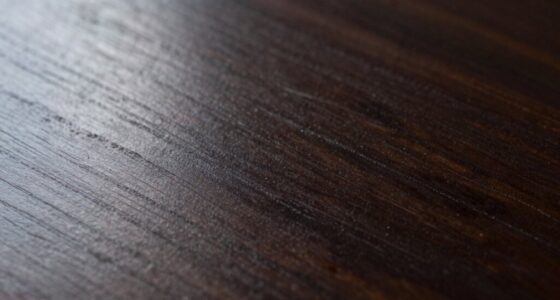
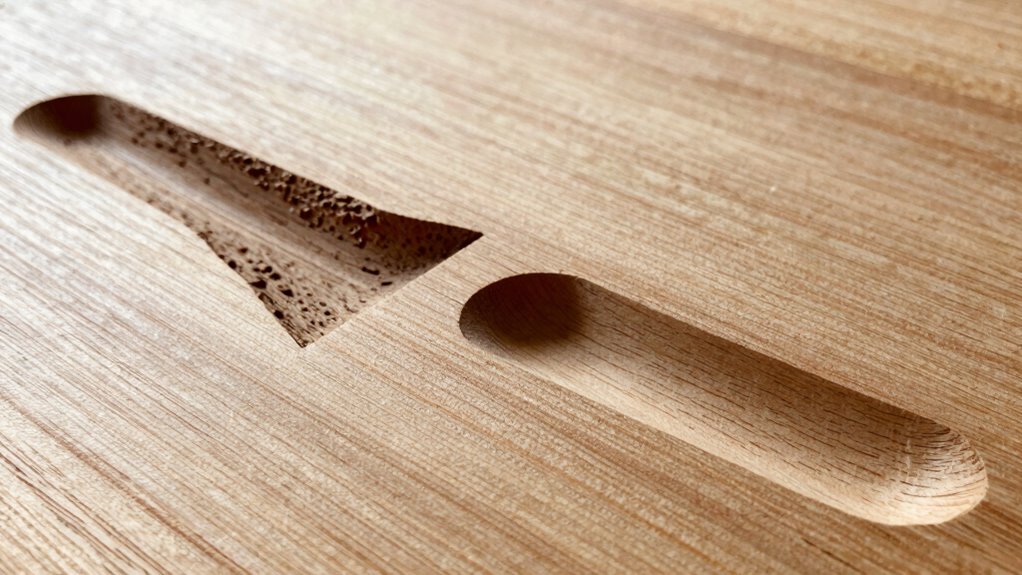
Visual Indicators of Snipe
Identifying snipe often starts with observing the visual cues on the board. Snipe usually appears where the grain direction and surface finish change unexpectedly. To spot it, look for these indicators:
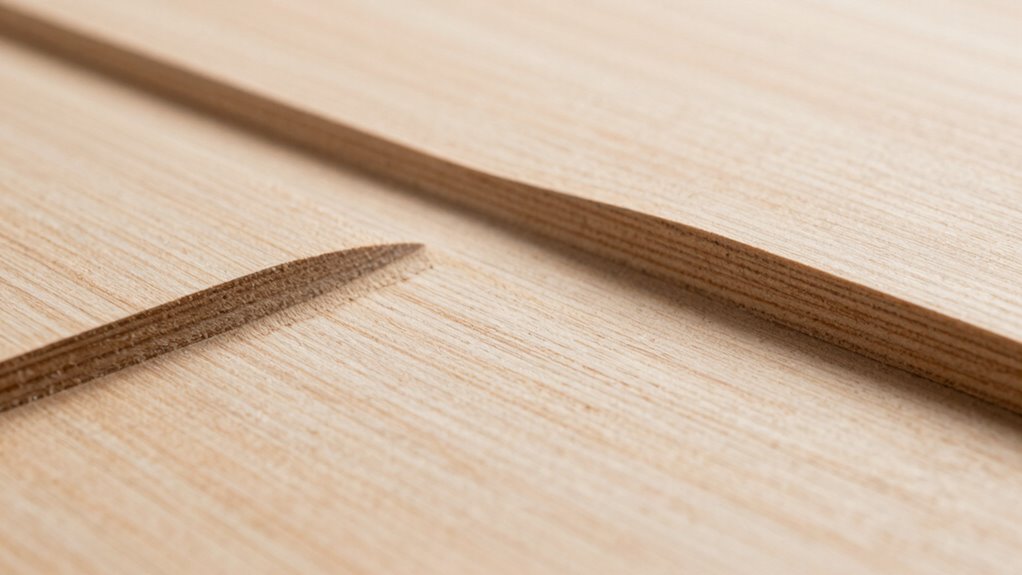
- Location: Snipe typically occurs at the edges, especially at the start or end of cuts, rather than the middle.
- Surface Finish: Inconsistent surface smoothness, with rougher or uneven areas, signals snipe.
- Grain Direction: Changes or irregularities in grain direction near the snipe spot can be clues.
- Board Edges: Snipe often leaves a noticeable dip or rise at the edges, contrasting with the flat middle section.

Wixey Digital Planer Gauge – Electronic Digital Readout & Thickness Measuring Tool – Accurate Calibration & Digital Dimensions – Perfect Portable Planer Accessory for Woodworking Upgrade
Precision Measuring Tool: The Wixey digital planer gauge ensures exact thickness readings; this wood thickness planer eliminates the…
As an affiliate, we earn on qualifying purchases.
As an affiliate, we earn on qualifying purchases.
How Can Feed Rate and Cutting Actions Affect Snipe?

Your feed rate and cutting actions directly influence snipe by affecting how smoothly the wood moves through the machine. A faster feed rate or rougher cuts can increase material removal, sometimes causing more snipe. Adjusting these factors helps you control snipe and achieve a cleaner finish. Additionally, maintaining consistent feed rates and proper machine setup can prevent snipe and promote better results.
Feed Rate Impact
Adjusting the feed rate during milling or planing can considerably influence the appearance and severity of snipe. When you change the feed rate, you also affect the cutting speed, which impacts how smoothly the wood is cut. Here are some ways it affects snipe:
- Increasing the feed rate can cause more snipe because the tool is removing material faster, reducing control.
- Lowering the feed rate allows for more precise cuts, decreasing the chance of snipe formation.
- A consistent feed rate helps maintain steady cutting speed, minimizing unevenness.
- Sudden changes in feed rate can create uneven cut depths, leading to more noticeable snipe.
- Properly managing feed rate and understanding art care can help maintain the quality and appearance of finished wood surfaces.
Cutting Action Dynamics
Changing the feed rate directly influences the cutting action, shaping how smoothly or aggressively the tool engages with the wood. Faster feed rates can cause more aggressive cutting mechanics, leading to uneven chip formation and increased snipe risk. Conversely, slower feed rates promote smoother, more controlled cuts, minimizing snipe. The cutting mechanics depend on how the tool’s cutter head interacts with the wood fibers, affecting chip size and formation. When the feed rate is too high, the tool may tear rather than cut, increasing the likelihood of snipe at the beginning and end of the cut. Maintaining a consistent, moderate feed rate guarantees stable cutting action, improves chip formation, and helps prevent snipe, especially at the edges where uneven forces are most prominent.
Material Removal Rate
The material removal rate directly impacts the likelihood of snipe forming during planing or jointing. When you adjust the feed rate or cutting actions, you change how much material gets removed at each pass. A higher feed rate increases material removal, which can cause uneven pressure on the cutter head, leading to snipe. Conversely, a slower feed rate reduces material removal and minimizes snipe risk. To control this, consider these tips:
- Maintain a consistent feed rate to avoid sudden changes in material removal.
- Use appropriate cutting actions to prevent excessive force on the workpiece.
- Adjust the cutter height carefully to control the material removal rate.
- Balance feed rate and cutter speed for smoother, snipe-free results.
How to Minimize Snipe When Planning Edges

Minimizing snipe when planning edges involves paying close attention to your machine setup and technique. First, ensure your planer or jointer is properly calibrated; accurate calibration helps maintain consistent pressure and feed rate, reducing snipe. Also, consider the grain direction—cut with the grain whenever possible, as this minimizes tear-out and uneven cuts that can cause snipe. When planning edges, support the workpiece at both ends to prevent flexing, which can amplify snipe. Adjust feed speed and pressure to keep the board stable through the cut. Using push blocks or jigs can also help maintain consistent control. By focusing on proper machine calibration and grain direction, you’ll produce cleaner edges and markedly reduce snipe during planning.
How to Reduce Snipe on Large Surfaces When Flattening
When flattening large surfaces, snipe often occurs at the beginning and end of the cut, causing unwanted dips and unevenness. To reduce snipe, focus on improving jointing accuracy and maintaining your planer. Here are four tips:
Reduce snipe when flattening large surfaces by improving jointing accuracy and maintaining your planer.
- Support the board with extra scrap at both ends during planing to prevent snipe.
- Use push sticks or hold-downs to keep the board steady and consistent.
- Regularly check and adjust your planer’s blades and rollers for ideal performance.
- Make multiple shallow passes instead of one deep cut, gradually increasing cut depth.
- Proper maintenance of your planer helps ensure smooth operation and reduces the likelihood of snipe.
How to Fix Snipe in Finished Boards
Fixing snipe in finished boards can be straightforward if you approach it with the right techniques. First, examine the grain orientation near the snipe area; if it’s running parallel to the edge, you can sand or plane the affected zone carefully. Use a sanding block or a hand planer to smooth out the surface, blending it seamlessly with the rest of the board. Additionally, check your machine calibration—improper settings in your planer or jointer can cause snipe. Correcting these guarantees smoother passes in future projects. For minor snipe, removing just a small section of the board and re-gluing or filling the gap with wood filler works well. Always work slowly and carefully to avoid damaging the grain or creating new imperfections.
The Best Tools and Techniques to Prevent Snipe Overall

To prevent snipe effectively, selecting the right tools and applying proper techniques are essential. First, make sure your dust collection system is functioning well; it reduces debris that can affect cut quality. Second, keep your blades sharp, as dull blades cause uneven cuts and increase snipe risk. Third, make multiple passes when planing or jointing, removing small amounts each time for accuracy. Fourth, support your boards properly by using infeed and outfeed rollers or stands to prevent sagging or shifting. Additionally, adjusting feed rates and avoiding rushing can improve results. Combining these tools and techniques minimizes snipe, ensuring smoother, cleaner finishes. Focus on blade sharpness and dust collection to maintain precision and reduce the chances of snipe overall. Incorporating proper load calculations and understanding your equipment’s capabilities can further enhance your results.
Frequently Asked Questions
Can Snipe Occur on Both Sides of a Board?
Yes, snipe can occur on both sides of a board, especially if your board orientation isn’t consistent or if your feed rate varies. When you change the direction of feed or flip the board, snipe may appear on either side. To minimize this, make certain your feed rate remains steady and maintain proper board orientation throughout the process. This helps achieve a smooth, even cut on both ends.
Is Snipe More Common With Certain Wood Types?
Snipe tends to be more common with wood types that have high moisture content, like freshly cut or green wood. These woods are more prone to warping and movement during planing or jointing, increasing snipe chances. Hardwoods with stable moisture levels are less likely to develop snipe, but always monitor your wood’s moisture content to minimize snipe regardless of wood type. Proper technique also helps reduce snipe effectively.
How Does Blade Sharpness Influence Snipe Severity?
Blade sharpness directly impacts snipe severity because dull blades can cause uneven cuts and increased vibration. You should prioritize blade maintenance to guarantee ideal cutting precision. When blades are sharp, they cut smoothly, reducing snipe and resulting in cleaner, more even boards. Regularly honing or replacing your blades keeps your planer or jointer functioning efficiently, minimizing snipe and improving overall woodworking quality.
Are There Specific Jointer or Planer Brands With Less Snipe?
You’ll notice that brands like Jet, Powermatic, and Laguna often have less snipe, thanks to their solid reputation and better machine stability. Coincidentally, regular machine maintenance also plays a big role in minimizing snipe, regardless of brand. You can reduce snipe severity by keeping your equipment in top shape and choosing brands known for quality construction. Proper setup and maintenance are just as vital as the brand itself.
Can Adjusting Machine Height Reduce Snipe Occurrence?
Yes, adjusting the machine height can reduce snipe. You should fine-tune the bed height so the feed roller applies even pressure across the board. Proper alignment of the feed roller with the bed helps prevent uneven cuts that cause snipe. Make small adjustments and test cut to find the most effective settings, ensuring smoother passes and minimizing snipe at the edges of your material.
Conclusion
Just like the steady hand of a master craftsman guiding their tools, understanding the differences between jointer and planer snipe helps you achieve flawless results. By recognizing where and why snipe occurs, you can minimize its impact and create perfectly smooth boards. Remember, patience and proper technique are your best allies—think of it as taming a wild stallion, turning chaos into craftsmanship with each careful pass. Your projects will thank you for it.