To make a paint patch disappear, first evaluate the surface and lighting conditions to select the best match. Use color theory to choose the right paint and prep the area properly with cleaning and sanding. Test and adjust the color before application. When applying, feather out edges with a soft brush or blending tools and smooth the surface for a seamless finish. Accurate inspection under different lights guarantees your repair stays hidden—continue to explore the details for perfect results.
Key Takeaways
- Test and adjust paint colors in the actual environment to ensure accurate matching before application.
- Use feathering techniques with a clean, dry brush to blend paint edges seamlessly into the surrounding surface.
- Apply thin, even coats and gradually build up color for smooth transitions and minimized brush marks.
- Evaluate the repair under different lighting conditions and angles to confirm the patch remains invisible.
- Finish with gentle feathering and smoothing to create a flawless, undetectable blend.

Spackle Wall Repair Kit(Color Match), Drywall Repair Filler for Wall Hole, Exterior Wall Putty for Filling Holes, Wall Mending Agent with Scraper, Easy Patch Paste Solution to Fill Wall Dent & Scratch
Excellent Color Match: Our drywall repair kit includes eight different pigments to allow for endless color combinations, saving…
As an affiliate, we earn on qualifying purchases.
As an affiliate, we earn on qualifying purchases.
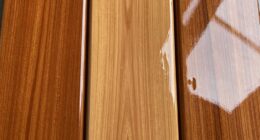
Evaluate Surface and Lighting Conditions for Better Color Matching
To achieve an accurate color match, you need to carefully evaluate both the surface and lighting conditions before starting repairs. Lighting conditions play a vital role because they influence how you perceive the paint color. Natural light reveals true colors, while artificial lighting can distort shades, so assess the lighting in the area where the repair will be visible. Additionally, consider the surface reflectivity, which affects how light interacts with the material. A glossy surface reflects more light, making colors appear brighter, while matte finishes absorb light, dulling the appearance. By understanding these factors, you can better determine the correct color shade to use, ensuring your repair blends seamlessly and looks natural in its environment. Being aware of lighting conditions and their impact on color perception is essential for achieving a flawless repair.

White Paint, White Touch up Paint for Walls with Roller 100g, Water Based, Low Odor, Quick-drying, Suitable for Covering Stains, Scratches, Graffiti, DIY
Perfect Coverage: The wall paint roller features a high-quality sponge for a seamless finish that perfectly covers cracks,…
As an affiliate, we earn on qualifying purchases.
As an affiliate, we earn on qualifying purchases.
Understand the Basics of Color Matching in Repairs

Understanding the basics of color matching is essential for achieving seamless repairs. It starts with grasping color theory, which explains how colors interact and influence each other. By understanding concepts like hue, saturation, and brightness, you can predict how different shades will blend. Pigment matching is key; it involves selecting the right pigments to replicate the original color accurately. Keep in mind that colors can appear differently depending on lighting conditions and surface textures, so always test your matches under the same lighting where the repair will be seen. Mastering these fundamentals allows you to make informed decisions and adjust your approach, ultimately creating a repair that seamlessly integrates with the surrounding surface.
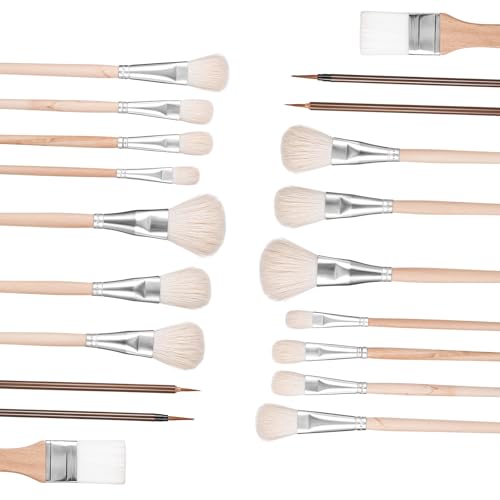
10 Pcs Pottery Glaze Brushes Mop Brush for Acrylic Ceramic Brushes Set Watercolor Paintbrush Painting Goat Hair Blending Brush Underglaze Paintbrush for Pottery Wool Art Tool for Oil Acrylic
【High-quality Materials】These paint brush sets are made of excellent goat hair bristles and sturdy birch handles. Oil paint…
As an affiliate, we earn on qualifying purchases.
As an affiliate, we earn on qualifying purchases.
Choose the Right Paint and Materials to Blend Seamlessly
Choosing the right paint and materials is essential for achieving a seamless repair that matches the surrounding surface. Understanding color theory helps you select shades that blend naturally, considering hue, value, and saturation. When choosing paint, pay attention to formulation; oil-based, latex, or specialty paints have different properties that affect drying time and finish. Match the paint’s finish to the existing surface—gloss, satin, or matte—to avoid noticeable differences. Always opt for high-quality paint for better color retention and easier blending. Keep a small sample of the original paint on hand for testing. Proper selection of materials guarantees your repair remains discreet and durable, making the final result look like an invisible part of the original surface.

Mighty Board Minis Polystyrene Paint Color Test Panels, 12" x 9", Set of 5, White
PERFECT SAMPLES: These 12" x 9" white, styrene panels provide a smooth, warp-free surface for testing up to…
As an affiliate, we earn on qualifying purchases.
As an affiliate, we earn on qualifying purchases.
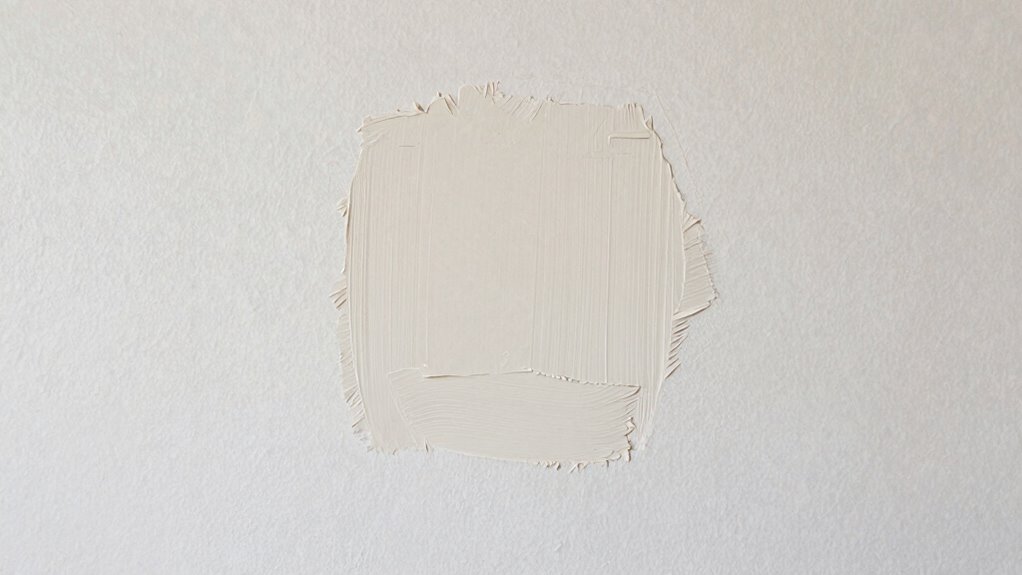
Prepare Your Surface for an Invisible Repair
Before you start repairing, make sure to clean and sand the surface thoroughly to remove dirt and roughen it for better paint adhesion. Match the primer carefully to your paint to guarantee a seamless blend, and give it enough time to dry completely. Proper surface preparation is key to creating an invisible repair that lasts. Additionally, selecting the right paint matching tools can help ensure color accuracy and a more professional finish.
Clean and Sand Surface
To guarantee a seamless repair, start by thoroughly cleaning the area to remove dirt, grease, and debris that could interfere with adhesion. Use a gentle cleaner and a lint-free cloth to make certain the surface is spotless. Once clean, apply primer for better adhesion and a smooth finish. Before painting, sand the repaired area with appropriate sanding techniques to create a slightly rough surface. This helps the new paint blend seamlessly with the surrounding paint. Use fine-grit sandpaper and gentle strokes, avoiding excessive pressure that could damage the surface. Clean off any dust from sanding before proceeding. Proper cleaning and sanding are vital steps to ensure your repair becomes invisible and long-lasting. Additionally, consider ventilation considerations to ensure safe and effective drying of your repair.
Match Primer Correctly
Ensuring your primer matches the surrounding paint is essential for an invisible repair. Proper primer application helps create a uniform surface that blends seamlessly. Use color matching tools, such as a colorimeter or paint swatch, to select a primer shade that closely matches your existing paint. Test the primer on a small, inconspicuous area first, allowing it to dry completely before comparing it to the surrounding surface. If the color isn’t an exact match, adjust by mixing in small amounts of paint to fine-tune the shade. Applying the correct primer color guarantees that the patch won’t stand out once painted over. Take your time with this step, as a well-matched primer sets the foundation for a flawless, invisible repair. Color accuracy plays a crucial role in achieving a seamless blend, especially when matching subtle hues.
Ensure Proper Drying Time
Allow the paint or primer to dry completely before proceeding with the next step, as rushing can jeopardize the repair’s invisibility. Proper drying time is essential to ensure the curing process occurs evenly, preventing imperfections later. Check the manufacturer’s instructions for specific drying times, as factors like temperature and humidity can affect the process. Avoid applying additional coats or sanding until you’re confident the surface is fully dry, typically indicated by a firm, non-tacky finish. Rushing this step can lead to uneven textures or color mismatches, making the repair visible. Patience during the drying time guarantees a smooth, seamless blend, so your patch disappears as if it was never there. Properly dried surfaces set the foundation for a flawless, invisible repair. Connected home fitness technology can also provide helpful reminders to track drying times and optimize your repair schedule.
Test and Adjust Paint Colors Before Applying the Patch
Before applying the patch, test your paint on a hidden area to see how it matches. Adjust the color by checking under different lighting and angles, since these can alter how the paint looks. This helps you evaluate the color consistency and ensure a seamless blend before you commit to the repair.
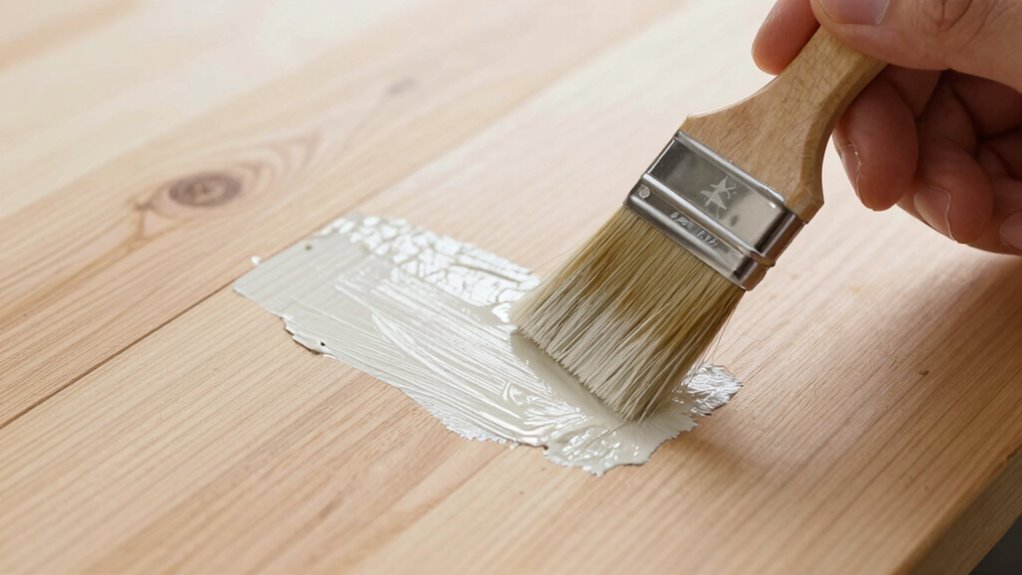
Test Paint on Hidden Area
To achieve a seamless repair, testing the paint on a hidden area first is essential. This step guarantees your color matches perfectly before applying it to visible surfaces. Find a discreet spot, like inside a panel or behind a trim, and perform your test paint there. This allows you to see how the color reacts to the environment and lighting conditions. Additionally, understanding how different lighting conditions affect color perception can help ensure the match remains true once applied.
Adjust Light and Angle
Once you’ve tested the paint on a hidden area and are satisfied with the match, the next step is to evaluate how the color appears under different lighting conditions and from various angles. Lighting adjustments can drastically change how the paint looks, so move to natural, fluorescent, and incandescent lights to see if the color still blends well. Remember to take into account angle considerations, as paint can look different when viewed from different perspectives. Step back and view the patch from multiple distances and directions to guarantee it seamlessly matches the surrounding surface. If you notice discrepancies, make small color adjustments or wait for the paint to dry fully before reassessing. This careful evaluation helps confirm your repair remains invisible under all conditions. Additionally, understanding how art care techniques influence color perception can further improve your results.
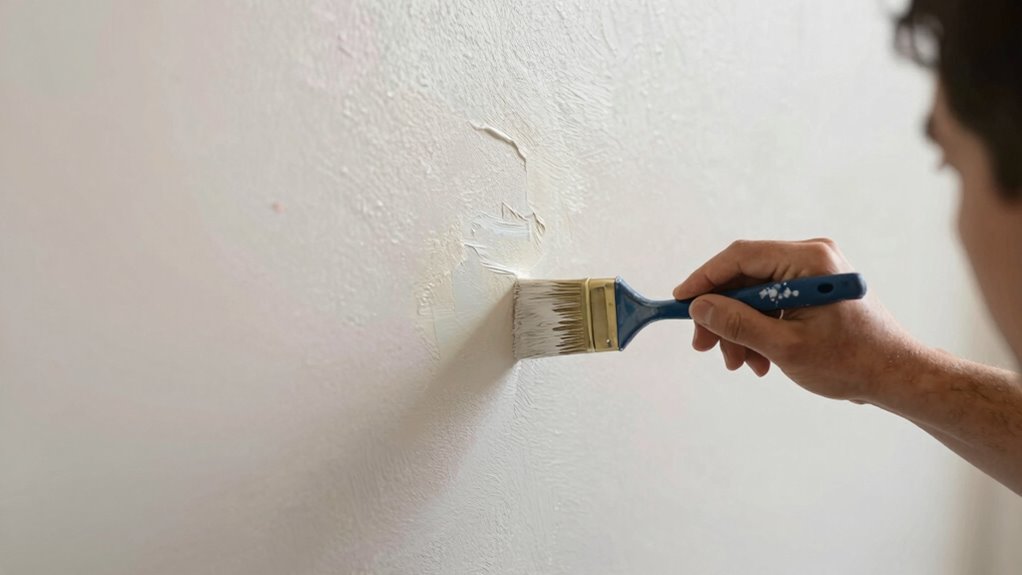
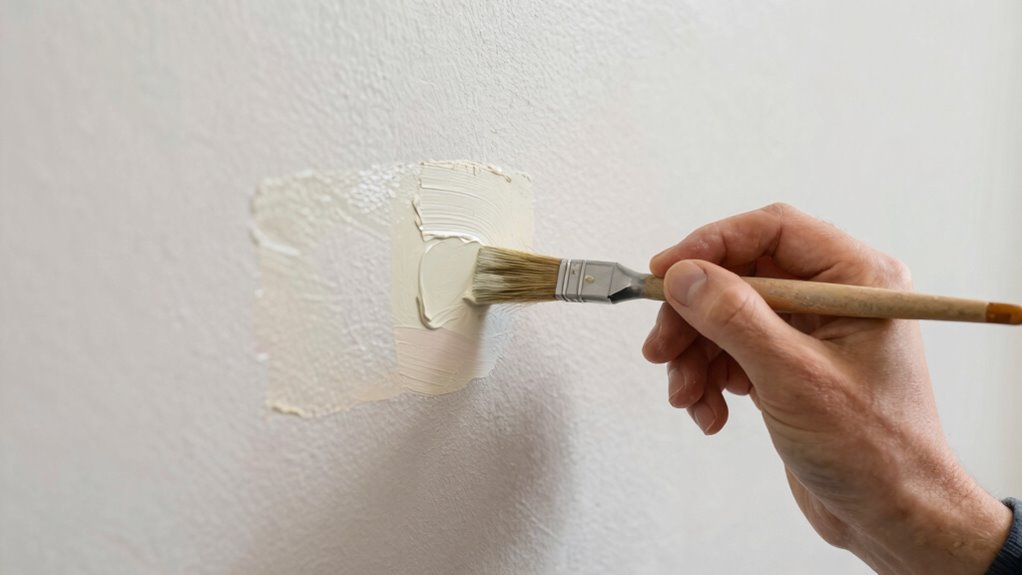
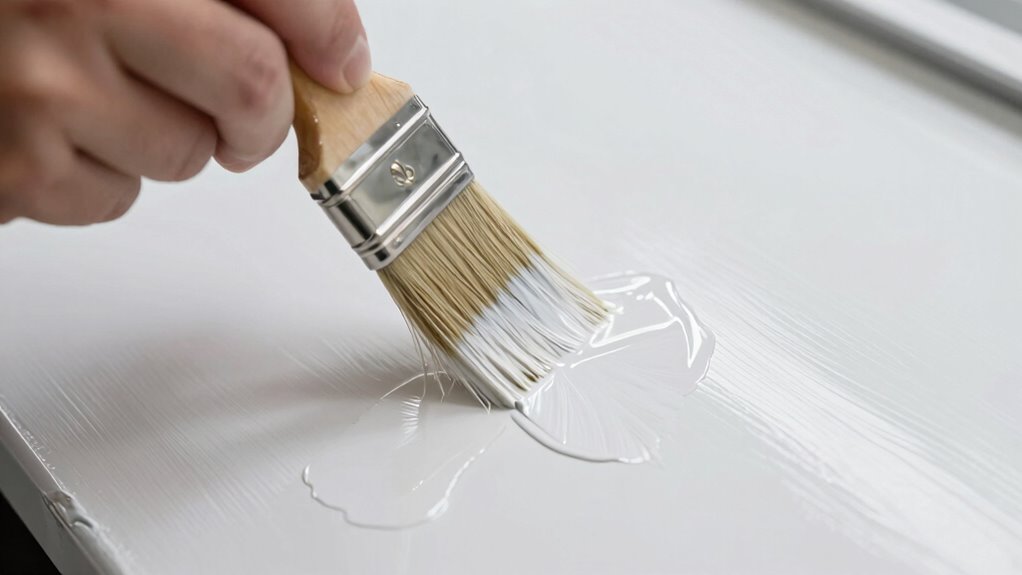
Apply and Blend Paint Edges for a Seamless Look
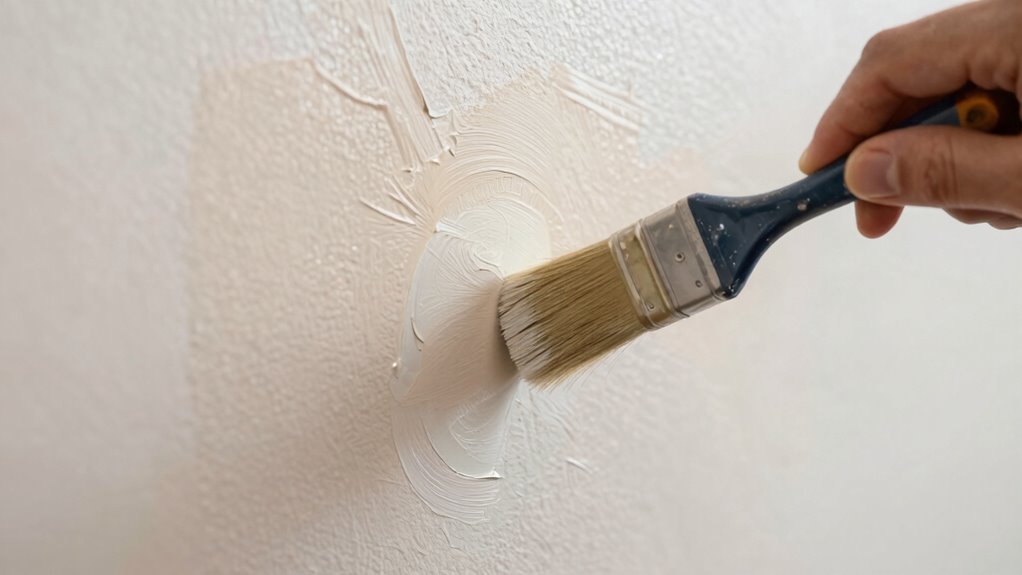
Achieving a seamless paint repair involves carefully applying and blending paint edges so they fade naturally into the surrounding wall. To do this, focus on effective edge blending with your brush techniques, softening the gradation between the new and existing paint. Use a dry, clean brush to feather out the edges, minimizing harsh lines. Keep your strokes light and gentle, working gradually to blend the paint seamlessly. Incorporate simple tools like a damp brush or a small roller to help achieve a smooth transition. These techniques help hide the repair, making the patch disappear. Remember, patience and precise brushwork are key to achieving a professional, seamless look that blends effortlessly into your wall.
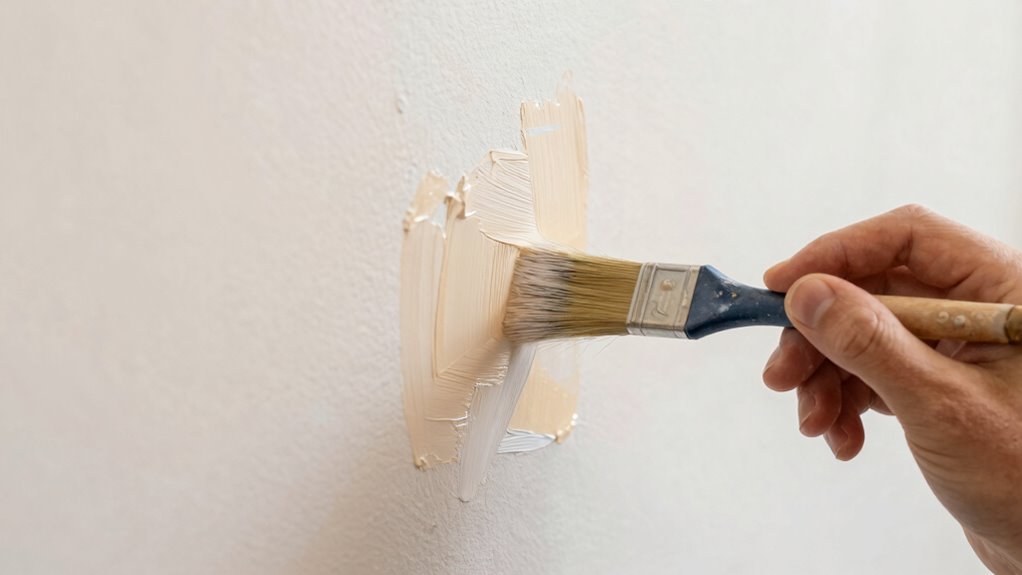
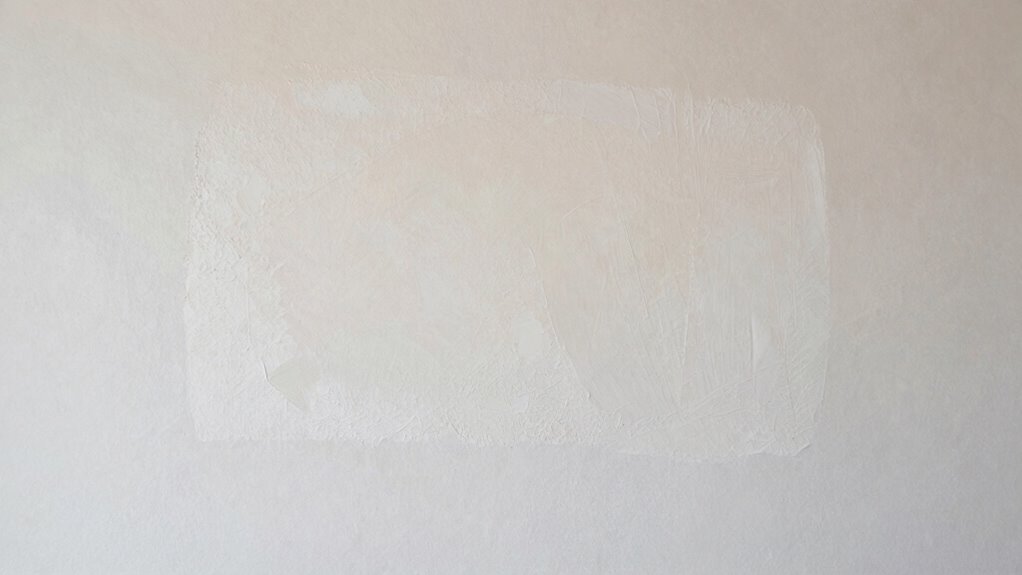
Feather and Smooth Paint for a Flawless Finish
Feathering and smoothing paint is essential for achieving a flawless finish after repairs. By applying gentle, even strokes, you blend the new paint seamlessly into the existing surface, minimizing visible edges. Understanding color theory helps you select the right shades and subtle tints, ensuring the repair matches perfectly. Additionally, lighting effects play a pivotal role—what looks good in daylight might differ under artificial light. To feather the paint, use a dry brush or blending tool to softly blend the edges outward, creating a smooth transition. This technique minimizes brush strokes and texture differences, making the repair virtually disappear. Focus on consistent pressure and gradual blending to achieve a professional, flawless look that seamlessly integrates with the surrounding wall or surface. Proper paint blending techniques are crucial for professional-looking repairs, especially when working with different materials or finishes.
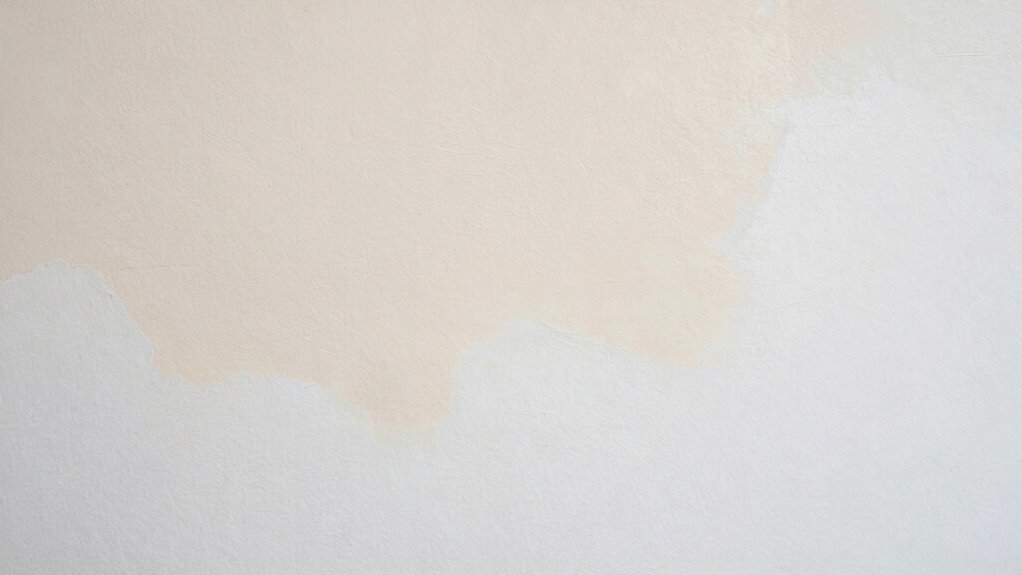
Final Checks: How to Ensure Your Repair Disappears
After blending the paint seamlessly, it’s time to review your work with a critical eye. Check your repair from different angles and under various lighting effects to assess color perception accurately. Remember, lighting can dramatically alter how the patch appears, making it seem perfect in one light and mismatched in another. To guarantee your repair disappears:
- Observe in natural daylight and indoor lighting to detect color inconsistencies
- Look at the repair from different distances and angles for uniformity
- Use a neutral background to avoid color influences from surrounding surfaces
These steps help you identify any subtle mismatches. Adjustments may be needed to refine the blend, ensuring your patch truly disappears and your repair is seamless.
Common Mistakes to Avoid When Matching Paint Colors
One of the most common mistakes when matching paint colors is relying solely on small paint chips or swatches without testing the color in the actual lighting conditions of your space. This often leads to a color mismatch once the paint dries or is applied in different lighting. Application errors also happen when you don’t follow proper techniques, resulting in uneven coverage or visible patches. To avoid these pitfalls, consider the following:
| Mistake | How to Avoid | Impact |
|---|---|---|
| Relying on swatches | Test in your space at different times | Color mismatch under real light |
| Ignoring lighting | Check color in natural and artificial light | Misleading color perception |
| Skipping primer | Always prime for even color application | Uneven patches or gloss difference |
| Applying thick coats | Use thin, even layers | Drips, application errors |
| Not mixing enough paint | Mix thoroughly before use | Color inconsistency |
Frequently Asked Questions
How Long Should I Wait Before Assessing the Final Color Match?
You should wait at least 24 hours before evaluating the final color match, as drying time can vary based on environmental factors like humidity and temperature. During this period, the paint or repair material fully dries and cures, ensuring an accurate comparison. Avoid rushing the process, and check the repair in natural light to see how it blends with the surrounding area. Patience yields the best, seamless results.
Can Natural Lighting Affect the Perceived Color Match After Repair?
Natural lighting can definitely influence how you perceive the color match after repair. Under bright sunlight, colors may appear more vibrant or faded, while artificial lighting might cast a yellow or cool hue. You’ll want to check your repair in different lighting conditions to ensure the patch blends seamlessly. Remember, what looks perfect in your workshop might need some adjustment outdoors or under different light sources.
What Tools Are Best for Blending Paint Edges Seamlessly?
You should use a high-quality brush and blending sponges for seamless paint edge blending. Apply paint with gentle brush techniques, feathering the edges outward. Then, lightly dab with a damp blending sponge to smooth *gradients* and eliminate visible lines. Keep a steady hand and work gradually to create a natural, invisible repair. These tools and techniques help the patch blend perfectly with the surrounding paint, making it vanish almost entirely.
How Can I Prevent Color Fading Over Time After Repairs?
To prevent color fading over time after repairs, you should apply paint protection like clear coats or sealants, which shield the new paint from sun exposure. Regularly wash and wax your vehicle, especially if it’s exposed to harsh sunlight, to maintain the color’s vibrancy. Parking in shaded areas also minimizes sun damage. Consistent upkeep helps your repaired area blend seamlessly and keeps the color looking fresh longer.
Is It Necessary to Seal or Clear Coat After Blending Paint?
Yes, sealing or clear coating after blending paint isn’t just a good idea—it’s a game-changer! Sealing techniques lock in your hard work, preventing chips and scratches, and enhance the paint’s shine. The clear coat benefits include UV protection and color longevity. Without it, your repair might look perfect now but could quickly fade or peel. So, always seal your work to keep it flawless and durable for the long haul!
Conclusion
By carefully evaluating your surface and lighting, choosing the right materials, and blending meticulously, you can make repairs virtually invisible. Remember, the theory that layering thin coats always yields a better finish holds true—less is more. Patience and attention to detail are your best tools for seamless results. With practice, you’ll find that even complex color matches become manageable, proving that a well-executed repair can be both satisfying and nearly undetectable.