To reduce tear-out, start by properly aligning the cap iron and chipbreaker so they’re just slightly ahead of the cutting edge, ensuring minimal gap without clogging. Keep the chipbreaker parallel to the bevel and adjust its position for your wood’s grain direction and density. Regularly check and fine-tune the setup, especially after sharpening or changing grain. Mastering these details helps you achieve smooth, tear-out-free finishes—if you continue exploring, you’ll discover how to perfect your adjustments further.
Key Takeaways
- Position the chipbreaker parallel to the blade bevel and just slightly below the cutting edge for optimal tear-out reduction.
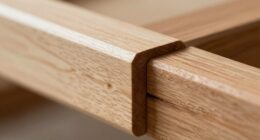
- Ensure the cap iron is aligned flush with the blade and set just ahead of the cutting edge to support clean cuts.
- Maintain a narrow gap between the cap iron and blade—tight enough to prevent tear-out but allowing smooth chip flow.
- Regularly check and re-align the chipbreaker after sharpening or adjusting the blade to maintain proper contact.
- Use visual aids like straightedges or feeler gauges to confirm consistent, precise positioning for effective tear-out prevention.

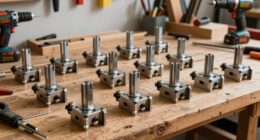
2PCS Planer Blade Setting Tool for Woodworking – Precise Alignment, Micro-Adjustable Magnetic Design, Fits All Planers/Jointers, Time-Saving with Storage Box
Planer Blade Setter is designed for precise alignment and installation of planer blades, fitting most planers, jointers and…
As an affiliate, we earn on qualifying purchases.
As an affiliate, we earn on qualifying purchases.
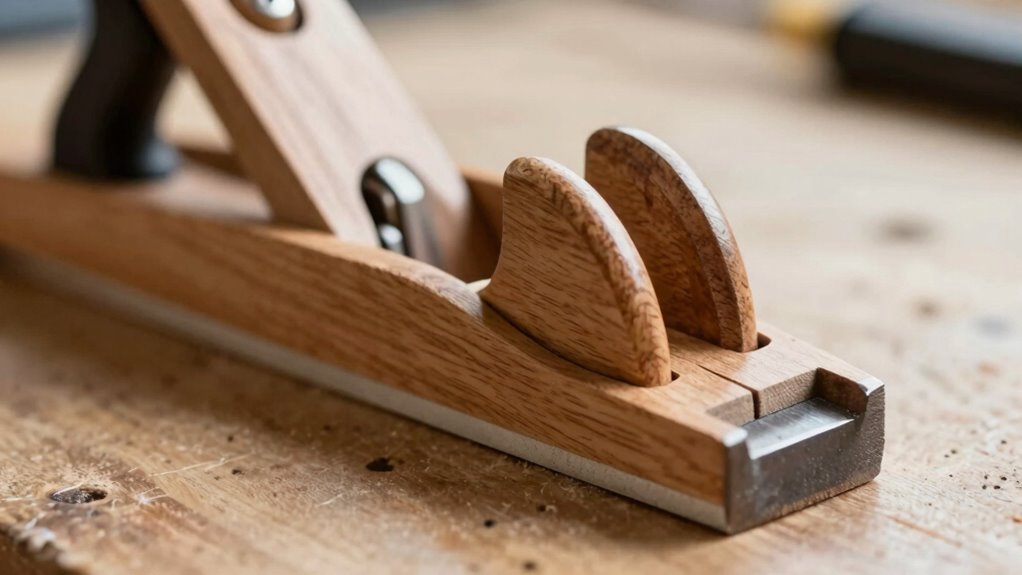
Why Proper Cap Iron Setup Ensures a Smooth Finish
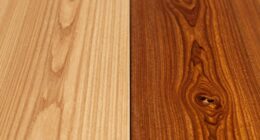
Have you ever wondered why your finish isn’t as smooth as it could be? One key factor is paying attention to the grain direction. When your tool’s cap iron is properly aligned, it follows the wood’s natural grain, reducing tear-out. Before setting the cap iron, ensure your blade is sharp through careful tool sharpening. A sharp blade slices cleanly, preventing rough edges that can catch on the grain. Adjust the cap iron so it’s just slightly above the cutting edge, promoting a smooth, polished surface. Proper setup means your plane glides effortlessly with minimal resistance. When you respect the grain direction and keep your tool sharp, you’ll notice a significant improvement in finish quality. grain direction is fundamental in reducing tear-out and achieving a clean surface. It’s a simple step that makes a big difference in the final look of your woodwork.
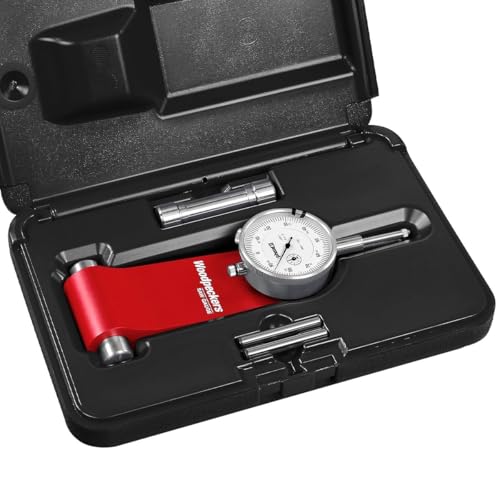
Woodpeckers Table Saw Gauge and Alignment Tool, Auto-Adjusts to Miter Slot, Includes Dial Indicator & Fitted Storage Case – SG-WP
SPECS – SG-WP | Includes Gauge, Pin Set, Dial Indicator, Storage Case | Great for Rip Fence &…
As an affiliate, we earn on qualifying purchases.
As an affiliate, we earn on qualifying purchases.
How the Chipbreaker Prevents Tear-Out During Planing
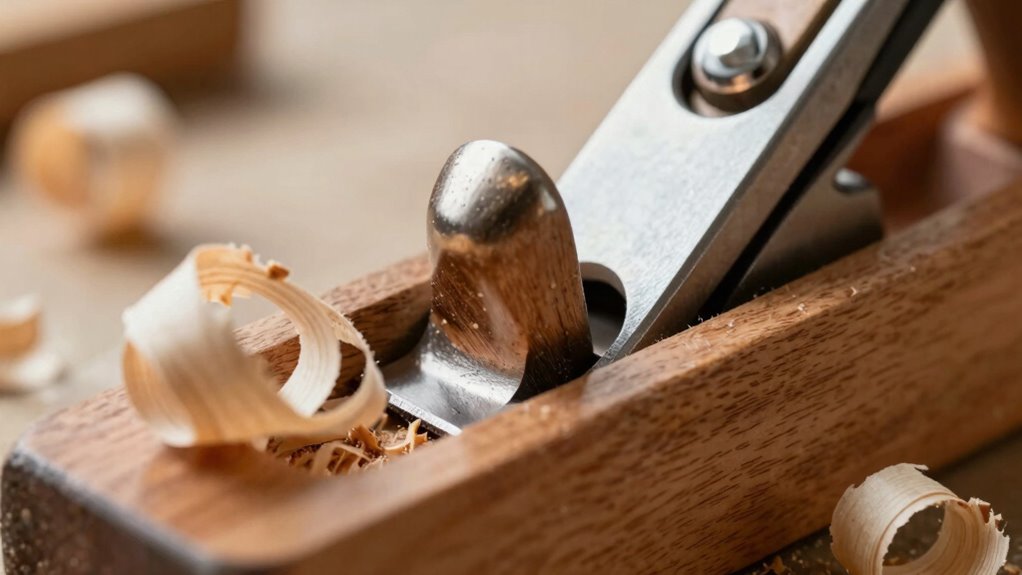
Proper chipbreaker placement is key to preventing tear-out while planing. You need to adjust it for ideal pressure against the wood fibers, ensuring a clean cut. When set correctly, it guides shavings smoothly and keeps your workpiece looking flawless. Incorporating energy-efficient design principles can also enhance the overall quality of your woodworking process.
Proper Chipbreaker Placement
Placing the chipbreaker correctly is essential for preventing tear-out when planing. Start by aligning it close to the edge of the blade, but not so tight that it hinders chip flow. Pay attention to grain orientation: if the wood’s grain runs parallel to the surface, the chipbreaker should be set slightly below the cutting edge to keep chips controlled. When sharpening your blade, ensure the bevel is even and sharp, as a dull edge increases tear-out risk. The chipbreaker must be positioned to support the blade’s cutting action without forcing it upward. Proper placement helps direct shavings downward and minimizes tear-out, especially on tricky grain. Fine-tuning this setup ensures cleaner cuts and extends your blade’s life. Additionally, understanding grain orientation is key to selecting the best chipbreaker placement for different woods.
Adjusting for Optimal Pressure
Adjusting the chipbreaker for ideal pressure involves fine-tuning its proximity to the blade to guarantee it supports smooth cutting without causing resistance. You want the chipbreaker close enough to keep tear-out at bay, but not so tight that it hampers the blade’s movement. Check the blade’s curvature; a consistent curve helps ensure even pressure across the edge. Also, verify the sole’s flatness—an uneven sole can cause uneven contact, affecting pressure. When adjusting, move the chipbreaker gradually closer, testing for smooth planing. If it’s too tight, you’ll feel resistance or tear-out; too loose, and tear-out may recur. Achieving the right balance ensures that the chipbreaker applies even pressure, supporting clean cuts and reducing tear-out during your planing tasks. Proper tool maintenance is essential to keep your plane functioning smoothly and to maintain consistent pressure.

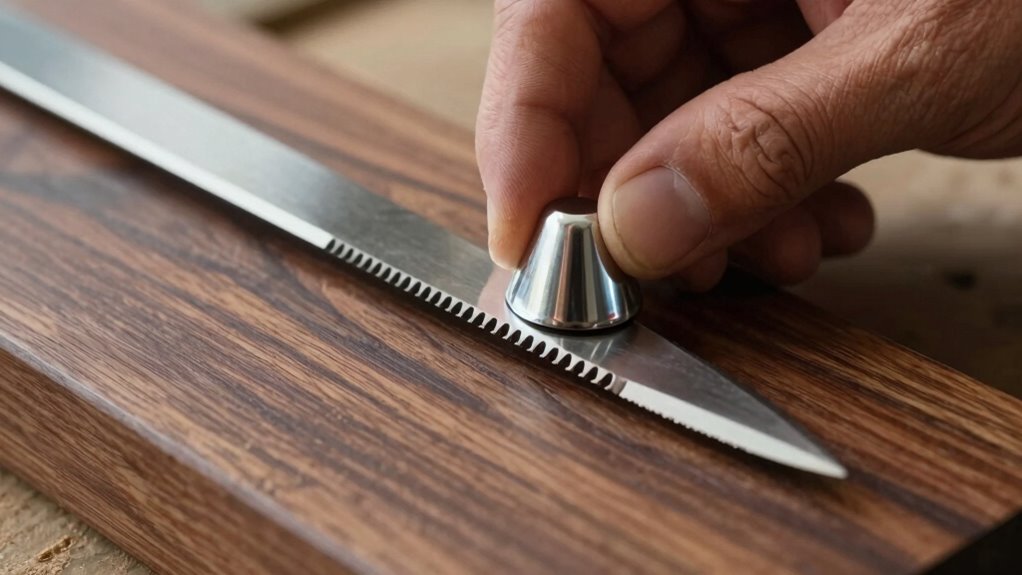
Razor Sharp Edgemaking System 8 Inch Deluxe Blade Sharpening Kit, For 6 Inch Bench Grinder, Made In The Usa
QUICK RESULTS: This system will put a honed and polished razor sharp edge on your knives and tools…
As an affiliate, we earn on qualifying purchases.
As an affiliate, we earn on qualifying purchases.
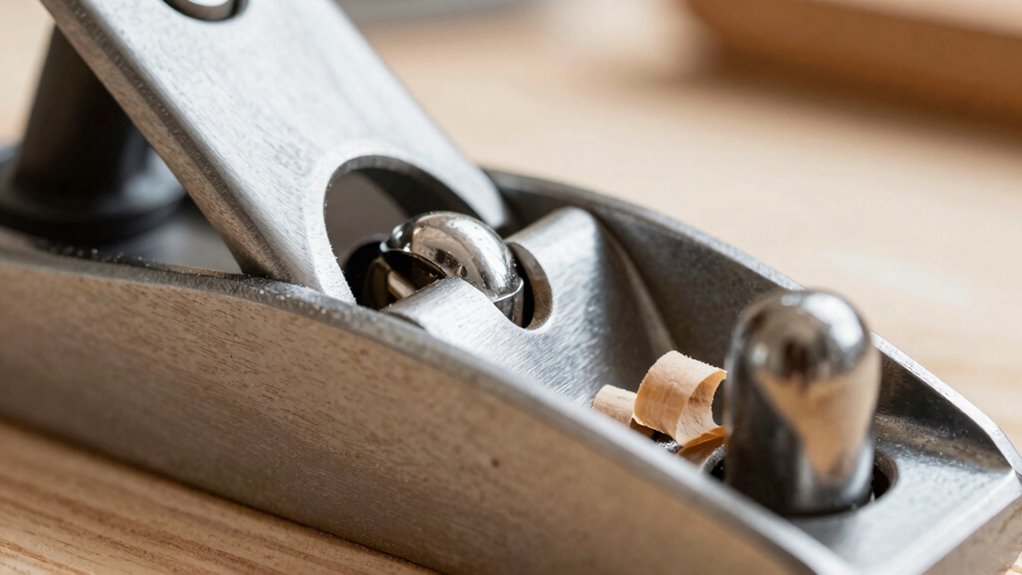
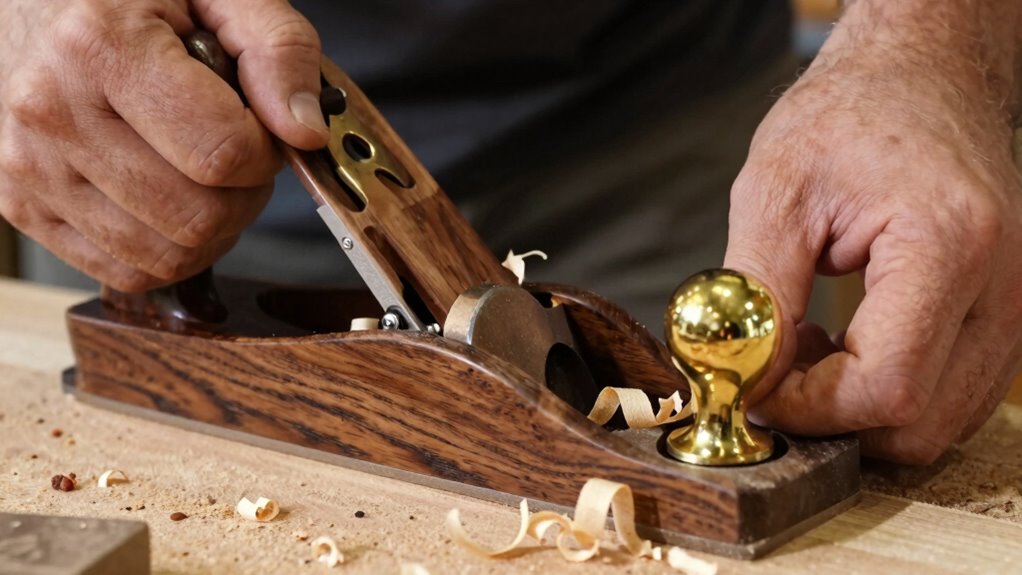
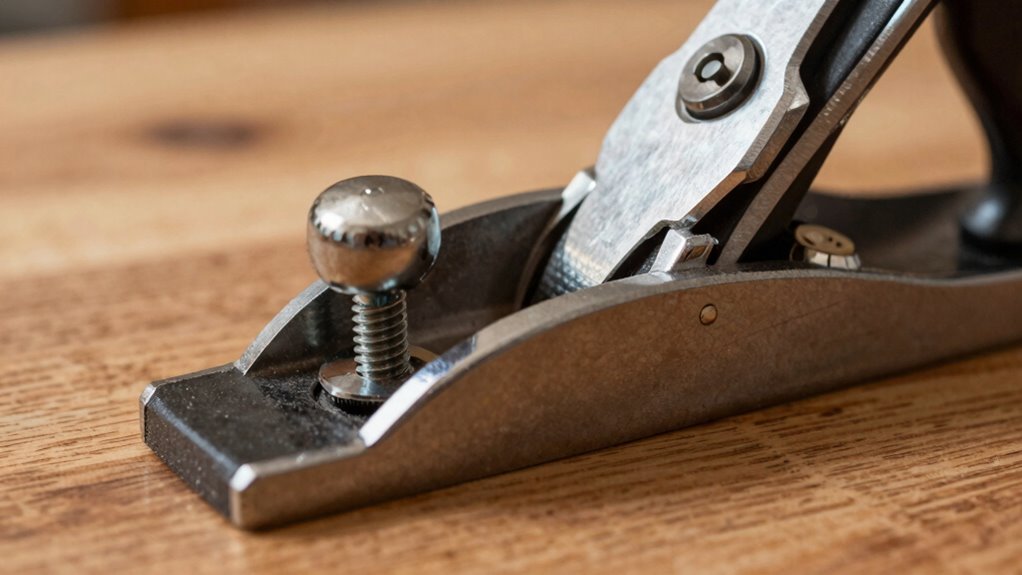
How to Position the Cap Iron and Chipbreaker Correctly
To position the cap iron and chipbreaker correctly, you need to focus on their alignment relative to the cutting edge. The blade angle influences how the chipbreaker sits; a steeper angle may require the chipbreaker to be closer to the edge. Adjust the cap iron so that it’s just slightly ahead of the cutting edge, ensuring it’s not too tight, which can cause tearing, or too loose, which allows tear-out. Consider the wood’s density: denser wood benefits from a slightly higher blade angle and a precise chipbreaker placement to support cleaner cuts. Keep the chipbreaker parallel to the blade’s bevel, maintaining consistent contact without forcing it into the wood. Proper positioning ensures effective tear-out reduction and smoother planing results.

2pcs Feeler Gauges Set Stainless Steel, 32 Straight & 16 Angled Blades, Dual Marked SAE/Metric Wider Range Spark Plug Gap Tool, Filler Gauges Kit for Valves, Automotive, Piston, Guitar
Precision Measurement: The straight feeler gauge measures 0.0008-0.4"/0.02-10mm, and the offset gauge covers 0.005-0.02"/0.127-0.508mm, making it great for…
As an affiliate, we earn on qualifying purchases.
As an affiliate, we earn on qualifying purchases.
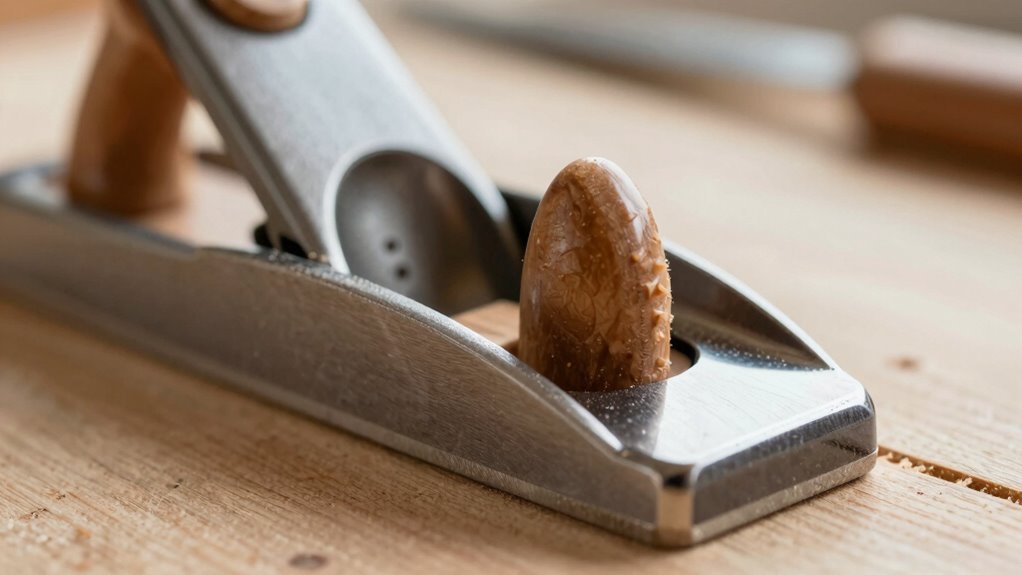
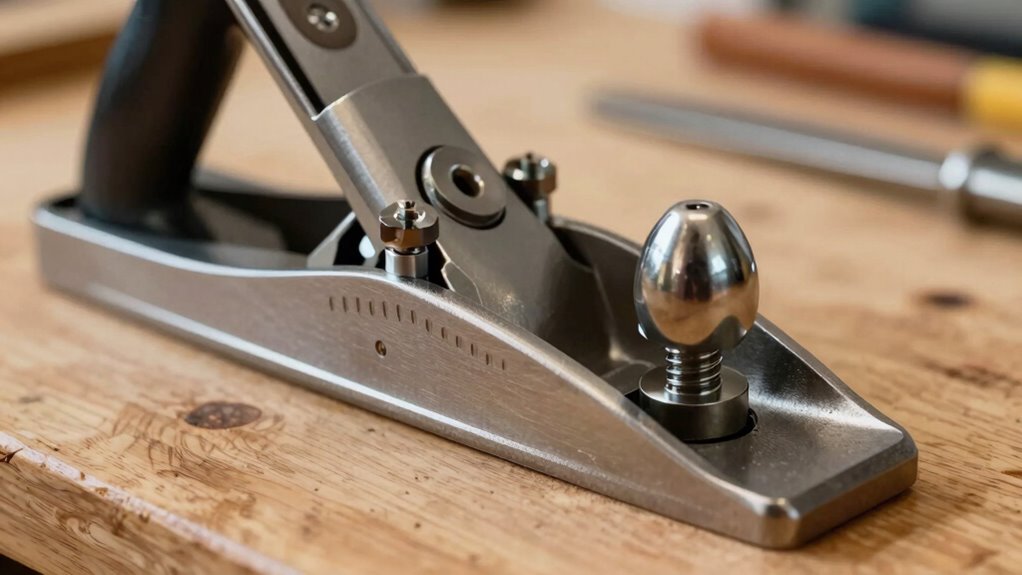
Adjusting the Cap Iron Gap for a Better Finish
Ensuring the cap iron gap is set correctly can substantially improve your planing finish. Start by checking blade alignment to ensure the cutting edge is straight and even across the width. The gap between the blade and cap iron should be narrow enough to produce a smooth cut but not so tight that it restricts blade movement. Pay attention to grain direction; if the wood’s grain runs with the length of the board, a slightly larger gap can help prevent tear-out. Conversely, against the grain, a tighter gap guarantees cleaner cuts. Adjust the cap iron so that it just clears the blade’s edge, allowing for a clean, smooth finish. Properly setting this gap reduces tear-out and results in a superior, polished surface.
Common Mistakes When Setting Your Cap Iron: And How to Fix Them
One common mistake when setting your cap iron is making the gap too wide, which can cause tear-out and a rough finish. To avoid this, verify your blade sharpening process results in a sharp, clean edge, reducing the effort needed during setup. An improperly sharpened blade can lead to uneven cuts and increase the risk of woodworking safety hazards. Additionally, setting the cap iron too close can cause it to clog or hinder chip flow. Check your setup carefully, making small adjustments until the chipbreaker just lifts the wood fibers without forcing them down. Always prioritize safety by working in a well-lit area and using proper tools. Proper media literacy can help you understand the importance of safe and effective woodworking techniques. Correct setup not only improves your finish but also keeps your workspace safe and your tools performing at their best.
How to Adjust Your Setup for Different Wood Types and Grain Directions
Adjusting your setup for different wood types and grain directions is essential for achieving a smooth, clean cut. Grain orientation influences how the wood responds to your plane; cutting against the grain can cause tear-out, especially in soft or highly figured woods. To minimize this, adjust the chipbreaker’s position so it supports the wood’s natural grain flow. Additionally, consider wood moisture—drier wood tends to be more brittle and prone to tear-out, so you might need to set your cap iron closer to the blade for *ideal* cuts. For wetter or more flexible woods, increase the gap slightly to prevent clogging or tearing. Always test on scrap first, and fine-tune your setup based on the grain orientation and moisture content for *best* results. Incorporating a proper contrast ratio can also improve your ability to see subtle tear-out issues during planing, allowing for more precise adjustments.
Troubleshooting Tear-Out: Is Your Cap Iron Setup the Problem?
Is tear-out ruining your finish? If so, your cap iron setup might be the culprit. Check your blade sharpness first—dull blades can cause uneven cuts that lift wood fibers along the grain. Next, examine how your cap iron interacts with the wood grain; if it’s too high or too low, it can create tear-out instead of clean shavings. Also, consider the direction you’re planing—cutting against the grain increases tear-out risk. Properly aligning your cap iron so it just kisses the wood surface helps control tear-out. Remember, a sharp, well-set blade combined with the correct cap iron position can make all the difference in achieving a smooth, tear-out-free finish. Troubleshoot these factors before adjusting your setup further. Additionally, understanding cutting angles can help you fine-tune your plane for cleaner results.
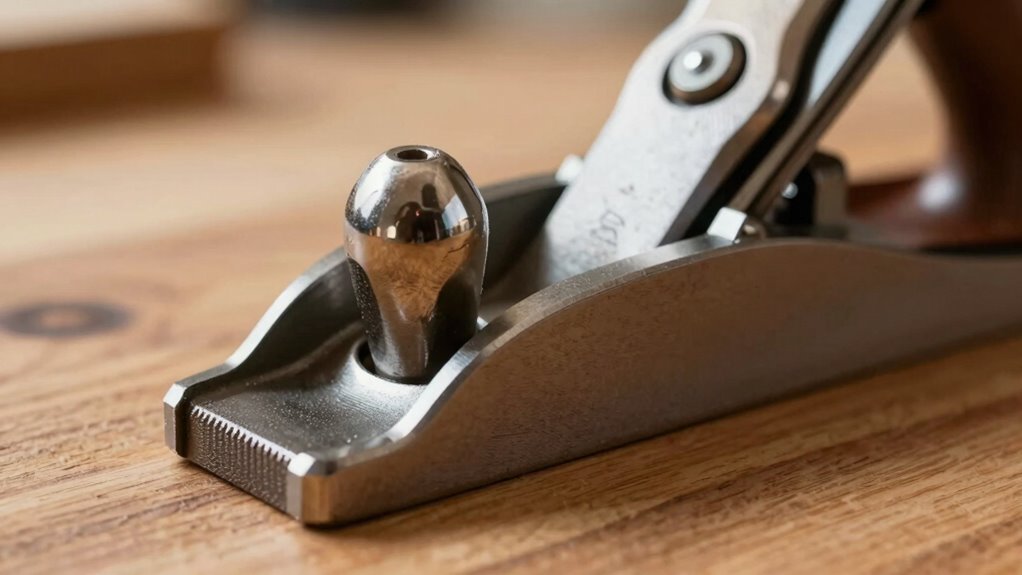
Tips for Maintaining and Rechecking Your Cap Iron Alignment
To keep your plane performing its best, you need to regularly check your cap iron’s alignment. Use proper rechecking techniques to guarantee it stays in the right position, especially after any adjustments or transport. Staying vigilant with these checks helps prevent tear-out and maintains a smooth, clean cut. Regularly inspecting your tool setup ensures consistent results and prolongs the lifespan of your equipment.
Regular Alignment Checks
Have you ever wondered if your cap iron stays perfectly aligned during use? Regular alignment checks are essential to ensure smooth planing and reduce tear-out. Before each session, examine how the cap iron interacts with the wood grain; misalignment can cause uneven cuts. Use sharpening tools carefully to keep your blade edges true, which helps maintain proper positioning. Check that the cap iron’s edge is flush and evenly spaced from the blade, adjusting if necessary. Small shifts can happen over time, so making a quick visual inspection before each project keeps your tool performing at its best. Consistent checks prevent cumulative errors and prolong the life of your plane. Staying attentive to your cap iron’s alignment ensures cleaner cuts and a more enjoyable woodworking experience. Proper alignment is critical for achieving optimal planing results and preventing tear-out.
Proper Rechecking Techniques
Regularly rechecking your cap iron alignment is key to maintaining ideal plane performance. When working with fresh wood, it’s essential to verify that the chipbreaker remains aligned with the blade edge. Check the grain direction first; if the grain runs parallel to the cutting edge, slight adjustments may be needed to prevent tear-out. Use a straightedge or feeler gauges to ensure the cap iron sits flush and parallel to the blade, especially along the entire length. Recheck after each sharpening or if you notice rough or uneven cuts. Make small adjustments, tightening or loosening screws as needed. Consistent rechecking ensures the chipbreaker effectively reduces tear-out, especially on tricky grain, and keeps your plane performing at its best with every pass. Incorporating connected equipment and wellness techniques can also help maintain your tools in optimal condition for consistent results.
Frequently Asked Questions
What Tools Do I Need to Set My Cap Iron Properly?
To set your cap iron properly, you need a straight edge or ruler to check cap iron alignment, guaranteeing it’s parallel to the cutter edge. A fine file or sharpening stone helps with chipbreaker maintenance, keeping it smooth and correctly positioned. Additionally, a small screwdriver or wrench may be necessary to adjust screws securing the cap iron. Proper tools ensure your setup reduces tear-out and improves planing quality.
How Often Should I Check My Cap Iron Alignment?
You should check your tool alignment regularly, ideally before each project or after any heavy use, to prevent tear-out. Routine maintenance ensures your cap iron stays properly positioned for peak performance. Even if your plane feels smooth, small shifts can occur over time. By maintaining consistent checks, you ensure your woodwork remains precise and tear-out stays minimized, saving you time and frustration in the long run.
Can a Worn Chipbreaker Cause Tear-Out?
Yes, a worn chipbreaker can cause tear-out because it no longer effectively controls the wood fibers during planing. Regular chipbreaker maintenance is essential for tear-out prevention. If it’s dull or damaged, it won’t break the chips properly, leading to rougher surfaces and tear-out issues. Keep your chipbreaker in good condition, check its alignment often, and replace it when necessary to guarantee smooth cuts and minimal tear-out.
What’s the Best Way to Test My Setup Before Planing?
Did you know that over 60% of planing issues stem from improper setup? To test your setup, start by checking the grain direction; planing against the grain causes tear-out. Make sure your blade is sharp, as dull blades dull the cut and increase tear-out risk. Make a few test passes on scrap, adjusting the blade depth and chipbreaker as needed. This quick check helps ensure smooth, tear-out-free planing.
How Does Wood Moisture Content Affect Cap Iron Adjustment?
Moisture impact profoundly influences your cap iron adjustment because wetter wood tends to be more flexible, making it harder to achieve a clean, tear-out-free cut. When the wood has high moisture content, you might need to set your chipbreaker slightly higher to prevent tear-out, as the wood flexes more under pressure. Conversely, drier wood is less flexible, requiring a closer adjustment for the best results.
Conclusion
Mastering your cap iron setup is like tuning a finely crafted instrument—every adjustment harmonizes to produce a smooth, tear-out-free finish. When you pay close attention to positioning, gaps, and grain directions, you’re carving a path through wood’s chaos with confidence. Keep your eye on the details, and your plane will glide like a whisper over the surface. With patience and care, you’ll turn rough lumber into polished perfection, one perfect shave at a time.