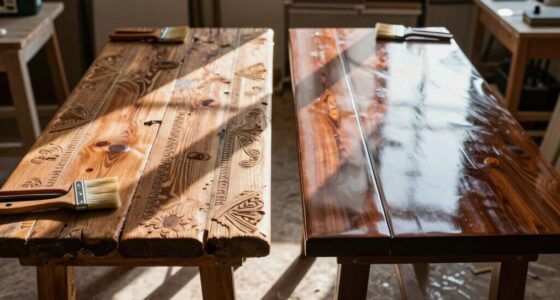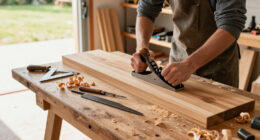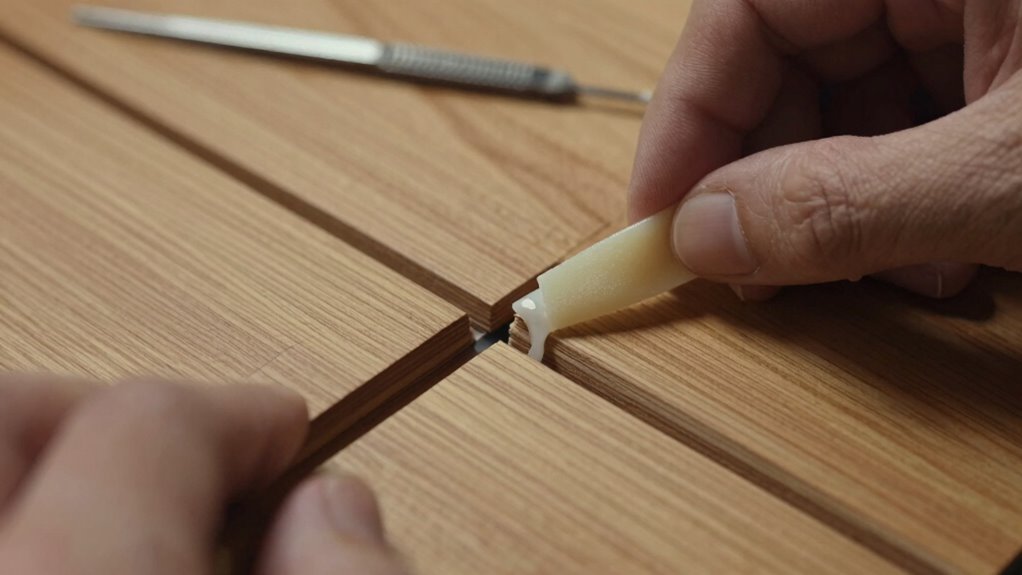

To repair split panels without making the crack more visible, start by identifying the panel material and cleaning the area. Use a suitable adhesive for your panel type, applying it deeply into the split with a putty knife. Press the panels together and clamp them for a secure hold. Once dry, carefully remove excess glue and sand the area to blend it smoothly. Finally, match the color with paint or stain for a flawless finish. There’s more to perfecting your repair!

Get business pricing on tools and workshop supplies
- Business-only prices and quantity discounts
- Tax-exempt purchasing
- Multiple users, one account, clear invoices
Key Takeaways
- Identify the panel material to choose the appropriate adhesive for a seamless repair.
- Clean the area thoroughly before applying adhesive to ensure better bonding and reduced visibility.
- Use a putty knife to fill the split deeply and press panels together for a tight fit.
- Sand the repaired area smoothly with fine grit sandpaper to blend with surrounding material.
- Match paint or stain closely to the original finish for a cohesive appearance after the repair.
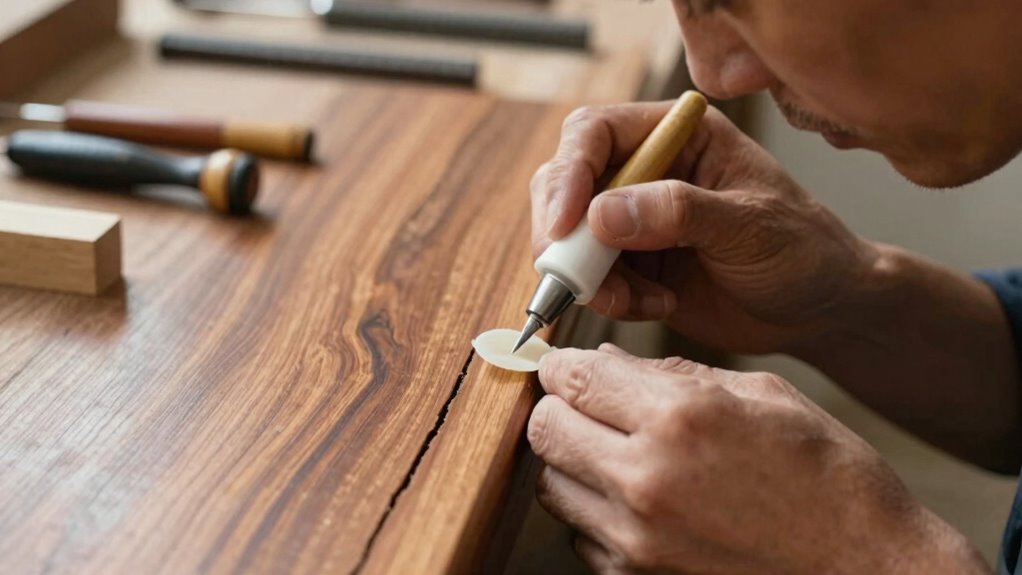
If you’ve noticed split panels in your home, don’t panic—repairing them can be a straightforward task. Whether you’re dealing with wood, MDF, or other panel materials, you can restore your surfaces effectively. First, assess the type of damage and determine how deep the split is. A clean, minor split can often be fixed with the right adhesive techniques, while larger cracks might require a bit more effort.
Start by gathering your materials. You’ll need a suitable adhesive, which varies depending on the panel materials. For wood, a high-quality wood glue works best; for MDF, look for an adhesive specifically designed for that material. Be certain you also have clamps, a putty knife, and sandpaper handy. Once you’ve got everything, clean the area around the split to guarantee the adhesive adheres properly. Dust and debris can hinder the bonding process, so take a moment to wipe it down. Using the correct adhesive type is essential for a durable repair, especially when working with different panel materials.
Next, apply the adhesive into the split. Use a putty knife to push the glue deep into the crack, making sure it fills the space completely. This step is essential to achieve a seamless repair. Once you’ve applied the adhesive, gently press the panels together. If the split is significant, use clamps to hold the panels tightly while the glue sets. Follow the manufacturer’s instructions regarding drying time—this can vary based on the adhesive type and environmental conditions. Choosing the right adhesive is crucial for a durable repair, especially when working with different panel materials.
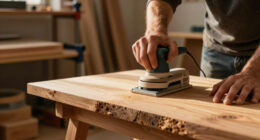
After the adhesive has dried, it’s time to refine the repair. Carefully remove any excess glue using your putty knife. Then, sand the area smoothly so it blends in with the surrounding panel materials. Start with a coarser sandpaper and finish with a finer grit to guarantee a smooth surface. Be gentle; you don’t want to create more visible damage during this process. Additionally, understanding the types of adhesives appropriate for different materials can help ensure a strong, lasting bond. Applying a primer or sealant before painting can also improve the final appearance and longevity of the repair.
Once you’re satisfied with the smoothness, you can paint or stain the repaired area to match the rest of the panel. If you’re working with stained wood, try to find a stain that closely resembles the original color. This final touch can make all the difference in making the crack less visible.
In just a few simple steps, you can repair split panels and restore the beauty of your home. With the right materials and techniques, it’s a project you can tackle with confidence.
Frequently Asked Questions
What Tools Do I Need for Repairing Split Panels?
You’ll need a few essential tools for repairing split panels. Start with a utility knife for trimming any damaged edges. A putty knife helps apply wood filler or adhesive, depending on the panel types you’re working with. Sandpaper smooths out the surface after the filler dries, and clamps guarantee a tight bond. For precision, consider a drill or screwdriver for any necessary fastening. Knowing various repair techniques will also make the job easier!
Can I Use Regular Glue for Panel Repairs?
Think of regular glue as a band-aid for your panel repairs—it might help, but it won’t always get the job done right. For strong, lasting results, you’ll want to choose adhesive types specifically designed for your panel materials. Whether you’re working with wood, plastic, or metal, using the right adhesive guarantees a solid bond and maintains the integrity of your panels. So, skip the regular glue and opt for something better!
How Do I Prevent Future Splits in Panels?
To prevent future splits in your panels, focus on humidity control and material selection. Keep your environment stable by using a dehumidifier or air conditioner to manage moisture levels. When choosing materials, opt for those specifically designed to withstand fluctuations in humidity. Regularly check for signs of wear or moisture damage, and address them promptly to maintain the integrity of your panels. This proactive approach will help you avoid splits over time.
Is It Safe to Paint Over the Repaired Area?
Yes, it’s safe to paint over the repaired area. Just make certain you use the right paint types that are compatible with your repair techniques. First, let the repair fully cure, then lightly sand the area for a smooth finish. Choose a paint that matches your panel’s texture and color. Proper preparation guarantees a seamless look, so take your time to get it right before applying that final coat.
How Long Will the Repair Last Before Needing Attention?
The repair can last several years, but its long-term durability really depends on environmental factors. If you’re in a humid area or experience extreme temperatures, the repair might need attention sooner. Regular maintenance and monitoring can help you catch any issues early. To guarantee your repair holds up well, consider using high-quality materials and following proper techniques. Keeping an eye on it will save you from bigger problems down the line.
Conclusion
To sum up, repairing split panels can be as delicate as patching a torn fabric; with the right techniques, you can restore their beauty without drawing attention to the cracks. Remember to choose a filler that matches your panel’s color and texture, and apply it carefully for a seamless finish. With patience and precision, your panels will look as good as new, allowing their charm to shine through once more. Happy repairing!
Fall yard work Picks
leaf blowers
As an affiliate, we earn on qualifying purchases.