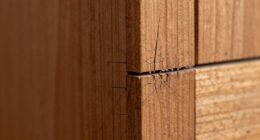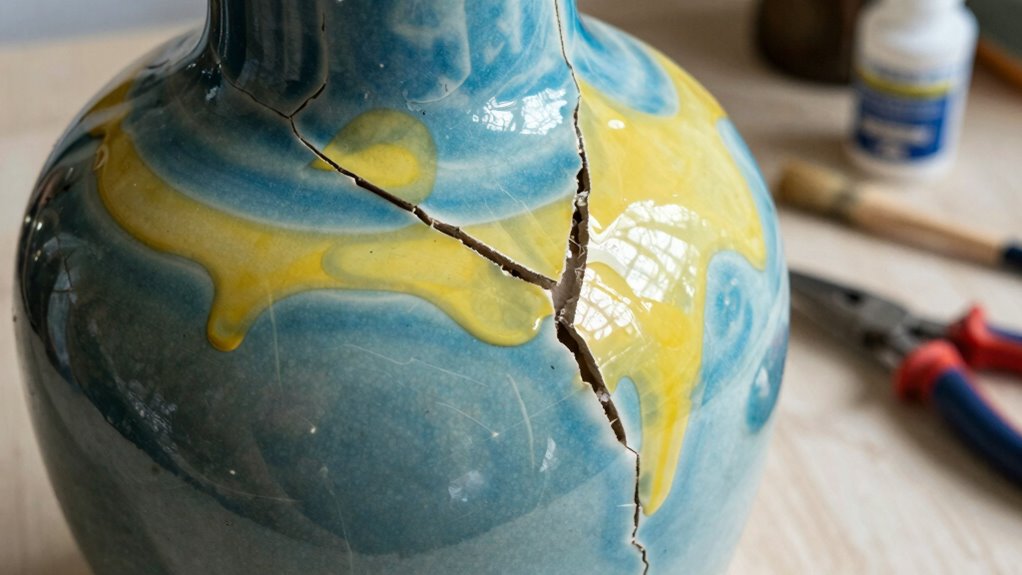
If you’ve made a mistake with glue repairs, start by inspecting the bond closely to identify the failure. Gently pry off any peeling glue using a utility knife or heat gun, ensuring you protect surrounding areas. Once the old adhesive is removed, clean the surfaces thoroughly and allow them to dry. Choose the right adhesive for your materials and apply it according to the manufacturer’s instructions. You’ll find tips for proper application and more effective techniques if you keep going.

Get business pricing on tools and workshop supplies
- Business-only prices and quantity discounts
- Tax-exempt purchasing
- Multiple users, one account, clear invoices
Key Takeaways
- Inspect the bond for peeling or separation to assess the nature of the failed glue repair.
- Use a utility knife to gently pry off any peeling glue without damaging the material.
- Heat the adhesive with a heat gun to soften it, being cautious to avoid overheating.
- Clean the surface thoroughly after removing the old adhesive to ensure proper preparation for new glue.
- Select the appropriate adhesive based on material compatibility to achieve a stronger bond in future repairs.
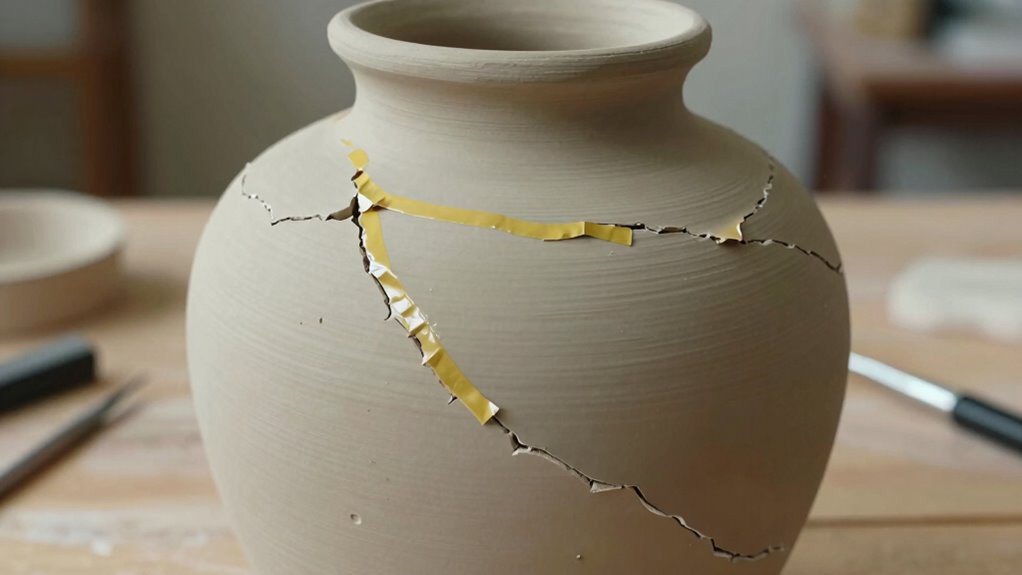
When you realize a glue repair hasn’t held up, it can be frustrating. You might find yourself staring at the broken item, wondering where it all went wrong. Maybe you skipped the vital step of cleaning surfaces before applying that adhesive, or perhaps you didn’t think carefully about selecting adhesives suited for the materials you’re working with. Whatever the reason, you’re now faced with the task of undoing that failed fix without causing more damage.
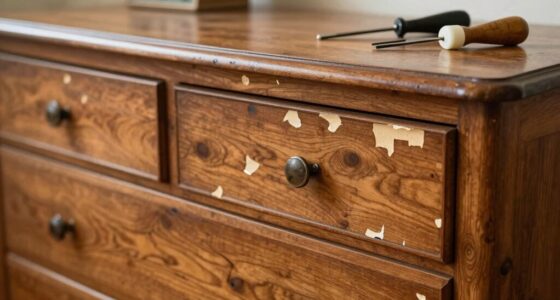
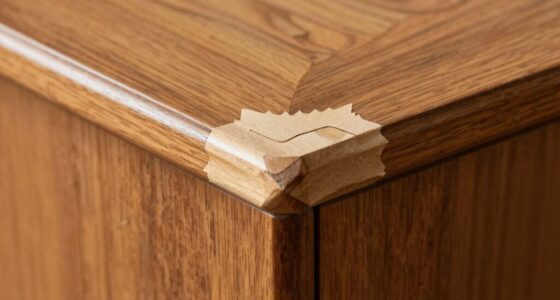
First, assess the situation. Look closely at the bond and see how the glue is failing. If it’s simply peeling away, you can often pry it off gently with a utility knife or a scraper. Be careful not to scratch or mar the surrounding area. If the glue has penetrated deeper into the material, you might need to take a more cautious approach. Using a heat gun can help soften certain adhesives, making them easier to remove. Just stay vigilant and don’t overheat the material, as this could warp or damage it. Applying heat carefully can help facilitate the removal process without causing additional harm.
Assess the bond carefully; gently pry off peeling glue or use a heat gun for deeper penetrations, avoiding overheating to prevent damage.
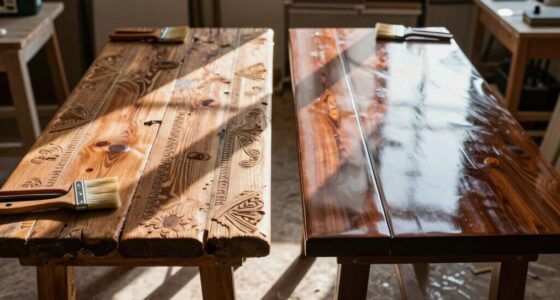
Once you’ve removed the old glue, it’s time to prepare the surfaces for a new bond. This is where cleaning surfaces becomes vital. Use a suitable cleaner for the material—whether it’s wood, plastic, or metal—and verify all residue from the old adhesive is gone. A clean surface allows new adhesives to bond better, reducing the chances of another failure. Proper surface preparation is essential for a successful repair. Make sure you let everything dry completely before moving on to the next step.
Now, when it comes to selecting adhesives, you want to choose wisely. Different materials require different adhesives, so take the time to read labels or consult product guides. For porous materials, like wood, you might want to use PVA glue, while epoxy is great for stronger bonds on metals and ceramics. If you’re working with plastics, look for cyanoacrylate or specialized plastic adhesives. Understanding the adhesive properties helps you pick the right product for a durable fix.
Finally, when applying the new adhesive, follow the manufacturer’s instructions closely. Apply the right amount—too little won’t hold, and too much can create a mess. Press the surfaces together firmly, and give them time to cure fully before putting any stress on the bond.
As an affiliate, we earn on qualifying purchases.
Frequently Asked Questions
What Types of Glue Are Most Commonly Used for Repairs?
When you’re making repairs, the most commonly used types of glue include super glue, epoxy resin, and wood glue. Super glue, or cyanoacrylate glue, offers quick bonding for small fixes. Epoxy resin works great for heavy-duty repairs, while wood glue is perfect for furniture projects. If you’re working with fabrics, fabric adhesive is your go-to. For versatile bonding on various surfaces, polyurethane adhesive is also a solid choice.
How Can I Prevent Future Glue Failures?
To keep your repairs strong and steady, focus on proper bonding techniques. Make certain surfaces are clean and dry before applying glue, as this enhances adhesive properties. Choose the right glue for your material; not all adhesives are created equal. Follow the manufacturer’s instructions closely, and give the bond time to cure fully. By taking these steps, you’ll minimize future mishaps and guarantee your projects hold up beautifully.
Are There Alternative Repair Methods to Gluing?
Yes, there are several alternative repair methods to gluing. You can try epoxy alternatives like resin for a stronger bond, especially for heavy-duty repairs. Natural adhesives, such as hide glue or starch-based options, work well for wood and crafts, providing a more environmentally friendly choice. If you need flexibility, consider using silicone sealants. Each method has its strengths, so choose one that fits your specific repair needs.
How Do I Choose the Right Adhesive for My Project?
To choose the right adhesive for your project, consider the adhesive properties needed for your materials. Look for compatibility with surfaces you’re bonding, whether they’re porous or non-porous. Surface preparation is essential; clean and dry surfaces guarantee better adhesion. Evaluate factors like flexibility, moisture resistance, and curing time based on your project’s demands. Always test a small area first to see how well the adhesive performs before committing to the entire application.
What Tools Do I Need for Safe Glue Removal?
To safely remove glue, you’ll need a few essential tools. A heat gun can soften adhesive properties, making it easier to peel away. For precision, use a utility knife or scraper to gently lift the glue without damaging the surface. Cotton swabs and acetone are great for smaller areas, while a solvent can help with tougher spots. Combining these removal techniques guarantees you tackle the job effectively and safely, leaving your project intact.
As an affiliate, we earn on qualifying purchases.
Conclusion
When you tackle failed glue repairs, envision peeling away layers of frustration like an old, cracked paint job. With patience and the right tools, you can gently unstick the mishap, revealing the potential beneath. Think of it as giving your cherished item a fresh start, breathing new life into it. Remember, every misstep is just a step closer to perfection—so embrace the journey, and soon enough, you’ll have a restoration story worth sharing.
wood and plastic surface cleaner
As an affiliate, we earn on qualifying purchases.
As an affiliate, we earn on qualifying purchases.
best adhesive remover for damaged glue
As an affiliate, we earn on qualifying purchases.
As an affiliate, we earn on qualifying purchases.
Fall Picks
fall essentials
As an affiliate, we earn on qualifying purchases.